

Happy Monday, friends! I'm super excited because today is not only my birthday, but also the Pinkfresh Studio January Release blog hop! What a way to celebrate my day! We've been hard at work behind the scenes, and are over the moon for this release! I say this every time, but it is one of our best yet!

I've got SO much to share with you in this post! We have an amazing blog hop line-up full of so much talent, it makes me smile! We've got GIVEAWAYS, 2 fantastic shopping promos and so much more! But first - for your shopping convenience, here is a full link list of all our new products or you can see them all HERE:
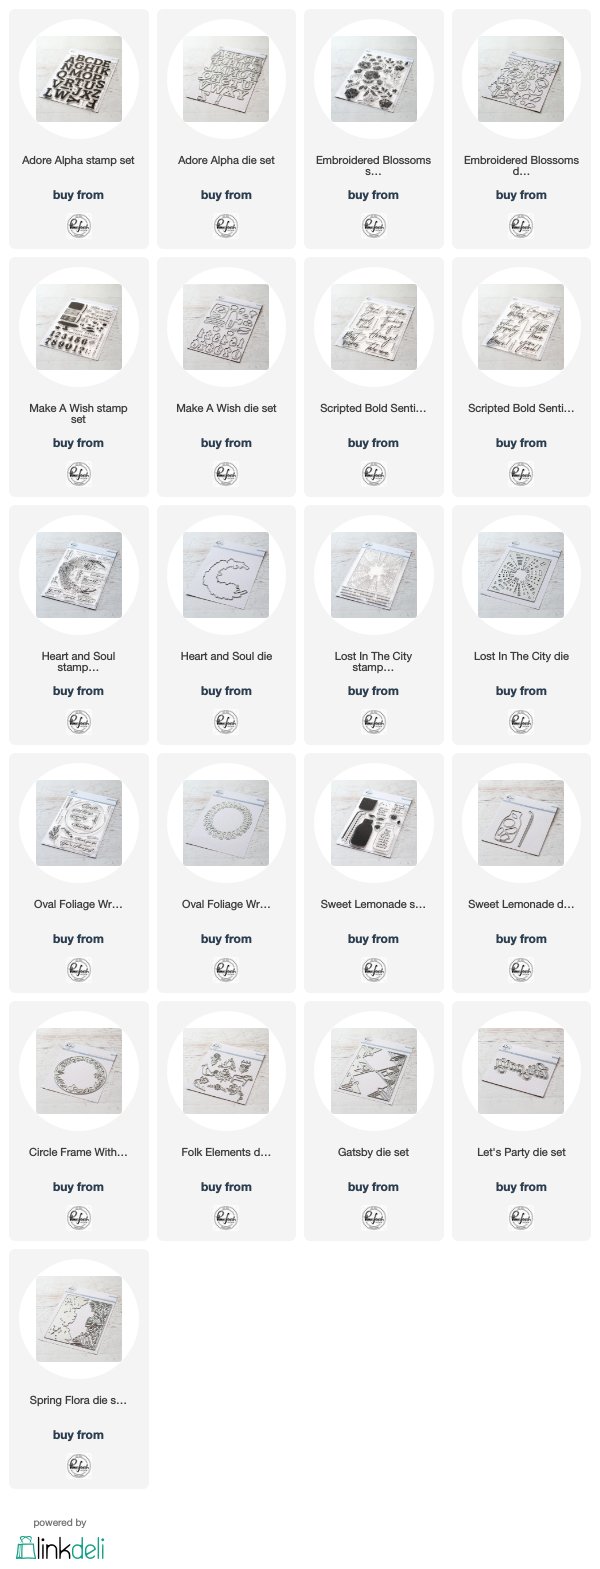
I will get to all the amazing things I mentioned at the end of my post, but how about we get to my cards first? I have used our newest stamps & dies to create a Valentine's Day card trio! I have focused on the Adore Alpha stamp set, Adore Alpha dies, Circle Frame with Botanicals die, and Scripted Bold Sentiments 1.
I want to tell you a little something about the Adore Alpha set - between the two items, there are SO many ways you can use them! You can stamp just the letters, or you can layer the adorable filigree to them with either darker ink or heat embossing. The dies cut the full alpha, plus a thin outline around it. You can do the inlaid diecutting technique, you can use all of the options together, or mix & match. Seriously friends - this set is a bit of an investment, but there is SO much you can do with it! And you can create really any type of sentiment you want! I focused on Valentine's Day, but you could use this for literally any occasion. They would also be perfect for scrapbooking layouts, Traveler's Notebooks, pocket pages, mini albums, etc... Can you tell I am super excited about this set? I think it is a must have!
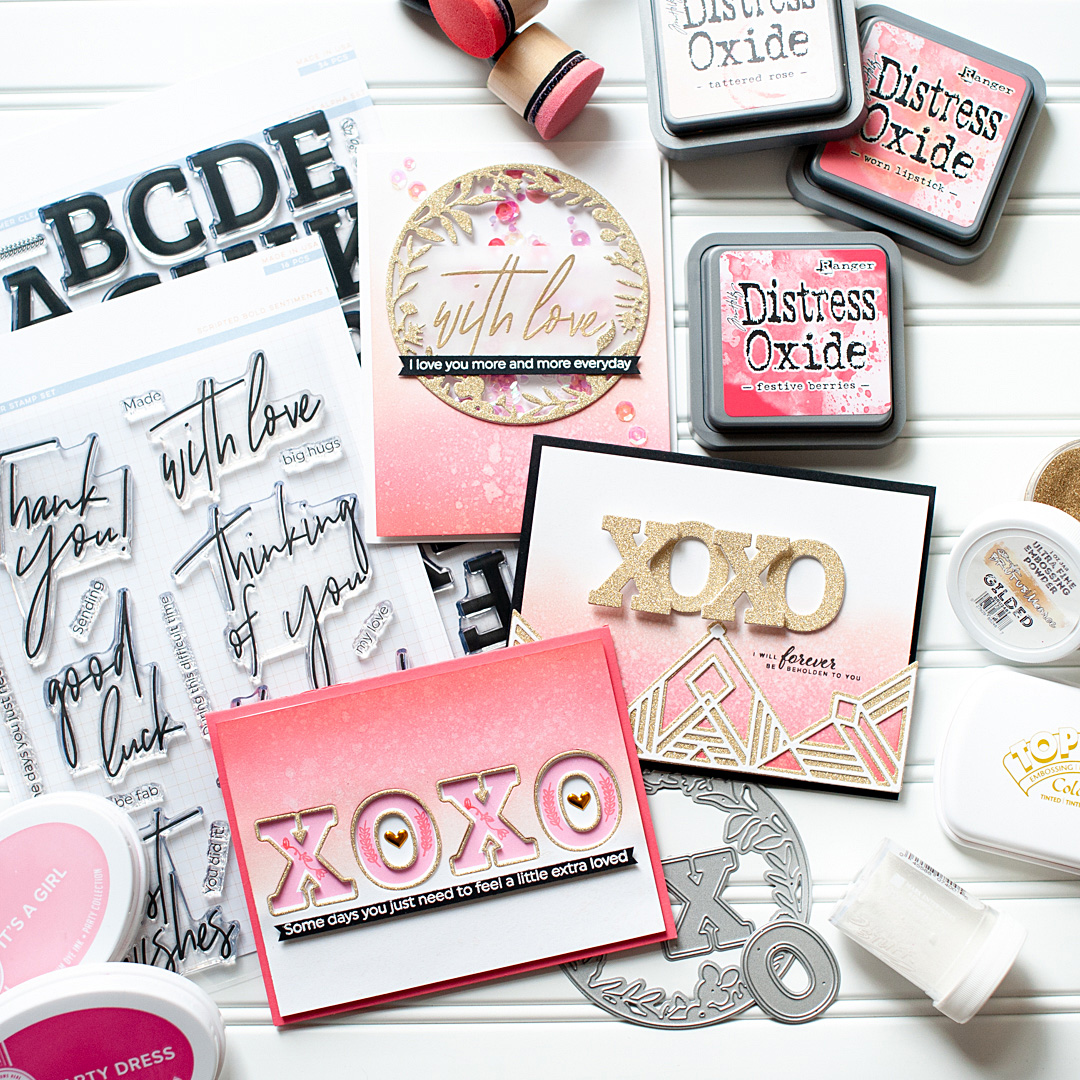

I ink blended a background for all of these cards using Distress Oxide inks in Festive Berries, Worn Lipstick and Tattered Rose. I spritzed them with my Distress Sprayer, then picked the water up with a paper towel. Then I spritzed them with shimmer spray. Once dry, I diecut XOXO from the middle of the landscape blended background, then proceeded to diecut the letters 5 more times from white cardstock, and one time from gold glittered paper. I layered them together as shown, then proceeded to work on the inlaid diecut card.
I stamped the letters & filigree to a block of white cardstock using Catherine Pooler inks in It's A Girl and Party Dress. I layered the diecut background over top of the stamped block with foam tape, then adhered the gold outline into each letter. I mounted this entire piece to an A2 card base made from Bazzill Candy Hearts cardstock. I accented with gold hearts, then stamped & heat embossed the second part of the sentiment in white to black cardstock. I trimmed it into a thin strip, then mounted underneath the letters with Darice thin foam strips.


For my next card, I diecut the Gatsby die set from white cardstock & gold glitter paper and layered together. I mounted the other landscape ink blended panel to an A2 black card base, then adhered the Gatsby die to the bottom. I adhered the remaining XOXO letters to the middle of the card, then stamped the sentiment below them to finish.

I used the Circle Frame With Bontanicals die, and turned the final card into a shaker. I cut the circle frame four times - three times from white cardstock, and once from gold glitter paper. I layered them together, and created a shaker window. Then I added sequins to the middle of an A2 white card base, then mounted the shaker panel to the front. I stamped & heat embossed the sentiments, then layered them to the front. To finish I accented it with some sequins.

Those are the sweet Valentine's cards that I created for you today! I hope that I was able to show you how versatile our new products are, and how you can use them for all the upcoming card giving holidays, even though they aren't made specifically for it! So, now let's get to all the info you need for this new release!
PRIZES
You have the chance to win a $25 gift card sponsored by Pinkfresh Studio
from my blog {and all the other posts on the blog hop too!} - all you
have to do is leave a comment!
BLOG HOP LINK LIST:
Our card team, and some very welcomed guests have been crazy busy
creating inspiring projects using all these new products! You are going
to LOVE hopping along this blog hop! Here is a full link list in case
you've happened upon my blog, and want to participate in the full event!All you have to do is hop along to each stop & leave a comment along the way to be entered to win! You have until Saturday, October 13th at 11:59pm CST to leave a comment. Winners will be posted on the Pinkfresh Studio GIVEAWAY PAGE on Sunday by 2pm CST. You must check this page & claim your prize within 2 weeks.
NEW RELEASE PROMO:

Promo #1: Every new order of $25+ will receive this adorable Love Balloon die for FREE while
supplies last! We are testing out a new function with our website, and
this die should automatically load into your cart once you hit $25. But if it doesn't,
please just proceed with checkout because we will be adding them to the
applicable orders regardless.
Promo #2: We will be offering FREE shipping in the USA on orders $50+, or discounted shipping for our International friends! Just use the code:
Promo #2: We will be offering FREE shipping in the USA on orders $50+, or discounted shipping for our International friends! Just use the code:
JANFREESHIPWITH50
This promo is valid until Thursday, January 17th at 11:59pm. The code will deduct $5.50 from your order, which is the equivalent of free U.S. shipping, or discounted International shipping.
That is all I have for you today! I wanted to invite you to follow me on social
media. I would love to be crafty friends!
Happy Hopping, and have a great Monday!
SUPPLY LIST
For your shopping convenience, all products are linked below. {Includes affiliate linking where possible - this allows small compensation for me at no cost to you. Never fear - I will only ever link to products that I truly love & use!}
For your shopping convenience, all products are linked below. {Includes affiliate linking where possible - this allows small compensation for me at no cost to you. Never fear - I will only ever link to products that I truly love & use!}


Happy Sunday, crafty friends! I meant to get this posted yesterday, but I pretty much spent all day and all night in my craft studio getting ready for the Pinkfresh Studio new release that is happening tomorrow! Seriously...the only break I took was to go to my early birthday dinner that we had scheduled with some of our friends. We went to a restaurant in St. Paul called Gray Duck, and it was delish! Basically elevated Minnesota comfort food - I definitely recommend it if you are ever in the area!
Our weekend promo at Pinkfresh Studio is a fun one! Get 20% off select background stamps using code BKGRD20OFF now thru Sunday, 1/13 at 11:59pm or while supplies last.

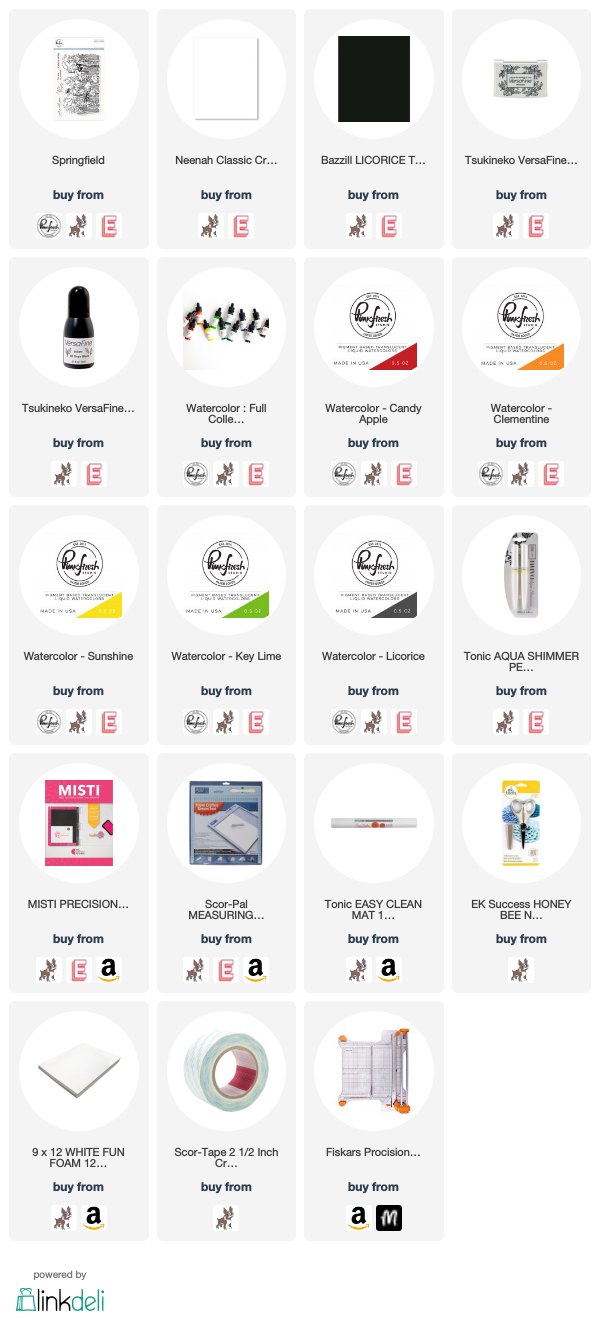
I wanted to share this card I made with the Springfield stamp set awhile ago, but never got around to sharing it on my blog. This is such a pretty floral stamp set, and perfect for coloring in with our Liquid Watercolor! It includes a few sentiments as well, but can also be paired with many of our other sentiments, especially from Aviary and Fruitastic, as they use the same typeface.


This card is actually very simple to recreate. To start, I stamped the floral image & the sentiment to a white cardstock block slightly smaller than an A2 card in onyx black Versafine ink. Then I proceeded to color it in with our Liquid Watercolor in the following colors: Candy Apple, Clementine, Sunshine, & Key Lime. Once finished, I set it aside to dry naturally.


Once it was dry, I mounted it to the front of a black A2 card base with a full sheet of foam adhesive. I create my own full sheets of these foam adhesives just by cutting down sheets of white fun foam to 3.75x5, then covering each side in 2.5 inch Scor Tape. I've found this to be the most cost effective way to be able to apply a full foam sheet to the back of my cards, avoiding any weird warping or dents in my card fronts.
To finish, I added some shimmer to the floral image with my Tonic Aqua Shimmer pen, then flicked black paint splatters to the front with our Licorice liquid watercolor. And that's it...super simple!


The Basic Banners stamp set is also part of the 20% off weekend promo - I will share a full write-up on these cards on a different day, but just thought I would share them here in case you needed some inspiration for the set!

That is all I have for you today! I wanted to invite you to follow me on social media. I would love to be crafty friends!
Have a great rest of your Sunday!
SUPPLY LIST
For your shopping convenience, all products are linked below. {Includes affiliate linking where possible - this allows small compensation for me at no cost to you. Never fear - I will only ever link to products that I truly love & use!}
For your shopping convenience, all products are linked below. {Includes affiliate linking where possible - this allows small compensation for me at no cost to you. Never fear - I will only ever link to products that I truly love & use!}


Happy Friday, crafty friends! It's always a happy day when we are celebrating a brand new release from Simon Says stamp, right?! Their latest collection is called You Are Loved went live in December, and it is full of lovely products! Simon is doing a free Distress Oxide ink pad in Festive Berries as a gift with purchase promotion - just use the code LVE584 upon checkout to take advantage while supplies last! The code will expire on Sunday, 01/13 at 11:59 pm ET.

This is day 2 of the You Are Loved Blog Hop, and we've got quite the lineup for you! I will put all of the blog hop details at the end of my post, but how about we get to my cards first? I did get some of the sweet love themed items that I will be using soon, but the item that caught my attention first was the Moments of Grace stamp set. If you know anything about me, you know that sadly, I've received many sympathy cards after the deaths of my little ones. I know they probably aren't your favorite type of card to make, but I can tell you from experience that they are so important. It really helps when people acknowledge your hurt, and surround you with love during a time that is so hard.
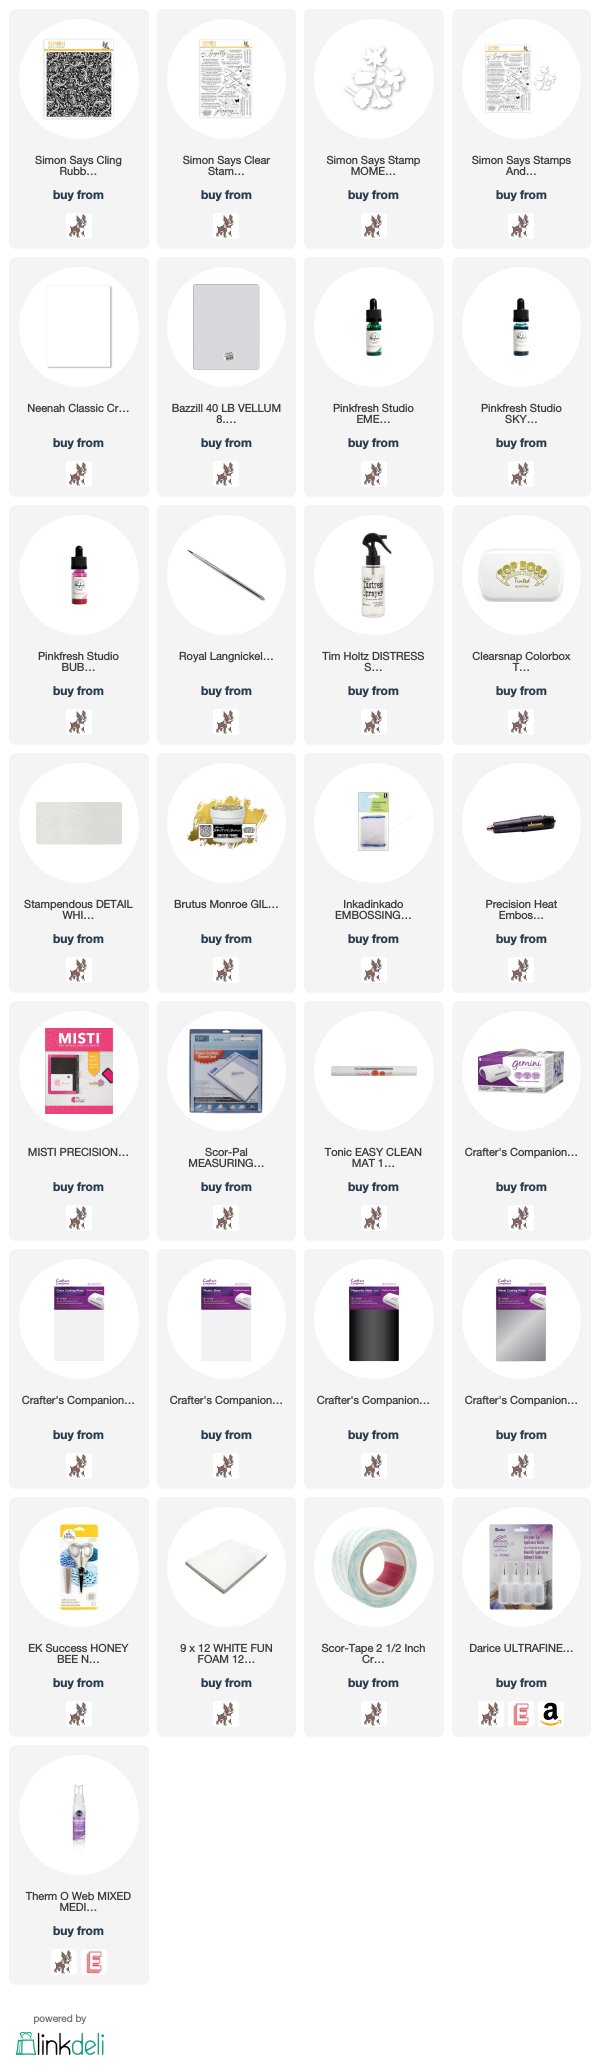
I feel like this stamp set is a must have in your craft studio. The larger sentiments are visibly beautiful, but even more importantly, the smaller sentiments are SO very, very heartfelt. They would be perfect to go on the inside of your card if you didn't feel like they fit on the front. I combined it with the Damask Background cling stamp, and they are a beautifully elegant pair.


To start, I stamped & heat embossed the Damask Background in Detail White embossing powder to white cardstock panels using my MISTI. I use this Clearsnap Top Boss embossing ink because it is tinted, and I can see if I got a good stamp impression, which is super helpful to me.
Next I taped each panel down to my Tonic craft mat, and gave them a good water wash. Then I used a size 4 watercolor brush, and dropped Pinkfresh Studio liquid watercolor here & there in the following colors: Emerald City, Sky Blue & Bubblegum. I wanted to keep the colors light, so I added water when needed and mopped anything that was too saturated up with a paper towel. I also lightly misted them with my Distress Sprayer to help move the colors around, and mix them a bit. Once the backgrounds looked how I wanted them, I set them aside to dry.


While the watercolor panels dried, I stamped & heat embossed the sentiments in Brutus Monroe Gilded embossing powder to vellum. This has been my go to gold embossing powder since receiving it in a collaboration last summer. It is the perfect shade of gold, it has the perfect amount of shine and it melts beautifully. I highly suggest it if you are looking for a fave gold embossing powder!
Next I trimmed the sentiments into strips, and grabbed the watercolor panels. I hit them with a heat gun to finish drying, then added full sheets of foam adhesive to the back of them. I actually create my own full sheets of these foam adhesives just by cutting down sheets of white fun foam to 3.75x5, then covering each side in 2.5 inch Scor Tape. I've found this to be the most cost effective way to be able to apply a full foam sheet to the back of my cards, avoiding any weird warping or dents in my card fronts. Then I wrapped the sentiment strips around each watercolor panel, then mounted each one to the front of a white A2 card base.


To finish, I accented them with my signature iridescent jewels. You could switch these out for sequins or flat backed gems, or leave them off if bling isn't your thing.

That is what I have for you today! How about we get to all the fun blog hop info now?!
PRIZES:
Simon Says Stamp is giving away a $25 coupon to every stop on the hop from the blog comment section. They will choose the winners and post on the Simon Says Stamp store blog on Wednesday. Winners can email SSS to claim their prize.
BLOG HOP LINK LIST:
Simon Says Stamp is giving away a $25 coupon to every stop on the hop from the blog comment section. They will choose the winners and post on the Simon Says Stamp store blog on Wednesday. Winners can email SSS to claim their prize.
BLOG HOP LINK LIST:
Be sure to hop
along and leave comments along the way for your best chance to win one
of the prizes!
Wow....what a lineup that is! I know I am excited to grab a cup of coffee and see what everyone else created!
Finally, if you'd like to see even MORE inspiration from this release, check out the You Are Loved Collection Gallery. And be sure to link up YOUR creations too!
Before you move on to Kristina's blog, I wanted to invite you to follow me on social media. I would love to be crafty friends!
Alright friends! Happy hopping, and happy Friday!
SUPPLY LIST
For your shopping convenience, all products are linked below. {Includes affiliate linking where possible - this allows small compensation for me at no cost to you. Never fear - I will only ever link to products that I truly love & use!}
For your shopping convenience, all products are linked below. {Includes affiliate linking where possible - this allows small compensation for me at no cost to you. Never fear - I will only ever link to products that I truly love & use!}


Hi crafty friends! I'm coming up for air for a moment, just to let you know that the "Adoring You" SOA Box is available for purchase now!

Here is another card I created using some items from this beautiful selection of stamps & dies. For this card I've used the Love Note background stamp, and The Key stamp set.


To start this card, I heat embossed the Love Note background in gold to a white cardstock block. Then I applied a water wash to it, and used Catherine Pooler inks in It's A Girl, Be Mine & Party Dress to watercolor it. I use a heat tool to mostly dry it, then spritzed it down with gold shimmer spray.


I set that aside to fully dry, then stamped & heat embossed the sentiment in white and the lock & keys in gold to vellum. I trimmed the sentiment into a strip, then cut a banner edge to the left side of the sentiment. Then I fussy cut the lock & keys, as I didn't get the coordinating dies for this set. You can get the dies as an add-on if you would rather not fussy cut.
At this point it was time to put the card together. I wrapped the sentiment around the upper right side of the background, then mounted it to a white A2 card base with foam adhesive. I adhered the lock to the right of the sentiement, then tied a double bow from ivory burlap twine. I layered it to the top of of the key, and accented with a gold enamel heart from my craft stash. Then I poked holes in the tops of the keys, threaded them with gold string and wrapped around the heart accent. Finally, I finished by adding a scattering of sequins here & there.


I hope that you liked my projects using this Stamp of Approval box! I've got one more project in the works that I will share with you once it's finished! That is all I have for you today, but I did want to invite you to hang out with me on my social media channels if you don't already.
I would love to be crafty friends! Have a wonderful rest of your Wednesday!
SUPPLY LIST
For your shopping convenience, all products are linked below. {Includes affiliate linking where possible - this allows small compensation for me at no cost to you. Never fear - I will only ever link to products that I truly love & use!}
For your shopping convenience, all products are linked below. {Includes affiliate linking where possible - this allows small compensation for me at no cost to you. Never fear - I will only ever link to products that I truly love & use!}


Happy Monday, crafty friends! Today I am really excited to be a guest for Catherine Pooler's "Adoring You" Stamp of Approval box!

I have created a card set for you today, focusing solely on the Happy Together stamp set from the SOA box. This set includes beautiful layering birds & florals, along with some really sweet sentiments! I've created a matching card set, but added one additional step to the second card that gave it a little extra something...glitter! I know not everyone loves glitter, but I surely do!


Happy Sunday, crafty friends! I hope you are having a wonderful Sunday so far! I just wanted to drop in and share a couple Pinkfresh things with you! First, we have new featured products for January! We decided to offer two stamp sets from our very first stamp & die release ever...and they also happen to be two of our most popular!

Our January challenge also went live today, and we are doing something a little different this month. We are doing a 2018 Challenge Review!

Subscribe to:
Posts (Atom)


Social Icons