

I did create anything new with these sets, but I have a couple of past blog posts using some of them. Up first, I created this colorful cutie using the Joy & Cheer stamp & die set, and you can view that blog post HERE.

And then I created a super cute but simple card trio using the Simple Joy stamp set - you can see that blog posts HERE.

That's all I've got for you this Saturday. I wanted to invite you to follow me on social media before you move on with your day. I would love to be crafty friends online!
I went live on IG yesterday with a little update on things around here, and I saved it. You can still catch it for a few hours, if you'd like! I hope you have a fun rest of your weekend!

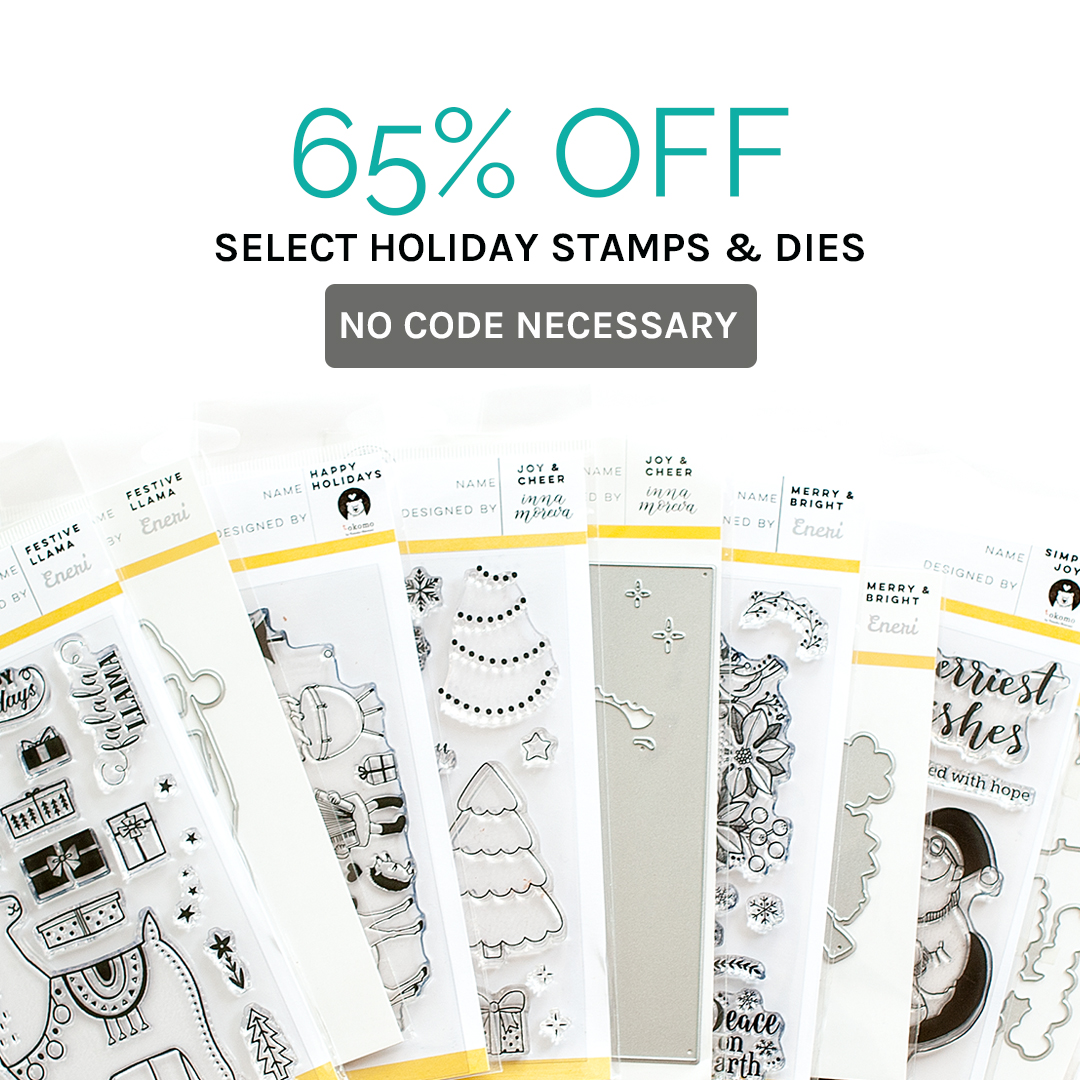
Happy Friday, crafty friends! It's always a happy day when we are celebrating a brand new release from Simon Says stamp, right?! Their latest collection is called Believe in You, and it is full of lovely products!

Simon is doing a free Tim Holtz mini distress resist spray as a FREE gift with purchase promotion - there is no code, you just have to purchase a Tim Holtz product to take advantage while supplies last! The code will expire on Sunday, 07/31 at 11:59 pm ET.

This is day 1 of the Believe in You Blog Hop, and we've got quite the lineup for you! I will put all of the blog hop details at the end of my post, but how about we get to my cards first? Today I have focused on the Scallop Waves 6x6 cling stamp, along with the Clean Line Everyday stamp set, designed by Cathy Z.
I started by stamping & heat embossing the Scallop Waves to A2 blocks of Strathmore Bristol cardstock in my go to embossing powders: Brutus Monroe Gilded and Wow! Opaque Bright White Superfine. I use the Wow! ultra slow drying embossing ink, which I LOVE for embossing. It never fails me!
Next I taped them down to my WaffleFlower water media mat, and painted the rainbow gradients to the front with my Pinkfresh Studio liquid watercolors and a 1-inch flat brush. Once dry I sprayed them down with shimmer spray, and once that was dry I flicked titanium white paint splatters to the front.


Next I stamped & heat embossed the sentiments from Clean Line Everyday to Bazzill vellum using the same embossing powders. I recently got the Wow! dual heat gun, and I am super impressed with how well it heat sets embossing powder!

At this point it was time to start putting the cards together! I wrapped the sentiments around each rainbow layer, then mounted them to the front of A2 card bases made from Neenah 110 LB solar white cardstock with foam adhesive.


I finished by accenting the cards with adhesive backed iridescent jewels. I have been using the Pinkfresh Studio Essentials: Jewels so much lately, but I decided to grab my old go to gems for this card set.


That is what I have for you today! How about we get to all the fun blog hop info now?!
PRIZES:
Simon Says Stamp is giving away a $25 coupon to every stop on the hop from the blog comment section. They will choose the winners and post on the Simon Says Stamp store blog on Wednesday. Winners can email SSS to claim their prize.
BLOG HOP LINK LIST:
Be sure to hop
along and leave comments along the way for your best chance to win one
of the prizes!Simon Says Stamp is giving away a $25 coupon to every stop on the hop from the blog comment section. They will choose the winners and post on the Simon Says Stamp store blog on Wednesday. Winners can email SSS to claim their prize.
BLOG HOP LINK LIST:
Wow....what a lineup that is! I know I am excited to grab a cup of coffee and see what everyone else created!
Finally, if you'd like to see even MORE inspiration from this release, check out the Believe in You Collection Gallery. And be sure to link up YOUR creations too!
It looks like I am the end of the hop, but I wanted to invite you to follow me on social media before you move on with your day. I would love to be crafty friends online!
Alright friends! Happy hopping, and happy Friday!
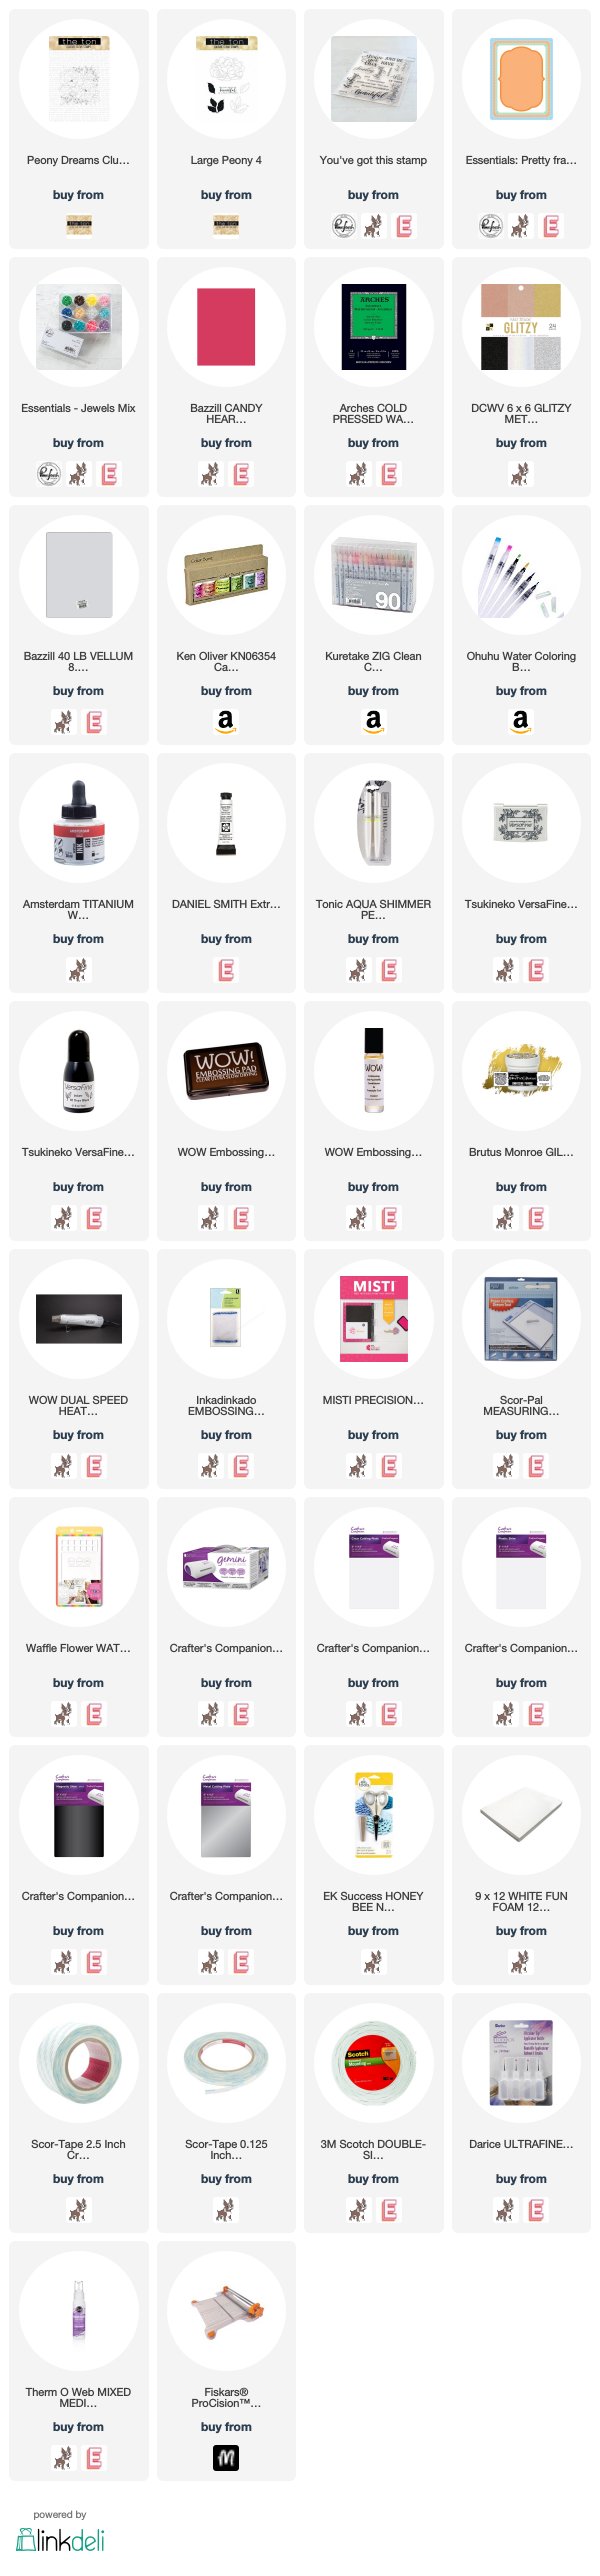
SUPPLY LIST
For your shopping convenience, all products are linked below. {Includes affiliate linking where possible - this allows small compensation for me at no cost to you. Never fear - I will only ever link to products that I truly love & use!}
For your shopping convenience, all products are linked below. {Includes affiliate linking where possible - this allows small compensation for me at no cost to you. Never fear - I will only ever link to products that I truly love & use!}

Happy Thursday, blog friends! I hope you've had a good week so far. Mine has been busy as usual, but really...what's new?! Lol.
I wanted to share a couple of cards that I made using the brand new washi tape with coordinating stamps & dies that we've recently released at Pinkfresh Studio. This set is called Eucalyptus Fantasy, and it is so beautiful!
For this first card, I adhered a strip of the Eucalyptus Fantasy washi tape to 65 LB cardstock, then diecut the images with the Eucalyptus Fantasy diecut set.. I choose a lightweight cardstock for this process because you are going to add some weight to it with the washi tape, and I think it is easier to diecut. If you want to add some bulk to the diecut piece, just cut a couple more times from white cardstock & stack.
I also diecut the Hooray word from Essentials: Classic Words three times: once from gold glitter paper and twice from white cardstock, then adhered it together. I diecut the shadow layer from vellum, then layered the intricate piece to the top. Next I diecut the Essentials: Fancy Label Frames two times: once from white cardstock, and once from gold glitter paper. I stamped the small sentiment from the Eucalyptus Fantasy stamp set to the white label, then adhered it to the gold layer with foam dots.
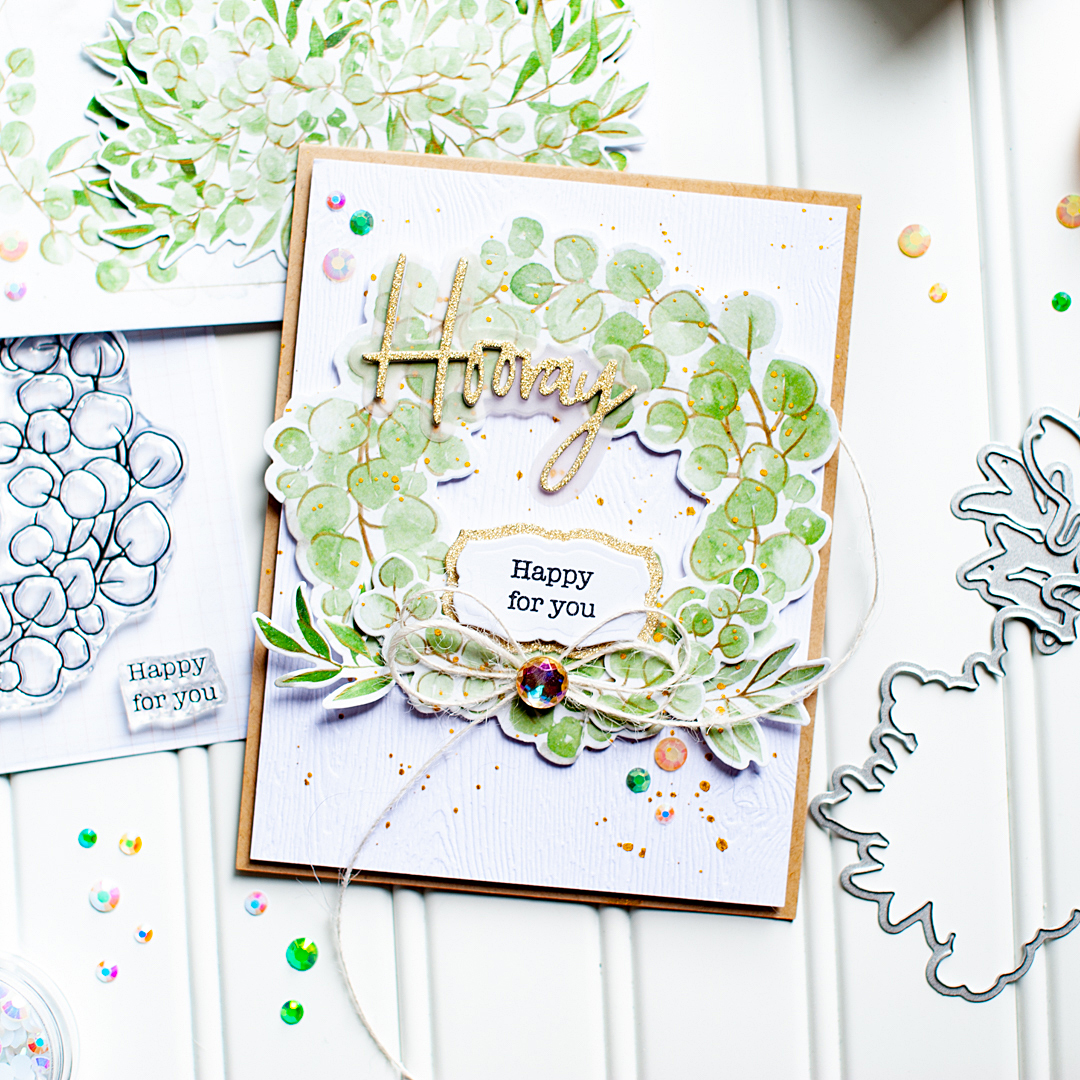
At this point it was time to put the card together. I layered a block of Lawn Fawn woodgrain cardstock to the front of a Neenah Desert Storm A2 cardbase. Then I layered the diecut washi tape pieces to the front, followed by the sentiments. Finally, I tied a double bow from ivory twine, then accented the front with some Essentials: Jewels Mix. I finished by adding some gold splatters to the front with the Gansai Tambi Starry Colors paint set.

For this card, I covered an A2 sized block of white cardstock with the beautiful frame image from the Eucalyptus Fantasy washi tape. Then I proceeded to stamp & heat emboss the sentiment directly to it. I have a couple of tips for doing this, as you can melt the washi tape if you aren't careful.
- Make sure you use a powder tool generously, as embossing powder will stick. You will still probably have to use a small brush to wipe away some excess.
- Use a MISTI or stamping platform, just in case you need to stamp more than once.
- Turn your heat gun on while you are stamping & let it get hot. I use the WOW! dual heat gun, and I actually used the lower heat setting.
- When heat setting the embossing powder, you will need to be constantly moving the heat gun. It will take longer to get the powder set, but you won't melt the washi tape this way.


These brand new A2 washi tapes from Pinkfresh Studio are super fun, and I really hope you will give them a try! I'm excited to continue to heat emboss on them, as it looks really beautiful!!


Have a wonderful rest of your Thursday!
SUPPLY LIST
For your shopping convenience, all products are linked below. {Includes affiliate linking where possible - this allows small compensation for me at no cost to you. Never fear - I will only ever link to products that I truly love & use!}

Happy Saturday, friends! I hope that you are having a wonderful weekend so far. I wanted to pop in today, because I had a moment this morning to create a couple of cards. I don't often create "just because", but it was so nice to use this beautiful piece that I watercolored in Effie's class at {stamp} JunkieFest 2019. This was a 3 day stamping event that I did some work at for Pinkfresh Studio, but also personally took some classes. It is organized by the founders of Stamp Junkies, which is a fantastic Facebook group for those that love stamping. If you haven't joined, I highly recommend it!
I took Effie's (owner of The Ton clear stamps) 4 hour class, and then proceeded to use about 2 other hours in a different class to finish it. Granted, I was also watching Effie at times while she taught and also chatting with the wonderful ladies at my table. I am super comfortable with watercolor, but I really LOVED learning this technique with Effie, and using a product by Ken Oliver called Color Burst. I've never used them before, and they were quite fun! When I got home, I added some titanium white splatters to the watercolor piece, which just tends to be part of my style.
I'm never going to be able to explain in my own words this fun watercolor technique, so I highly suggest subscribing and watching all the videos on The Ton's YouTube channel. Effie does a wonderful job in her videos, and you will learn far more there than you will here. Lol! I'm just going to share the pretty final pieces!

The floral image is from the Peony Dreams Cluster stamp set, and is quite large. I stamped & heat embossed it in Brutus Monroe Gilded embossing powder to a 6x6 block of Arches cold pressed watercolor paper. I highly suggest using a MISTI stamping platform when using this paper, as it is quite textured. I typically stamp it 3 times to make sure I get a good impression.
I'm an A2 sized card girl, so I ended up trimming it down to fit. That meant I trimmed off a chunk of time spent, and I just couldn't let it go to waste. So I fussy cut the remaining section, then created the card below. I did a mix of stamping & heat embossing for the sentiment from the You've Got This stamp set to a scrap of matching Arches watercolor paper. I adhered it to the middle of an A2 card base created from Bazzill Basic Candy Heart cardstock, then framed it in DCWV glitter paper using the Pretty Frames die. Both the sentiment & diecut set are from Pinkfresh Studio. I don't get to mix manufacturers very often, so it is fun when I do!


This card is definitely the star of the show, with the big floral element and Effie's watercolor technique. As I mentioned above, I used Ken Oliver Color Burst for the first time, and I used the Caribbean Brights set. I shop mostly at three places, and I could only find them on Amazon. Speaking of Amazon, I also wanted to share a water brush set that I purchased at the last minute. It is this Ohuhu 6 pack, and considering it's $10 price point...I was skeptical. But I LOVE them. I had yet to find a water brush that I actually liked, and these ones hit the mark. And I love that you get all the different sizes & styles in this 6 pack.
I kept the focus on the watercolor peony on this card, just embossing the sentiment from the Large Peony 4 stamp set to a strip of vellum, then attaching to the bottom. I accented with some Studio Katia Iridescent Cones that I received in my super generous swag bag from the JunkieFest 2019 event. I can't seem to find them anywhere for purchase, but you could easily switch them out with a jewel or gem you have on hand. I also accented the first card with some Essentials: Jewels mix from Pinkfresh Studio.


I also added some shimmer to the floral piece using a Tonic Aqua Shimmer pen. This is another touch that just lends to my style, and could definitely be left off if you don't love glitter. Although, it is very subtle, but gives the card some beautiful shine in different light.

That is all I have for you today! I wanted to invite you to follow me on social media if you'd like. I would love to be crafty friends!
Have a great rest of your holiday weekend!
SUPPLY LIST
For your shopping convenience, all products are linked below. {Includes affiliate linking where possible - this allows small compensation for me at no cost to you. Never fear - I will only ever link to products that I truly love & use!}

Happy Friday, friends! I hope you all had a wonderful 4th of July! We hung out with our neighbors for most of the day, but we all had to work today. So, we didn't make it to see any fireworks, but I did hear them when they woke me up from my slumber. I was the only one - the husband & two dogs didn't even move. Lol!
I wanted to let my blog friends know that we are having a July 4th holiday weekend sale over at Pinkfresh Studio.

Almost the entire store is eligible for the 15% off code - the only items excluded are the June washi release (NEW), Featured/Sale, and the Mail Delivery stamp set (charity). But, the Featured products are already 50% off, so that is still a really great sale in itself. You can absolutely grab regular priced items with the Featured items, and when you use the code 15OFFJULY4TH, it will take the 15% discount off the eligible items.
I didn't want the bows that I created for the ad above to go to waste, so I quickly made them into this fun, patriotic themed card. I'm not one to send cards for July 4th, but I do love the colors of our country, and I think this is a perfect birthday card or party invite! I started by diecutting everything with my Gemini Jr. First I diecut the bows twice from the Joyful Day, Out & About and gold glitter papers using the Partial Cut Bouquet & Bow die set. Once all the pieces were diecut, I put the bows together. (Then I took the photo of the ad. Lol!)

Next I diecut the Geo Star 1 background from heavyweight white cardstock. Then I cut the Let's Party word die three times: once from gold glitter paper, and twice from heavyweight white cardstock. I use a metal shim when cutting this die from glitter paper because it is so intricate & thin. This gives it better pressure, and the cut pops right from the glitter sheet.

Finally, I adhered everything to the front of an A2 card base, popping the Geo Star 1 background up with foam dots. Then I accented with our Essentials: Jewel Mix in white & blue. The teeny red jewels are from Michael's.

That's everything I have to share with you today! This card was super easy to put together, and it just took a little time diecutting. It would be super cute for a BBQ or party, but I will probably use it for a birthday card.
Our 15% off sale is valid through this Sunday, and it will work on every Pinkfresh Studio product I used if you want to recreate it! I think it would be a really fun Christmas card as well, if you just changed out the sentiment.
That is all I have for you today! I wanted to invite you to follow me on social media if you'd like. I would love to be crafty friends!
Have a great rest of your holiday weekend!
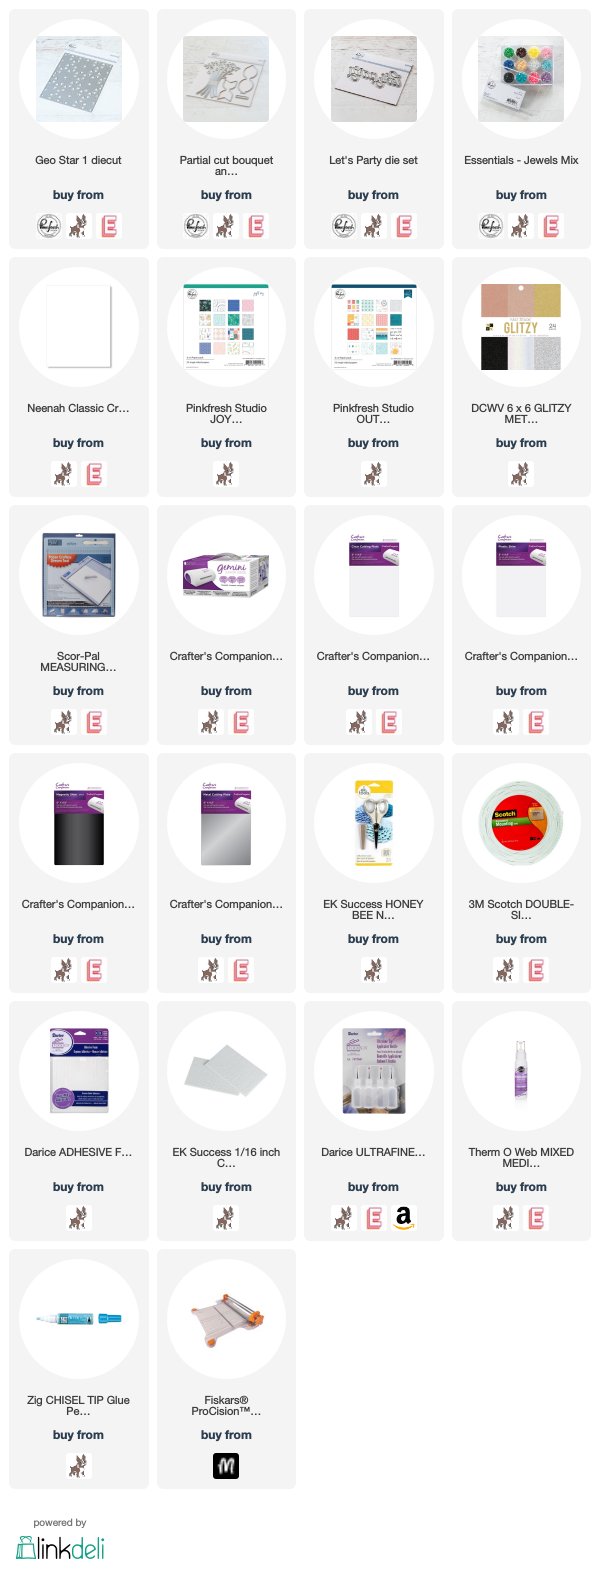
SUPPLY LIST
For your shopping convenience, all products are linked below. {Includes affiliate linking where possible - this allows small compensation for me at no cost to you. Never fear - I will only ever link to products that I truly love & use!}
Subscribe to:
Posts (Atom)


Social Icons