

Happy Friday, crafty friends! It's the start of a holiday weekend, which means there are LOTS of sales. I have updated my CRAFTY SALE page with the savings I know about, and will continue to update it as more info comes in!
Of course, there is a holiday weekend sale at Pinkfresh Studio! We are offering 15% off storewide, with the exception of NEW, SALE, FEATURED, & Collab sets. (Basically, regularly priced items that are Pinkfresh brand only.) All you have to do is use code 15OFFLBRDAY when you checkout - and this just in...all U.S. orders $100+ get FREE SHIPPING WITHOUT A CODE! So, you can take advantage of savings, AND get free shipping. This is a new offer from us, as previously you had to pick either the free shipping code, or the discount code. :)

Here is a list of a few of my favorite things that the discount code is valid on:
- Essentials: Jewels Mix
- Just A Little Lovely 6x6 paper pad
- Just A Little Lovely 12x12 paper pad
- Essentials diecuts
- A2 Washi Tapes with coordinating stamps & dies
- Liquid Watercolor
- Partial Cut Bouquet and a Bow diecut set


I painted the diecut florals with some custom colors that I created from the Pinkfresh liquid watercolor. I added a teeny tiny bit of Bubblegum into Candy Apple to make the red tone - it just softens the bold redness that Candy Apple has on its own. The turquoise is a mix of Sky Blue & Aquamarine. The greens were used as is, and I've used both Key Lime & Emerald City. Once the watercolor dried, I added some titanium white splatters to the floral piece as well.
I diecut & ink blended the braided tag with Peacock Feather distress oxide ink, blending in an ombre gradient. Then I diecut the diagonal stitched panel from white cardstock, and the bow from gold glitter paper. I assembled the bow, then proceeded to the put the card together on a red A2 card base.


To finish, I accented with some trios of Essentials: Jewels around the floral piece.

That is all I have for you today! Before you move along with your day, I wanted to invite you to follow me on social
media. I would love to be crafty friends!
I hope that you have a wonderful Labor Day weekend!
SUPPLY LIST


Happy Wednesday, friends! I took most of yesterday off in order to prepare for celebrating the evening with my husband. He turned the big 4-0 yesterday, and while we aren't much for big parties or anything, it is still a pretty big birthday! I baked him his favorite cupcakes, created this custom card, grabbed some favorite dinner items and a 4-pack of a Double IPA that he never would have purchased for himself because of the price tag. Lol! It was a perfect night celebrating, just the two of us. We are going to go out to dinner at our favorite restaurant on Sunday night, courtesy of Josh's parents who got us a gift card. We are even going to Uber so that we can take advantage of the half off promo they do on full bottles of wine on Sundays - yay!!
For his birthday gift, I put a little coupon in his card, valid for (1) new Traeger Grill of his choice. Josh loves to cook, grill & smoke meats, and he has been using an entry level, no bells & whistles Traeger for over 5 years now. It has served us well, but it's time to be replaced. I thought that a 40th birthday was the perfect time to splurge, and get one with more insulation for these cold Minnesota winters, WIFI enabled, etc. There are a few different models and I don't know the difference...thus I didn't do the purchasing. Lol! He can research which one he thinks is the best fit, and we will get it then!
I have known Josh now for close to half of his life. I've watched a hardworking, extremely determined young man grow into a man with the same disciplines. But I see a man who is now also softer & gentler with people...but he will still totally call you out on your you know what if he deems it necessary. He walked beside me as we both dealt with losing our babies, holding me up when I just couldn't do it myself. He is proof that real men can cry, and be strong, and love fiercely, and let go...all at the same time. He is my best friend...the only one who truly knows how hard this journey has been. The only person who understand my dry, and sometimes morbid humor. The only person who doesn't cringe when I am raw, and need to say exactly how I feel right at that moment. Grief & loss do that to you, and while I wish with all my heart that this part of Josh's story (which of course, directly relates to my own) were different...I'm thankful that I have him by my side to help navigate it.
Happy 40th babe...here's to another 20. ;) (It's an inside joke....) And look at this adorable photo of him! (And us...lol!)

I made this custom birthday card for Josh with a mix of my Pinkfresh Studio products. I knew I wanted to use the Eucalyptus Fantasy washi tape, then just proceeded from there!

I started by adhering the washi tape to 80 LB white cardstock - I use this thinner cardstock with the washi tape so that it is easier to diecut. I think you could likely use heavyweight cardstock if you wanted, but I didn't really feel it was necessary here. I trimmed the frame into a panel slightly smaller than an A2 card, then diecut the Braided Oval from the middle. I also diecut the oval from white cardstock three times. I pulled them out of the diecut machine super carefully, as I wanted the insides to remain, other than poking out the tiny dots on just the washi tape layer. I also diecut the (4) eucalyptus branches while I had my diecut machine out.
Then I adhered the washi panel to an A2 kraft card base, then stacked the braided oval layers to the middle.

Next I used the Make A Wish set & stamped the layered cake, then heat embossed the cake platter & numbers. I also heat embossed a sentiment from the Oval Foliage Wreath set to the middle of the cake. I diecut them with the Make A Wish die set, then stamped the candle flames. I layered the cake & candles to the braided oval, then accented the bottom of the cake with the diecut eucalyptus stems.

To finished, I accented the cake and two of the card corners with trios of both the Essentials: Crystals mix and Essentials: Jewels mix. The crystals are diamond shape, so I just adhered them on their head to the card.

That is all I have for you today! I wanted to invite you to follow me on social
media. I would love to be crafty friends!
Have an awesome Wednesday!
SUPPLY LIST


I've got SO much to share with you in this post! We have an amazing blog hop line-up full of so much talent, it makes me smile! We've got GIVEAWAYS, 2 fantastic shopping promos and so much more!
Here is a look at all of the new products:
I will get to all the amazing things I mentioned at the end of my post, but how about we get to my cards first? I've used all the floral items in the new release to create my cards today, and focused on a really bright & cheery color palette. I imagine these in fall colors too, and will probably create them again!

For this card I used Inkon3 fadeout ink, and did some no line watercoloring with my Zig Clean Color Real Brush markers. I am not a master at coloring, but I had SO much fun coloring this big image from the new Flower Garden stamp set. I don't really worry about realistic shading...I typically just chose three shades of the color I want - light, medium light & medium (because let's be real...I never pick the dark colors. Lol!), and then just color in an ombre fashion. Some of the discoloration was caused when I added shimmer with my Tonic Aqua Shimmer pen....and I like the reaction! Once the coloring was finished, I also splattered the front with watered down titanium white acrylic paint.
I cut out the flower garden image with our Essentials: Stitched Rectangles, then mounted it to a coral colored A2 card base with foam adhesive. I diecut the Beautiful word (3) times: once from gold glitter paper and twice from heavyweight white cardstock, then stacked & adhered together. I stamped the first part of the sentiment in onyx black to white cardstock, then trimmed into a thin strip. I adhered the sentiment to the card front, then accented with the Essentials: Jewels Mix to finish.


I loved coloring the first image so much, that I did the same with the flowers from the Floral Vase stamp set. I stamped the vase with premium dye ink, but when I added some shimmer to it...it bled a little, giving it more of watercolor feel, which I am happy about! When I was finished with both, I cut them out with the coordinating Floral Vase diecut set. This time the white cardstock panel was cut using the Essentials: Diagonal Stitched Rectangles and mounted to the front of a light blue A2 cardbase.
I painted a very faint shadow at the base of the vase, then layered the floral pieces to the front. I stamped the sentiment in onyx black ink to white cardstock, then trimmed into a thin strip with banner edges. I adhered it to the front, then accented with the Essentials: Jewels Mix.


I've been making square cards recently (I blame the features we have in Practical Publishing magazines, as they are always asking for different shapes of cards), and thought that a square shape would compliment this Leafy Envelope die perfectly. I used a sheet of Just A Little Lovely 6x6 patterned paper as the background, and trimmed it slightly smaller than my card base, then adhered it to the front with foam adhesive.
I diecut the envelope from white cardstock a couple times, then stamped the first part of the sentiment to the inside middle of the envelope. Then I glue just the lower have of the envelope down to the card front. I diecut the Beautiful word die three times from light pink cardstock, then stacked & adhered together. I covered it in chunky glitter, then adhered it underneath the stamped portion of the sentiment.
Next I diecut & stamped all the Lovely Blossoms in various premium dye inks. Then I tucked them into the envelope as shown, so it would look like an envelope full of wild flowers...so pretty! To finished I accented with some Essentials: Jewels Mix.


For my final card, I paper pieced the Modern Blooms die, cutting it twice from white cardstock, then from two different sheets of patterned paper from our Just A Little Lovely 6x6 pad. It did take some time, but not as long as I thought it would...and I LOVE how it turned out. From my experience, the small pieces stayed in tact with the entire diecut piece when I removed it from my diecut machine. But they easily popped out when I needed them, and I used my Crystal Katana to pick them up and glue them on to the card front.
Once the paper piecing was done I layered two of the outline cuts to the top, making sure white was on top. Then I stamped & heat embossed the ribbon & first part of the sentiment from the Floral Vase stamp set to vellum & white cardstock in gold embossing powder, then diecut them. Then I stamped the rest of the sentiment in onyx black to white cardstock, and trimmed into to thin strips. I layered bow & sentiment to the lower right side of the card, then added some of the excess Lovely Blossoms I had stamped for the card above. Finally, I accented with our Essentials: Jewels Mix to finish.


Those are my cards for today! I hope that you loved all the florals, and happy colors. I certainly enjoyed creating them!


Well, friends...let's get to all the info you need for this new release!
PRIZES
You have the chance to win a $25 gift card sponsored by Pinkfresh Studio
from my blog {and all the other posts on the blog hop too!} - all you
have to do is leave a comment!
BLOG HOP LINK LIST:
It's come to our attention that the new Inlinkz lists aren't always showing up in all browers, so you can also view the entire link list HERE.
Our card team, and some very welcomed guests have been crazy busy creating inspiring projects using all these new products! You are going to LOVE hopping along this blog hop! Here is a full link list in case you've happened upon my blog, and want to participate in the full event!
NEW RELEASE PROMO:

Promo #1: Every new order will receive this Abstract Bloom die for FREE while supplies last!
This die should automatically load into your cart, but if it doesn't,
please just proceed with checkout because we will be adding them to
orders regardless.
Promo #2: All orders $100+ will receive FREE SHIPPING automatically. You MUST check the free shipping option upon checkout, because there are other paid options.
That is all I have for you today! I wanted to invite you to follow me on social
media. I would love to be crafty friends!
Happy Hopping, and have a great Monday!
SUPPLY LIST


Happy Friday, crafty friends! I hope you have had a good week, and are looking forward to the weekend. I've got a busy work weekend ahead of me, as we have a new release coming up on Monday! Yay! I'm so thankful for having a job that I really truly love, and I don't mind working on the weekend when it is needed.
I wanted to share our weekend promo with you today! Get 25% off Scripted Bold Sentiments 1 & 2 stamp sets using code 25OFFSBS. Promotion is valid through Sunday, 08/25/19 at 11:59pm or while supplies last.

One reason (out of a million) that I love my job, is I get input on products that we release. Late last year I told Kinnari (the owner of Pinkfresh Studio) that I felt like we needed some stamp sets with more "essential" type sentiments, but that we also needed, in true Pinkfresh fashion, to keep them unique. I gave her a list of essential sentiments that I thought were needed in our collection - she took that list & ran with it...thus Scripted Bold Sentiments were born. I LOVE this stamp set, because while it does have some of those general sentiments that we all need & love, there are also some really unique ones, and the teeny sentiments help to make the larger scripted ones more personal.
I created these cards when these stamp sets released last January, but realized that I've never shared them here. It's possible you have seen them, however. They were in a few ads with Practical Publishing magazines, and one of them was both a Make & Take at the Simon Says Stamp Create event this year, and also a challenge at {Stamp} JunkieFest 2019 this past June. I figured it was about time to share them on my blog...lol!
I've combined Scripted Bold Sentiments 1 & Scripted Bold Sentiments 2 with the amazing Gatsby die for these first two cards. These cards are relatively simple to create - it's just some stamping & diecutting, then finishing up by adding some black splatters with our Licorice liquid watercolor on the white verson. The black version is splattered with titanium white paint that I've watered down, and Gansai Tambi gold paint too. Easy peasy!


The products featured on this card are not on sale, but I'm going to be real....I photographed these for an advertisement, and didn't feel like redoing the photography just to take the one card out. Plus, it fits with these two other cards so well...so I'm leaving it! This card is created with the Oval Foliage Wreath stamp set. I've stamped the frame in Delicata Golden Glitz ink, and the sentiment is stamped with Versafine onyx black. I've also added some black splatters using our Licorice liquid watercolor to this one as well.

Before you move on with your day, I wanted to invite you to follow me on social media. I would love to be crafty friends online! I've been adding a lot more to my IG Stories lately, and have plans to keep that up. I hope you will join me!
Happy Friday, crafty friends!
-Lea
SUPPLY LIST
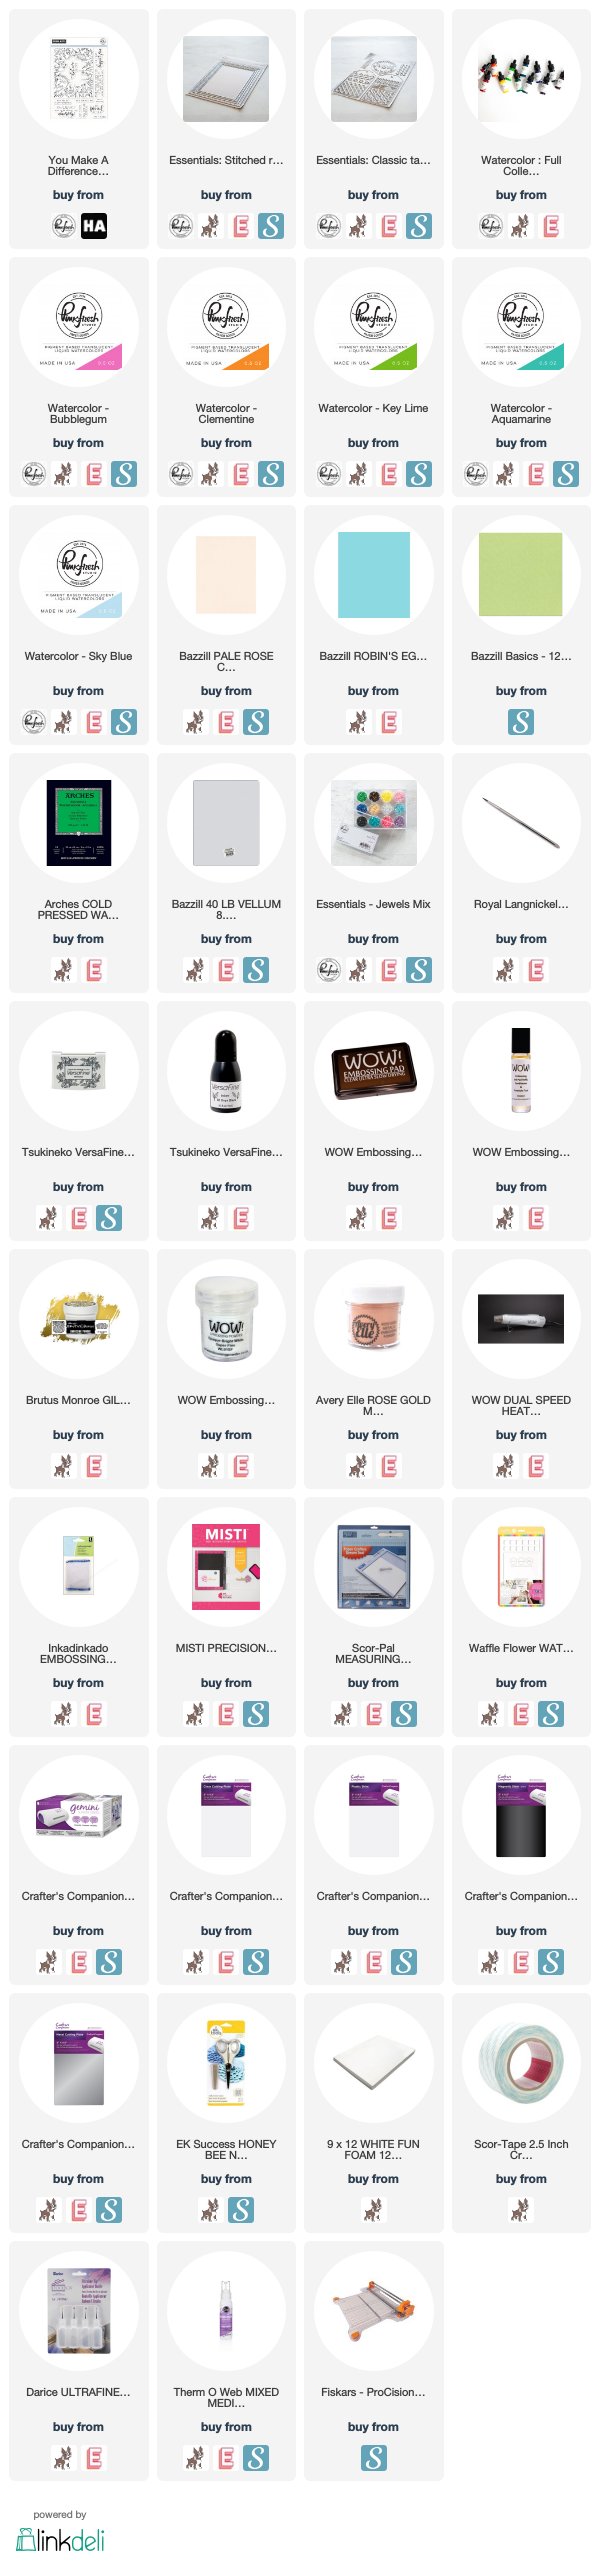
For your shopping convenience, all products are linked below, including affiliate linking when possible - this allows small compensation for me at no cost to you. I typically link to 2-3 sites, in hopes that your preferred retailer will be among them. I only support legitimate retail sites, that are true partners to stamp, die and scrapbooking wholesalers.
For your shopping convenience, all products are linked below, including affiliate linking when possible - this allows small compensation for me at no cost to you. I typically link to 2-3 sites, in hopes that your preferred retailer will be among them. I only support legitimate retail sites, that are true partners to stamp, die and scrapbooking wholesalers.

Happy Thursday, crafty friends! I wanted to pop in real quickly and share this new collaborative stamp set from the members of The Stamping Village called Holiday Seals! It's the second installment in our envelope seals concept, this time with a Christmas & Holiday theme. I think it is super fun to see all the images, representing the style & design of each company, and it's even MORE fun to have it in one set.
I've done a video of this card process for the Pinkfresh Studio YouTube channel, and you can watch it below, or HERE on the Pinkfresh Channel if you'd prefer.


And of course, I've accented it with my favorite iridescent jewels from our Essentials collection.

Before you move on with your day, I wanted to invite you to follow me on social media. I would love to be crafty friends online! I've been adding a lot more to my IG Stories lately, and have plans to keep that up. I hope you will join me!
Happy hopping, crafty friends!
-Lea
SUPPLY LIST
For your shopping convenience, all products are linked below, including affiliate linking when possible - this allows small compensation for me at no cost to you. I typically link to 2-3 sites, in hopes that your preferred retailer will be among them. I only support legitimate retail sites, that are true partners to stamp, die and scrapbooking wholesalers.
For your shopping convenience, all products are linked below, including affiliate linking when possible - this allows small compensation for me at no cost to you. I typically link to 2-3 sites, in hopes that your preferred retailer will be among them. I only support legitimate retail sites, that are true partners to stamp, die and scrapbooking wholesalers.

Hi crafty friends! I wanted to put up a quick post to let you know that we have a GREAT weekend promo going on at Pinkfresh Studio this weekend. You can get 20% off the full set our Liquid Watercolor using the code 20OFFLWSET, now thru Sunday 8/18 at 11:59pm, or while supplies last.
If you frequent my blog at all, you know that I use these ALL THE TIME. Lol! Check out the Liquid Watercolor category to see many past blog posts & projects using them.
My latest video is now also up on the Pinkfresh Studio YouTube channel, and you will learn some fun tips & techniques using our liquid watercolor with the brand new "You Make A Difference" collaboration set with Hero Arts. Watch it below, or CLICK HERE to watch it on our channel.
That's all I've got for you today - I just wanted to be sure and share this awesome crafty sale. I have updated my CRAFTY SALE page with other great deals going on as well, so be sure to check it out!
Before you move along with your day, I'd love to be crafty friends with you on my social media accounts below. I've been adding a lot more to my IG Stories lately, and have plans to keep that up. I hope you will join me!
Happy Friday, crafty friends!
-Lea

Hi there, crafty friends! Today I am super excited to be part of a collaboration blog hop between Pinkfresh Studio & Hero Arts!

We at Pinkfresh Studio have designed a new stamp set called "You Make A Difference" in celebration of Hero Art's 45th Anniversary. What an amazing accomplishment, and we are so thankful to Hero Arts for being a pioneer in this industry that we love. I'm super proud of how this stamp set came out, as I had a lot of input in the design process & it was wonderful to see it come to life!

I did create a video sharing my creative process today for the Hero Arts YouTube channel. You can see that video embedded in my post below - it seems silly to put a video with the same exact content on my channel, so I'm not going to add it at this time. But, I would still love for you to subscribe to my YouTube channel if you'd like to see my future videos! You can subscribe HERE.
I've created three cards using the same watercolor smooshing technique with the Pinkfresh Studio liquid watercolor for all three. It is really hard to explain this process in word format, so I would highly suggest watching the video to see how I did it! I also mixed some custom colors, and I think it is always helpful to watch someone do that to better understand the process.


All three cards were created using the same technique with different colors of embossing powder. I've used my three favorites: Avery Elle rose gold, Brutus Monroe gilded, and Wow! Embossing opaque bright white (they are all linked at the end of the post to both SSS & EH). These tend to be the embossing powders I reach for most frequently. I especially love the shine of the two metallic powders.


As I mentioned, I had a hand in helping bring the You Make A Difference stamp set to life. THIS sentiment is one that I practically BEGGED to be included! It's my favorite in the set, and so I've used it on my favorite background. I really love how this version of the card turned out.


My friend, Caly Person, also helped illustrate this stamp set. She hand lettered all the scripted words on this set, and they just turned out so beautifully. Caly is on both the Pinkfresh Studio & Hero Arts creative teams, so having her help illustrate this stamp set was also very special.


The watercolor panels were cut out using the Pinkfresh Studio Essentials: Stitched Rectangles die set, and I just love the added stitched border around the floral image! I've also accented the cards with the Essentials: Jewels mix, which are iridescent and include three sizes in each container. I LOVE these jewels, and I use them on almost every card I create these days.

In the video, I take some scraps of watercolor paper and use up the rest of the liquid watercolor by doing some "smooshing" to them. I then created some tags with them using our Essentials: Classic Tags with Fillable Elements die set. I don't like to waste anything, and this is a GREAT way to have some extra tags on hand for gifts, etc.


I even created a tag from the scrap of watercolor paper that I tested out my custom colors on. I love the fresh & modern look of the brush strokes, and this smaller sentiment from the set would be perfect for a birthday. Wouldn't this look great adorning a colorful & fun gift box or bag? Once again, Arches watercolor paper is a bit expensive...and I try not to waste any of it!


Those are all the projects I have to share with you today - I hope that you've enjoyed them. And I hope that you enjoyed the video if you watched it!
PRIZES
There are three amazing prizes up for grabs!
There are three amazing prizes up for grabs!
(1) $25 gift card shopping spree to the Pinkfresh Studio Shop


All you have to do enter to win is leave comments along this fun blog hop! The more blogs you comment on, the more chances you have to win!
You have until Sunday, August 18th to leave your comments, and the winners will be posted to the Hero Arts blog the next week.
BLOG HOP LINK LIST
Hero Arts
Pinkfresh Studio
Angelica Conrad
Ashlea Cornell
Caly Person
Cathy Zielske
Emily Midgett
Heather Hoffman
Ilina Crouse
Ivana Camdzic
Janette Kausen
Jennifer McGuire
Jessica Frost-Ballas
Kelly Lunceford
Laura Bassen
Lea Lawson
Libby Hickson
Nichol Spohr
TaeEun Yoo
Yana Smakula
Zsoka Marko
Wow! That is an insane line up of talent! I know that I am super excited to grab a cup of coffee this morning, and just be inspired.Pinkfresh Studio
Angelica Conrad
Ashlea Cornell
Caly Person
Cathy Zielske
Emily Midgett
Heather Hoffman
Ilina Crouse
Ivana Camdzic
Janette Kausen
Jennifer McGuire
Jessica Frost-Ballas
Kelly Lunceford
Laura Bassen
Lea Lawson
Libby Hickson
Nichol Spohr
TaeEun Yoo
Yana Smakula
Zsoka Marko
Before you move on to Libby's blog, I wanted to invite you to follow me on social media. I would love to be crafty friends online! I've been adding a lot more to my IG Stories lately, and have plans to keep that up. I hope you will join me!
Happy hopping, crafty friends!
SUPPLY LIST
For your shopping convenience, all products are linked below, including affiliate linking when possible - this allows small compensation for me at no cost to you. I typically link to 2-3 sites, in hopes that your preferred retailer will be among them. I only support legitimate retail sites, that are true partners to stamp, die and scrapbooking wholesalers.
For your shopping convenience, all products are linked below, including affiliate linking when possible - this allows small compensation for me at no cost to you. I typically link to 2-3 sites, in hopes that your preferred retailer will be among them. I only support legitimate retail sites, that are true partners to stamp, die and scrapbooking wholesalers.
Subscribe to:
Posts (Atom)


Social Icons