
Showing posts with label Catherine Pooler inks. Show all posts
Showing posts with label Catherine Pooler inks. Show all posts

Happy Monday, crafty friends! Today is the start of Sweet Peek Week for SugarPea Designs, and we are revealing adorable products from the Spring release all week long!

I will get all the blog hop info to you below, but how about we get to my card first? Today we are featuring a bunch of honey themed products, which I think you are going to just love! I've used the new Hey Honey stamp & die set, Honeycomb coverplate, and Stacked Honeycombs on my card for today. With two foster babies, everything I do has to be quick & clean in nature these days as I don't have a lot of extra time. I whipped this cutie shaker up in about an hour, and the products made it super easy!


To keep it simple, I decided against using any image I would have to color, like the bear or hive. I can't wait to use them in the future, but for now I stuck with the bees that could easily just be stamped & diecut.


I chose to just emboss the Honeycomb coverplate to yellow cardstock to give it that beautiful design but keep all the pieces intact. I seriously love how it turned out. Then I created the shaker element using the Honeycomb stackers along with clear sequins & iridescent gems. I also peeked another new product, but we will share more about that later!


That is all I have for Day 1 of Sweet Peek Week! These two adorable stamp & die sets will go live in the SugarPea Designs shop on Friday at 6pm EST.
Blog Hop Link List
Today you can enter for your chance to win the Hey Honey stamp set! You get extra entries by commenting on all the blogs above.
That is all I have for you today! I also wanted to invite you to follow me on social
media. I would love to be crafty friends!
Amy Kolling
Jeanne Jachna
Lea Lawson
Kelly Lunceford
Kerin Sylvester
Raluca Vezeteu
Simonne Clay
Stephanie Beauchemin
Tatiana Trafimovich
Vera Yates
Jeanne Jachna
Lea Lawson
Kelly Lunceford
Kerin Sylvester
Raluca Vezeteu
Simonne Clay
Stephanie Beauchemin
Tatiana Trafimovich
Vera Yates
Today you can enter for your chance to win the Hey Honey stamp set! You get extra entries by commenting on all the blogs above.
Have a great start to your week, and happy hopping!
SUPPLY LIST
For your shopping convenience, all products are linked below. {Includes affiliate linking where possible - this allows small compensation for me at no cost to you. Never fear - I will only ever link to products that I truly love & use!}
For your shopping convenience, all products are linked below. {Includes affiliate linking where possible - this allows small compensation for me at no cost to you. Never fear - I will only ever link to products that I truly love & use!}
**Will be up shortly.**

Happy Friday, friends! Today is a super exciting day, as we are celebrating our 5th birthday over at Pinkfresh Studio! This is such a milestone for our small business! I have been working for Pinkfresh Studio for almost a year and a half, and it has been such a huge blessing in my life. It is my true dream job, and I am so grateful to have found it, and my friendship with Kinnari, the owner of Pinkfresh.

SHOPPING PROMOS
There is so much to go over, but first - why don't I share the awesome shopping promos we have going on! First up is this free die with ANY purchase from the Pinkfresh Studio store. It will automatically load into your cart!
FREESHIP5THBDAY
This promo is valid until Sunday, April 7th at 11:59pm. The code will deduct $5.50 from your order, which is the equivalent of free U.S. shipping, or discounted International shipping.
Now, I will put the rest of the blog hop & GIVEAWAY info down at the bottom of my post, but how about we get to my projects for today? I've created some birthday themed projects using lots of stamps & dies from our January release. I actually created these long before the birthday event, so I didn't use the #5 on any of my cards. I assume there will be plenty of them along the hop today! :)


I've done all my stamping & watercolor/watercolor smooshing using the same inks (linked below) so all the colors would coordinate. I've just been loving the combo of pink, blue & yellow - it feels so springy!


I also added pops of gold to each card, either by heat embossing or in the form of gold glitter paper. I'm a huge gold fan, and I add a touch of it to most of my cards! And if you know anything about me, you know that I LOVE dimension - so I popped a lot of my layers up with foam adhesive.


I've used my favorite Arches watercolor paper for all of these cards. It's not bright white, so instead I've used colorful card bases in place of my usual white. I hope that you like my cards for today!

PRIZES
You have the chance to win a $25 gift card sponsored by Pinkfresh Studio
from my blog {and all the other posts on the blog hop too!} - all you
have to do is leave a comment! Friends - there are 31 people participating and every single post is giving away a gift card...make sure you capitalize on your chances to win by visiting all the blog hop stops!
BLOG HOP LINK LIST:
You can access the entire blog hop link list HERE.
You should have arrived to my blog from Jennifer McGuire's.
The next stop on the hop is Amanda Baldwin.
The next stop on the hop is Amanda Baldwin.
And you can always head over to the Pinkfresh blog post if you get lost along the way.
And that is all I have for you today! I wanted to invite you to follow me on social
media if you'd like. I would love to be crafty friends!
Happy Hopping, and have a great start to your weekend!
SUPPLY LIST
For your shopping convenience, all products are linked below. {Includes affiliate linking where possible - this allows small compensation for me at no cost to you. Never fear - I will only ever link to products that I truly love & use!}
For your shopping convenience, all products are linked below. {Includes affiliate linking where possible - this allows small compensation for me at no cost to you. Never fear - I will only ever link to products that I truly love & use!}


Happy Friday, crafty friends! I hope you've had an awesome week so far! Today is the final day of Sweet Peek Week for SugarPea Designs, and tonight all of the new products go live in the shop at 6pm EST. Yay!!

There is still time to blog hop & win these new stamp sets, but how about we get to my tags first? Today I am using the new Enjoy Tag Set die, and have combined them with the Tutti Fruiti set that we revealed a couple days ago. When I initially thought about these tags, I thought they would be so cute for bachelorette parties, or for decorating a margarita bar on Cinco De Mayo or just for a summer part. I had wanted to photograph them with this in mind, but alas...I just ran out of time. So, just imagine them strung around cute glasses with lemons, limes & cute bottles of Tequila. Lol!


To start I stamped the lemons & limes in Catherine Pooler inks in the following colors: Limoncello, Tiara, Garden Party & Lime Rickey. Then I cut them out with the coordinating die, and trimmed off the section where a stem & leaf can be stamped.
Next I diecut the tag three times from Tim Holtz distress watercolor paper. Then I watercolor smooshed them with the same Catherine Pooler inks used above, and set them aside to dry.


While the tags dried, I added some glitter to three of the stamped lemons & limes. I used a wide Zig glue pen to easily apply some adhesive to just part of each fruit, then covered it in some clear glitter. I used a glitter that isn't prismatic so that it would look more like salt.
At this point the tags were dry, and I stamped the sentiment to them in onyx black Versafine using my MISTI. Then I adhered a lemon & a lime to each tag, popping part of the top one up with a foam dot. Finally, I tied three bows from green dotted ribbon and adhered them to the top of each tag. Easy peasy, and would make such a cute decorating piece for a party!

That is all I have for Day 5 of Sweet Peek Week! Don't forget that these adorable stamps, dies & stencil will go live in the SugarPea Designs shop on Friday at 6pm EST.
Blog Hop Link List
Amy Kolling
Jeanne Jachna
Lea Lawson
Kelly Lunceford
Kerin Sylvester
Raluca Vezeteu
Stephanie Beauchemin
Tatiana Trafimovich
Vera Yates
Jeanne Jachna
Lea Lawson
Kelly Lunceford
Kerin Sylvester
Raluca Vezeteu
Stephanie Beauchemin
Tatiana Trafimovich
Vera Yates
Today you can enter for your chance to win the Keep Forever Tags stamp
set! You get extra entries by commenting on all the blogs above.
Have a great Friday, and happy hopping!
SUPPLY LIST
For your shopping convenience, all products are linked below. {Includes affiliate linking where possible - this allows small compensation for me at no cost to you. Never fear - I will only ever link to products that I truly love & use!}
For your shopping convenience, all products are linked below. {Includes affiliate linking where possible - this allows small compensation for me at no cost to you. Never fear - I will only ever link to products that I truly love & use!}


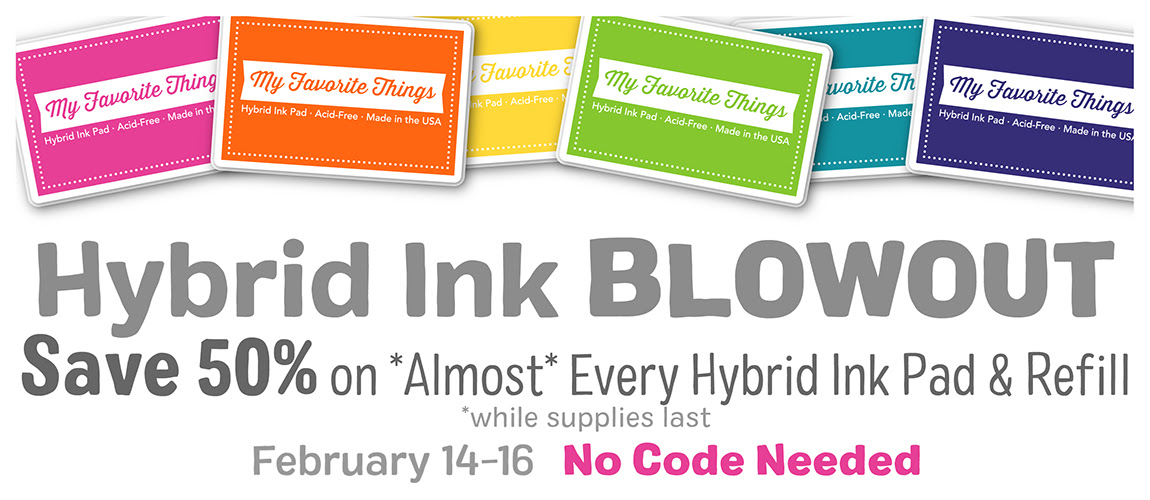
Hey there again, friends! This is my second post of the day, as I have a guest post up on the MFT Stamps blog today! Before I get to that, I also wanted to mention that they are having a HUGE sale on their Hybrid Inks from February 14-16 - no code needed!


I started by blending the background using
Shaded Lilac, Tattered Rose, and Worn Lipstick Distress Oxide inks. I
die cut the Happy Birthday Blend from the middle of the panel, then
splattered with watered down white acrylic paint before setting aside to
dry.
As the background dried, I worked on the
elements from Party Penguins. I found that it was best to die cut the
penguins first, and then do the stamping. If you keep the card stock
block that you cut them from, you can just place a little bit of washi
tape on the back, and then place the die-cut pieces back into it in your
stamping platform. This makes lining up your stamps so much easier!


You could also do the above process with
the party hats as they are two-step stamped pieces as well, but I found
that it wasn’t really necessary. I stamped the balloons and hats in
light pink and purple inks with clear blocks then cut them out with
their coordinating dies as usual.
At this point the background was dry, so I
placed it on top of an unfolded A2 white card base in my stamping
platform, and held it in place with washi tape and magnets. I proceeded
to stamp the Happy Birthday Blend sentiment in light pink & light
purple inks. I love how they blend together in places – such a fun
element that MFT Stamps added to this set!


Next, I stamped the second part of the sentiment directly onto the blended background, along with the balloon strings. After doing all of that work, I ended up accidentally smudging the sentiment and couldn’t fix it. I’m not one to waste time, so I stamped the secondary sentiment again on white card stock and cut it into a thin banner. Then I adhered it over top of the smudged sentiment with a thin foam strip, and I think I actually like it this way more — you’ve got to love happy accidents!
Finally, I adhered the penguins, party
hats, and balloons to the front, popping parts of them up with foam
dots. Lastly, I accented here and there with some iridescent jewels.


I hope you liked my sweet birthday card today and I hope that I helped give some tips on how to overcome mistakes, as they do happen sometimes and that is okay!
That is all I have for you today! Before I close, I wanted to mention that there are recent updates on my CRAFTY SALES page, so head over there to check them out. I also wanted to invite you to follow me on social media. I would love to be crafty friends!
Have a great start to your week, and happy hopping!
SUPPLY LIST
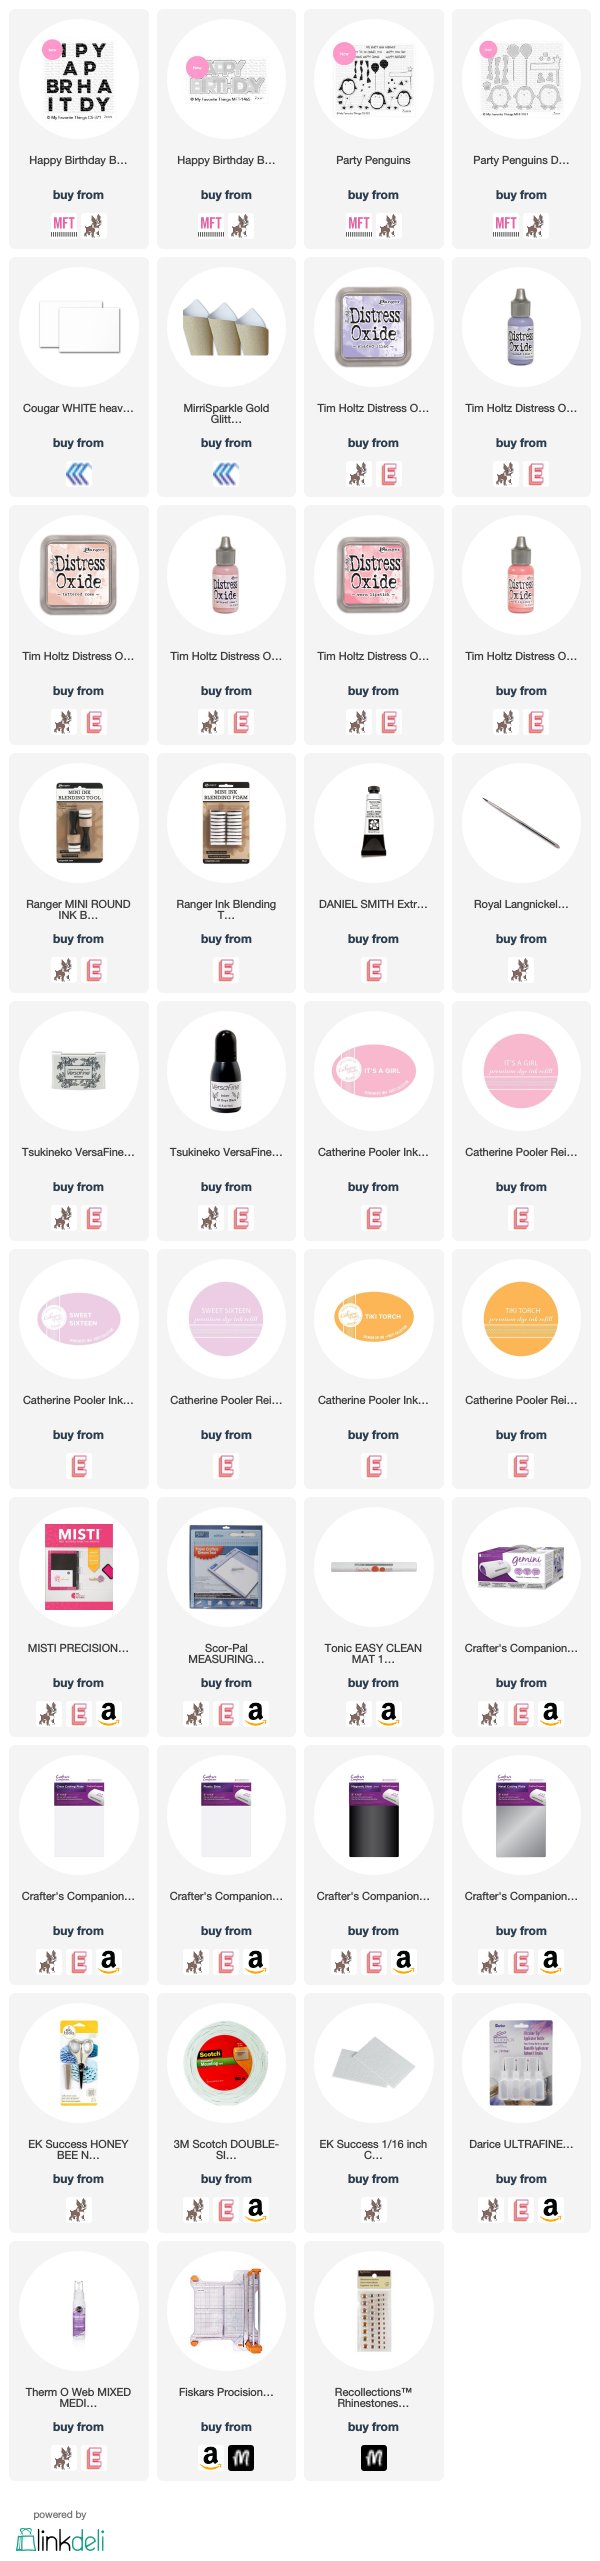
For your shopping convenience, all products are linked below. {Includes affiliate linking where possible - this allows small compensation for me at no cost to you. Never fear - I will only ever link to products that I truly love & use!}
For your shopping convenience, all products are linked below. {Includes affiliate linking where possible - this allows small compensation for me at no cost to you. Never fear - I will only ever link to products that I truly love & use!}

Happy Wednesday, crafty friends! Today is day 3 of Sweet Peek Week for SugarPea Designs, and we are revealing adorable products from the Spring release all week long!

I will get all the blog hop info to you below, but how about we get to my card first? Today we are featuring a super sweet new stamp & die set called Tutti Fruiti! I love fruit themed stamp sets ALMOST (not quite as much, but close...) as much as mountain/woodland themed sets....so I swooned when I came upon this in my package of new goodies! Not only are the fruit images beautiful & sweet, but it's full of punny sentiments! I love it!


To start I stamped the fruit backgrounds twice to 130 LB cougar white cardstock in the following Catherine Pooler ink colors: It's A Girl, Limoncello & Mint To Be. When I am stamping simple backgrounds like this, I always like to stamp them twice so that I can make a glittered and a non-glittered version.
I stamped everything with clear blocks instead of my MISTI, and it made the backgrounds go so much quicker. I filled in the background with small leaves until it felt like they looked right, then I covered one of the backgrounds in prisma glitter. I did add some shimmer to just the fruits on the other background using my Tonic Aqua Shimmer pen.


I mounted the stamped panels to the front of A2 card bases cut from matching 130 LB white cardstock with a sheet of foam adhesive. I actually create my own full sheets of these foam adhesives just by cutting down sheets of white fun foam to 3.75x5, then covering each side in 2.5 inch Scor Tape. I've found this to be the most cost effective way to be able to apply a full foam sheet to the back of my cards, avoiding any weird warping or dents in my card fronts.


Next I diecut the word You two times from gold glittered paper, and four times from white cardstock, then diecut the banner strips two times from white cardstock (the banner is from a set of dies that we will be featuring later in the week). I layered each word set together with a Zig glue pen, then adhered them to the front of each card with mixed media adhesive as shown.
I stamped the rest of the sentiment to each banner strip in onyx black Versafine ink, then layered to the top of the You word diecut on each card. I finished by accenting each card with my signature iridescent jewels!


Here is a look at the card that is glittered.

And here is the one with just a little shimmer added to the fruits.

I hope that you enjoyed my cards today! Isn't that sentiment the cutest?! I just love it!

That is all I have for Day 3 of Sweet Peek Week! These adorable stamps, dies & stencil will go live in the SugarPea Designs shop on Friday at 6pm EST.
Blog Hop Link List
Amy Kolling
Jeanne Jachna
Lea Lawson
Kelly Lunceford
Kerin Sylvester
Raluca Vezeteu
Stephanie Beauchemin
Tatiana Trafimovich
Vera Yates
Jeanne Jachna
Lea Lawson
Kelly Lunceford
Kerin Sylvester
Raluca Vezeteu
Stephanie Beauchemin
Tatiana Trafimovich
Vera Yates
Today you can enter for your chance to win the Tutti Fruit stamp
set! You get extra entries by commenting on all the blogs above.
Have a great start to your week, and happy hopping!
SUPPLY LIST
For your shopping convenience, all products are linked below. {Includes affiliate linking where possible - this allows small compensation for me at no cost to you. Never fear - I will only ever link to products that I truly love & use!}
For your shopping convenience, all products are linked below. {Includes affiliate linking where possible - this allows small compensation for me at no cost to you. Never fear - I will only ever link to products that I truly love & use!}

Subscribe to:
Posts (Atom)


Social Icons