
Showing posts with label Glimmer Hot Foil. Show all posts
Showing posts with label Glimmer Hot Foil. Show all posts

Happy Friday, crafty friends! I just wanted to pop in and share a Christmas card set that I created using some of the newest Spellbinders August release products! These cards feature elements from the gorgeous Yana's Christmas Foiled Basics, Christmas Cascade collection by Becca Feeken, and the Sparkling Christmas collection.
Glimmer Hot Foil Christmas Card Set

I love the elegance of the products that I've used on this card set today, and I feel like they mixed together beautifully! I created a couple of card sets using the first release of Yana's Foiled Basics, and this second release doesn't disappoint! It is beautiful. Here is a list of the main products that I've used on this card, plus you can find my list of tools, etc., at the end of this post. Thank you so much for clicking on my links and shopping from them, as they provide me with a small amount of compensation at no cost to you. I genuinely appreciate your support!
SUPPLY LIST
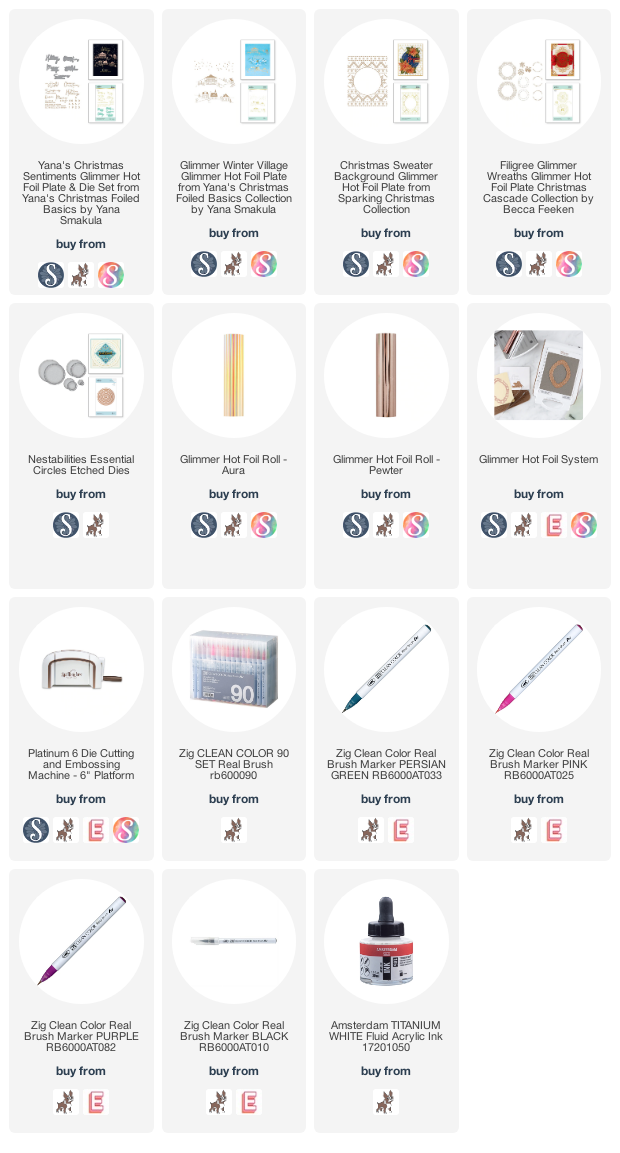
For this first card, I quickly created a galaxy background using Zig Clean Color Real Brush Markers (specific colors linked above). This is really simple to do by scribbling color around your watercolor panel, then adding in black around it. Spritz it with water, then move the colors around until it looks how you like it! Easy peasy! I tape my panel down to my glass media mat so that it won't warp or curl on me once I add the water, which makes it super easy. I use both my large We R Memory Keepers glass media mat, and the Tim Holtz travel glass media mat - just depends on my mood. Let it air dry or heat set it, then splatter it with Titanium White acrylic ink to create the stars.

Next I glimmer hot foiled the Winter Village and Yana's Christmas Sentiments to heavyweight white cardstock in Aura colored foil. I fussy cut alongside the top of the village, then proceeded to put the card together. I mounted the galaxy background to an A2 white card base with a full panel of foam adhesive, then adhered the winter village piece to the top. I popped only the very top of that piece up with foam dots.


Finally I mounted the sentiment to the corner with foam dots, and finished by accenting with self adhesive jewels that have been in my stash for awhile. I purchased them at a big box craft store.

With my Glimmer Hot Foil machine still out, I foiled the Christmas Sweater pattern to black cardstock using Aura colored foil. Then I foiled elements from both the Filigree Glimmer Wreaths and Yana's Christmas Sentiments sets to white cardstock in Pewter colored foil. I diecut it using the middle sized circle from the Essential Circles die set.

I proceeded to layer the foiled background to the front of an A2 white cardbase with a full panel of foam adhesive. Then I mounted the foiled circle to the middle with foam tape. I trimmed the rest of the sentiment into a thin strip, then adhered it with a thin strip of foam tape right below the word "from". To finish I accented with some self adhesive jewels.


Be sure to check out Spellbinder's August release, as it is fantastic! If you have any questions about them, leave them in
the comments and I will be sure to reply.

Have a great rest of your day!
TOOLS & BASICS LIST
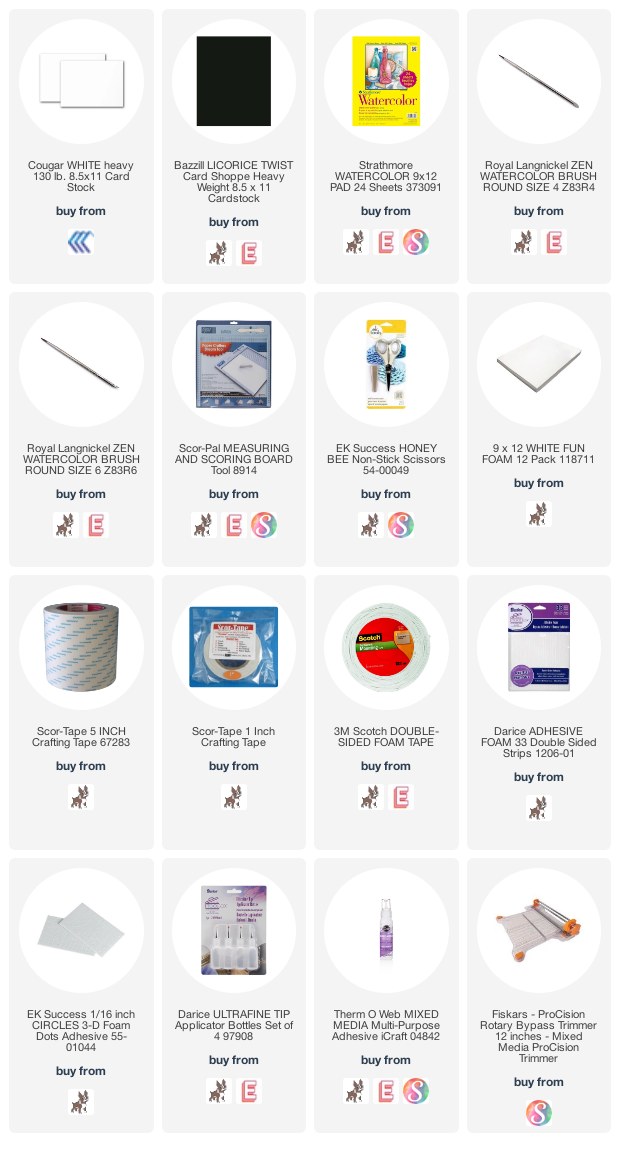

Happy Tuesday, crafty friends! I just wanted to pop in and share a cute little Halloween gift set that I created using some of the newest Spellbinders August release products! The great thing about two of the die sets is the compliment previously released sets, which freshens them up and allows you to use them for a different purpose.
"Hey Boo" card & gift box set

I'm not the biggest Halloween person, but these items were just too cute to pass up! These would be perfect for giving a little treat to your favorite person. It looks like Spellbinders is offering $25 bonus discount + free shipping on orders $100+, so be sure to check out the DEALS section.
SUPPLY LIST:
These were quite fun to create, but a little labor intensive. These might not be something that you create large quantities of, but definitely perfect for special Halloween gifts. ;) I ink blended the background using Distress Oxide inks (colors linked above), and set aside. Once I felt it was dry, I Glimmer Hot Foiled it using the Spider Web Background in Aura colored foil. (I did a lot of diecutting while I let the oxide ink set - I wanted to make sure that the hot foil didn't cling to anywhere that it wasn't supposed to.) I splattered the background with Titanium White acylic ink, covering up the bottom.

I used the previously released Sunday Drive die set, along with the new Halloween Sunday Drive set to create the little scene. I think it is absolutely adorable! We saw Wicked on Broadway while we were in NYC this past March, so I did a little ode to Elphaba on the cute little witch. ;)


I used the previously released Charming Cottage Box die set with the new Spooky Cottage add-on set to create the adorable little box. Lots of diecutting & layering went into this box, but it turned out super cute!


I hope that you like my cutie little card & gift box today! If you have any questions about them, leave them in the comments and I will be sure to reply.

Have a great rest of your day!
TOOLS & BASICS LIST

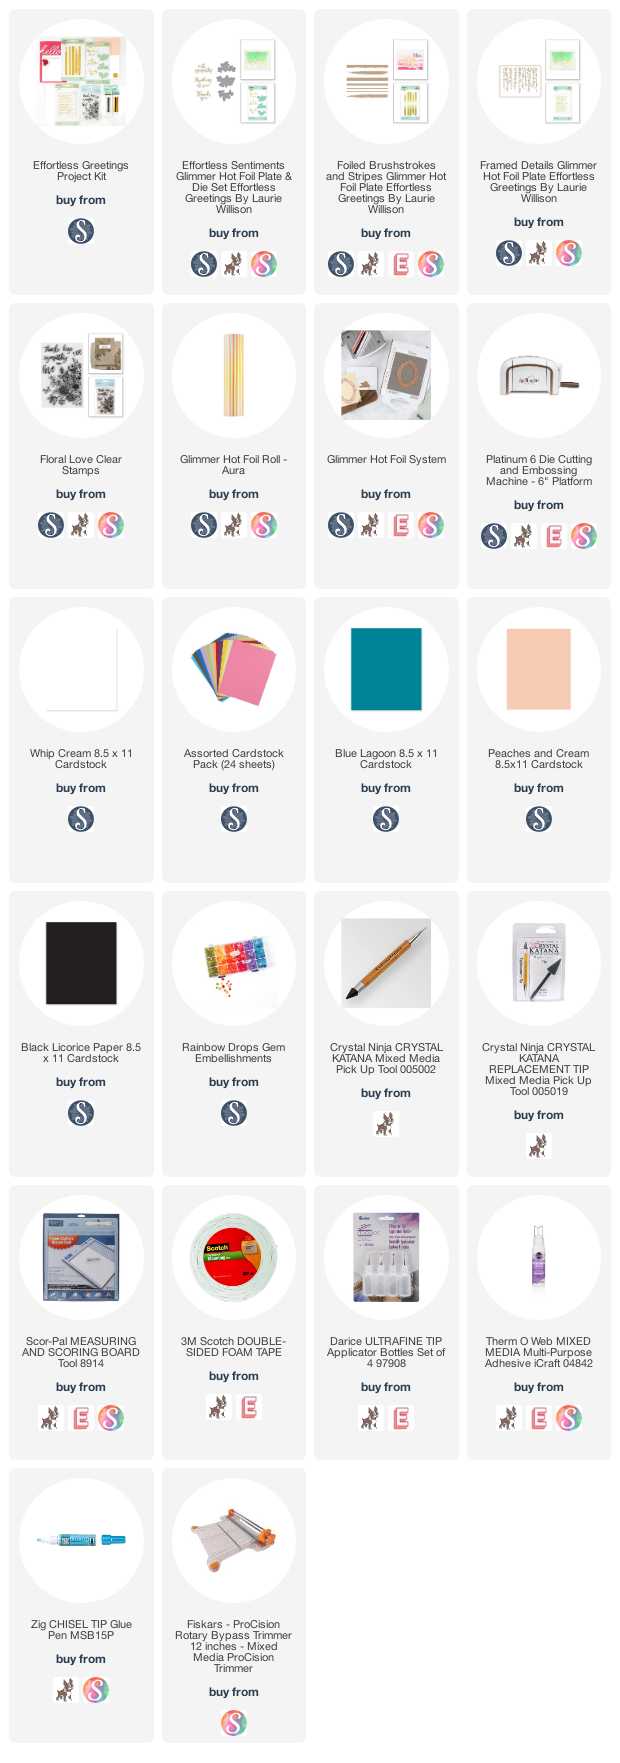
Happy Wednesday, crafty friends! I hope you are having a good week so far. Awhile back Spellbinders asked me to create a video of a trio of cards using the Effortless Greetings Project Kit, and I happily obliged! This video has been on their YouTube channel for a few weeks, and I finally had a moment to add it to mine. These cards are super simple, but I love the punch of colors with the beautiful Aura colored foil. Watch the video below, or HERE in HD.
I'm really happy with how well the rainbow stripes partnered with this set of glimmer hot foil plates!

Let's take a look at each card individually. The first two card feature the Foiled Brushstrokes and Effortless Greetings glimmer hot foil sets. This one is probably my favorite in the whole set!


Although, the clean straight lines on this card really feed that clean and graphic part of my soul. My cards also feature the FSJ Rainbow Drops, which I knew I had to add on to the projects when I decided to go with a rainbow theme.


This final card features the Framed Details set, and a sentiment the Floral Love stamp set. I've used a selection of cardstock colors from Spellbinders/FSJ for the rainbow stripes, and those are all linked below.


In my full link list below, I've linked these products individually to different shops. However, if you are looking to get the full set, purchasing the Effortless Greetings Project Kit is a better deal as it has some great savings attached to it, and it's still in stock! Here is a couple of images to really show off that beautiful glimmer and shine from the foiling.


That is everything I have for you today! If you have any questions about my card, feel free to leave them in the comments and I will be sure to reply.

Have a great start to your week!
SUPPLY LIST

Happy Monday, crafty friends! I hope you had a wonderful weekend! We had beautiful weather on Saturday, so we spent a good amount of time in our backyard. Then yesterday I spent my afternoon zooming with some of my crafting friends: Seeka, Wanda & Caly. It was a great time!
Today I wanted to share a Spellbinders card set using a couple new dies sets in the Kaleidoscope series called Tile & Strip. I have paired them with some word dies from the Bold Type series, and the More Sentiments glimmer hot foil plates. I've foiled those in Aura, and used my fave Spellbinders/FSJ cardstock colors: Whip Cream, Blue Lagoon & Peaches and Cream. The champagne glitter paper is Martha Stewart brand, and was picked up at Michael's, along with the self adhesive jewels I've used.


"Happy Hello from Me to You" features:
- Spellbinders Kaleidoscope Tiles die set
- Spellbinders Bold Type Hello die set
- Spellbinders More Sentiments glimmer hot foil plates


"Happy Birthday to You" features:
- Spellbinders Kaleidoscope Strip die set
- Spellbinders Bold Type Happy Day die set
- Spellbinders More Sentiments glimmer hot foil plates


I really love how these cards turned out! Spellbinders collection of Kaleidoscope dies are super fun! I have so many more ideas using these in different color combos. Hopefully I can get around to creating them soon!

That is everything I have for you today! If you have any questions about my card, feel free to leave them in the comments and I will be sure to reply.

Have a great start to your week!
SUPPLY LIST


Hi there, crafty friends! We just arrived home from our trip to NYC, and we had the BEST time. What an amazing city! I couldn't live there, but I enjoyed the hustle, bustle and all there was to do for 6 days. I wanted to pop in today and share some cards I've created using a couple new Spellbinders collections called Modern Essentials and Bold Type Face Sentiments. This post is quite timely, because Spellbinders has a Glimmer Sale going on now through March 17th, where you can get the Glimmer System for $99! I can't express enough how much I love this little machine, so be sure to scoop it up if it's been on your wishlist!
If you know anything about me, you know that I LOVE Essentials and I LOVE word dies. So this release was right up my alley! I decided to go with a rainbow theme for the sentiments, then kept the rest of the card design simple in order to really highlight those amazing Modern Essentials Glimmer plates.

For this square card I foiled the Essential Glimmer Circles in gold to white cardstock, then diecut with the Nestabilities Essential Squares. I diecut the Bold Type Happy word twice from rainbow striped cardstock that I created myself, then 4 more times from white cardstock. I cut them mutiple times so I could stack the sentiment and give it more dimension and sturdiness. Then I foiled the More Sentiments Glimmer plates to cashmere cardstock and trimmed into a banner. I assembled the card together as shown, popping the square background up with a full panel of foam adhesive. The final step was accenting with the Crystals Mix to finish.

My second card was created almost exactly the same way. For this one I foiled the Essentials Glimmer Rectangle plates in gold to white cardstock, then diecut with the Nestabilities Essential Rectangles. I diecut the etched Bold Type Congrats word from rainbow striped cardstock that I created myself, then 4 more times from white cardstock & stacked together. Then I foiled the More Sentiments Glimmer plates to cashmere cardstock and trimmed into a banner. I assembled the card together as shown, popping the background up with a full panel of foam adhesive. The final step was accenting with the Crystals Mix to finish.

These new Modern Essentials are really fantastic! There are more shapes that I can't wait to use in the future, and you can see them all in the Full Bundle. This is a great way to purchase them all, as you get almost $40 in savings!


That is everything I have for you today! If you have any questions about my card, feel free to leave them in the comments and I will be sure to reply.

You can see more foiling blog posts HERE & HERE, plus a YouTube Video HERE. If you are interested in foiling, now is a great time to purchase the Spellbinders Glimmer Hot Foil System, as it is discounted to $99 now through 3/17!
Before you move along with your day, I wanted to invite you to follow me on
social media. I would love to be
crafty friends online!
Wishing you a wonderful Thursday!
SUPPLY LIST
Subscribe to:
Posts (Atom)


Social Icons