
Showing posts with label Rainbow. Show all posts
Showing posts with label Rainbow. Show all posts
Happy Sunday, crafty friends! I hope you've had a good weekend so far. We had a great day at home yesterday - the temperature was PERFECT outside. Josh home-brewed for the first time in a couple years so he could use the hops he grew, and he is now invigorated to get back to doing one of the things he loves most....and I just love that for him. We had a friend over who hung out & helped him. They set up our Surface outside and watched football...it felt like a normal fall Saturday, which is just plain glorious right now. Some normalcy feels fantastic.
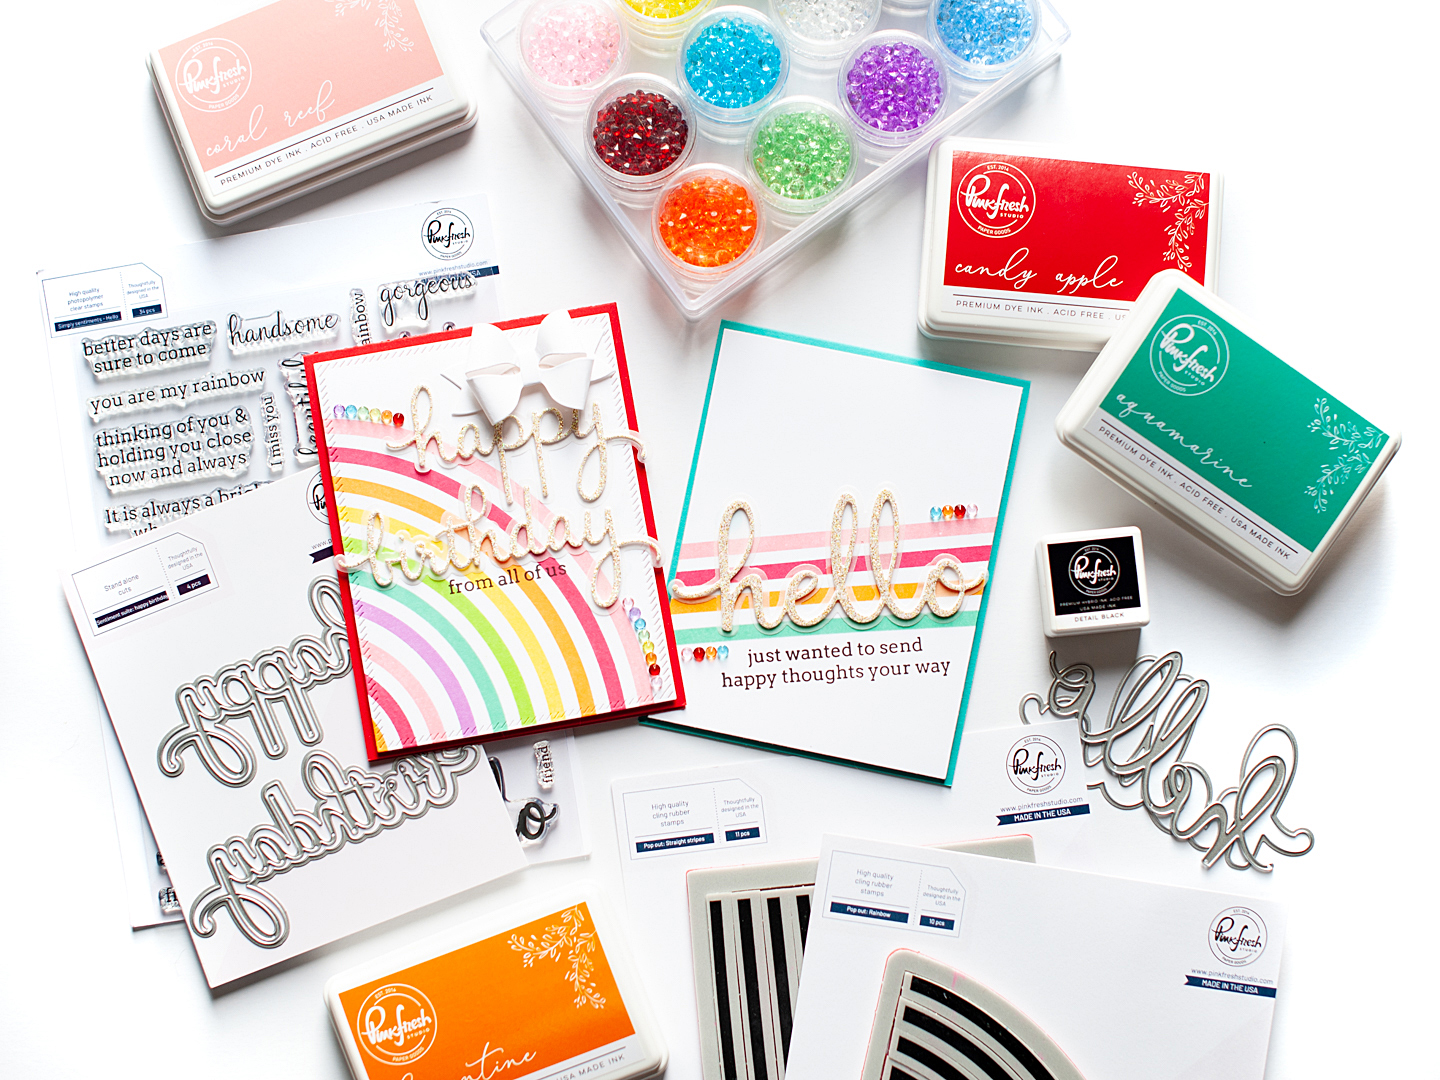
Our September challenge at Pinkfresh Studio went live today, and this month is all about rainbows! You know I love a good rainbow, so I created a couple cards for it! I actually demonstrated these cards live on Hochanda in July, but never finished them in full or photographed them. So I added some finishing touches to each one, as they were perfect for the challenge!

I hope you'll play along with our challenge this month! There are (2) $50 gift card codes to be won, one for a cardmaker and the other for a scrapbooker. We also love to see your Pinkfresh Studio projects, and it's a great way to connect & create with us. Join in on the fun!
Rainbow Colors Card Set

SUPPLY LIST
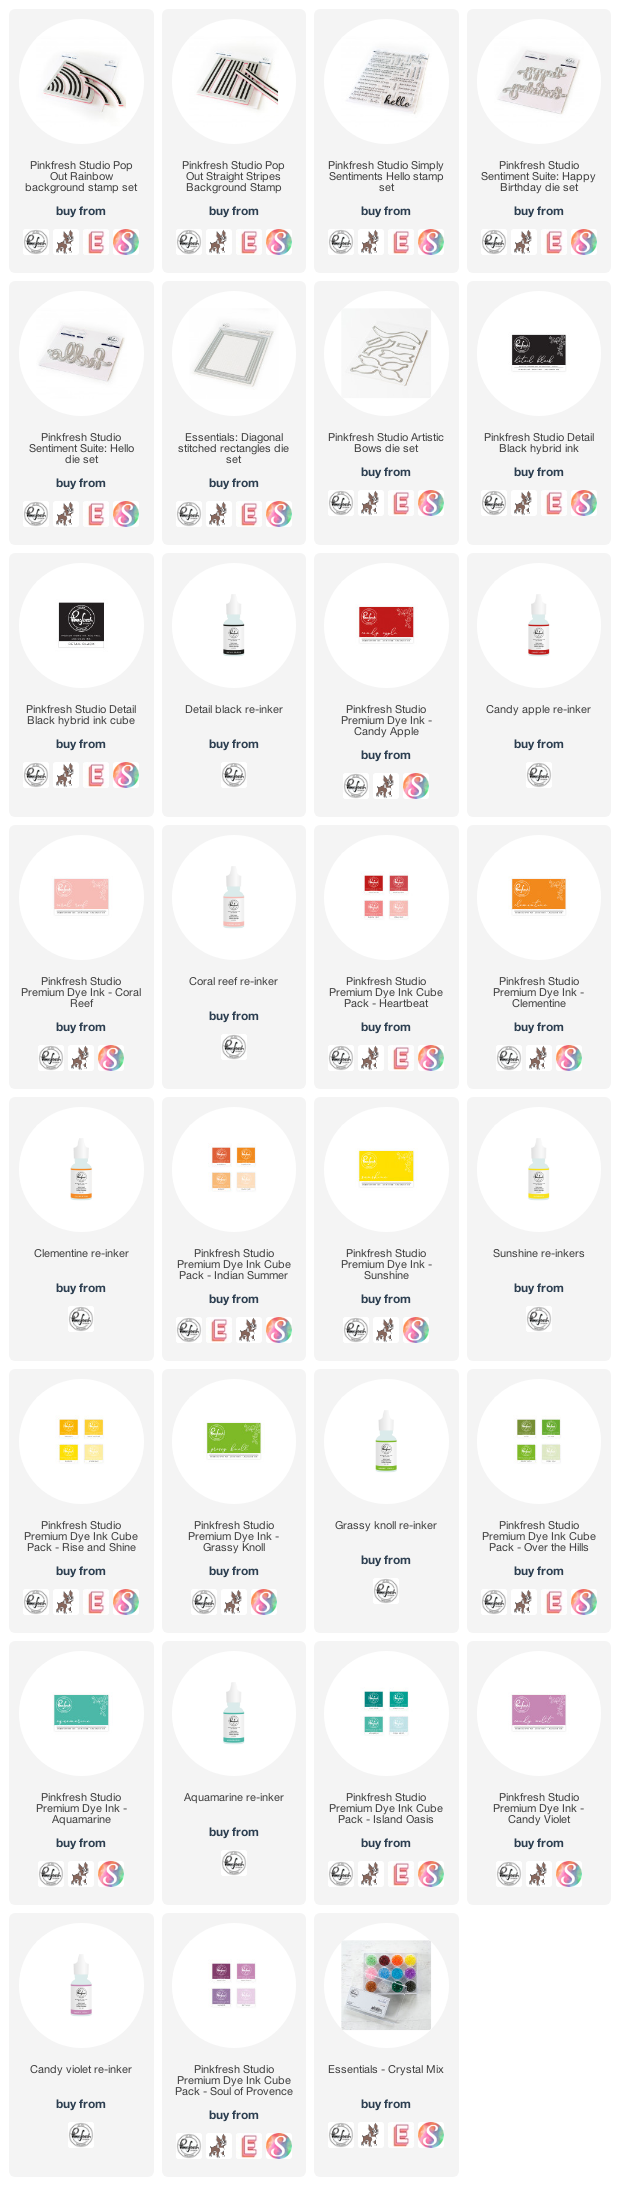
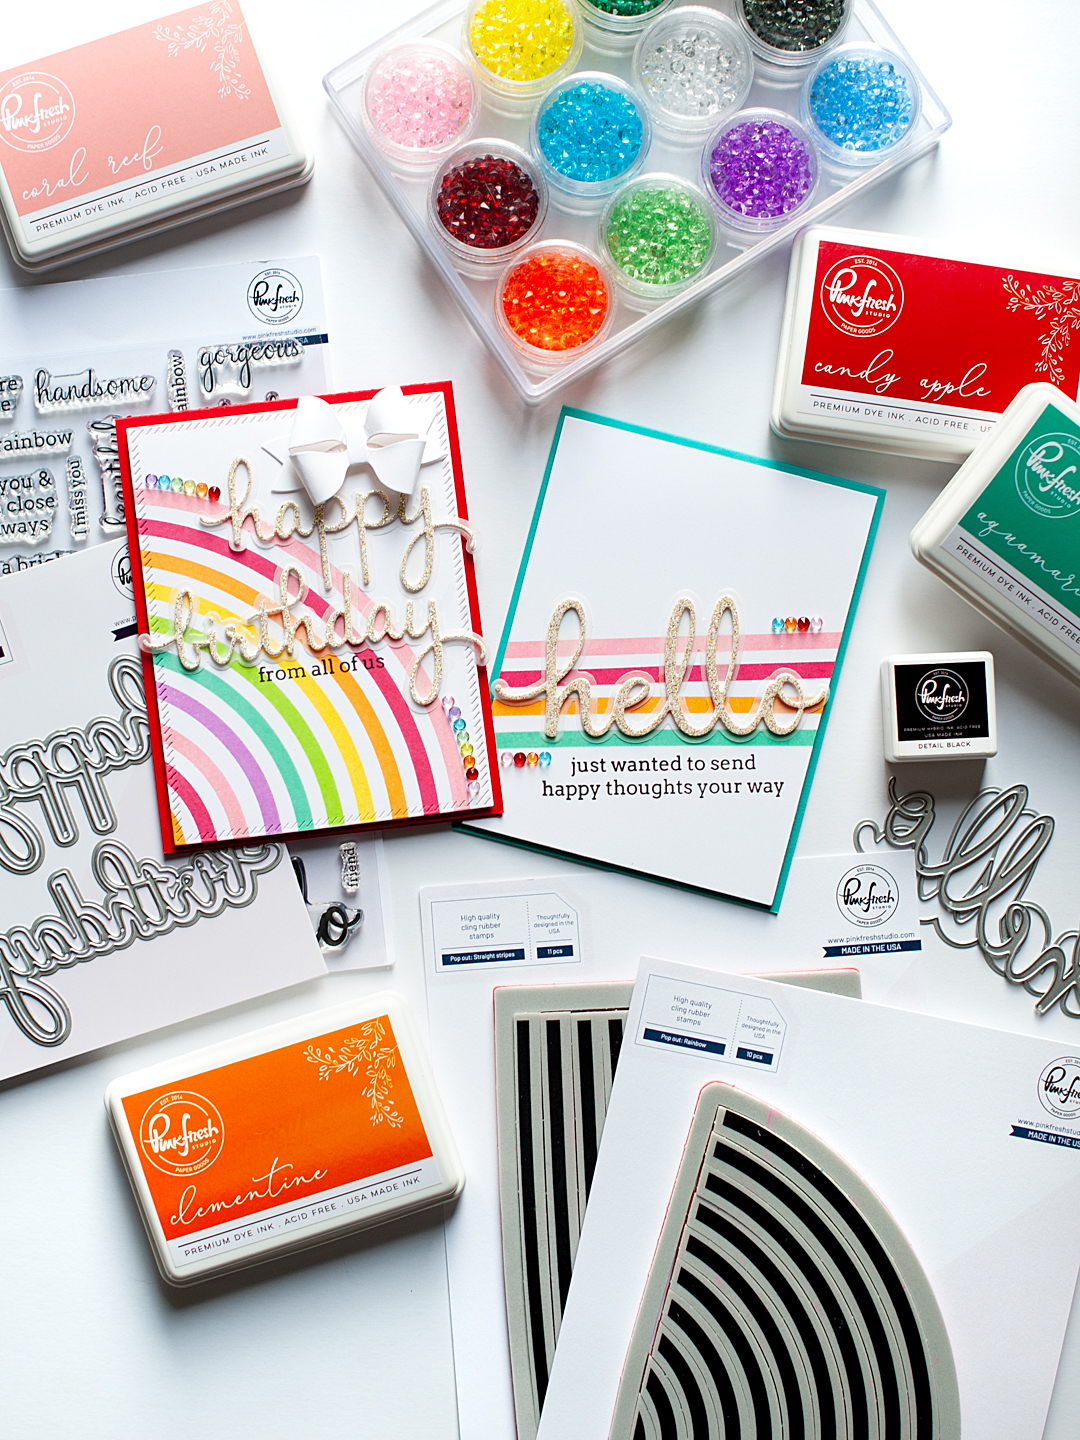
For the birthday card, I started by stamping the Pop Out Rainbow in the colors linked above., then diecut the panel with the largest Diagonal Stitched Rectangle. Next I diecut Sentiment Suite: Happy Birthday. The scripted word is cut 3 times; once from champagne glitter paper, and twice from white cardstock, while the shadow is diecut from vellum. I stacked & layered those cuts together. Using the diecut sentiment as a guide, I stamped the rest of the sentiment from Simply Sentiments: Hello directly to the rainbow panel in Detail Black ink.

Next I diecut the Artistic Bow from white cardstock and assembled. I layered everything to the card front as shown, then accented with our Crystals Mix in rainbow order to finish. The stamped background is mounted to the cardbase with a full panel of foam adhesive to give it that added dimension that I love!


For the second card, I stamped just a few stripes at an angle using our Pop Out: Straight Stripes stamp set. This is what I love about the versatility of our pop out stamps - you can use them as is with the frame for a fully stamped background, or use use a few to create a clean & simple one like this! No matter what....you will always have perfect stripes. I diecut the Sentiment Suite: Hello exactly the same as the first card, and used it as a guide to stamp the rest of the sentiment as well.

While this card looks different, it is put together pretty much exactly the same as the first card. Easy peasy!


I hope you will play along with our September "Rainbow" challenge this month! If you have any questions about my cards, leave them in the comments and I will be sure to reply.
Before you move along with your day, I wanted to invite you to follow me on social
media. I would love to be crafty friends!
Have a great rest of your day!
TOOLS & BASICS LIST

Happy Friday, crafty friends! We've made it to the end of the week! Woot! Pre COVID, we used to have a craft night on the first Friday of every month here in Minneapolis. I miss it SO much! So, tonight we are going to have a virtual craft night, which I am very excited for. It's not quite the same, but I'll take anything I can get!
I got this email newsletter from Taylored Expressions this week, and it reminded me of how much I love the Rainbow Brights paper pack! So, when I had tidbits of time, I created this card with it and some other TE goodies. Honestly, I'm assuming this promo went pretty quickly, but just in case....I'm sharing it here!

Also, don't forget that Taylored Expressions offers free shipping on orders $50, and you can also get this exclusive stamp set free with orders $100+! So, lots of great deals when you shop at TE!

Rainbow Friendship card

SUPPLY LIST
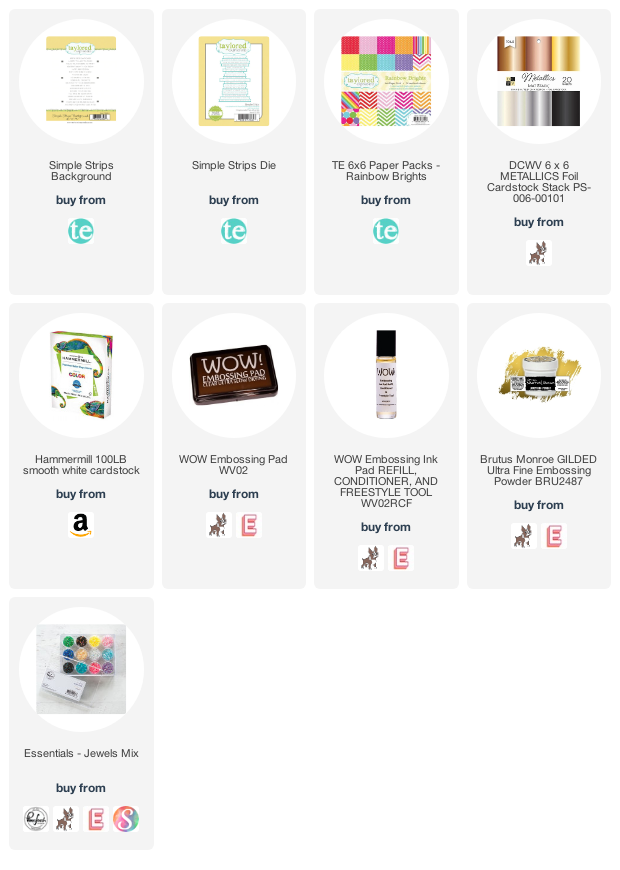
I started by diecutting the Bistro Lights from white cardstock three times. I layered two together flush, then added the third layer to give it a shadow effect. I trimmed off any excess after adhering them. Next I glued the Bistro Lights layer to the front a a block of rainbow paper, then mounted it to a pink A2 cardbase with a full panel of foam adhesive.


Next I stamped & heat embossed the Simple Stripes Background in gilded to white cardstock. Then I diecut it with the Simple Stripes die, and now I have a ton of great sentiments that are already done and ready to add to my next TE card! I've had this stamp & die duo forever, and it's the first time I've used it! I definitely love it! After that I diecut the friends word 3 times; once from gold foil paper and twice from white cardstock. I stacked & adhered them with a glue pen, then mounted the sentiment to the lower right corner of the card with thin foam tape.


To finish I accented some of the bistro light strings with the Jewels Mix in rainbow colors. It was a perfect little touch! If you have any questions about my card today, leave them in the comments and I will be sure to reply.

Have a great rest of your day!
TOOLS & BASICS LIST
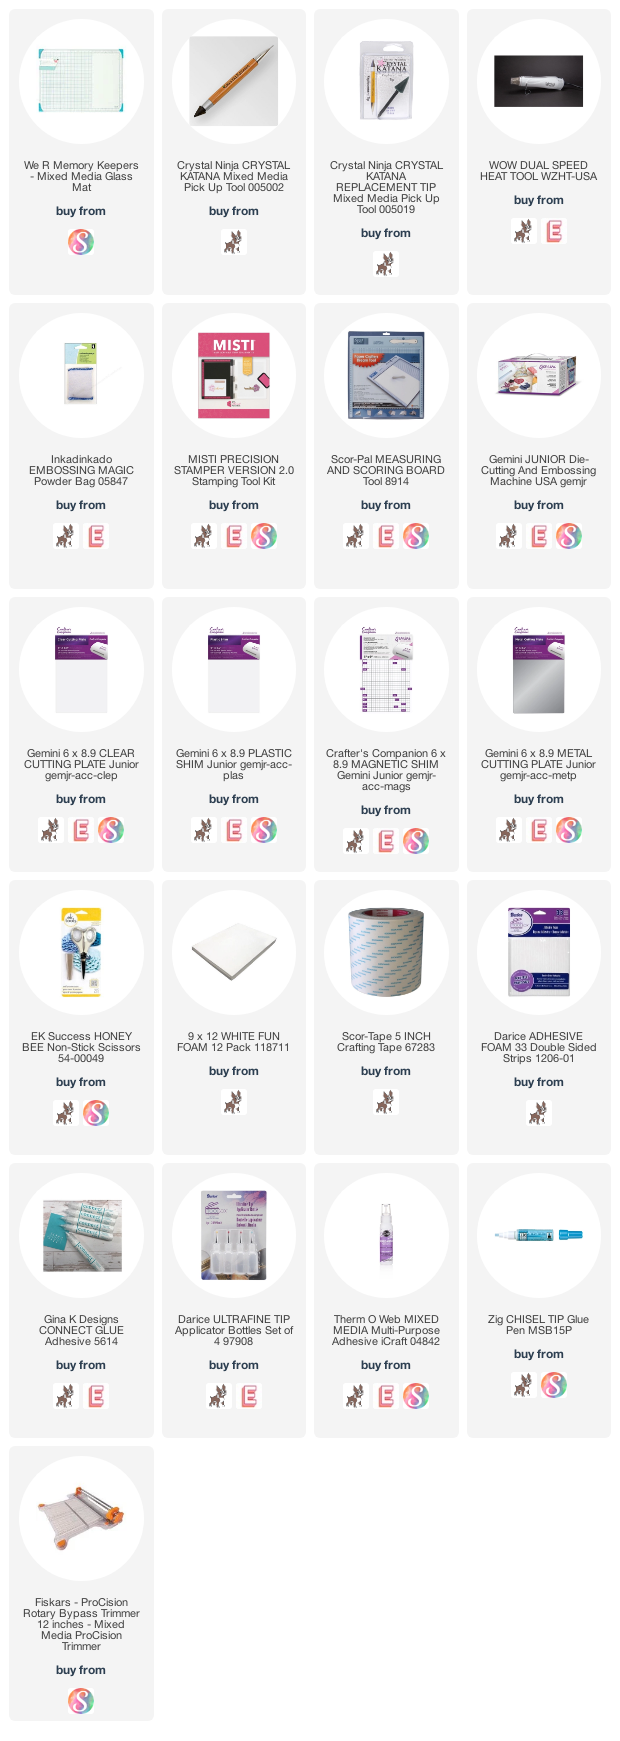

Happy Wednesday, crafty friends! So, yesterday the 2020 STAMPtember® release went live, and today we are having a HUGE party! This STAMPtember® party has TONS of different sale promotions going on, and I happen to have one of them, which I think is a pretty great one!

With my promo, you can get a Hope die FREE with any purchase! Just use the code GWHD24 through tonight at 11:59pm EST. Woot! Just click on the image above, and it will take you right to the STAMPtember® 2020 release.
Since this is a HUGE party, to best place to get all the links that you need is the Simon Says Stamp blog. Everyone partying with shopping codes & tons of inspiration will be linked there!
I've created a few cards with the STAMPtember® 2020 release, and up first are some beautiful fall themed cards.
Fall Card Set

SUPPLY LIST
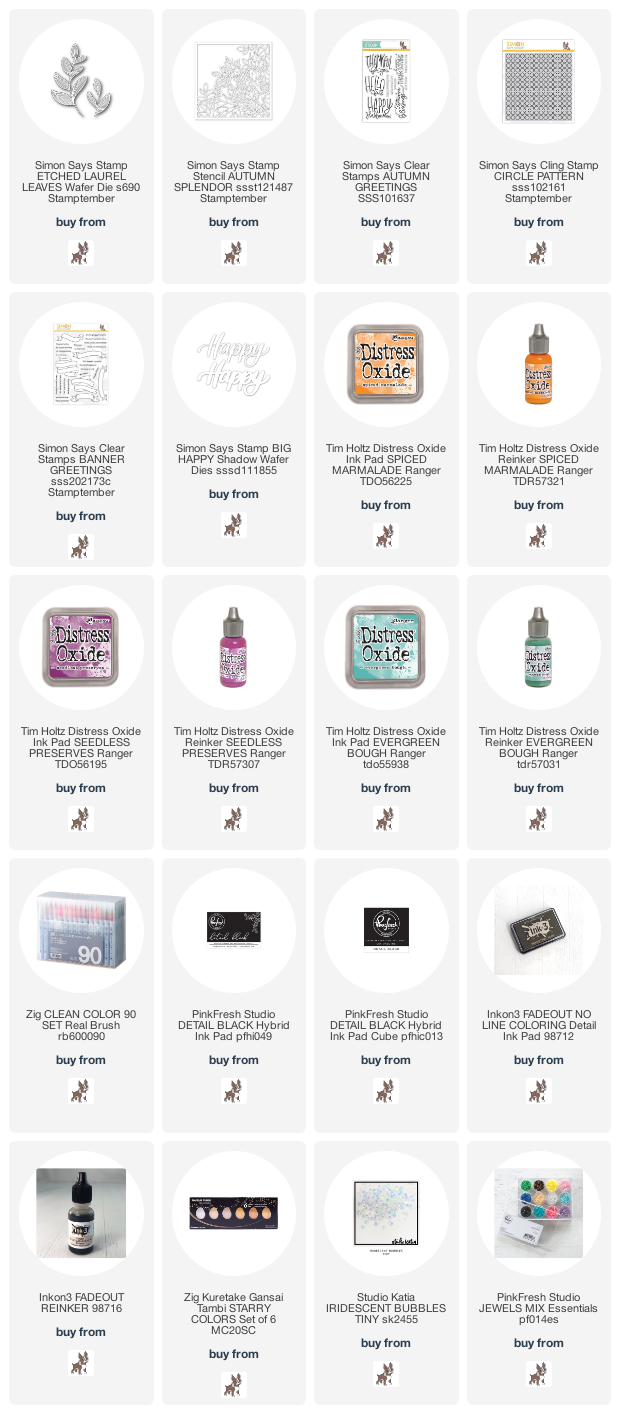
For this first card, I started by diecutting the Laurel Etched leaves from 6 shades of cardstock, then arranged them to a white cardstock panel in a wreath shape. I mounted that panel to a coordinating A2 card base, then accented the wreath with self adhesive jewels.

I stamped the sentiment from Autumn Greetings (an older, previously released stamp set) to white cardstock in Detail Black, then trimmed into a thin banner strip. I added banner edges to each end, then adhered over a knot of gold thread with a thin foam strip.


For the second card I used the new Autumn Splendor stencil, and ink blended it with Distress Oxide inks. With the stencil still in place, I splattered the front with gold paint from the Gansai Tambi Starry Colors set (I used the yellow gold). Once dry, I pulled the stencil away and placed the panel in my MISTI. I stamped the sentiment from Autumn Greetings to the lower right corner in Detail Black.

I mounted the ink blended panel to an orange A2 card base with foam adhesive, then accented with the Jewels Mix in golden yellow to finish.


I hope you like my jewel toned fall card set! If you have any questions about them, leave them in the comments and I will be sure to reply.

I created another card using some of the new STAMPtember® products. This one is rainbow & birthday themed - a perfect mix!
"Happiest Wishes" card

I started by stamping the Circle Pattern cling stamp to Strathmore Bristol cardstock in fadeout ink. I then proceeded to no-line color the circles with my Zig Clean Color Real Brush Markers - I have the 90 set, and I used a good portion of them. There aren't typically 10+ shades for each color, so I did some mixing to create new shades to make my ombre rainbow work out. I suggest having a scrap of the Bristol cardstock next to you so you can out the combo first and make sure it works.


Once I finished coloring, I diecut the panel and mounted it to an aqua A2 cardbase with foam adhesive. Next I diecut the Big Happy (from a previous release) script word from gold foil paper, and the shadow from vellum. I cut the word two more times from white cardstock, then stacked & adhered them with a glue pen. I mounted the word to the shadow, and adhered it to the card front at a slight angle. I stamped the rest of the sentiment from the Banner Greetings stamp set to white cardstock in Detail Black ink, then trimmed into a strip. I added a banner edge to just the left side, then adhered to the lower right corner of the card. I finished by accenting with Iridescent Bubbles.


I hope that you liked my no-line rainbow circle card! If you have any questions about them, leave them in the comments and I will be sure to reply.

That is all I have for you today! Before you move along with your day, I wanted to invite you to follow me on social
media. I would love to be crafty friends!
TOOLS & BASICS LIST

Happy Sunday, crafty friends! I hope you've had a peaceful and restful weekend, and hopefully some crafty time too! We started Season 2 of Craft Hour with Pinkfresh Studio, hosted by the wonderful Jeff Lindberg. We are calling it season 2 because we have a new day & time for the show - Saturdays at 11am CST! I was on the show this Saturday for some redemption from our last show of season 1. Unknown to me, my phone wasn't working correctly, so the show was riddled with technological issues. I am happy to report that yesterday's show was about a million times better! You can watch the replay below or HERE if you missed it live.
Jeff & I created this fun rainbow card together, using colors that match the Celebrate collaboration collection that we released with Altenew a few months ago.
"Hello Rainbow" card

We used one of our Pop Out stamps, which makes creating multi color backgrounds SUPER easy. We focused on the Pop Out: Rainbow background stamp set, and added a cluster of floral pieces from the Celebrate ephemera pack at the end of the rainbow. Here is a list of the main products that I've used on this card, plus you can find my list of tools, etc., at the end of this post. Thank you so much for clicking on my links and shopping from them, as they provide me with a small amount of compensation at no cost to you. I genuinely appreciate your support!
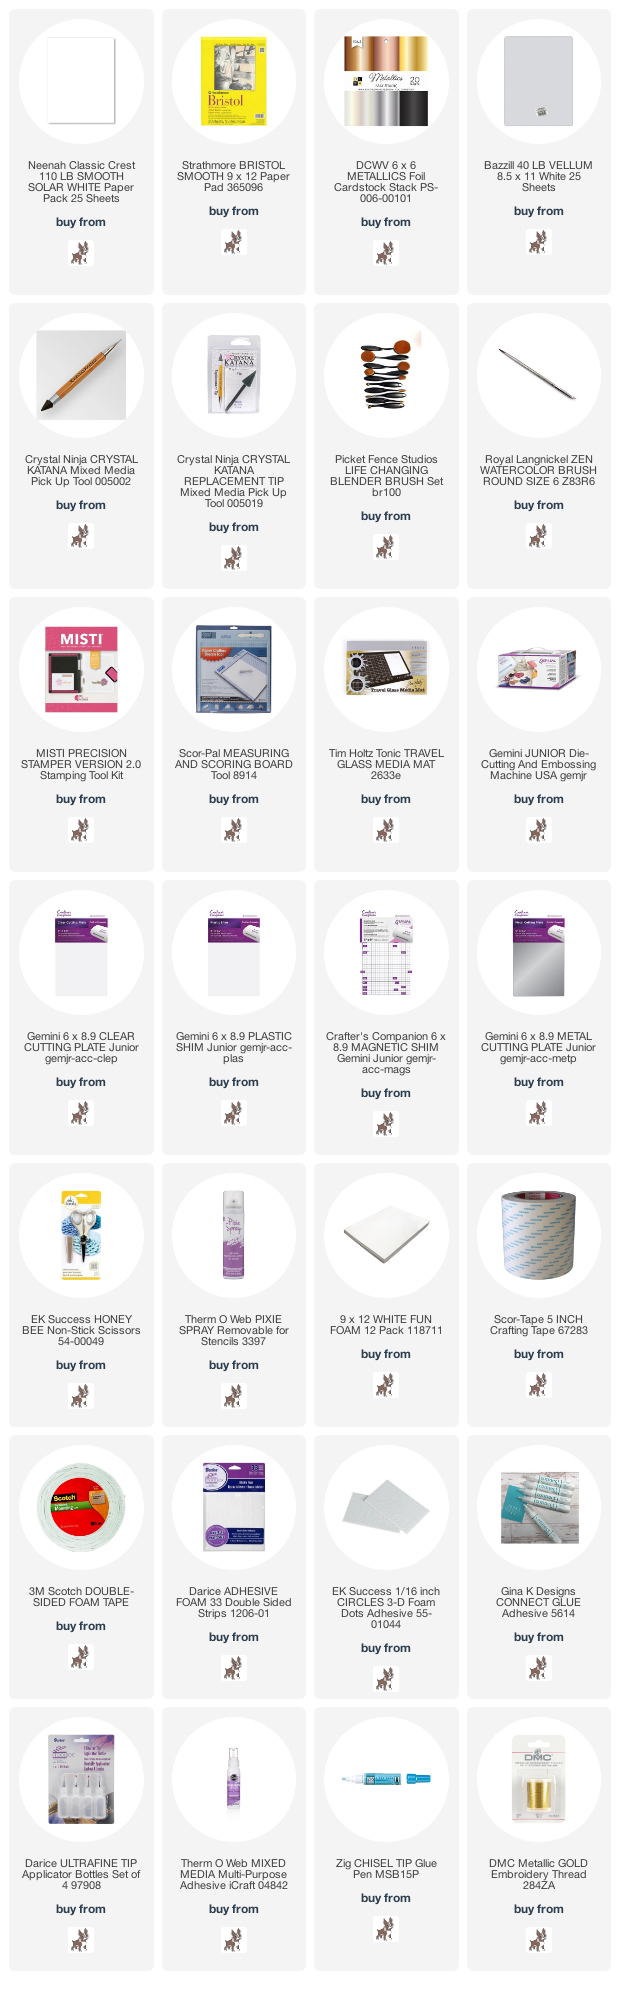
SUPPLY LIST
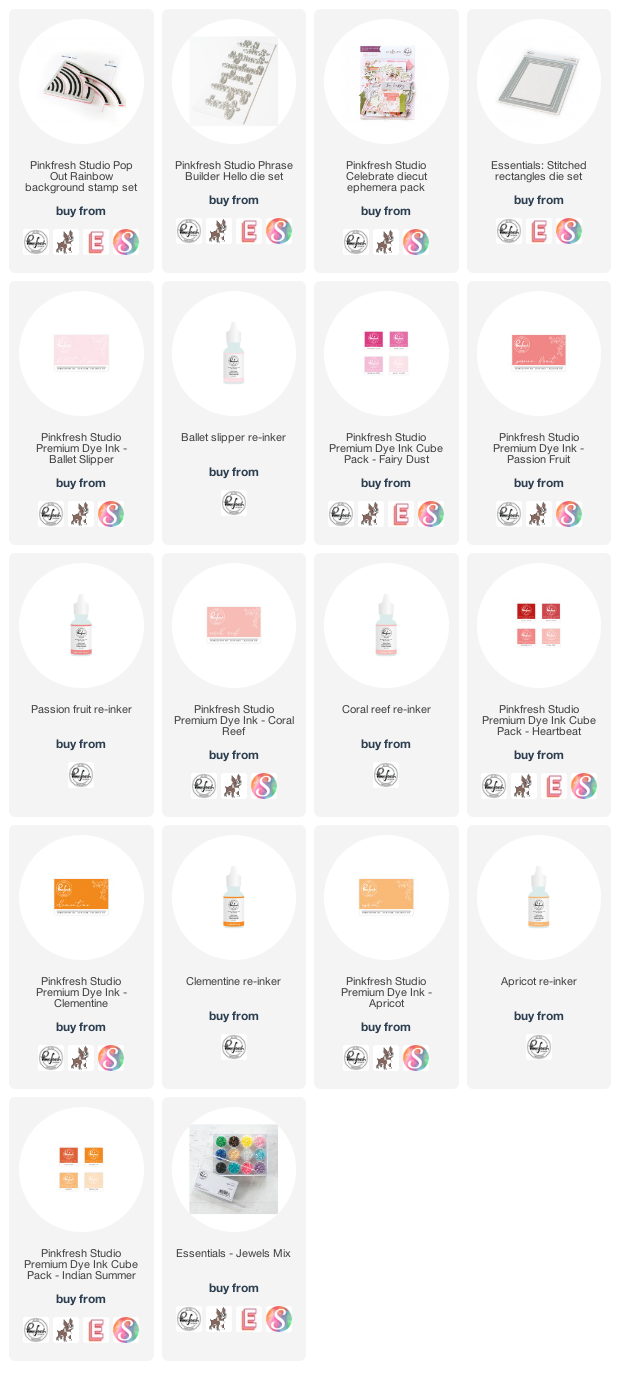
We started this card stamping the rainbow in the colors listed above. Then we diecut the panel with the largest Stitched Rectangle to give it that nice finished edge. Then we started adding our floral cluster at the end of the rainbow. I glued the first layers down with liquid glue, but made sure the glue was only added to the middles. That way I could fluff the florals and leaves to give them a little added dimension. I mounted the top flower with some foam squares for even more added dimension. There is nothing better than having beautiful natural shadows when photographing a card!


I diecut the sentiment from our Phrase Builder: Hello die set. I diecut the scripted word from white cardstock twice, and the shadow layer from vellum. I stacked and adhered them together with a glue pen. Then I mounted it above the flowers with thin foam strips. I added a full panel of foam adhesive to the background, then mounted it to the front of a pink A2 card base. I finished by accenting the card with our Jewels Mix in dark pink, light pink, and gold.


I hope you like my floral rainbow card, and enjoyed my latest episode of Craft Hour! If you have any questions about them, leave them in the comments and I will be sure to reply.

Before you move along with your day, I wanted to invite you to follow me on social media. I would love to be crafty friends!
Have a great rest of your day!
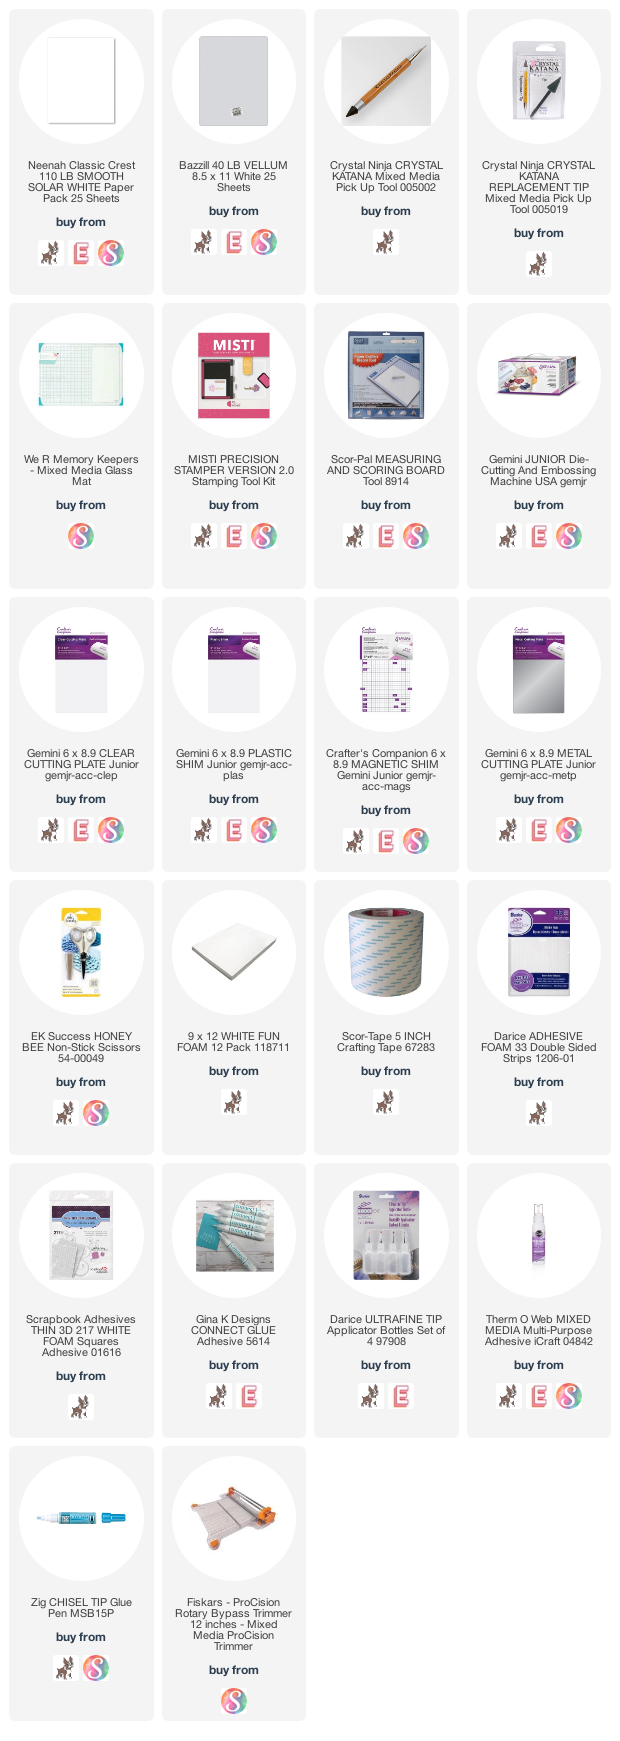
TOOLS & BASICS LIST
Subscribe to:
Posts (Atom)


Social Icons