
Showing posts with label STAMPtember. Show all posts
Showing posts with label STAMPtember. Show all posts

Happy Wednesday, crafty friends! So, yesterday the 2020 STAMPtember® release went live, and today we are having a HUGE party! This STAMPtember® party has TONS of different sale promotions going on, and I happen to have one of them, which I think is a pretty great one!

With my promo, you can get a Hope die FREE with any purchase! Just use the code GWHD24 through tonight at 11:59pm EST. Woot! Just click on the image above, and it will take you right to the STAMPtember® 2020 release.
Since this is a HUGE party, to best place to get all the links that you need is the Simon Says Stamp blog. Everyone partying with shopping codes & tons of inspiration will be linked there!
I've created a few cards with the STAMPtember® 2020 release, and up first are some beautiful fall themed cards.
Fall Card Set

SUPPLY LIST
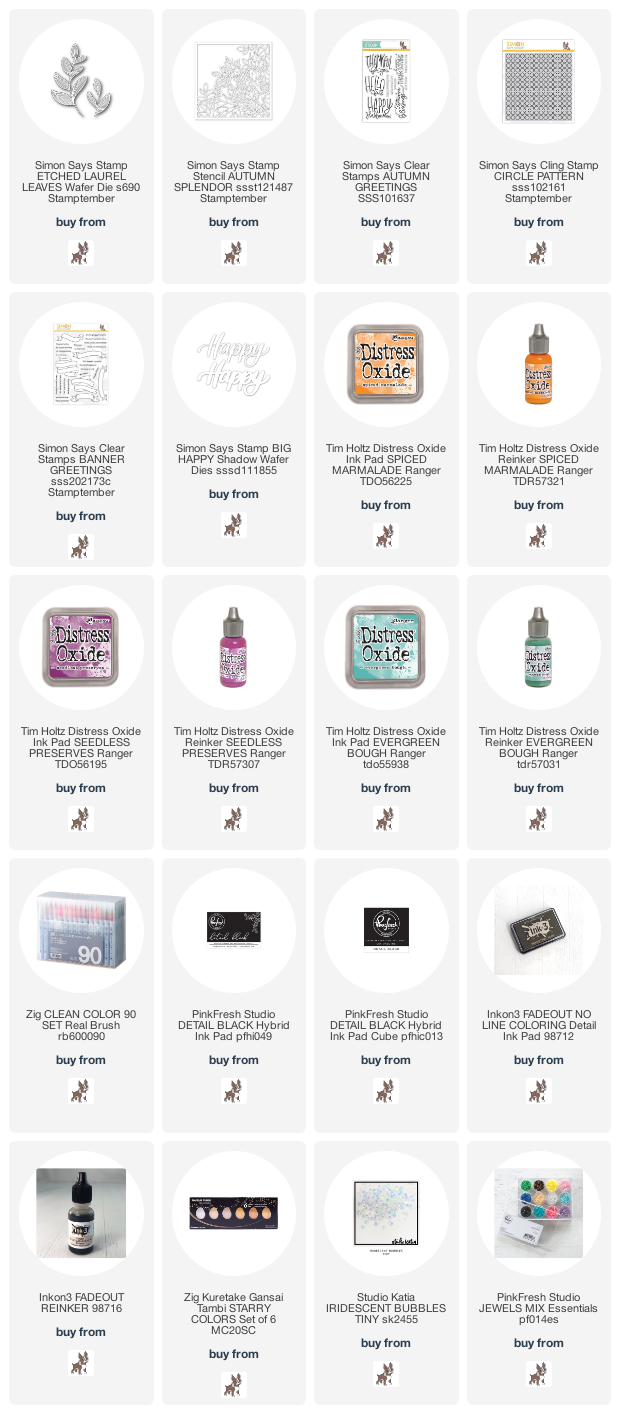
For this first card, I started by diecutting the Laurel Etched leaves from 6 shades of cardstock, then arranged them to a white cardstock panel in a wreath shape. I mounted that panel to a coordinating A2 card base, then accented the wreath with self adhesive jewels.

I stamped the sentiment from Autumn Greetings (an older, previously released stamp set) to white cardstock in Detail Black, then trimmed into a thin banner strip. I added banner edges to each end, then adhered over a knot of gold thread with a thin foam strip.


For the second card I used the new Autumn Splendor stencil, and ink blended it with Distress Oxide inks. With the stencil still in place, I splattered the front with gold paint from the Gansai Tambi Starry Colors set (I used the yellow gold). Once dry, I pulled the stencil away and placed the panel in my MISTI. I stamped the sentiment from Autumn Greetings to the lower right corner in Detail Black.

I mounted the ink blended panel to an orange A2 card base with foam adhesive, then accented with the Jewels Mix in golden yellow to finish.


I hope you like my jewel toned fall card set! If you have any questions about them, leave them in the comments and I will be sure to reply.

I created another card using some of the new STAMPtember® products. This one is rainbow & birthday themed - a perfect mix!
"Happiest Wishes" card

I started by stamping the Circle Pattern cling stamp to Strathmore Bristol cardstock in fadeout ink. I then proceeded to no-line color the circles with my Zig Clean Color Real Brush Markers - I have the 90 set, and I used a good portion of them. There aren't typically 10+ shades for each color, so I did some mixing to create new shades to make my ombre rainbow work out. I suggest having a scrap of the Bristol cardstock next to you so you can out the combo first and make sure it works.


Once I finished coloring, I diecut the panel and mounted it to an aqua A2 cardbase with foam adhesive. Next I diecut the Big Happy (from a previous release) script word from gold foil paper, and the shadow from vellum. I cut the word two more times from white cardstock, then stacked & adhered them with a glue pen. I mounted the word to the shadow, and adhered it to the card front at a slight angle. I stamped the rest of the sentiment from the Banner Greetings stamp set to white cardstock in Detail Black ink, then trimmed into a strip. I added a banner edge to just the left side, then adhered to the lower right corner of the card. I finished by accenting with Iridescent Bubbles.


I hope that you liked my no-line rainbow circle card! If you have any questions about them, leave them in the comments and I will be sure to reply.

That is all I have for you today! Before you move along with your day, I wanted to invite you to follow me on social
media. I would love to be crafty friends!
TOOLS & BASICS LIST

Happy Saturday, crafty friends! I wanted to pop in today and share this fall card that I've made recently. The Flora Background cling stamp from Simon's STAMPtember® exclusives sold out rather quickly, but it looks like it is back in stock now!
I'm sent these cling background stamps quite often, and when I am creating for my initial post I typically stamp &/or heat emboss them multiple times to different paper types and colors. This background was heat embossed in Brutus Monroe Gilded (which is my FAVE gold embossing powder) to Patriot Blue 130 LB cardstock. And while I loved how it turned out, it didn't fit with my initial post. I saved it, because it did turn out beautifully....and now I am using it today!
Before I share my process for making this card, I wanted to let you guys know where I purchase a lot of my cardstock. It's no secret that I like thick, dimensional cards...and I LOVE 130 LB cardstock. I get mine at Cut Cardstock, which has a really great selection of cardstock in general, including the ever popular Neenah Smooth Solar White in 110 LB. They are also super friendly, and they ship REALLY quickly. They can also cut your cardstock (for an additional fee), which is super convenient when you want a lot of white card bases.


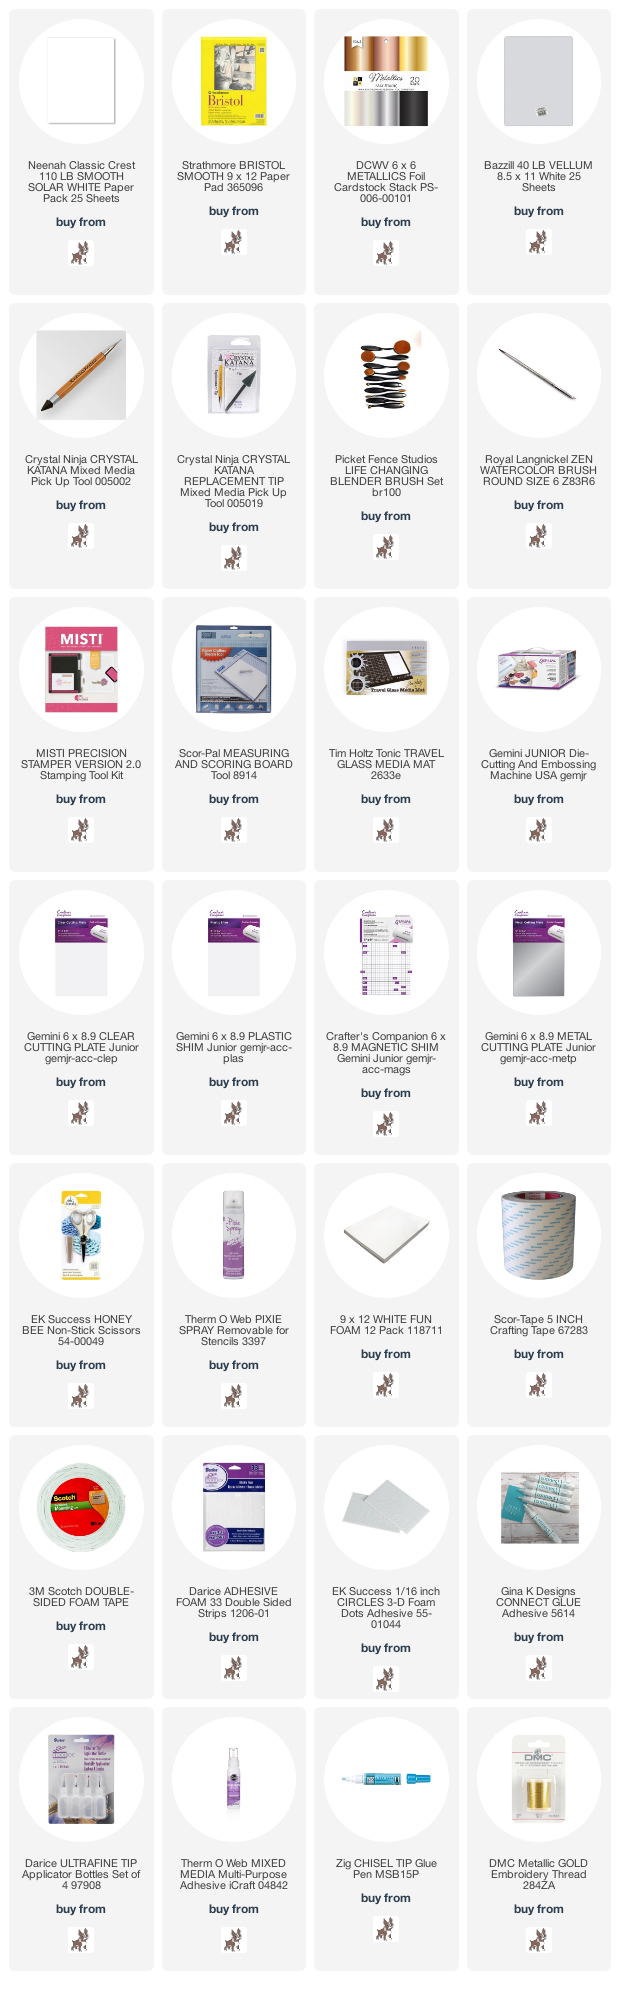
As I mentioned, the embossed background was already done when I started creating this card. So my actual first step was diecutting. I started by diecutting the Elegant Fall Blooms twice from Stardream metallic gold cardstock. (This is also from Cut Cardstock and is 105 LB.) Then I diecut the word Blessings twice from cougar white 130 LB cardstock. I stacked & glued the layers together with a Zig glue pen.


Next I stamped & heat embossed the word Autumn from the Autumn Greetings stamp set in white to the gold frame. This sentiment technically says Autumn Blessings, so I just masked off the word blessings with purple tape. Once heat set, I adhered the diecut part of the sentiment underneath the embossed part.

At this point it was time to turn it into a card. I layered the embossed background to an A2 white card base with a full panel of foam adhesive. Then I layered the gold frame to the front with foam tape. Finally, I accented it with trios of Pinkfresh Studio Essentials: Jewels in brown, blue & white.

That is all I have for you today! Before you move along with your day, I wanted to invite you to follow me on social
media. I would love to be crafty friends!
Have a great Saturday!
SUPPLY LIST
For your
shopping convenience, all products are linked below, including
affiliate linking when possible - this allows small compensation for me
at no cost to you. I typically link to 2-3 sites, in hopes that your
preferred retailer will be among them. I only support legitimate retail
sites, that are true partners to stamp, die and scrapbooking wholesalers.

Happy Tuesday, crafty friends! I hope that you had a great weekend, and start to your week! I'm so excited to share that Pinkfresh Studio was asked to illustrate a set for STAMPtember®, and today is our release day! This set is called Partial Cut Floral Frame, and you can either get the stamp & die combo, or just the stamp set if you prefer. This set is only available at Simon Says Stamp, and has very limited quantities. Be sure to grab it if you want this gorgeous stamp set!
The purpose of the die is to give you the ability to add a little dimension around the flowers & leaves. It was designed to be quite subtle, and for my card today, I kept it as is. BUT, what I love this about the die...if you want to be able to add more dramatic dimension, it is super easy to snip some of the sections with precision tip scissors, or use an exacto knife.


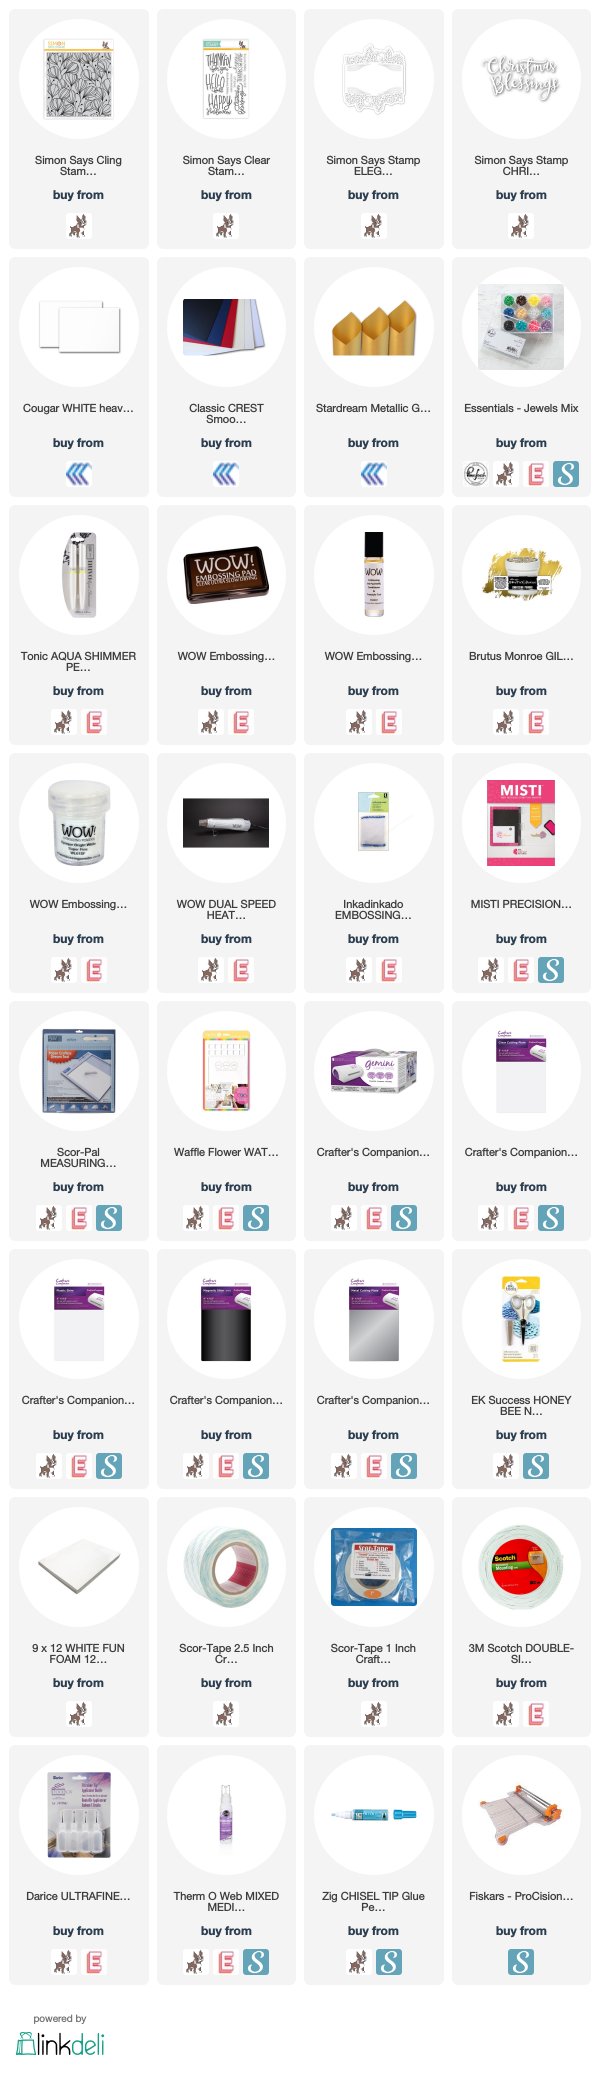
I feel like using the die first, and then stamping worked best for me. That way I could really line up the stamp within the partial cut area. I heat embossed mine in Brutus Monroe Gilded to Arches watercolor paper, then colored it in with Zig clean color real brush markers. I added some very fine splatters in matching colors around the stamped frame.


I stamped the sentiment directly to the middle of the watercolor panel in onyx black Versafine. It needed to stamp it twice to get a good impression on the watercolor paper, so I was sure to use my MISTI. I "fluffed" the partial cut areas to give the image dimension, then adhered the entire panel with foam tape to the front of a blue A2 card base. To finish, I accented with Pinkfresh Studio's Essentials: Jewels Mix.


I hope that you have a wonderful Tuesday! Happy STAMPtember®!
SUPPLY LIST
For your
shopping convenience, all products are linked below, including
affiliate linking when possible - this allows small compensation for me
at no cost to you. I typically link to 2-3 sites, in hopes that your
preferred retailer will be among them. I only support legitimate retail
sites, that are true partners to stamp, die and scrapbooking wholesalers.

Happy Monday, crafty friends! So, yesterday the 2019 STAMPtember® release went live, and today we are having a HUGE party! Not only is it STAMPtember®, but it is the 10 year anniversary from the very first STAMPtember®! This party has TONS of different sale promotions going on, and I happen to have one of them, which I think is a pretty great one!
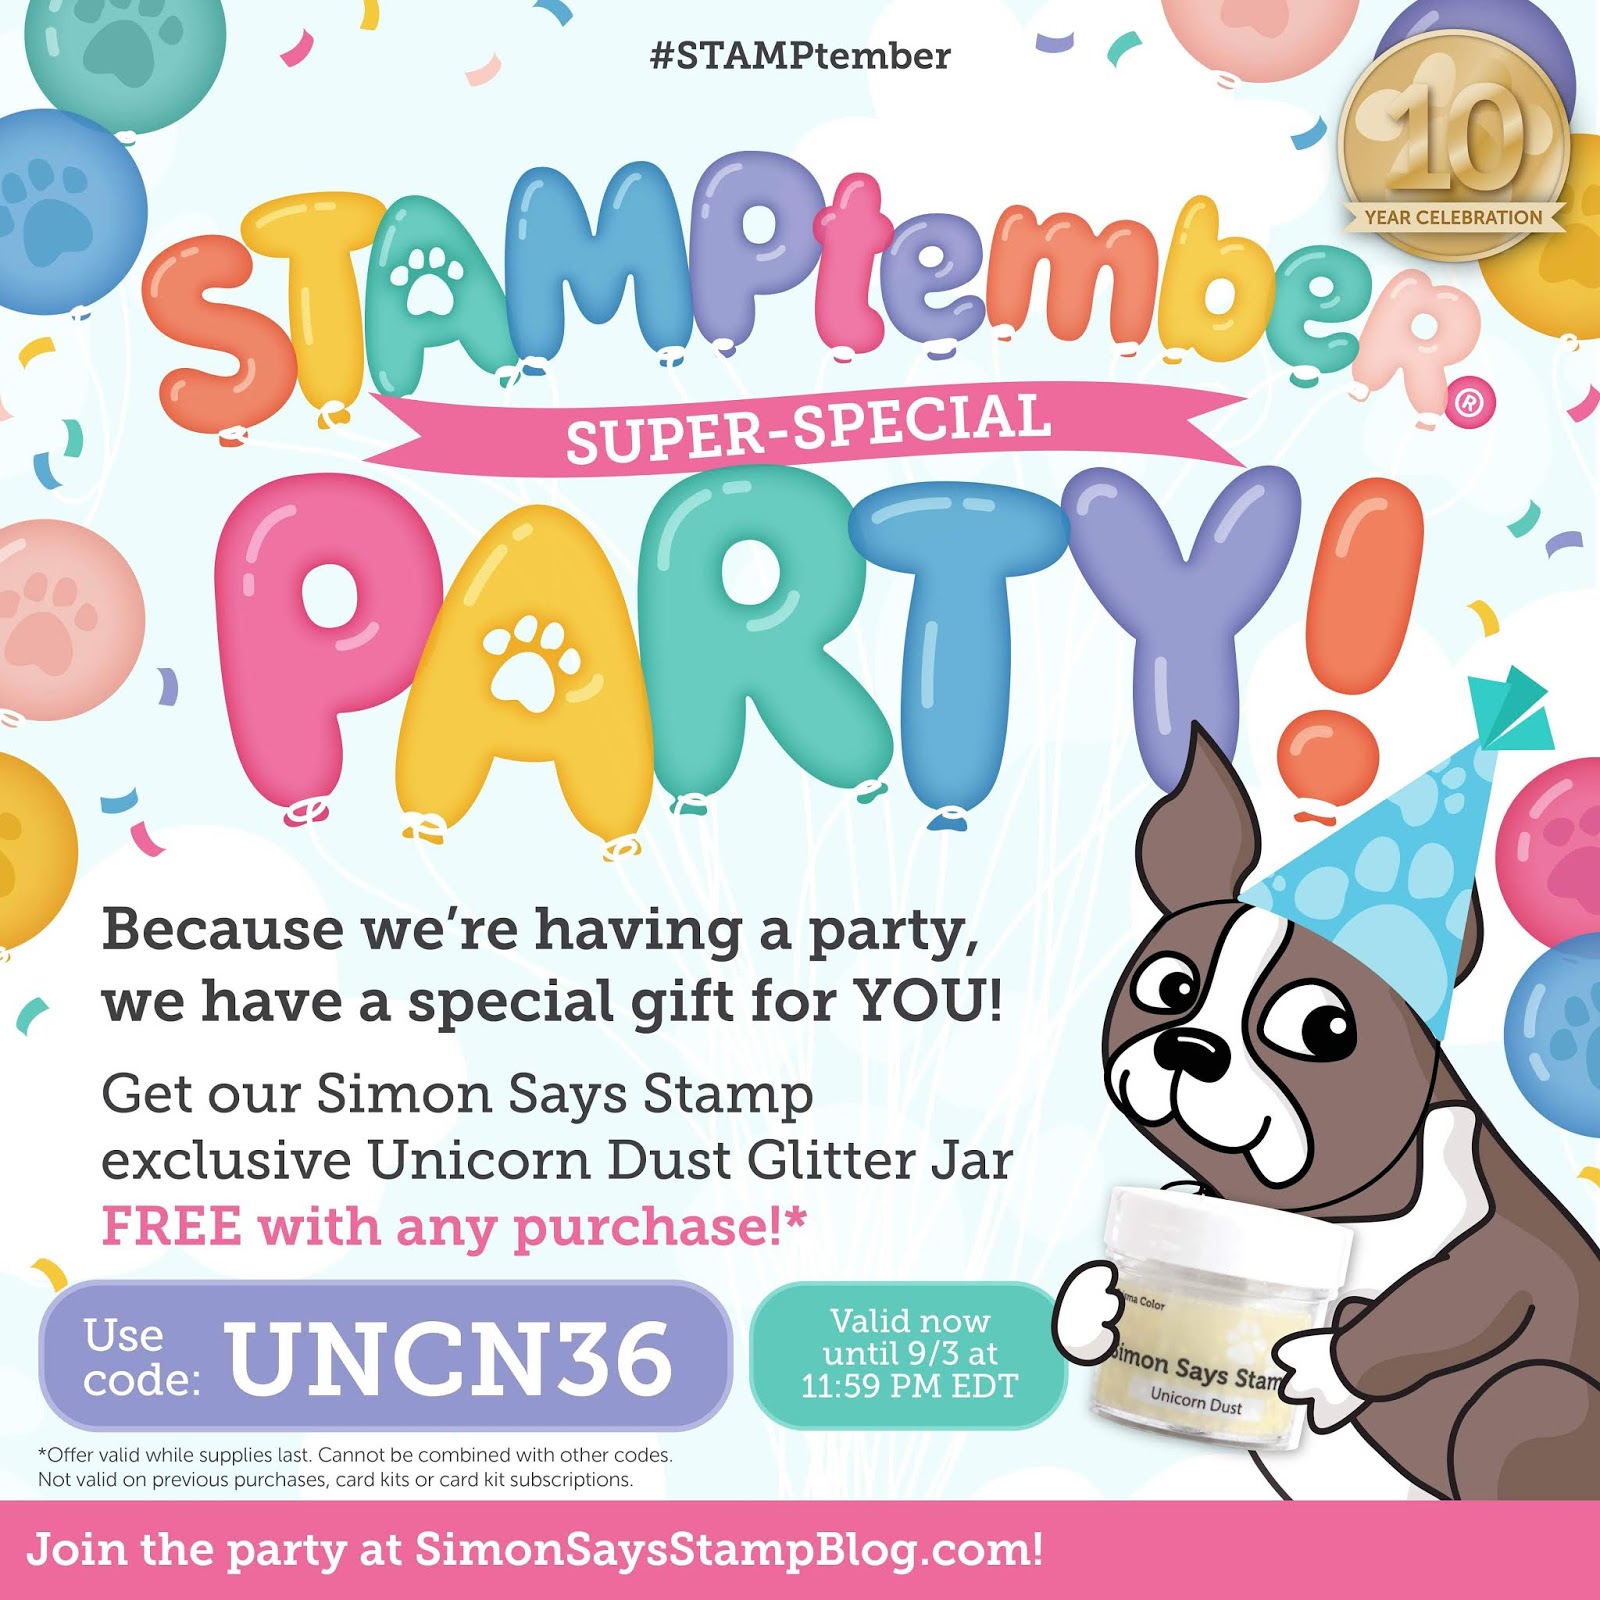
With my promo, you can get a free Unicorn Dust glitter jar FREE with any purchase! Just use the code UNCN36 now through 9/3 at 11:59pm EST. Woot! Just click on the image above, and it will take you right to the
STAMPtember® 2019 release.
Since this is a HUGE party, to best place to get all the links that you need is the Simon Says Stamp blog. Everyone partying with shopping codes & tons of inspiration will be linked there!
I created a trio of thank you themed cards, with a really beautiful jewel toned color palette. This entire card set was inspired by one of the new STAMPtember® 2019 sequin mixes called Blue Moon. I knew I wanted to accent my cards with them, so I based my colors off what was included in the mix. Friends, this color scheme isn't typical for me, but I really do love how they turned out. But I will admit, as the cards were in progress, I was hesitant. It wasn't until towards the end that I realized that I actually really love how they turned out.

Let's start with this card first - it is the simplest of the bunch. I used the new Tumbling Leaves stencil with Distress Oxide inks in Seedless Preserves, Peacock Feathers & Blueprint Sketch. I ink blended them to the front of heavyweight white cardstock, cut 1/8" inch smaller than an A2 cardbase. With the stencil still in place, I splattered gold & titanium white paint to the front. Once those splatters dried, I stamped the sentiment from the School Days Grow stamp set directly to it in onyx black Versafine ink. I mounted the ink blended panel to a purple A2 card base with a full panel of foam adhesive. Finally, I accented with the Blue Moon sequin mix to finish.


This card was a bit of a happy accident. I started by stamping & heat embossing Flora Background to Bristol cardstock in WOW! Royal Crush embossing powder. Then I proceeded to color in the flowers with my Zig Clean Color Real Brush Markers in shades of purple, blue, and turquoise. It just needed something else, and I REALLY wanted the background to be gold...so I just went for it. I painted in the entire background with Gansai Tambi Starry Colors paint, No. 903 Yellow Gold. The fact that I heat embossed the image made this relatively easy, as I had guidelines of a sort.
Once I finished painting, I set it aside to dry while I stamped & heat embossed the sentiment in white to vellum. Then I trimmed it down into a strip. At this point the panel was dry, and I added some titanium white splatters to the front. The splatter dries relatively fast, so I added a panel of foam adhesive to the back, then wrapped the vellum sentiment around the top half of the painted panel. Then adhered the entire panel to the front of an A2 card base.


Look at all that shimmer & sheen! I did add some Midas Touch shimmer to the flora, and accented with a combination of Blue Moon sequins & clear iridescent jewels to finish.

For my final card, I stamped & heat embossed the Flora Background to Bristol cardstock in Gilded. Then I taped it down to my Waffle Flower water media mat, and dropped some Pinkfresh liquid watercolor to the front. I used Sapphire, and two upcoming new colors!! {Wink, Wink...that's all I can say for now....} Then I used a spray bottle and a size 6 watercolor brush to move the colors around and make them look how I wanted. Once it did, I set the panel aside to dry.


Once dry, I splattered it with both gold & titanium white splatters and let those dry. I stamped the sentiment to white cardstock in onyx black Versafine, then diecut it with the Sentiment Labels set. I adhered the watercolor panel to the blue A2 card base with foam adhesive. I added foam dots to the back of the sentiment strip, then layered them with a knot of gold thread to the upper right corner of the card. I finished by accenting with the Blue Moon sequin mix & the black iridescent jewels from the Pinkfresh Essentials: Jewels Mix.

Those are my three cards for today! I enjoyed every minute of creating them, and I hope they inspire you to create with these beautiful new goodies from the 2019 STAMPtember® release!

That is all I have for you today! Before you move along with your day, I wanted to invite you to follow me on social
media. I would love to be crafty friends!
I hope that you have a wonderful Labor Day Monday! Enjoy the STAMPtember® Party!!
SUPPLY LIST
For your
shopping convenience, all products are linked below, including
affiliate linking when possible - this allows small compensation for me
at no cost to you. I typically link to 2-3 sites, in hopes that your
preferred retailer will be among them. I only support legitimate retail
sites, that are true partners to stamp, die and scrapbooking wholesalers.



Happy Sunday, friends! It's the month after August, and you know what that means...STAMPtember!! It's time to have a big party with a bunch of new products, and have a grand ole time stamping the month away! All of the new Simon Says Stamp STAMPtember products are available for purchase, and today I have a special promotion for you! Gotta love free Fall Leaves die set!

There are a TON of special promotions, so be sure to hit all the party stops and see what's available, not to mention all the amazing inspiration using the new STAMPtember products! Throughout STAMPtember they will be celebrating every day posting exclusive collaborations, contests, prizes, special promotions, announcements, and more surprises! Simon’s blog will announce what is planned every day.
Subscribe to:
Posts (Atom)


Social Icons