
Showing posts with label Thank You. Show all posts
Showing posts with label Thank You. Show all posts

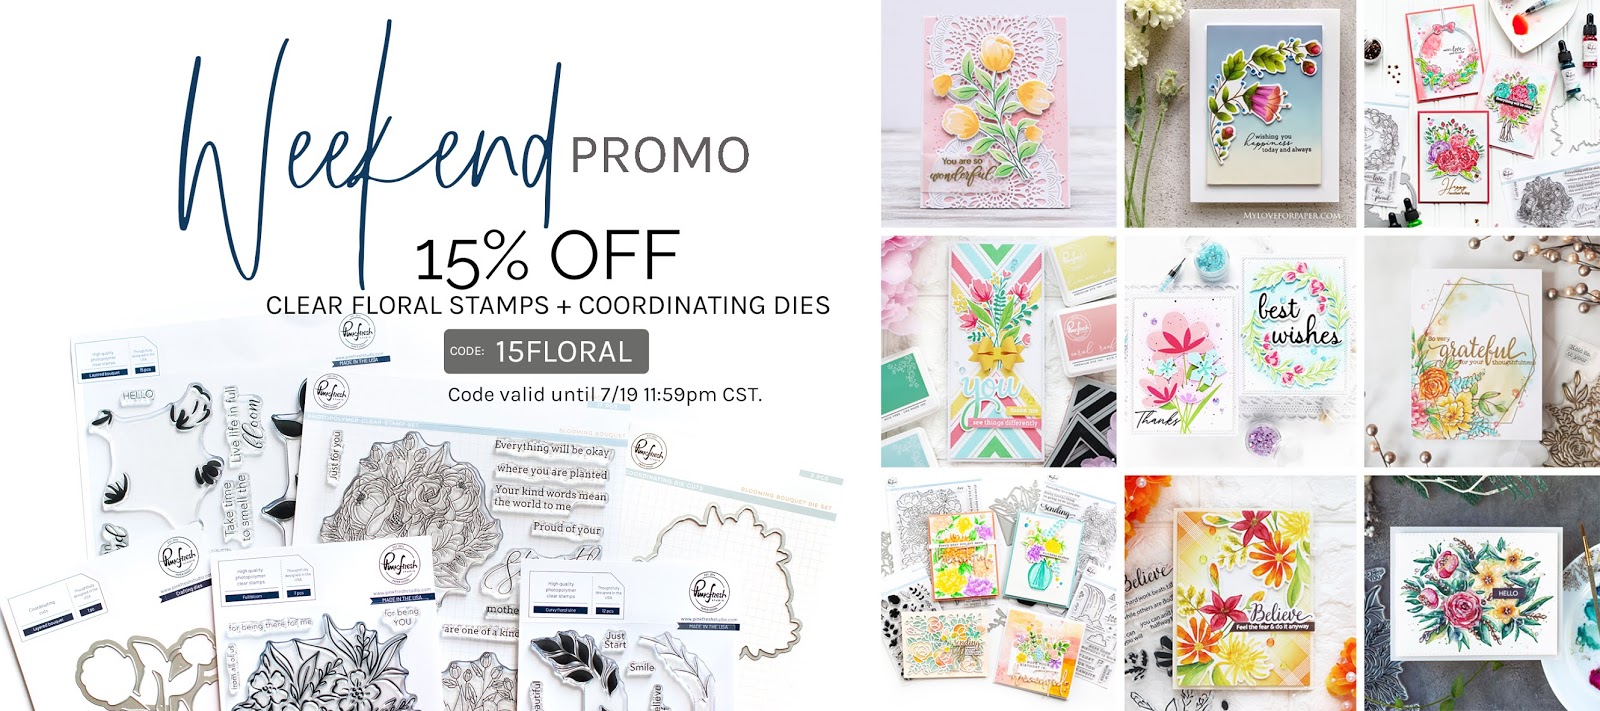
I did want to pop in today and mention that we are having a sale on our clear floral stamps & coordinating dies this weekend at Pinkfresh Studio! You just have to use the code 15FLORAL upon checkout, which is valid until tomorrow night (July 19th @ 11:59pm CST). SHOP HERE!
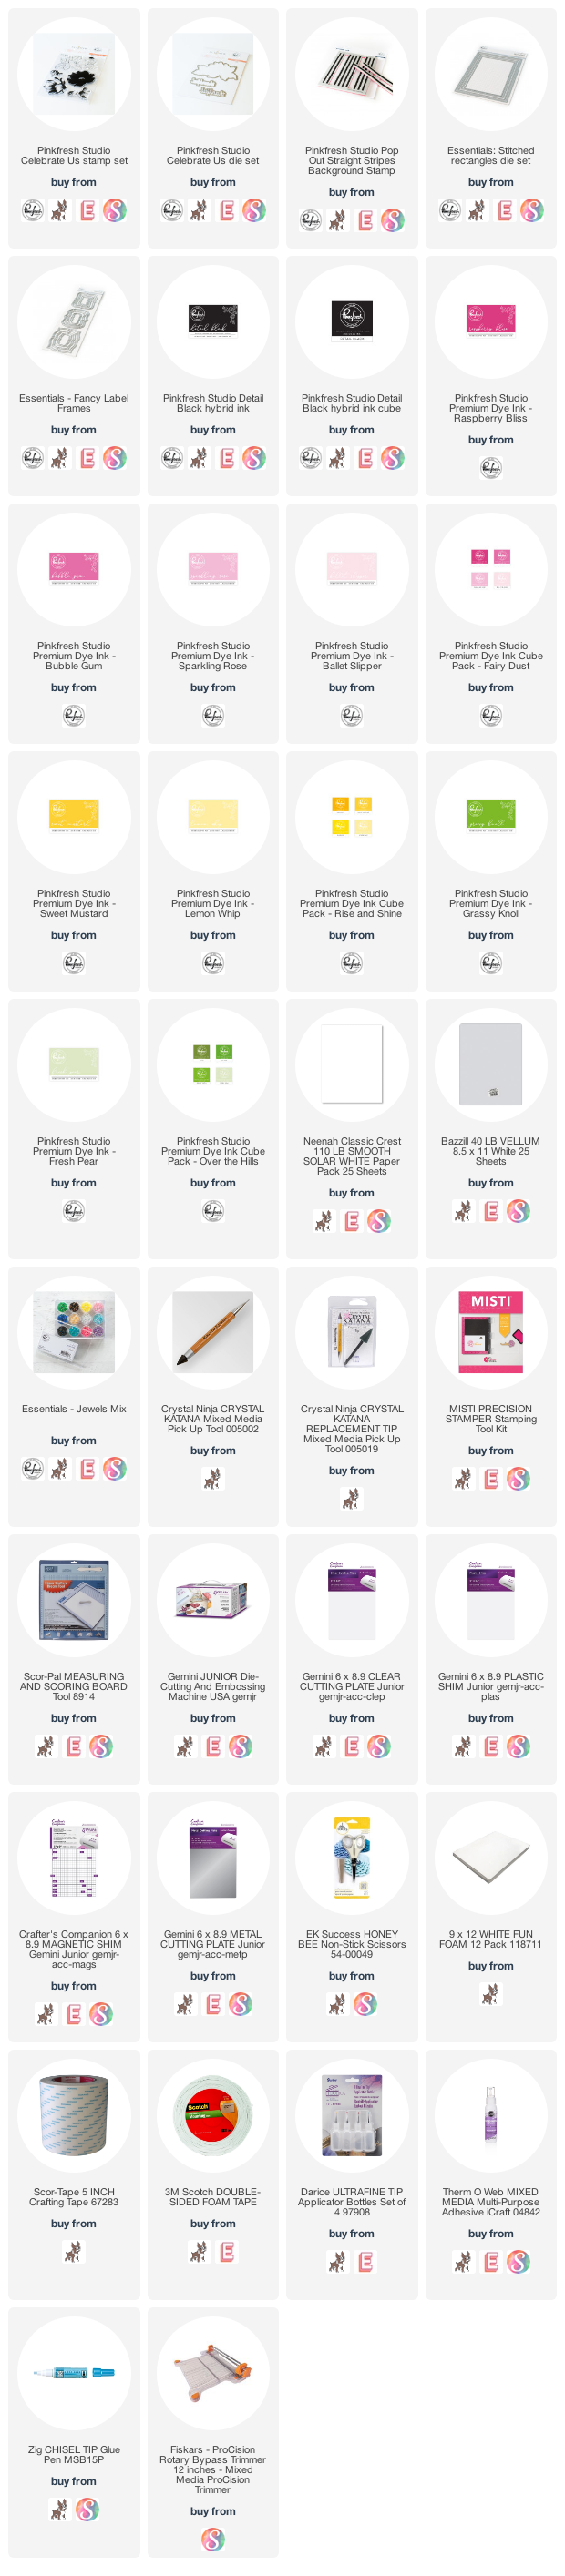
The day after we got home from Montana, I had to do a few demo sessions for Hochanda in the UK via Skype. This is one of the cards that I did in my demo! I did add another stamped flower and some jewels after the demo session to make it a little more "Lea style". Lol! Even though these are brand new stamps, we did decide to include them in the sale, so they are eligible for the 15% off this weekend. :)

I started the card by stamping the Pop Out Background: Straight Stripes in all 4 shades of our pink inks: Ballet Slipper, Sparkling Rose, Bubblegum, & Raspberry Bliss. Once stamped, I diecut it into a panel using the largest die from Essentials: Stitched Rectangles. I popped it onto an A2 pink cardbase with a full panel of foam adhesive.


Next I stamped the Celebrate Us florals twice in the same pink ink as above. I used our amazing hybrid Detail Black ink for the outline, the leaves are stamped in Fresh Pear & Grassy Knoll, and the flower centers are stamped in Lemon Whip & Sweet Mustard. I diecut the florals with the Celebrate Us coordinating dies, then also cut the word die 3 times: once from champagne glitter paper, and twice from white cardstock. I diecut the shadow layer from vellum, then stacked all the layers together. I diecut two nested labels from our Essentials: Fancy Label Frames, and then stamped the rest of the sentiment from Celebrate Us using the diecut word as a guide.

I arranged all those details to the card front, popping up the white layer of the sentiment label. Finally, I added trios of our Essentials; Jewels Mix as a finishing touch.

This card has a few steps to it, but it was super easy to put together. Our high quality premium dye inks make it super simple as I only needed to stamp it once to get a perfect impression. If you have any questions about this card, leave them in the comments and I will be sure to reply.

Have a great rest of our weekend!
SUPPLY LIST

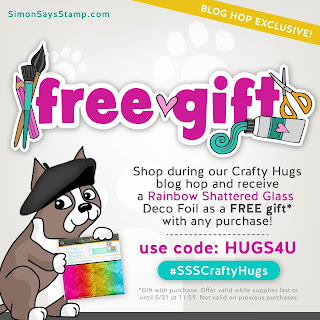
Today I am part of the day 2 blog hop for the SSS Crafty Hugs release, which is full of amazing products! It seems most of the products I used for today are now on reserve, so keep in mind that it will be about 10 or so days before it ships! They've got a free gift with purchase, and this time around it is some rainbow deco foil. Just be sure to use the code on the graphic below.
I will put all of the blog hop details at the end of my post, but how about we get to my card first? I needed some rainbows in my life this week, so I did some ink blending with the new Radiating Hearts stencil and some of my favorite shades of Distress Oxide inks (they are all linked at the end of my post). I didn't mask the edges very well of the first panel I blended, and I had some random ink lines that I was SO bummed about. So, more carefully, I ink blended another one. But if you know anything about me, you know I hate wasting work - so I lightly colored over the rogue ink blending with a white gel pen. Then I covered the entire panel in glitter, and I LOVE it! I do this quite often actually, but this time it was to save a mistake.

I used the new Extra Large Thank You die, designed by the fantastic Cathy Z. from CZ Design. I ADORE this new die, and I foresee myself using it quite often!


This card features an older die set called Thank You Script, that I realized I had never used! It got a little lost in my crafting stash, but I am so happy that I happened upon it for my second card. I think the beautiful script is a lovely feminine touch to go along with all the glitter.


Those are my two rainbow ink blended cards using some of the newest products from the SSS Crafty Hugs release. I hope you like them!

That is everything I have for you today! If you have any questions about my card, feel free to leave them in the comments and I will be sure to reply.

How about we get to all the fun blog hop info now?
PRIZES:
Simon Says Stamp is giving away a $25 coupon to every stop on the hop from the blog comment section. They will choose the winners and post on the Simon Says Stamp store blog on Wednesday. Winners can email SSS to claim their prize.
Simon Says Stamp is giving away a $25 coupon to every stop on the hop from the blog comment section. They will choose the winners and post on the Simon Says Stamp store blog on Wednesday. Winners can email SSS to claim their prize.
BLOG HOP LINK LIST:
Be sure to hop
along and leave comments along the way for your best chance to win one
of the prizes!Simon Says Stamp Blog
Laura Bassen
Debby Hughes
Yoonsun Hur
Heather Hoffman
Bibi Cameron
Barb Engler
Sidnie Des Jardins
Cheiron Brandon
Laurie Willison
Caly Person
Betty Wright
Bobbi Lemanski
Lea Lawson
Preeti Chandran
Lin Brandyberry
Wow....what a lineup that is! I know I am excited to grab a cup of coffee and see what everyone else created!
Finally, if you'd like to see even MORE inspiration from this release, check out the Crafty Hugs gallery. And be sure to link up YOUR creations too!
Before you move along to the next stop, I wanted to invite you to follow me on
social media before you move on with your day. I would love to be
crafty friends online!
Alright friends! Happy hopping!
SUPPLY LIST
For your
shopping convenience, all products are linked below, including
affiliate linking when possible - this allows small compensation for me
at no cost to you. I only support legitimate retail
sites, that are true partners to stamp, die and scrapbooking
wholesalers. Today I will only be linking to Simon Says Stamp.


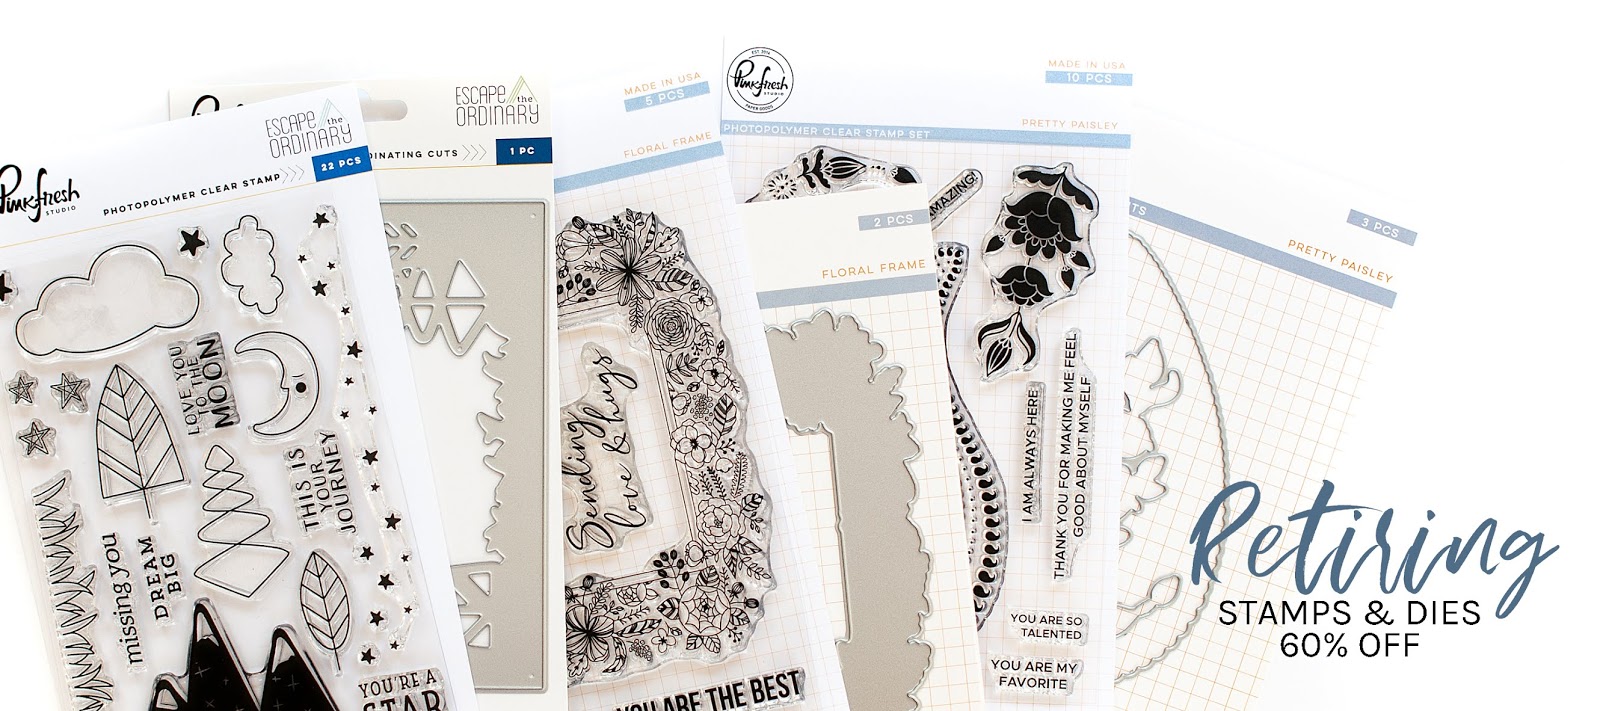
We are retiring some products at Pinkfresh Studio, and you can grab them at 60% off while supplies last! This is the last time to add these goodies to your stamping stash, so be sure to grab them before they're gone!
Apart from a couple of the sentiments, I've hadn't used the Pretty Paisley stamp set yet. So, I wanted to be sure to ink it up before it wasn't available any longer! I had so much fun creating the card I featured in my Cards for Kindness post this week, so I did the same technique for this card with rainbow colors. I just left off the white iridescent mist step and added white acyrlic ink splatters instead.

I started this card by stamping and heat embossing the big paisley design multiple times in gold to water friendly Strathmore Bristol cardstock. Then I taped it down to my travel sized Tim Holtz glass media mat, added a light water wash and did my drop & spritz technique with the Pinkfresh Studio liquid watercolors (individual colors linked at the end of post). After spritzing with water, I used a size 6 round brush to have more control over where I wanted the colors to go and blend. I didn't move it around too much to avoid muddiness and to help keep it's vibrancy.


Once the panel was dry, I mounted it to the front of an A2 white cardbase. I stamped the sentiment to matching white cardstock in Detail Black hybrid ink, then diecut with a stitched banner (not Pinkfresh branded. MFT branded - linked below). I popped it to the front with some foam tape over top of a knot of gold thread. Then I finished by accenting with our Essentials: Crystals Mix.


That is all I have for you today! If you have any questions about my card, feel free to leave them in the comments and I will be sure to reply.

Before you move along with your day, I wanted to invite you to follow me on social media. I would love to be crafty friends!
Have a great rest of your day!
SUPPLY LIST


Happy Wednesday, crafty friends! I hope you are having a good week so far. Awhile back Spellbinders asked me to create a video of a trio of cards using the Effortless Greetings Project Kit, and I happily obliged! This video has been on their YouTube channel for a few weeks, and I finally had a moment to add it to mine. These cards are super simple, but I love the punch of colors with the beautiful Aura colored foil. Watch the video below, or HERE in HD.
I'm really happy with how well the rainbow stripes partnered with this set of glimmer hot foil plates!

Let's take a look at each card individually. The first two card feature the Foiled Brushstrokes and Effortless Greetings glimmer hot foil sets. This one is probably my favorite in the whole set!


Although, the clean straight lines on this card really feed that clean and graphic part of my soul. My cards also feature the FSJ Rainbow Drops, which I knew I had to add on to the projects when I decided to go with a rainbow theme.


This final card features the Framed Details set, and a sentiment the Floral Love stamp set. I've used a selection of cardstock colors from Spellbinders/FSJ for the rainbow stripes, and those are all linked below.


In my full link list below, I've linked these products individually to different shops. However, if you are looking to get the full set, purchasing the Effortless Greetings Project Kit is a better deal as it has some great savings attached to it, and it's still in stock! Here is a couple of images to really show off that beautiful glimmer and shine from the foiling.


That is everything I have for you today! If you have any questions about my card, feel free to leave them in the comments and I will be sure to reply.

Have a great start to your week!
SUPPLY LIST

Happy Sunday, crafty friends! I hope you all have had a wonderful weekend so far. We have a newborn foster baby right now, which will likely be a very temporary placement as there is a lot of family available for the kinship search. But we will keep the little one safe & loved while they sort out and expedite the familial foster process. We've finally gotten into a bit of a groove, and are getting a bit more sleep. But we have kept our weekend quiet for the most part.
A couple of weeks ago I shared a card set using the brand new Yana's Foiled Basics collection from Spellbinders, and you can find that blog post HERE. Yana & Spellbinders reached out and asked me to create a video using these beautiful products, and I happily said yes! You can watch these three cards come to life in my video below, or on YouTube.
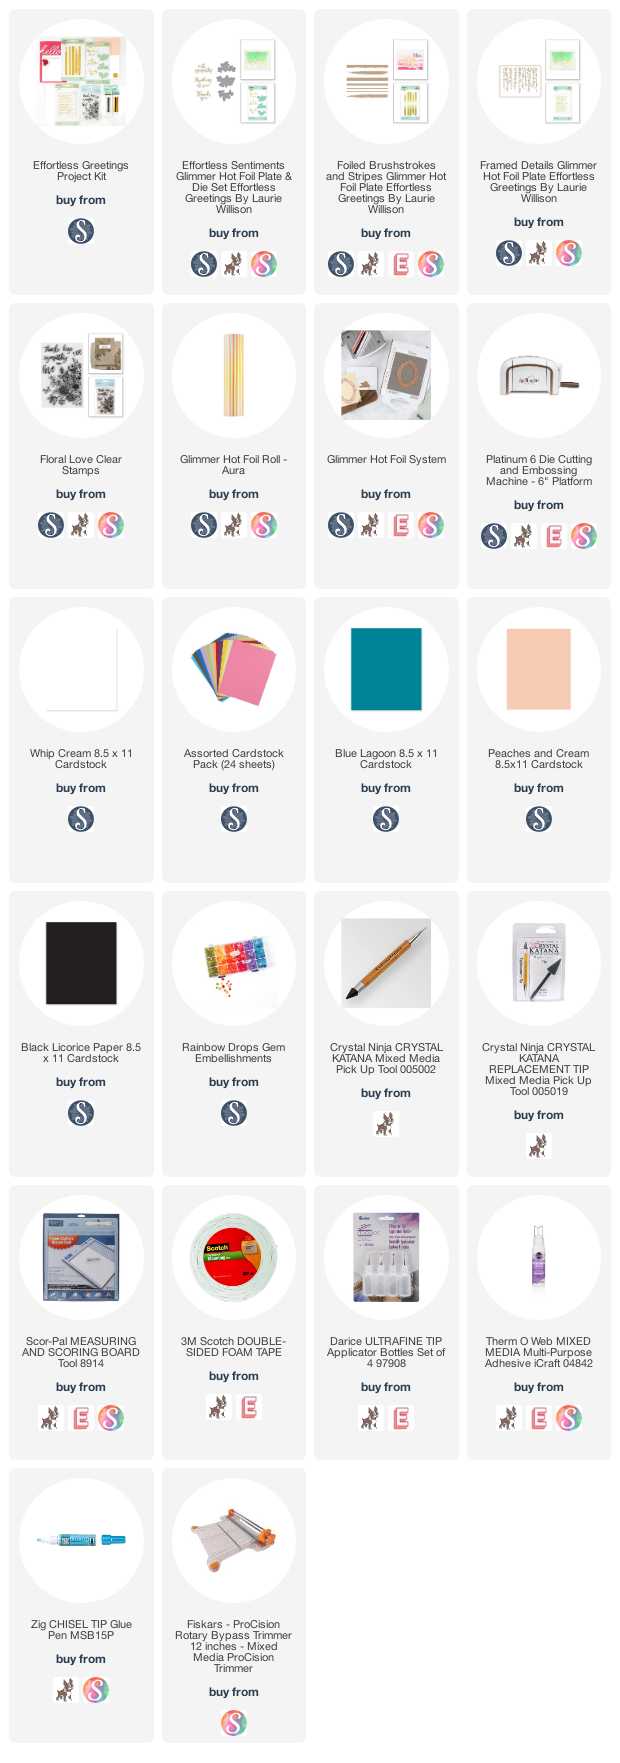
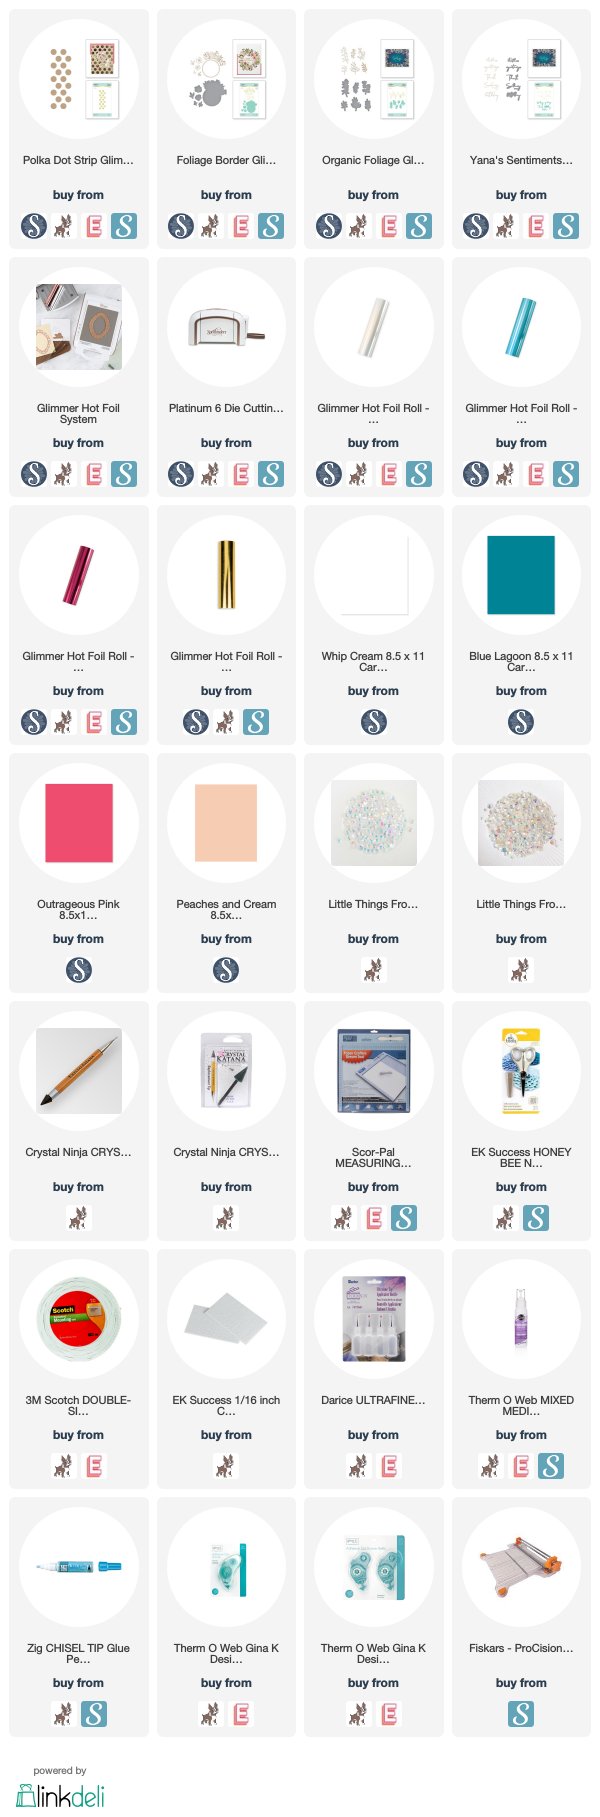
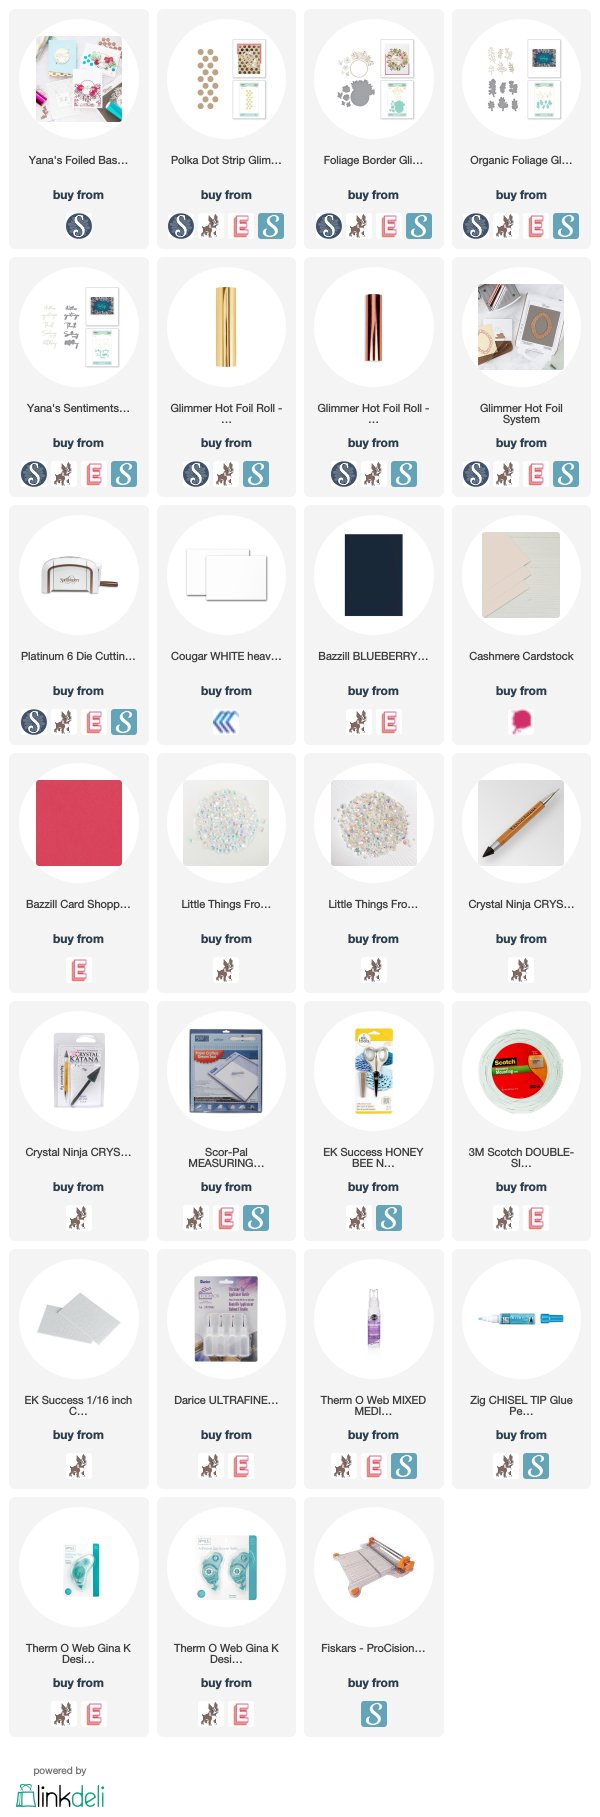
These cards focus on the following products in the Yana's Foiled Basics collection: Polka Dot Strip, Foliage Border, Organic Foliage & Yana's Sentiemnts. You can find a full product link list at multiple stores at the end of my post.


I've used cardstocks from Spellbinders/FSJ in the following colors: Whip Cream, Blue Lagoon, Outrageous Pink & Peaches and Cream.
Here is a look at each card. Let me know which one is your favorite in the comments below!


Have you tried out foiling yet? These new products from Yana will surely make you fall in love with the process, and I can't recommend them enough! I had so much fun creating these cards, and I am still in awe of the foiling process every time I do it!
efore you move along with your day, I wanted to invite you to follow me on social media. I would love to be crafty friends online!
Wishing you a peaceful Sunday, friends.
SUPPLY LIST

I am so happy with the results, and while they aren't perfect, I am learning to embrace imperfections when papercrafting and finding ways to strategically use them or cover them up when it happens. With that being said, I have a few tips that I want to share about the foiling process as we take a look at my two cards today. First, I want to mention how I got started. When Yana shared these new foiling products with me, the first thing that came to mind was the classy & bold colors that are often used in Kate Spade collections. So that was the jumping off point for my inspiration for my card set!

TIP #1: PRACTICE
Grab a few sheets of cardstock that you are okay with tossing if you don't like how the foiling turns out. The Glimmer Hot Foil System comes with a couple of foil colors, and one of them was silver. I'm not the biggest silver person, so I used that since I wouldn't reach for it very often when crafting. During my practice time, I followed the instruction manual first and then made adjustments based on what I saw in the foiling. Sometimes that meant adding a paper shim, which I needed for the polka dots but not the intricate foliage & sentiments.I felt the practice time was crucial to really get a feel for how foiling works best for me and my workspace. I practiced for about 30 minutes, and after about 10 I was getting good foiled impressions that could actually be useable on a card. So, I promise you won't waste too much but I do think this part is important!


TIP #2: WATCH THE EXPERT
I learned SO much from just watching Yana's videos. This video is a perfect introduction to the Glimmer Hot Foil System, and then this video is packed with helpful tips, techniques & tricks for foiling. She has done a lot of foiling as she works for Spellbinders, so she really is an amazing resource for learning.

TIP #3: HAVE FUN!
This is THE most important tip! Just have some fun, and don't worry about everything being completely & utterly perfect. Sure, there are some flaws in the foiling on these cards. But I did it myself, making it handmade & special for my recipient. I am THRILLED with how they turned out, and I had SO much fun making them! And that truly is the most important aspect - to have fun while creating and doing what you love. :)

STEP BY STEP INSTRUCTIONS:
- Create (2) A2 top folding card base out of white cardstock.
- Foil light pink cardstock in Polished Brass using Polka Dot Strip, then cut into two strips
- Foil navy blue & light pink cardstock in Rose Gold and Polished Brass using Foliage Border & Organic Foliage, then die-cut.
- Foil light pink cardstock in Rose Gold using Yana’s Sentiments, then die-cut.
- Layer the polka dot strips with a thin dark pink strip of cardstock to the A2 card fronts.
- Layer the circle foliage frames to the front of each one with foam tape.
- Accent the foliage frames with additional foliage, leaves & flowers.
- Add a die-cut sentiment to each circle with foam tape.
- Finish by accenting with iridescent jewels.
That is everything I have for you today! If you have any questions about my post today, feel free to leave them in the comments and I will be sure to reply.

Before you move along with your day, I wanted to invite you to follow me on
social media. I would love to be
crafty friends online!
Wishing you a wonderful Thursday!
SUPPLY LIST
Subscribe to:
Posts (Atom)


Social Icons