
Showing posts with label The Ton. Show all posts
Showing posts with label The Ton. Show all posts

Happy Wednesday, crafty friends! I hope that you are having a good week so far! I've given myself a goal to participate in this month's 30 Day Coloring Challenge from Kathy Rac at The Daily Marker. Even if I end up not coloring every single day, I still want to try to share projects several times per month for it. Please join in the fun if you'd like!
I actually colored these cards at The Ton's Watercolor Retreat, which was in NYC at the beginning of March. Seriously friends - that feels like it was ages ago, rather than just a month. We fell in love with the city during the week we spent in Manhattan, and my hearts breaks over how hard it has been hit by COVID-19. Josh and I had the greatest time together, walking & exploring all over - eating tons of great food and taking in all the sites. We were able to see Wicked & Hamilton on Broadway, which just left me in utter awe. I think I had a permanent smile on my face through them, except during a part of Hamilton when instead, tears were flowing. No spoilers - you'll just have to see it. ;) There was so much life and so much vibrancy while we were there, and my greatest hope is that NYC will get back to that place. It may take some time, but I believe in the resiliency of that city, and of our country.
You are getting a peek at a stamp set that will release this month from The Ton called Bountiful Magnolias. I believe the release week starts tomorrow, so you shouldn't have to wait too long for it to become available! I've colored both images in with the gorgeous Spectrum Noir Sparkle markers, which were SO much fun to use. You will definitely get to see how much they shimmer & sparkle in the photos below.

"Happy Mother's Day" card features:
- Bountiful Magnolias stamp set (available sometime this week)
- Spectrum Noir sparkle markers: Peony, Fig, Olive Jade, Macaroon
- Pinkfresh Studio Essentials: Stitched Rectangles die set
- Pinkfresh Studio Essentials: Basic Label Frames


"Sending a Birthday Hello" card features:
- Bountiful Magnolias stamp set (available sometime this week)
- Spectrum Noir sparkle markers: macaroon, harvest moon, sage
- Pinkfresh Studio Essentials: Stitched Rectangles die set
- Pinkfresh Studio Essentials: Basic Label Frames

This card was put together almost exactly the same, with the exception of marker & heat embossing colors. There are some small differences in the sentiment, including stamping part of it in Detail Black ink and diecutting with the next size of this basic label frame. Other than that, they really are basically the same card.


I did the fun drop & glue technique when adding the clear sequins to the front. Basically, you take a small pinch of sequins and hold them over your panel and let them drop. Then you adhere them down wherever they land! I will admit, I took a couple off here & there, and maybe made some sight adjustments...but for the most part I kept them very close to where they landed. The exception to this, of course, is the accenting done around the sentiment labels. Those were placed strategically.


That is everything I have for you today! If you have any questions about my card, feel free to leave them in the comments and I will be sure to reply.

Have a great start to your weekend!
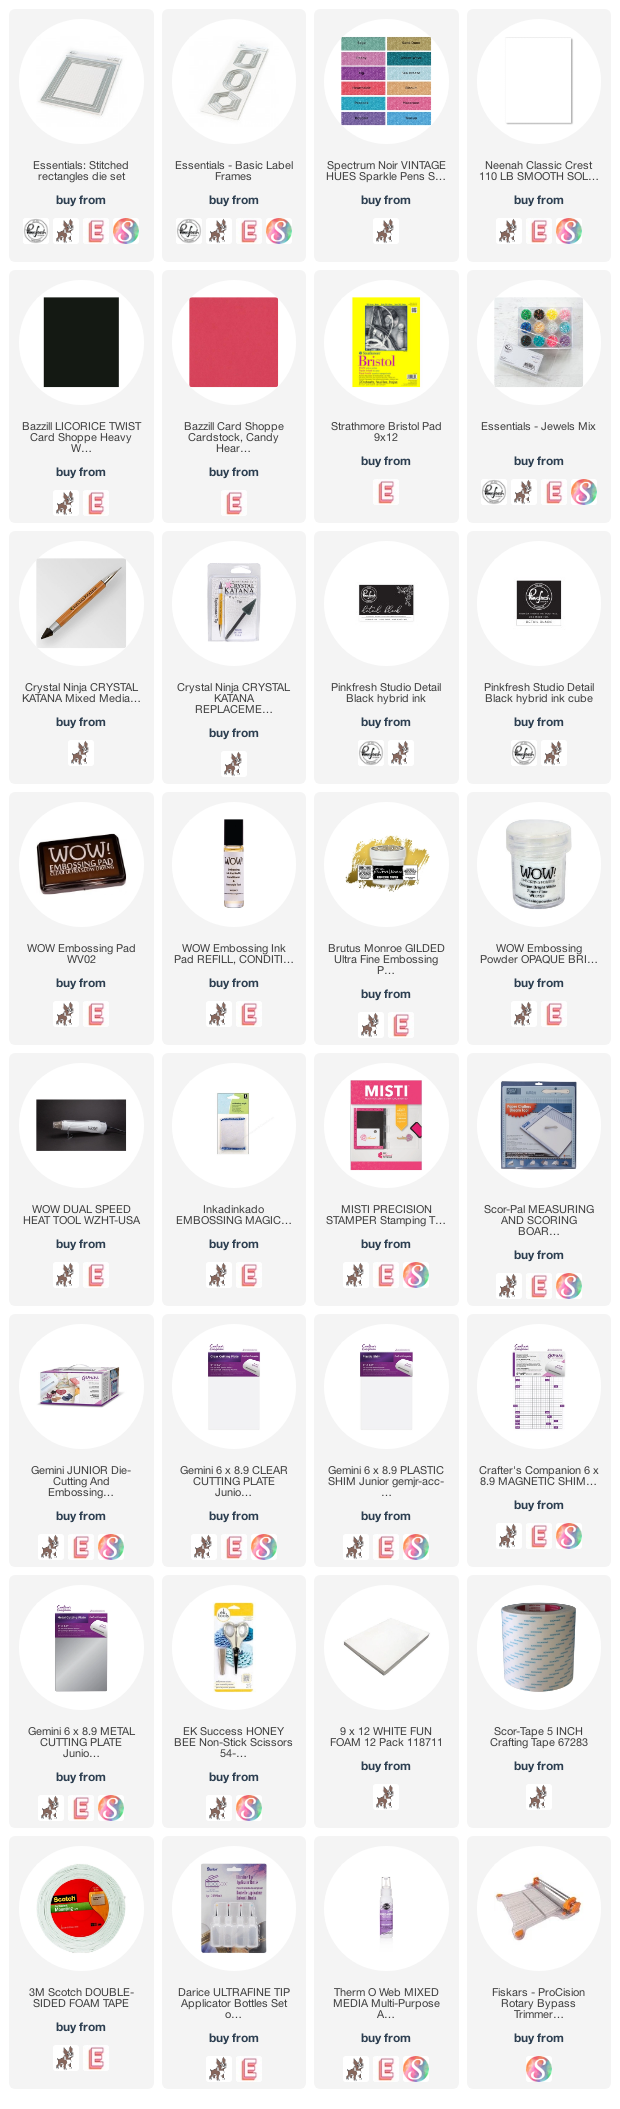
SUPPLY LIST

Happy Monday, crafty friends! I hope you had a good weekend. We spent some time finishing up some training for our foster care relicensing. We also watched football, hung out with our neighbors at a neighborhood brewery and I got some cardmaking in!
So, last week I did a thing...I signed up for The Ton Craft Retreat in March 2020. Josh and I have been talking about taking a trip to Manhattan FOREVER. Little did I know, he wanted to do it for my 40th birthday, which is in January. We were on a walk and I mentioned Effie's retreat, and how it was taking place in a hotel in Times Square...which I was really excited about. He then told me to BOOK IT, because he wanted to plan a trip to NYC for us anyways! We are arriving on the Tuesday before the retreat begins, and will stay through the next Monday, so that we have some "just us" days in the city to explore, and see all the sights that I've always wanted to see. I am SO excited, friends!
I believe there are still spots left, and you can sign up HERE. I took a 4 hour class from Effie at {Stamp} JunkieFest this past June, and she is fantastic! I already know a lot of watercolor techniques, but I still learned so much from her. She is also engaging, informative and really good about making sure you get one on one time with her if you need it. I think it will be a really fun time with crafty friends, and if you are looking for a retreat to go to next year...I would love for you to join me! :)
I had some watercolor time this weekend, and created this card set using the Peony Laurel stamp set and coordinating dies from The Ton, and painted them with my Pinkfresh Studio liquid watercolor. You can purchase the full collection HERE, and get 10% off using the code WATERCOLOR10. I've also linked the individual colors at the end of my post in my full supply link list.

I've created my own custom colors just by mixing the liquid watercolor. Here is a simple recipe, but realize that you will need to adjust a bit to get the exact color you want.
Coral Pink: 1 part Bubblegum to .25 part Clementine (you will likely need to add more pink.)
Bright green: 1 part Key Lime to 1 part Emerald City
I also add a bit of water to every color mix, because our liquid watercolor is so highly pigmented. I suggest playing around a little bit, and testing the colors on the same watercolor paper you plan on using.

To start, I stamped & heat embossed the main image from the Peony Laurel stamp set three times in Gilded to Strathmore cold press watercolor paper. This paper is nice & sturdy at 140 LB. The texture is not as beautiful as the Arches texture, but it is still lovely watercolor paper, and I don't want it to go to waste. Then I proceeded to color the images with my custom color. I did the floral first, then the leaves. I do a small section at a time, lightly dampening the paper within the embossed section. Then just lightly touching a paint filled brush to the center, and letting the paint move out with the water. It will get lighter as it moves, and then you can take a clean, detail brush in to finish the job. This is a super easy technique, and a great place for watercolor beginners to start!
I used one of the floral pieces, and turned it into a shaker card. The shaker circle was create using the Essentials: Inverted Stitched Scallop Circle die set from Pinkfresh Studio. Then I filled it with Essentials: Crystals Mix in pink, and the Candlelight confetti mix from HoneyBee. The sentiment was stamped & diecut from gold glitter paper using both the Peony Laurel stamp set, and coordinating dies.


I tried giving you a good peek at the shaker mix, because it is GORGEOUS. It doesn't photograph super well, but hopefully you can see how lovely it looks.

For this card I used the remaining 2 floral pieces, and just framed the sentiment with them on the card front. I did splatter some of the matching custom colors to the front, using the sentiment stamps as a "guard" to keep the paint from splattering on it. I accented this card with the Essentials: Jewels Mix from Pinkfresh Studio, using the green, light pink & white jewels.


I really love how these cards turned out, and I'm so excited to have used this beautiful stamp set! It' been in my crafty studio for awhile now, and I'm finally having the chance to break it out. I love Effie's floral stamps - they are some of my favorites, and they are perfect for watercoloring!


One last shot, hoping to show how beautiful the gold embossing looks on these floral pieces, and all the shine it gives to your card. I also added shimmer to the petals with my Tonic Aqua Shimmer pen, but I didn't really have the right light to show that the day I photographed. So, the florals have a beautiful shimmer when you see them in person.

That is all I have for you today! Before you move along with your day, I wanted to invite you to follow me on social
media. I would love to be crafty friends!
Have a great start to your week!
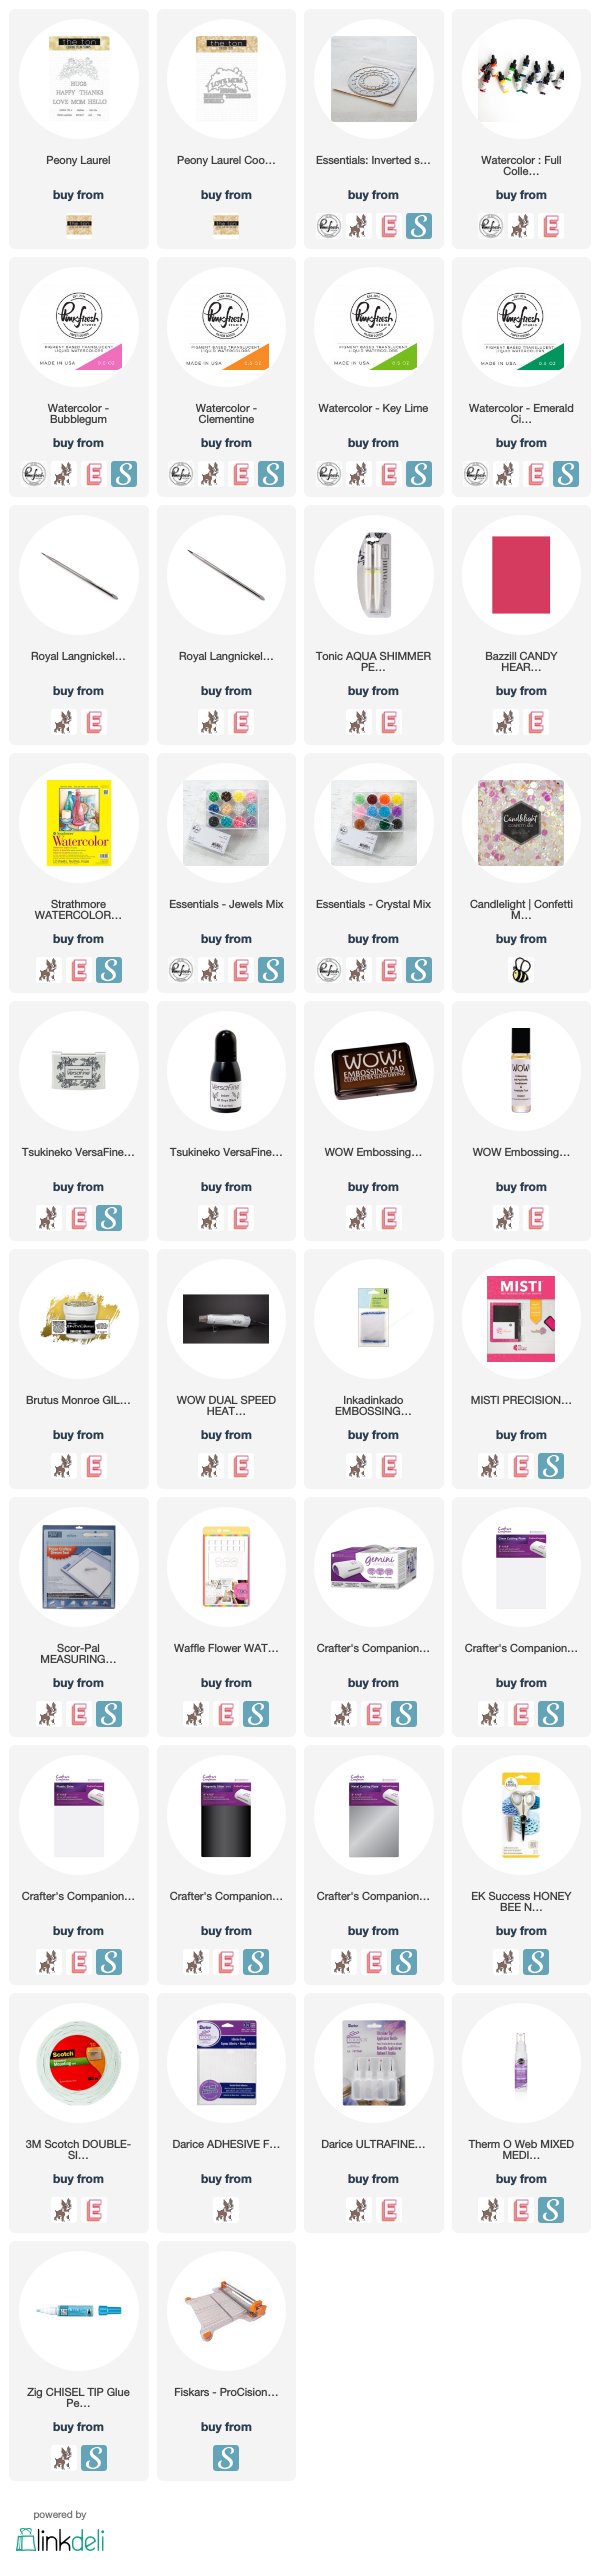
SUPPLY LIST
For your
shopping convenience, all products are linked below, including
affiliate linking when possible - this allows small compensation for me
at no cost to you. I typically link to 2-3 sites, in hopes that your
preferred retailer will be among them. I only support legitimate retail
sites, that are true partners to stamp, die and scrapbooking wholesalers.

Happy Saturday, friends! I hope that you are having a wonderful weekend so far. I wanted to pop in today, because I had a moment this morning to create a couple of cards. I don't often create "just because", but it was so nice to use this beautiful piece that I watercolored in Effie's class at {stamp} JunkieFest 2019. This was a 3 day stamping event that I did some work at for Pinkfresh Studio, but also personally took some classes. It is organized by the founders of Stamp Junkies, which is a fantastic Facebook group for those that love stamping. If you haven't joined, I highly recommend it!
I took Effie's (owner of The Ton clear stamps) 4 hour class, and then proceeded to use about 2 other hours in a different class to finish it. Granted, I was also watching Effie at times while she taught and also chatting with the wonderful ladies at my table. I am super comfortable with watercolor, but I really LOVED learning this technique with Effie, and using a product by Ken Oliver called Color Burst. I've never used them before, and they were quite fun! When I got home, I added some titanium white splatters to the watercolor piece, which just tends to be part of my style.
I'm never going to be able to explain in my own words this fun watercolor technique, so I highly suggest subscribing and watching all the videos on The Ton's YouTube channel. Effie does a wonderful job in her videos, and you will learn far more there than you will here. Lol! I'm just going to share the pretty final pieces!

The floral image is from the Peony Dreams Cluster stamp set, and is quite large. I stamped & heat embossed it in Brutus Monroe Gilded embossing powder to a 6x6 block of Arches cold pressed watercolor paper. I highly suggest using a MISTI stamping platform when using this paper, as it is quite textured. I typically stamp it 3 times to make sure I get a good impression.
I'm an A2 sized card girl, so I ended up trimming it down to fit. That meant I trimmed off a chunk of time spent, and I just couldn't let it go to waste. So I fussy cut the remaining section, then created the card below. I did a mix of stamping & heat embossing for the sentiment from the You've Got This stamp set to a scrap of matching Arches watercolor paper. I adhered it to the middle of an A2 card base created from Bazzill Basic Candy Heart cardstock, then framed it in DCWV glitter paper using the Pretty Frames die. Both the sentiment & diecut set are from Pinkfresh Studio. I don't get to mix manufacturers very often, so it is fun when I do!


This card is definitely the star of the show, with the big floral element and Effie's watercolor technique. As I mentioned above, I used Ken Oliver Color Burst for the first time, and I used the Caribbean Brights set. I shop mostly at three places, and I could only find them on Amazon. Speaking of Amazon, I also wanted to share a water brush set that I purchased at the last minute. It is this Ohuhu 6 pack, and considering it's $10 price point...I was skeptical. But I LOVE them. I had yet to find a water brush that I actually liked, and these ones hit the mark. And I love that you get all the different sizes & styles in this 6 pack.
I kept the focus on the watercolor peony on this card, just embossing the sentiment from the Large Peony 4 stamp set to a strip of vellum, then attaching to the bottom. I accented with some Studio Katia Iridescent Cones that I received in my super generous swag bag from the JunkieFest 2019 event. I can't seem to find them anywhere for purchase, but you could easily switch them out with a jewel or gem you have on hand. I also accented the first card with some Essentials: Jewels mix from Pinkfresh Studio.


I also added some shimmer to the floral piece using a Tonic Aqua Shimmer pen. This is another touch that just lends to my style, and could definitely be left off if you don't love glitter. Although, it is very subtle, but gives the card some beautiful shine in different light.

That is all I have for you today! I wanted to invite you to follow me on social media if you'd like. I would love to be crafty friends!
Have a great rest of your holiday weekend!
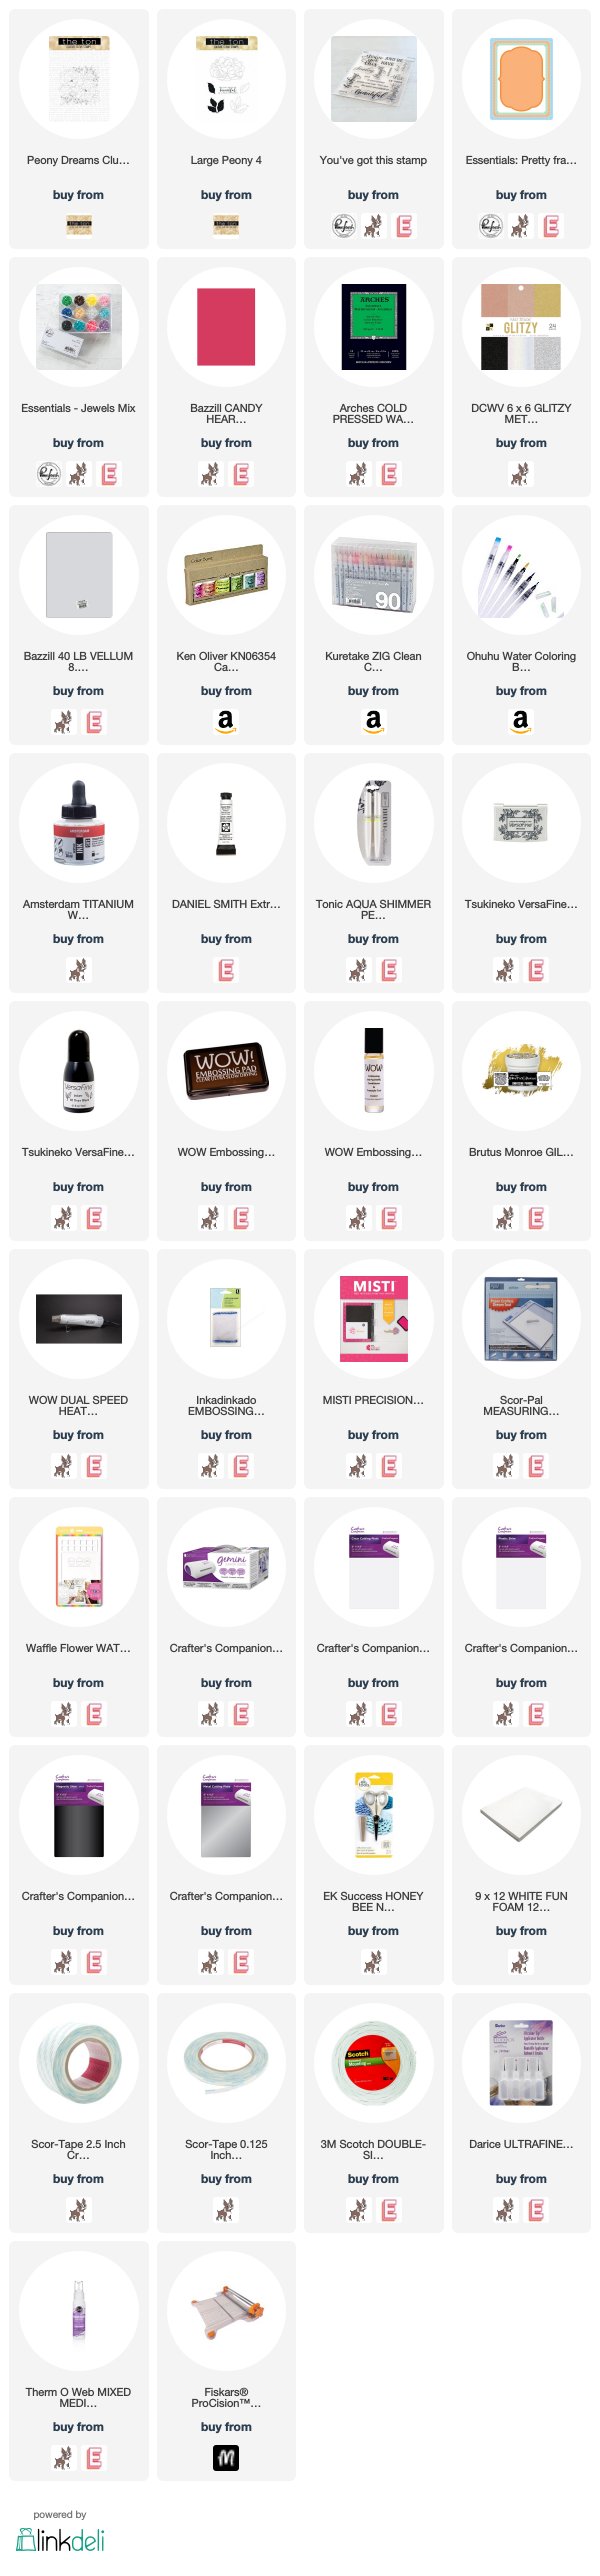
SUPPLY LIST
For your shopping convenience, all products are linked below. {Includes affiliate linking where possible - this allows small compensation for me at no cost to you. Never fear - I will only ever link to products that I truly love & use!}


Happy Saturday, crafty friends! Today I am excited to be part of The Ton's 4th Anniversary celebration!
This is the first of 4 days of blog hops, full of amazing designers! You are going to see the 9 new sets in action over these 4 days, and I must say...it was SO hard to pick the sets I wanted to showcase. They are all so amazing! Be sure to check them all out over at The Ton!
I will give you all the blog hop & giveaway info at the end of my post, but how about we get to my cards first? I ended up picking Coming Up Peonies and Special Day Lanterns as my selections. The reason behind that? Weddings. Lol! I photograph weddings part-time, and I've seen lanterns like this on many occasions...and I LOVE them. Peonies are also my favorite flower, and I just love when I see them in bridal bouquets. These two stamp sets just seemed like a perfect fit for me.
Subscribe to:
Posts (Atom)


Social Icons