
Showing posts with label Wink of Stella. Show all posts
Showing posts with label Wink of Stella. Show all posts

Happy Sunday, crafty friends! I hope you have had a wonderful weekend so far! It's been a quiet & cold weekend over here in Minneapolis. We got some workouts in, and after that were mostly homebodies. That means I got some crafting time in!
Today I've got a card featuring some newer products from Simon Says Stamp, who happens to be celebrating 18 years in business! What an amazing feat! They've got a code for 18% off your order, which ends tonight at 11:59pm EST. All you have to do is throw some things from your wishlist in your cart, then use the code EGHTN845 in the promo code section when you checkout. Easy peasy! I grabbed a couple things that I needed...including a die for a stamp set that I want to use, and the Amsterdam titanium white fluid acrylic ink.
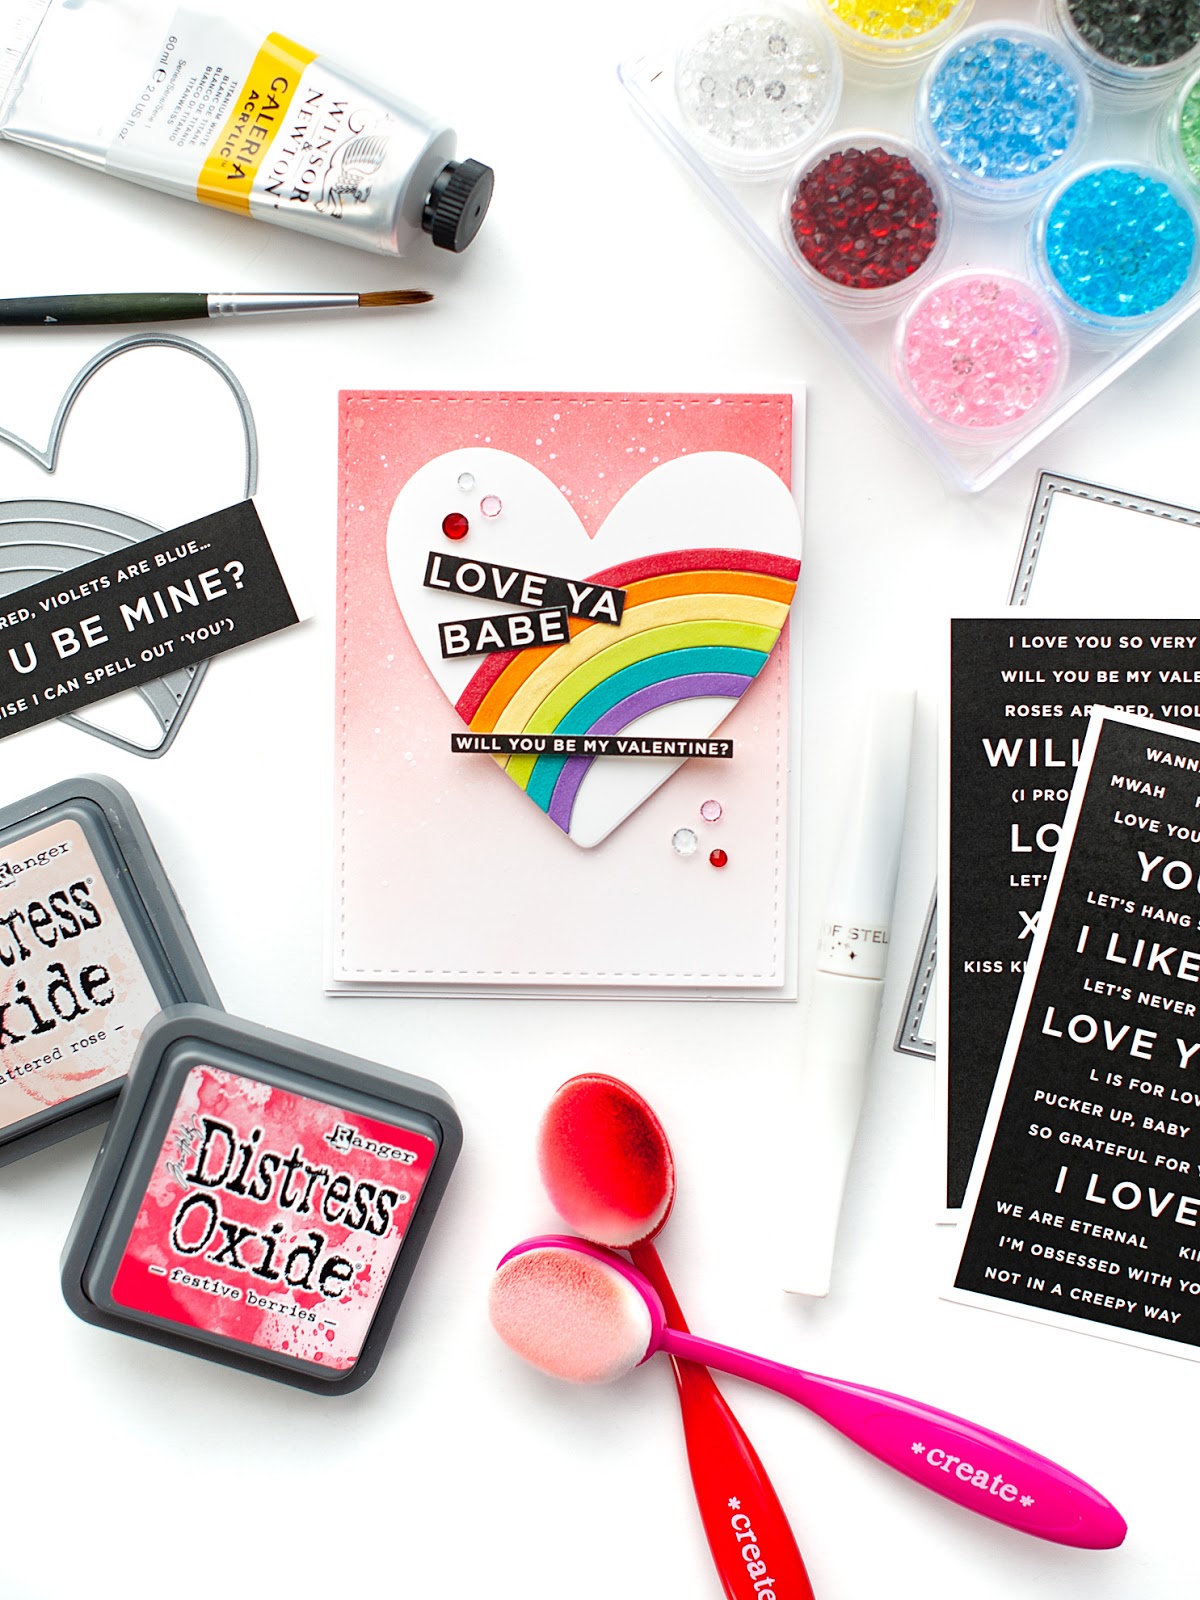
I've got a rainbow valentine that I started on Friday at craft night, and finished after my workout yesterday. It features the Rainbow Heart die, and the sentiment is from CZ Design Reverse Love sentiment strip pack. It was perfect, because I call Josh babe almost 100% of the time...and it was so nice just having the sentiments done for me. All I had to do was trim them down and mount with some foam tape. These are really perfect if you are short on time but want some amazing sentiment options!

To start I did all the diecutting with the Rainbow Heart. The heart die doesn't have a solid background, so I traced the negative on to matching white cardstock and fussy cut. I cut the rainbow layers 4 times: once from the rainbow colors, then tree times from white cardstock. I stacked & adhered everything with a Zig pen, then added shimmer to the rainbow layers with a Wink of Stella pen.


Next I ink blended the background using distress oxide inks in Festive Berries & Tattered Rose. This is one of my favorite blending combos, especially for love themed cards. I diecut the blended background with the largest Stitched Rectangle die, then splattered it with watered down Titanium White acrylic paint.


I trimmed the sentiments down, then assembled everything to the front of an A2 white card base. I used lots of foam tape to adhered everything, as I like a lot of dimension to my cards. Then I finished by accenting with the Essentials: Crystals Mix in red, pink & clear. I use the jewels so much, but I really wanted the crisp & clear feel of the crystals on this card!

That is everything I have for you today! If you have any questions about my post today, feel free to leave them in the comments and I will be sure to reply.
Don't forget that the storewide 18% off sale ends tonight at Simon Says Stamp, so be sure to take advantage if you have some crafty items on your wishlist! Before you move along with your day, I wanted to invite you to follow me on
social media. I would love to be
crafty friends online!
Wishing you a peaceful Sunday.
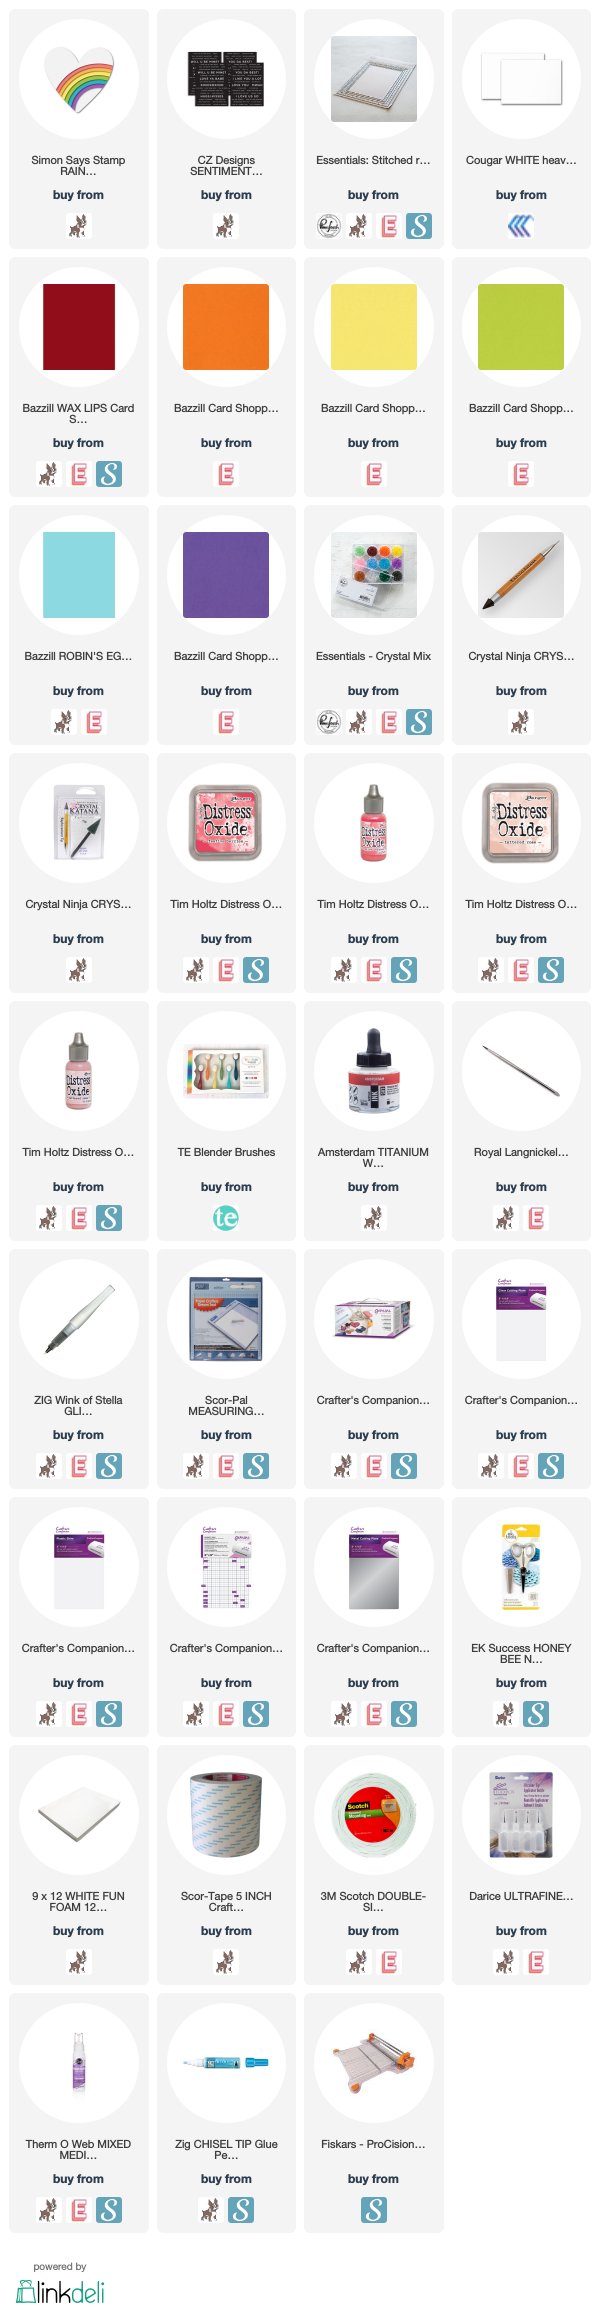
SUPPLY LIST

Happy Sunday, blog friends! I just wanted to drop in and share one more card with you using the Floral Frame with a Swan diecut set that is also part of the Pinkfresh Studio weekend sale!

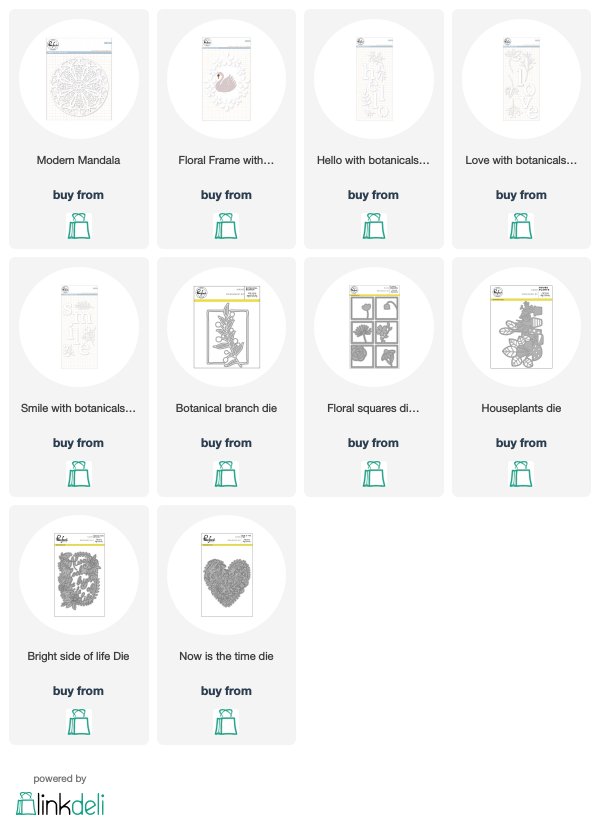
All stand alone dies (with the exception of anything released in July 2018) are 25% off this weekend using the code SA25OFFDIES. The code is valid through Sunday, August 5th at 11:59pm CST, so just a few more hours to shop! I'm a HUGE fan of stand alone dies, so I wanted to share the savings with you. Here are links to all of the dies that are 25% off this weekend:


Happy 4th of July, blog friends! I hope that my US friends are having an awesome holiday so far! It looks like ours is going to be rained out...a bit of a bummer, but I have SO much Pinkfresh work to do getting ready for our new release on Monday that I'm not going to worry about it!
Before I get to my card, I just wanted to mention a few sales that are ending today! It's a great time to shop and get some amazing savings! Just click on the banners below to take you to the stores!


Hi there, blog friends! I hope you are having a happy Monday so far! I've got a CRAZY busy week this week with Pinkfresh, as we are gearing up for another new release! Be sure to check back here next Monday for a huge blog hop!!
Today I wanted to pop in and share that I was on the WPlus9 blog this weekend as a Guest Artist! I’m a big fan of WPlus9 stamps & dies and love what I created for you today!
One of my favorite things to do is mix my older items with newer items to freshen them up! Leaving the crafting world to deal with losing Ellie and then Layton left a lot of beautiful items I purchased unused. For my cards today I have combined Beautiful Bouquets: Ranunculus with the following items from the two newest releases: the Trellis Background 1 Die, the Fierce and Fabulous stamp set, the Fabulous Die, and the No One Else stamps and the No One Else dies.


Hi there, blog friends! Welcome to day 1 of the SugarPea Designs Summer Sweet Peek Week! We've got a ton of amazing new products to share with you, plus lots of inspiring projects!

All of the new stamps & dies will be available for purchase in the SugarPea Designs shop on Friday evening! Be sure to get all the details you need on the SugarPea Designs blog.
Today we are featuring the new Llama Just Say stamp set, and coordinating SugarCut dies. This set is SO adorable, and you are going to just love all the fun & punny sentiments. I made a little sunset scene for my card today, and it turned out so cute! I just love all the pops of color!


It’s time again for the SugarPea Designs Sweet2Repeat Blog Hop! Now that so many of you have our Spring Release in your hot little hands, our team has geared up to inspire you with even MORE creative possibilities featuring our newest and hottest products!
I was obsessed with the Postage Stamps die set during the last release, and combined it with the ParisScape & the Parisian Holiday stamp set for my card today! I "lifted" myself from a card I made during the Spring Release Week - but flipped it around, and heat embossed the sentiment. I love how it turned out!


Today is the day...welcome to day 5 of the SugarPea Designs Sweet Peek Week!

All week long I've had projects featuring brand new products from SugarPea Designs that will be available at 6pm EST tonight! Each day has had a blog hop of sorts, where you can hop along and check out what each SPD designer & guest has created with the day's featured product! I will have that link list for you at the end of my post. {All product links below will not go live until Friday evening.}
Today I am featuring the stamp set that is the Sweet Incentive for the Spring release! It is called Wagon Wishes, and will be free with a $60+ order while supplies last! I've paired it with the Sending Sentiments stamp set, and of course, the Postage Stamp CoverPlate. I am a bit obsessed with that new die set...I've used it on every single card this week! Just goes to show how versatile it is, and it is definitely a must have! You will reach for it all the time.
I wasn't able to get to a process video for this post, but if you haven't seen them...I did do videos for my first 3 posts this week. You can go back to each post to view them, or just head over to my YouTube Channel! :) I'm still really new at this, but having a ton of fun learning how to do it! If you'd like, you can also follow me on Instagram! I post all of my projects there, along with really cute photos of my dogs & daily life in my Stories.
I thought that the wagon filled with flowers would be perfect for a thank you card. It's like your sending them flowers that live forever! Check it out:


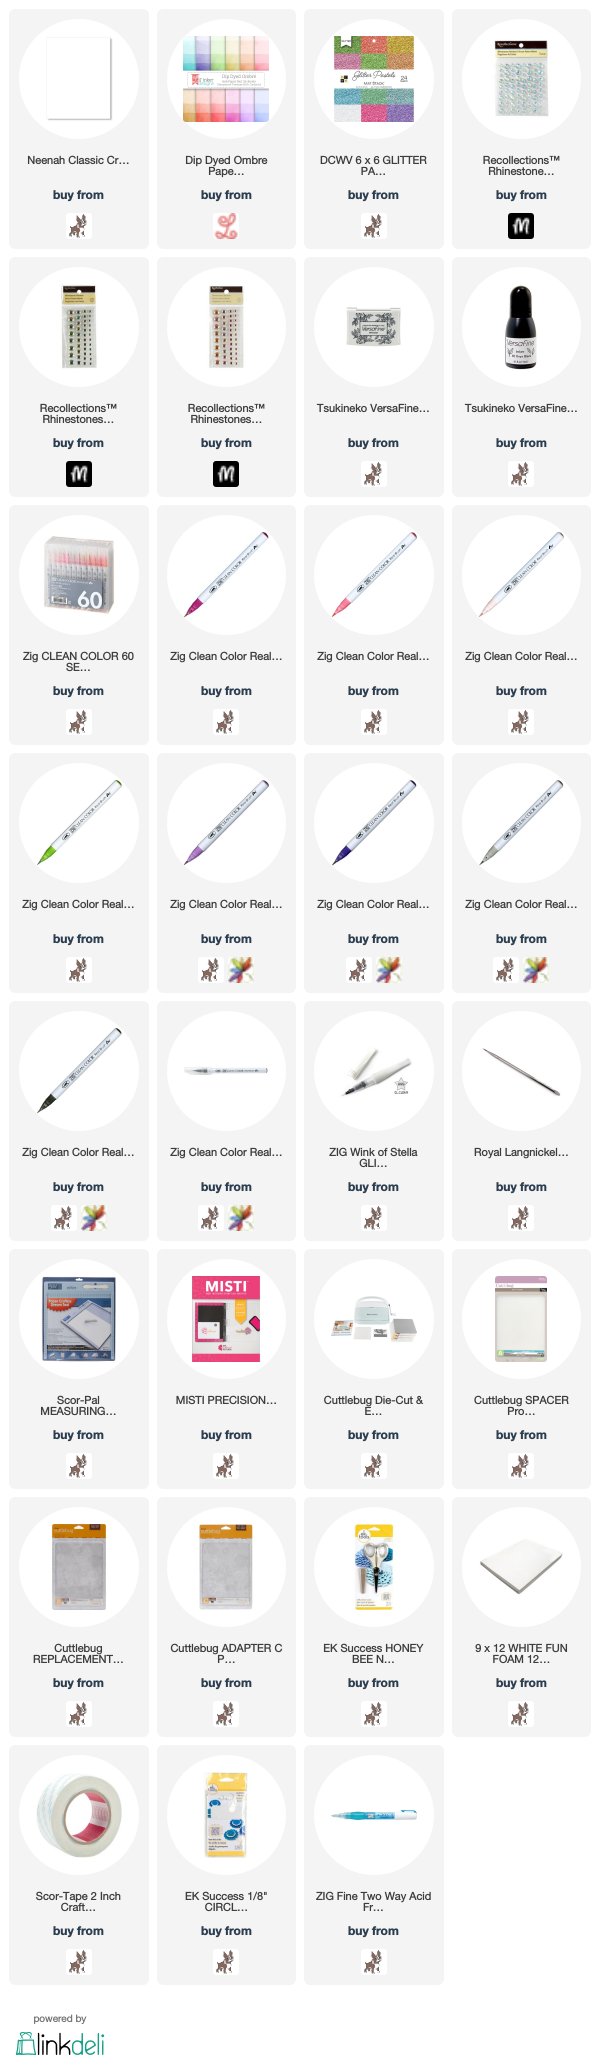
Next I stamped the wagon image to white cardstock in onyx black Versafine. Then I proceeded to color it in with my Zig Clean Color Real Brush markers in the following colors: dark pink, light carmine, pale pink, light green, light violet, violet, light gray, gray & black. {All are linked below.} I used a tiny bit of water & a size 2 watercolor brush to blend & soften the colors a bit. Once it was dry, I diecut the stamped image & adhered to the card front. Then I added a little shadow to the front with the light gray Zig marker.


I stamped the second part of the sentiment below the wagon. Then I diecut the word Sending four times: once from pink glitter paper and three times from white cardstock. I layered them together, then adhered the word diecut above the stamped sentiment.


I felt like it needed another little something, so I colored in the flowers & leaves with my Wink of Stella shimmer pen. After that, I embellished it with my signature jewels tucked here & there!


This is a photo of all the shimmer from the Wink of Stella pen - it is SO pretty! I had to take this image in direct sunlight - which is definitely a photography no-no. The only exception is when you are trying to capture glitter! :)


Our Special Guests:
You can get additional information on all the stamps & dies
being introduced today at the SugarPea Designs blog (linked above).
Wendy is giving away the 24 Carrot Friend stamp set to one lucky
winner. All you have to do is leave a comment on the
SPD Blog - but you
will get extra entries if you also hop along and comment on all the
other designers' blogs as well!
All new product release tonight! What is on your shopping list?
SUPPLY LIST
For your shopping convenience, all products are linked below. {Includes affiliate linking where possible - this allows small compensation for me at no cost to you. Never fear - I will only ever link to products that I truly love & use!}


Welcome to day 3 of the SugarPea Designs Sweet Peek Week! Two more days of inspiration, and then the products will be available for sale on Friday evening!

Today I am featuring the Eyelet CoverPlate, 24 Carrot Friend stamp set, and the 24 Carrot Friend SugarCuts. I've also used the heart from the Postage Stamp CoverPlate. If you couldn't tell...I am a little obsessed with that new die set. I adore it!
I wasn't able to get to a process video for this post, but if you haven't seen them...I did do videos for my first 3 posts this week. You can go back to each post to view them, or just head over to my YouTube Channel! :) I'm still really new at this, but having a ton of fun learning how to do it! If you'd like, you can also follow me on Instagram! I post all of my projects there, along with really cute photos of my dogs & daily life in my Stories.
If you've been around my blog at all, you know that I don't color a whole lot, and have just very basic skills at it...but this adorable bunny was WAY too cute & I had to make sure he graced my card for today! I kept the coloring very simple, and used the lightest shades possible from my Zig Clean Color Real Brushes. I also covered the carrot with Wink of Stella shimmer...and it's such a fun touch!


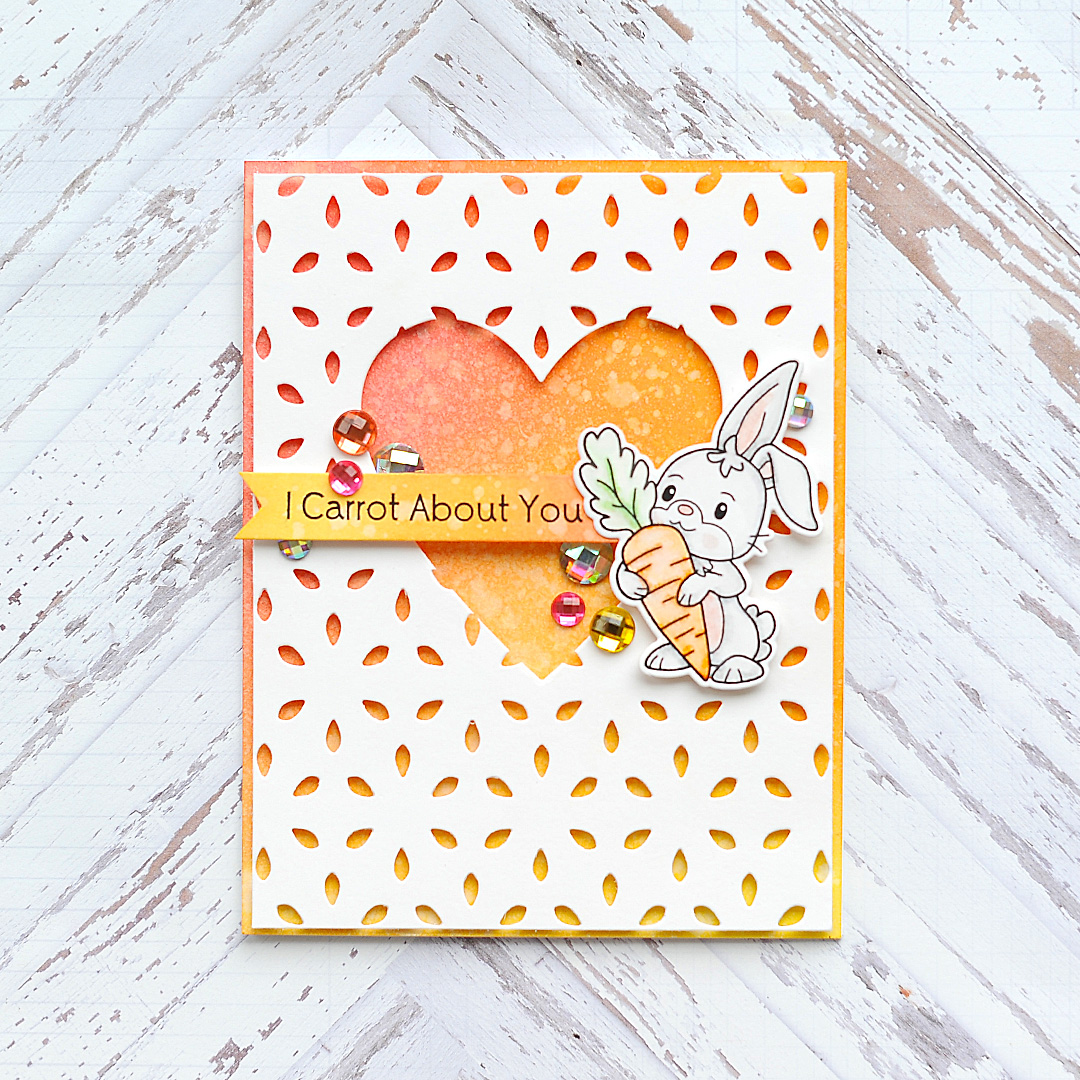

Next I diecut the Eyelet CoverPlate from white cardstock, then proceeded to diecut the heart from the middle. I trimmed the edges just a tiny bit to make it a little bit smaller than the card base, then mounted it to the card front using foam dots.


Next I stamped the bunny to white cardstock in onyx black Versafine using my MISTI. I almost always use my MISTI when stamping now, as it gives me peace of mind that I won't have to completely start over if I don't get a good enough stamp impression the first time. Then I proceeded to color the bunny in with my Zig Clean Color Real Brush Markers. (Colors used: light gray, pale pink, orange & pale green - they will all be linked below.) I used small amounts of water and a size 2 watercolor brush to soften & blend the colors.

Once the cute little bunny was dry, I cut him out using his coordinating SugarCut, and colored the carrot with my Wink of Stella shimmer pen. Then I adhered him to the right side of the heart using foam dots.
I decided that I wanted the sentiment strip to be ink blended as well, so using the same colors as the background I added the inks to a white cardstock strip & did the water reaction. Then I stamped the sentiment to it in onyx black Versafine ink using my MISTI. I always feel like I need to stamp twice when stamping to oxide inks in order for the stamping to really stand out.


I cut a banner edge to the left side of the sentiment strip then adhered it to the card front with foam dots, tucking the right side underneath the little bunny. The final step was adding my signature jewels to the front tucked here & there!

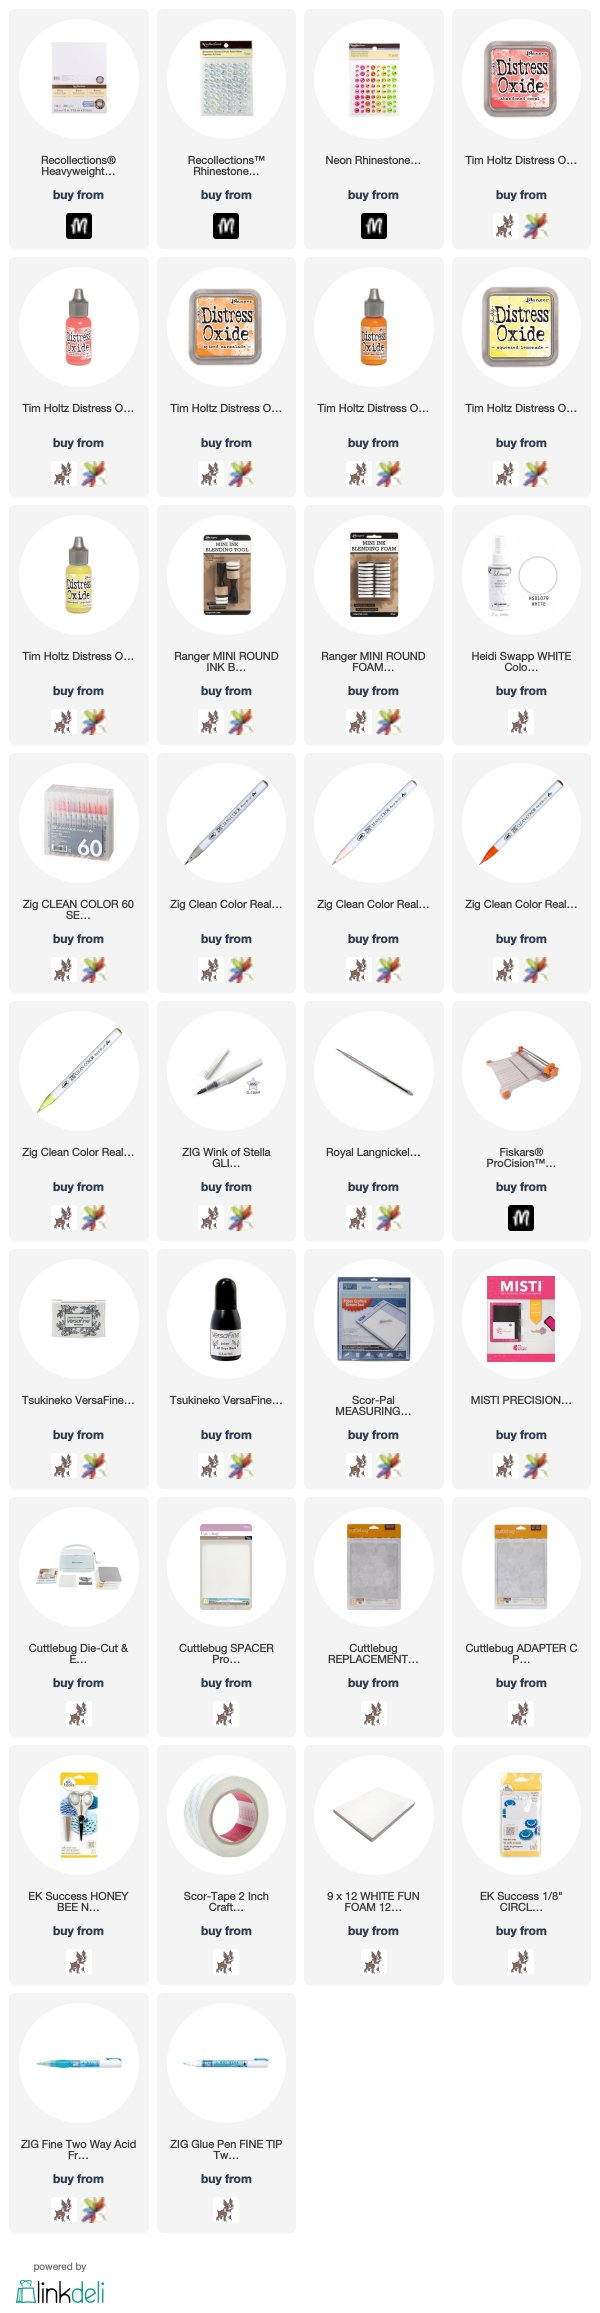
I've started sharing these photos, as this is all you need to create this adorable little bunny card - apart from tools, adhesives & basics like cardstock. You really don't need a lot to create an amazing card, and most of these supplies can be used over & over before they need to be replaced. I absolutely purchase new items each month to freshen my products, but I do stick to a pretty strict budget. I like to invest in items that I will get a lot of use out of, like distress oxide inks of Zig Clean Color Real Brush markers, and make sure that I am using like items already owned before I purchase anything similar.


That is my card for you today! I hope that you like it! Now let's get to the rest of the information you need. First up, here is the link list:
Our Special Guests:
You can get additional information on all the stamps & dies
being introduced today at the SugarPea Designs blog (linked above).
Wendy is giving away the 24 Carrot Friend stamp set to one lucky
winner. All you have to do is leave a comment on the
SPD Blog - but you
will get extra entries if you also hop along and comment on all the
other designers' blogs as well!
I will be back tomorrow with my final Spring release post featuring brand new products from SugarPea Designs!
SUPPLY LIST
For your shopping convenience, all products are linked below. {Includes affiliate linking where possible - this allows small compensation for me at no cost to you. Never fear - I will only ever link to products that I truly love & use!}
Subscribe to:
Posts (Atom)


Social Icons