
Showing posts with label Wow Embossing. Show all posts
Showing posts with label Wow Embossing. Show all posts

Happy Tuesday, crafty friends! This month I'm excited to be guesting with WOW! Embossing Powder. For my second guest post this month, I have a fun rainbow gradient card to share with with you! I love how these new Lacey Edgers 1 dies from Pinkfresh Studio almost make it feel like a pinata! These dies just released yesterday, and are part of our May Essentials release. Check out THIS POST if you'd like to participate in the blog hop and enter for your chance to win lots of giveaways!


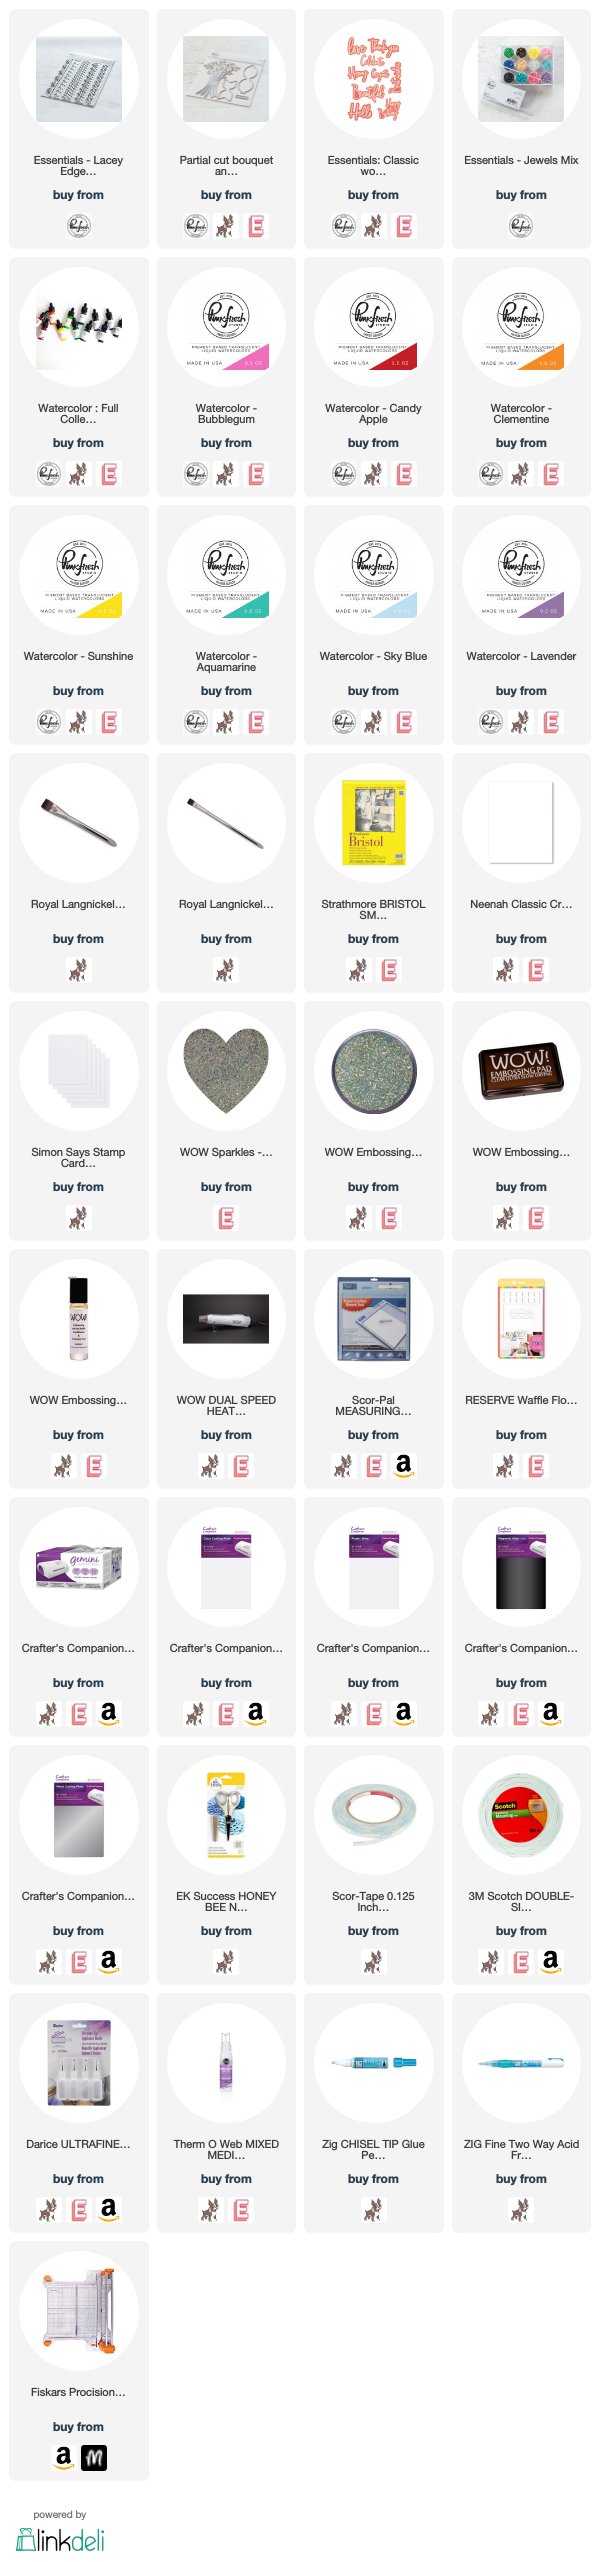
To start this card I painted the ombre stripes to (2) blocks of smooth Bristol cardstock using Pinkfresh Studio liquid watercolor, then dried them with my WOW! Embossing dual heat tool. Once they were bone dry, I diecut them with the Lacey Edgers 1 dies and layered to the front of a white cardstock panel, popping just each bottom edge up with foam tape. Then I applied a light wash of Zig glue to the bottom of each edge, and lightly sprinkled WOW! Sparkles in Bridal to them. Then I adhered this entire panel to a white A2 card base.


Next I diecut the bow from white glitter paper using the Partial Cut Bouquet & Bow die set from Pinkfresh, assembled it and adhered it to the left side of the card. Then I diecut the word Hooray from the Classic Words die set three times from white cardstock, stacked & adhered them together with a Zig glue pen. I tapped it directly into the WOW! slow drying embossing ink pad, and covered in WOW! Under the Sea embossing powder. I heat set it, then adhered it to the right side of the bow.


To finish, I accented with a few trios of flat-backed jewels in coordinating colors. These are the new Essentials: Jewels Mix from Pinkfresh Studio, and I just LOVE them. I had some influence over the colors picked for this set, and I am SO happy with how they turned out.

I really hope that you enjoyed my card today using some of the amazing WOW! Embossing Powders, Sparkles, ink & heat tool! I think their products are a perfect fit with all the amazing new items we've been releasing at Pinkfresh Studio...don't you? That is all I have for you today! I wanted to invite you to follow me on social media for you get on with your day. I would love to be crafty friends!
Have a great Tuesday!
SUPPLY LIST
For your shopping convenience, all products are linked below. {Includes affiliate linking where possible - this allows small compensation for me at no cost to you. Never fear - I will only ever link to products that I truly love & use!}
For your shopping convenience, all products are linked below. {Includes affiliate linking where possible - this allows small compensation for me at no cost to you. Never fear - I will only ever link to products that I truly love & use!}


Have a great Tuesday!
SUPPLY LIST
For your shopping convenience, all products are linked below. {Includes affiliate linking where possible - this allows small compensation for me at no cost to you. Never fear - I will only ever link to products that I truly love & use!}
For your shopping convenience, all products are linked below. {Includes affiliate linking where possible - this allows small compensation for me at no cost to you. Never fear - I will only ever link to products that I truly love & use!}
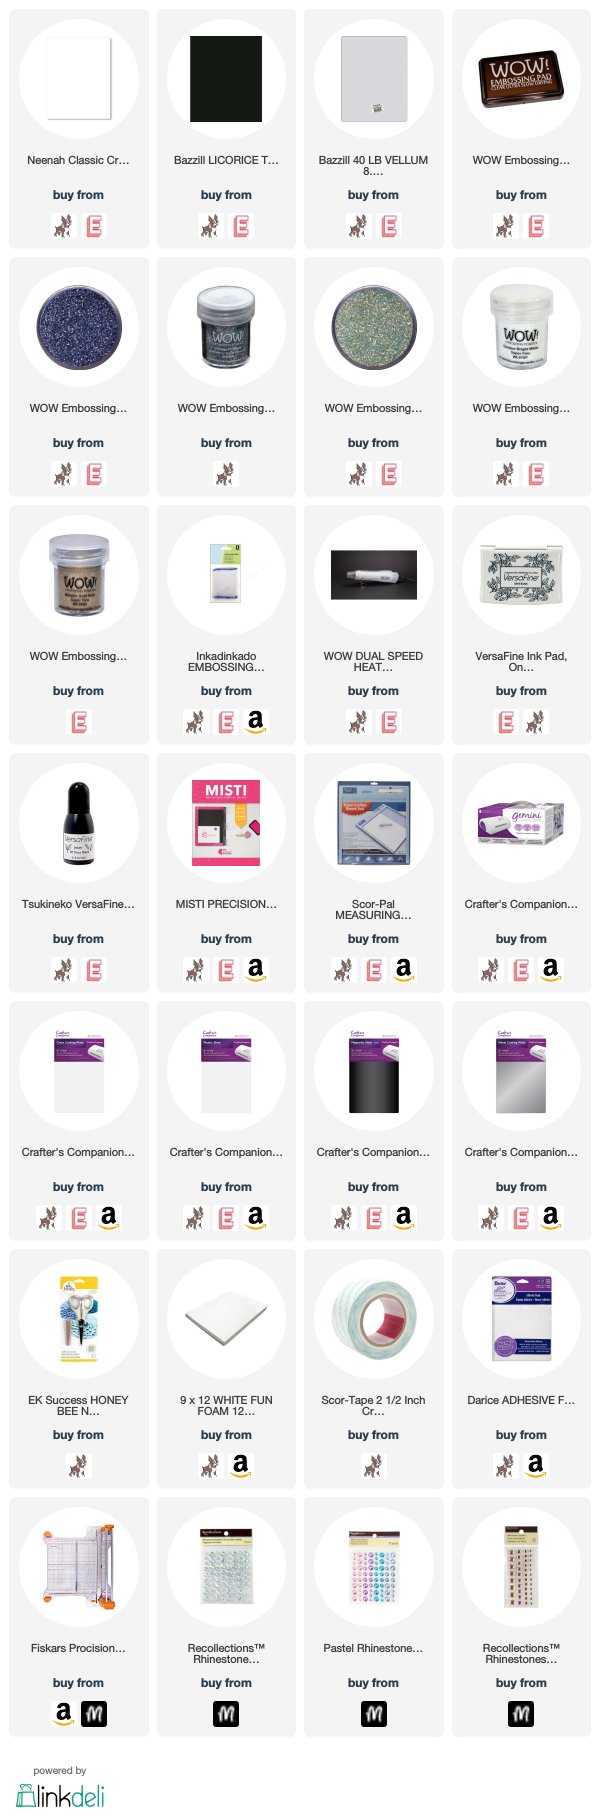


Happy Friday, blog friends! It's almost time for the weekend! There is so much crafty inspiration out there for you this weekend! If you haven't had a chance to check out Rubeena's 2 Day blog hop yet, then be sure to do that this weekend. It is chalk full of inspiration and prizes - including my blog hop post + giveaway (you can get all the details you need in that link).
And today Pinkfresh Studio is collaborating with Wow! Embossing Powders for a blog hop of our own!

Today’s hop is full of inspiration from both teams combining our two wonderful products together. We can’t wait for you to see all that we have in store for you! There are also a couple of prizes to be won! I will give you all that info, along with the complete link list at the end of my post, but how about we get to my card first.
Subscribe to:
Posts (Atom)


Social Icons