
Showing posts with label beautiful backgrounds. Show all posts
Showing posts with label beautiful backgrounds. Show all posts

Happy Sunday, crafty friends! I hope you've had a peaceful and restful weekend, and hopefully some crafty time too! We started Season 2 of Craft Hour with Pinkfresh Studio, hosted by the wonderful Jeff Lindberg. We are calling it season 2 because we have a new day & time for the show - Saturdays at 11am CST! I was on the show this Saturday for some redemption from our last show of season 1. Unknown to me, my phone wasn't working correctly, so the show was riddled with technological issues. I am happy to report that yesterday's show was about a million times better! You can watch the replay below or HERE if you missed it live.
Jeff & I created this fun rainbow card together, using colors that match the Celebrate collaboration collection that we released with Altenew a few months ago.
"Hello Rainbow" card

We used one of our Pop Out stamps, which makes creating multi color backgrounds SUPER easy. We focused on the Pop Out: Rainbow background stamp set, and added a cluster of floral pieces from the Celebrate ephemera pack at the end of the rainbow. Here is a list of the main products that I've used on this card, plus you can find my list of tools, etc., at the end of this post. Thank you so much for clicking on my links and shopping from them, as they provide me with a small amount of compensation at no cost to you. I genuinely appreciate your support!
SUPPLY LIST
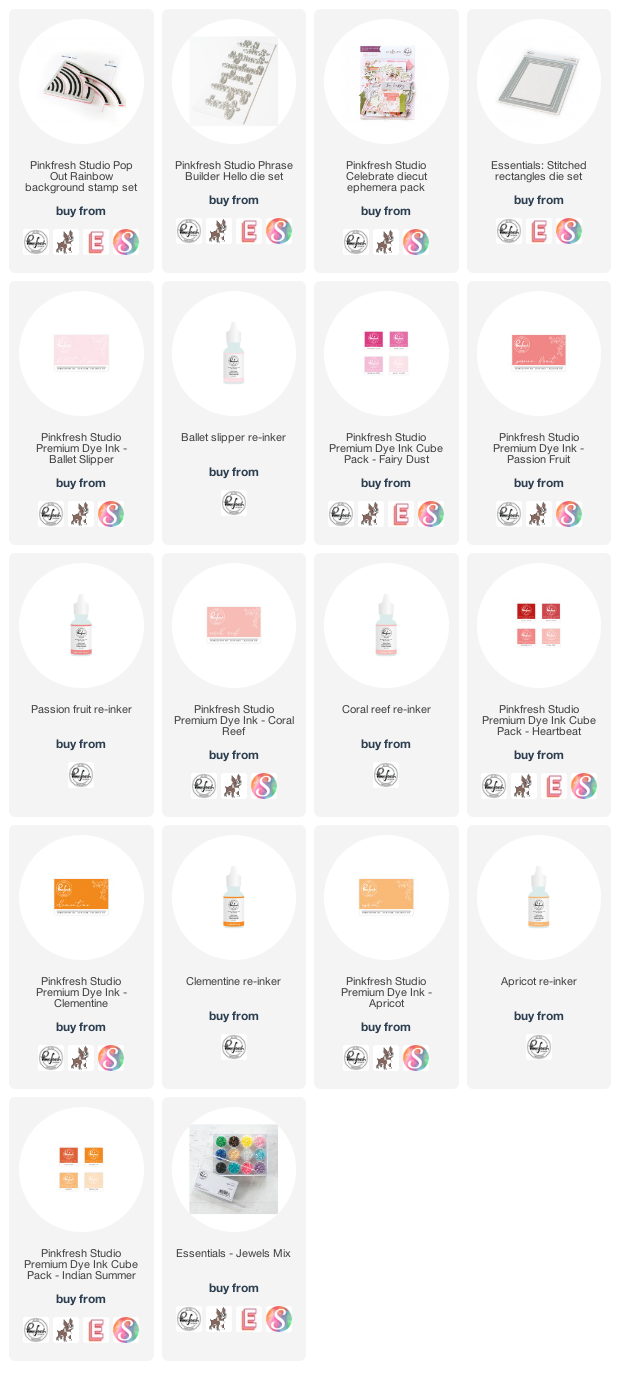
We started this card stamping the rainbow in the colors listed above. Then we diecut the panel with the largest Stitched Rectangle to give it that nice finished edge. Then we started adding our floral cluster at the end of the rainbow. I glued the first layers down with liquid glue, but made sure the glue was only added to the middles. That way I could fluff the florals and leaves to give them a little added dimension. I mounted the top flower with some foam squares for even more added dimension. There is nothing better than having beautiful natural shadows when photographing a card!


I diecut the sentiment from our Phrase Builder: Hello die set. I diecut the scripted word from white cardstock twice, and the shadow layer from vellum. I stacked and adhered them together with a glue pen. Then I mounted it above the flowers with thin foam strips. I added a full panel of foam adhesive to the background, then mounted it to the front of a pink A2 card base. I finished by accenting the card with our Jewels Mix in dark pink, light pink, and gold.


I hope you like my floral rainbow card, and enjoyed my latest episode of Craft Hour! If you have any questions about them, leave them in the comments and I will be sure to reply.

Before you move along with your day, I wanted to invite you to follow me on social media. I would love to be crafty friends!
Have a great rest of your day!
TOOLS & BASICS LIST

Hi crafty friends! Did you guys know that we have a bi-weekly sketch challenge in the Pinkfresh Studio Facebook Friends Group? Every other Wednesday I post both a card sketch and scrapbooking sketch. You've got two weeks to create a new project for it, and add it into the correct Facebook album. We randomly pick a winner to receive a $25 gift card code to our shop, so it is definitely worth playing along!
It just so happens that this week's card sketch #14 is inspired by a card that I did for our April Release! Here is a look at the sketch graphic:

So, I've actually created the exact card again, just in brighter summery colors! I demo'd this card a couple of times on Hochanda in the UK via Skype in either May or June, but I never shared it here. So, it seemed like the perfect time to share it now!

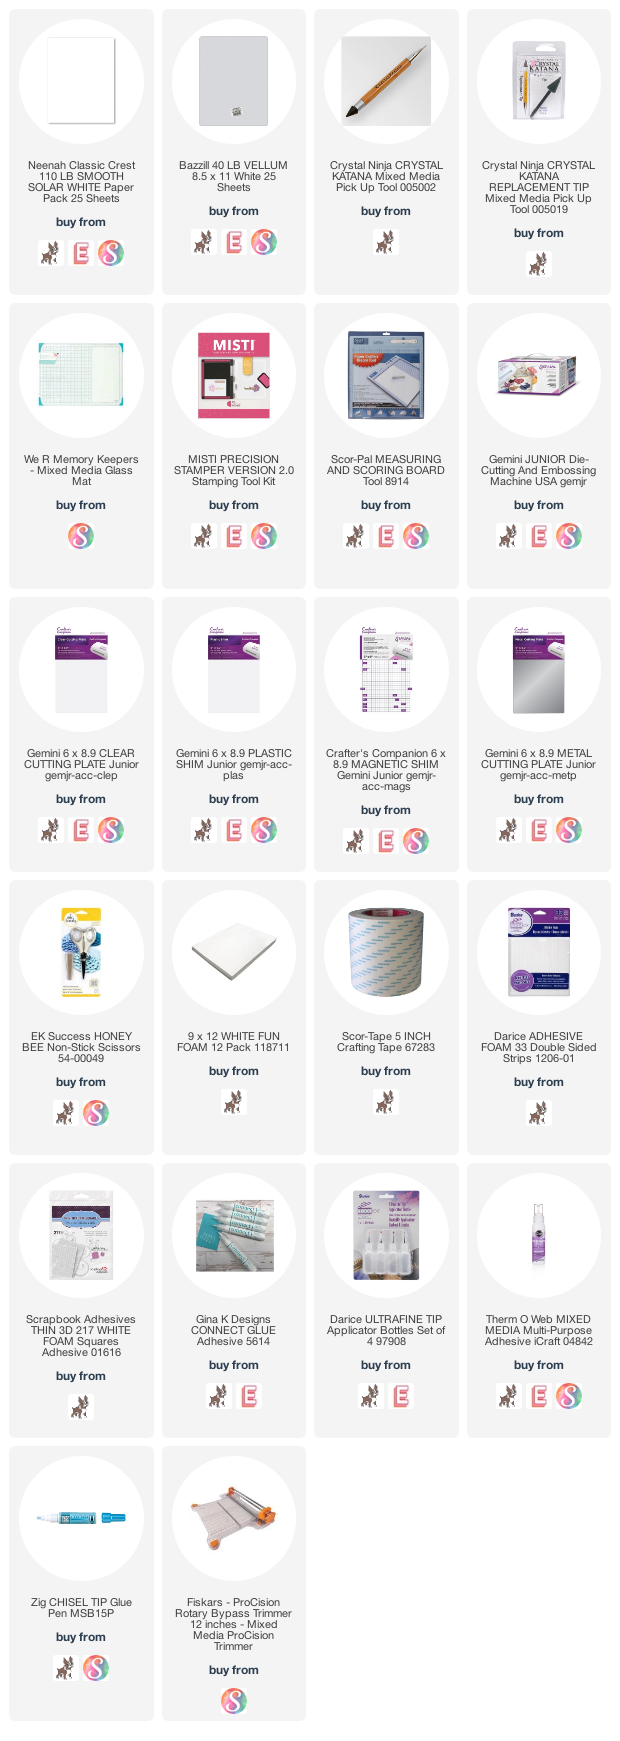
Do you ever "lift" your own work? I actually do it quite often, and I have some simple designs that I go to quite often. Here is a list of the main products that I've used on this card, plus you can find my list of tools, etc., at the end of this post. Thank you so much for clicking on my links and shopping from them, as they provide me with a small amount of compensation at no cost to you. I genuinely appreciate your support!
SUPPLY LIST
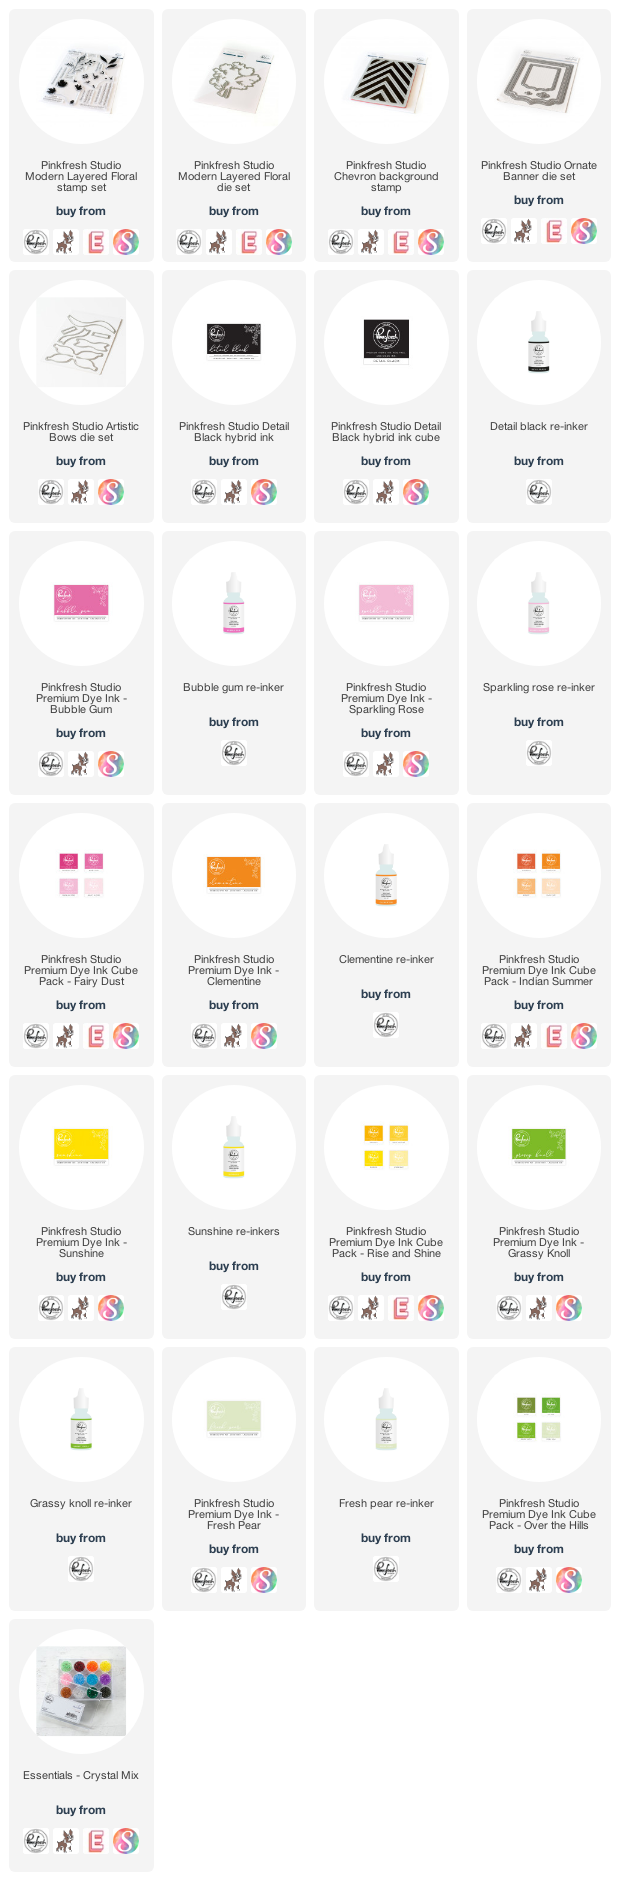
To start this card, I stamped the Pop Out Chevron Background in bright, summery colors. This is made easy with our Pop Out background stamps, as each layer is cut apart & separate from the other. Then I diecut the background using the Ornate Banner die set, and also cut a matching frame from dark pink cardstock.


Next I stamped the bouquet from the Modern Layered Florals stamp set. I highly suggest you cut the Modern Layered Floral diecut first from your paper choice, then use the negative piece as a jig in your MISTI or stamping platform. This makes lining up the different layers much easier and you are sure to get a perfect result every time. Next I diecut the Artistic Bow from gold glitter paper and assembled using glue dots. I find those much easier than liquid glue, and you can always reinforce it with liquid glue after putting it together.


I layered all the pieces to the front on a white A2 card base, then accented with our Crystals Mix to finish. If you have any questions about them, leave them in the comments and I will be sure to reply.

I hope you will join our Facebook Friends Group, and play along with our Card Sketch #14! I can't wait to see what you create! Before you move along with your day, I wanted to invite you to follow me on social media. I would love to be crafty friends!
Have a great rest of your day!
TOOLS & BASICS LIST

Happy Tuesday, crafty friends! I just wanted to pop in and share a cute little Halloween gift set that I created using some of the newest Spellbinders August release products! The great thing about two of the die sets is the compliment previously released sets, which freshens them up and allows you to use them for a different purpose.
"Hey Boo" card & gift box set

I'm not the biggest Halloween person, but these items were just too cute to pass up! These would be perfect for giving a little treat to your favorite person. It looks like Spellbinders is offering $25 bonus discount + free shipping on orders $100+, so be sure to check out the DEALS section.
SUPPLY LIST:
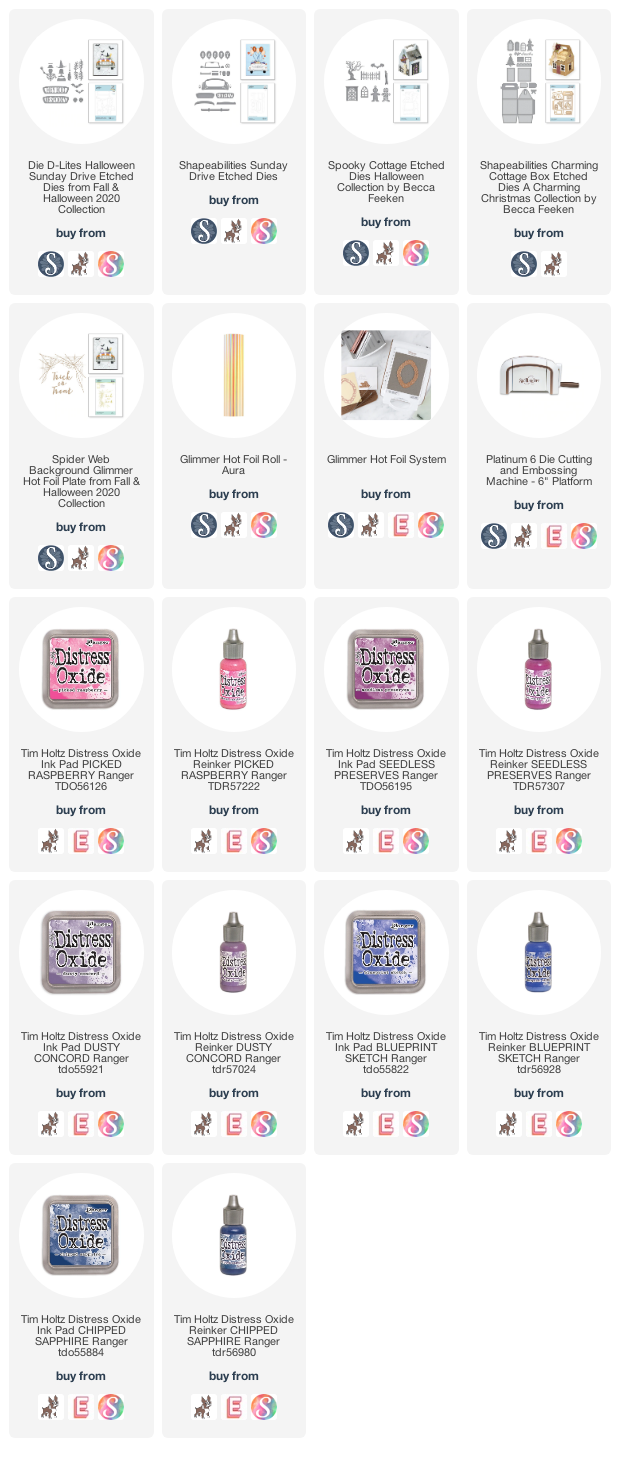
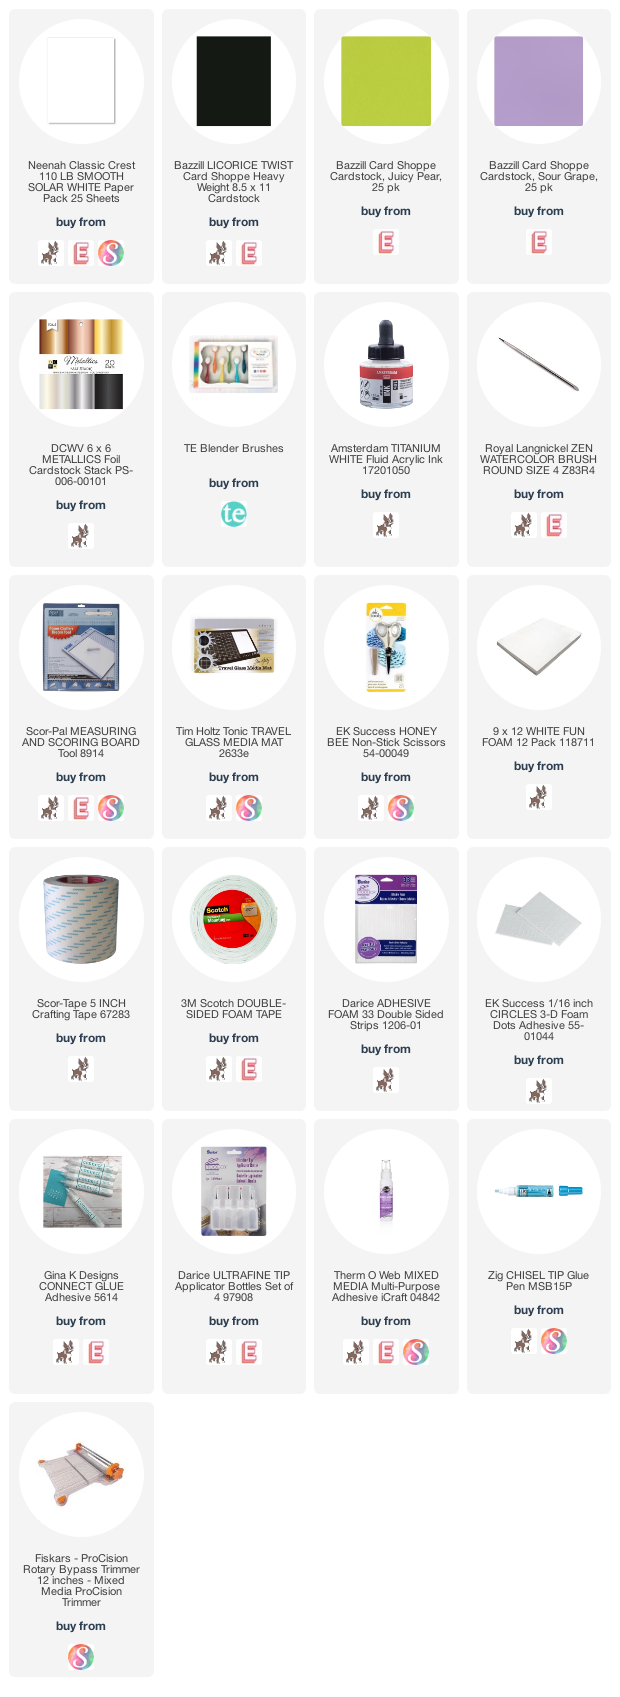
These were quite fun to create, but a little labor intensive. These might not be something that you create large quantities of, but definitely perfect for special Halloween gifts. ;) I ink blended the background using Distress Oxide inks (colors linked above), and set aside. Once I felt it was dry, I Glimmer Hot Foiled it using the Spider Web Background in Aura colored foil. (I did a lot of diecutting while I let the oxide ink set - I wanted to make sure that the hot foil didn't cling to anywhere that it wasn't supposed to.) I splattered the background with Titanium White acylic ink, covering up the bottom.

I used the previously released Sunday Drive die set, along with the new Halloween Sunday Drive set to create the little scene. I think it is absolutely adorable! We saw Wicked on Broadway while we were in NYC this past March, so I did a little ode to Elphaba on the cute little witch. ;)


I used the previously released Charming Cottage Box die set with the new Spooky Cottage add-on set to create the adorable little box. Lots of diecutting & layering went into this box, but it turned out super cute!


I hope that you like my cutie little card & gift box today! If you have any questions about them, leave them in the comments and I will be sure to reply.

Have a great rest of your day!
TOOLS & BASICS LIST

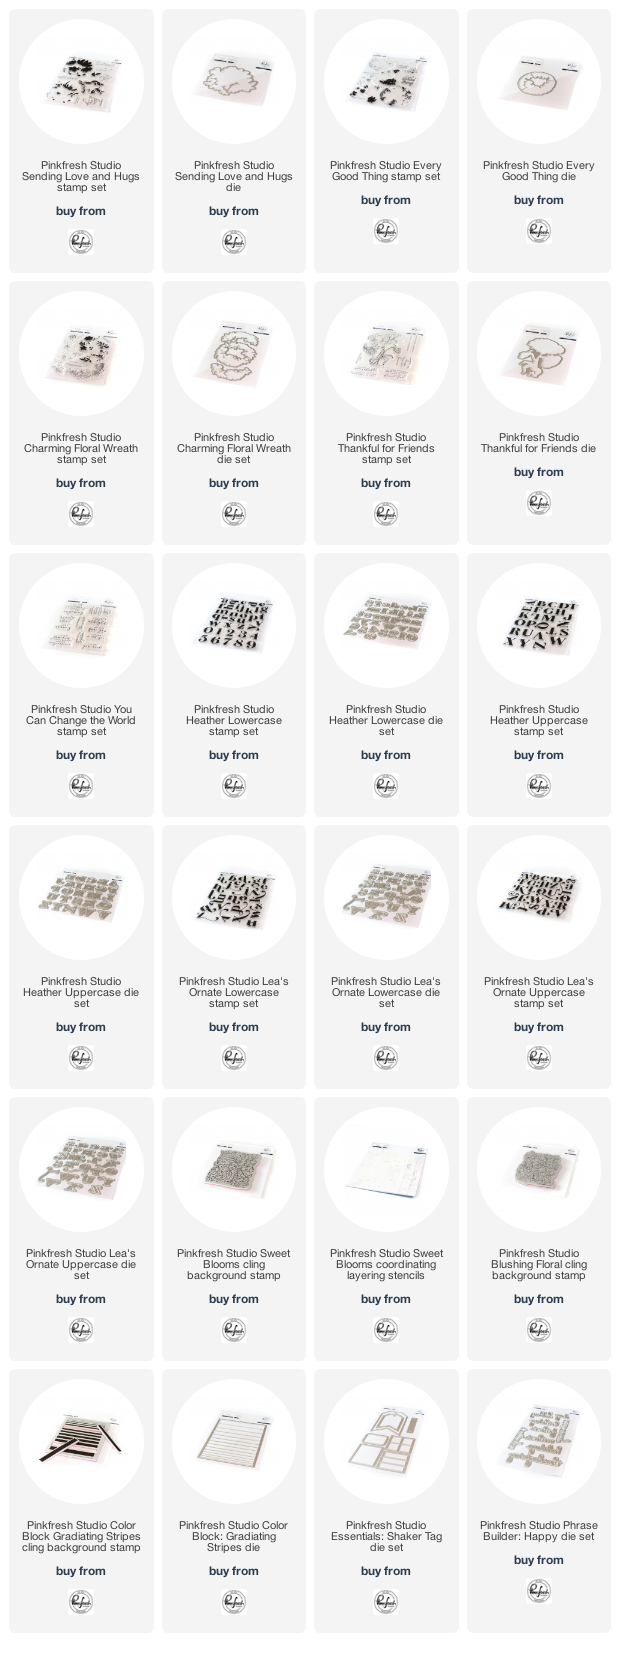
Happy Friday, crafty friends! It's release day at Pinkfresh Studio, and we are so excited to bring our our brand new stamp & die release from Pinkfresh Studio!
This release is HUGE, and there really is something for everyone! We've got layering stamps, outline florals, alphabets, standalone dies, cling background stamps & so much more. Our releases just seem to get better every time, and I really hope that you love all the new products too! Here is a look at the complete release:
AUGUST 2020 STAMP & DIE RELEASE
I've created a new product intro video for you today,
with information on all these new stamps & dies. You can watch it
below, but be sure to click HERE and leave a comment for a chance to win the entire August 2020 release!
We've got a fantastic blog hop lineup and prizes at every stop! I'll get
to all of that info at the end of my post, but how about we get to my
cards first?
I focused on the Color Block: Gradiating Stripes stamp throughout all of my cards, mixing them with other items from this release. This red rubber cling stamp is one of our Pop Out Backgrounds, where each piece is cut apart to make it super easy to create multi-color and mixed media backgrounds!
"Hello Fall" card

This is my very favorite card that I've created for this release! It is slimline in size, and came together using the Slim Braided Circles die. It also features the Charming Floral Wreath stamp set and coordinating dies, along with the Lea's Ornate Lowercase & Heather's Lowercase die sets. I can't even tell you how excited I am to have a set of products named after me and my partner in crime! Lol! All of the alpha sets are the same font, so they can all be used interchangeably for TONS of versatility. The Heather alphas are the standard font, and the Lea's Ornate alphas are just a little fancier with the added swashes. They are SO much fun, and I will reach for these time and time again!


I didn't use the Color Block: Gradiating Lines stamp in it's original form for this background. Instead I would place just one of the stripes into my MISTI, then scoot my cardstock block just a little bit each time so that the stripes would overlap a little. It's not a perfect process, and I did use about 4 different sized stripes. I really LOVE how it turned out however, and I love using these more feminine colors for a fall card. They don't have to be just browns, yellows and oranges!


The Charming Floral Wreath stamp set is a layering stamp set, but it also has an outline section that I heat embossed in gold. The stamp layering is perfect for all 48 shades of our premium dye inks, and very easy to layer. We've also started adding layering guides to the back of the stamp set insert with this release to help you even further! I finished the card by accenting inside of each circle with a trio of our Crystals Mix.

Striped Floral card set

This first card features the Every Good Thing stamp set and coordinating die, which is a lovely stamp layering set. I swear our layering florals just get better with each release, and they are so unique and quintessential Pinkfresh. Sigh. I just love them! I created the striped background with our Color Block: Gradiating Stripes stamp, then diecut it with the largest Stitched Rectangle and added the circle accent elements with the Braided Circles die set.


There are a couple teeny sentiments in this stamp set, which I just adore. I inked one of them up in our Detail Black ink and it stamped perfectly! The trick to getting them to stamp well is to use a stamping platform like the MISTI, just kiss the stamp surface with ink and stamp it down lightly. Then do it again - I get a perfect result every single time by doing those 3 easy steps!

This card features the Sending Love and Hugs stamp set and coordinating die, which is another lovely stamp layering set. I knew I was going to use the florals in each corner, but I hate to waste anything. So I took what I could from the trimmed off pieces, and added them back in. I think it gives the card a perfect amount of some added dimension!

The background was stamped using the Gradiating Stripes stamp, then I also layered a 4x stacked & adhered set of the Color Block: Gradiating Stripes die. I finished off both cards by accenting here & there with our Jewels Mix.


I really love the colors I chose for this card set! All colors are linked at the very end, and I've used our pink, red, orange and aqua color families.

"Happy Day" shaker tag

I am using the two ginormous new die sets on this fun shaker tag! The tag was created using the Essentials: Shaker Tag set, and the diecut sentiment is from the new Phrase Builder: Happy die set. I also used the Gradiating Stripes to add the thin stamped lines to the right side of the tag.

The tag is filled with our Crystals Mix and some other sequins mixes. The bow was cut using our Partial Cut Bouquet & a Bow die set, which is one of my favorite bow dies! I wanted to mention that this tag 5.5" inches in length, because I think it's a bit misleading in the photos. This is a big tag set, perfect for making shakers, shaped cards, & so much more! I think tags like this look beautiful on white gift boxes & bags.


The teeny stamped sentiment is from the Every Good Thing stamp set, and is stamped in Detail Black. Aren't shakers so much fun? I just love creating them!

"Everything Will Be Alright" card

This card features another Gradiating Stripes background, and this time I layered it up with our Ornate Oval and Braided Oval die sets. The sentiment is from the new You Can Change the World stamp set, which is just full of heartfelt and encouraging sentiments. We are going through a really rough time in our world right now, and we just felt like this stamp set would be perfect for sending to our families, friends, and acquaintances.


The sentiment is stamped and layered to the card front with our Fancy Label Frames dies, then I accented it with our Crystals Mix in a rainbow of matching colors.


Those are all of my cards for today's release blog hop post! I hope that you enjoyed them, and please feel free to ask any questions about them in the comments. I will be sure to reply!

How about we get to all
the info you need for this new release!
PRIZES
You have the chance to win a $25 gift card sponsored by Pinkfresh Studio
from my blog {and all the other posts on the blog hop too!} - all you
have to do is leave a comment!
SHIPPING PROMO
We are also offering free US or discounted international shipping on orders $50+. Just use the correct code below! Codes are valid until 11:59pm CST on August 20th.
BLOG HOP LINK LIST
Our entire card team and some very welcomed guests have been crazy busy
creating inspiring projects using all these new background stamps! You
are going to LOVE hopping along this blog hop! You can view the entire link list HERE. Your next stop on the hop is to the lovely Melissa Phillip's blog. Be sure to leave a comment at each blog, as there is a giveaway at every stop! Before you move along to the next stop on the hop, I wanted to invite you to follow me on social media. I would love to be crafty friends!
Happy hopping, and have a great start to your weekend!
SUPPLY LIST

Subscribe to:
Posts (Atom)


Social Icons