
Showing posts with label gold. Show all posts
Showing posts with label gold. Show all posts

Happy Labor Day, crafty friends! I hope you are having a restful day so far. I wanted to create a quick post to share this card set that I made earlier this summer. It has quite a story to go along with it, so here we go. Spellbinders asked me to create a video with this project kit in May. Then there were some production delays, so we put creating with it on hold. Then we got the go ahead again, and I created/filmed my projects. We ended up having a couple family things come up, and headed to Montana a week early. I photographed the cards before we left, and I had my laptop with me in order to upload the video footage and get it edited. Well, when I did that....a quarter of the videos were corrupt. Nothing I could do about it, because I didn't bring these products along with me to Montana. Got home & re-recorded the content that was corrupt. I edited and did the video voice over....by then, this kit was sold out. Sigh.
My friends at Spellbinders were so understanding, and let me know that they were actually planning on re-stocking this kit, and that they would share the video when the Happy Place project kit was officially back in stock. And friends...today is that day! Woot woot! Here is my video that is on the Spellbinders YouTube channel.
Happy Place project kit card set

SUPPLY LIST
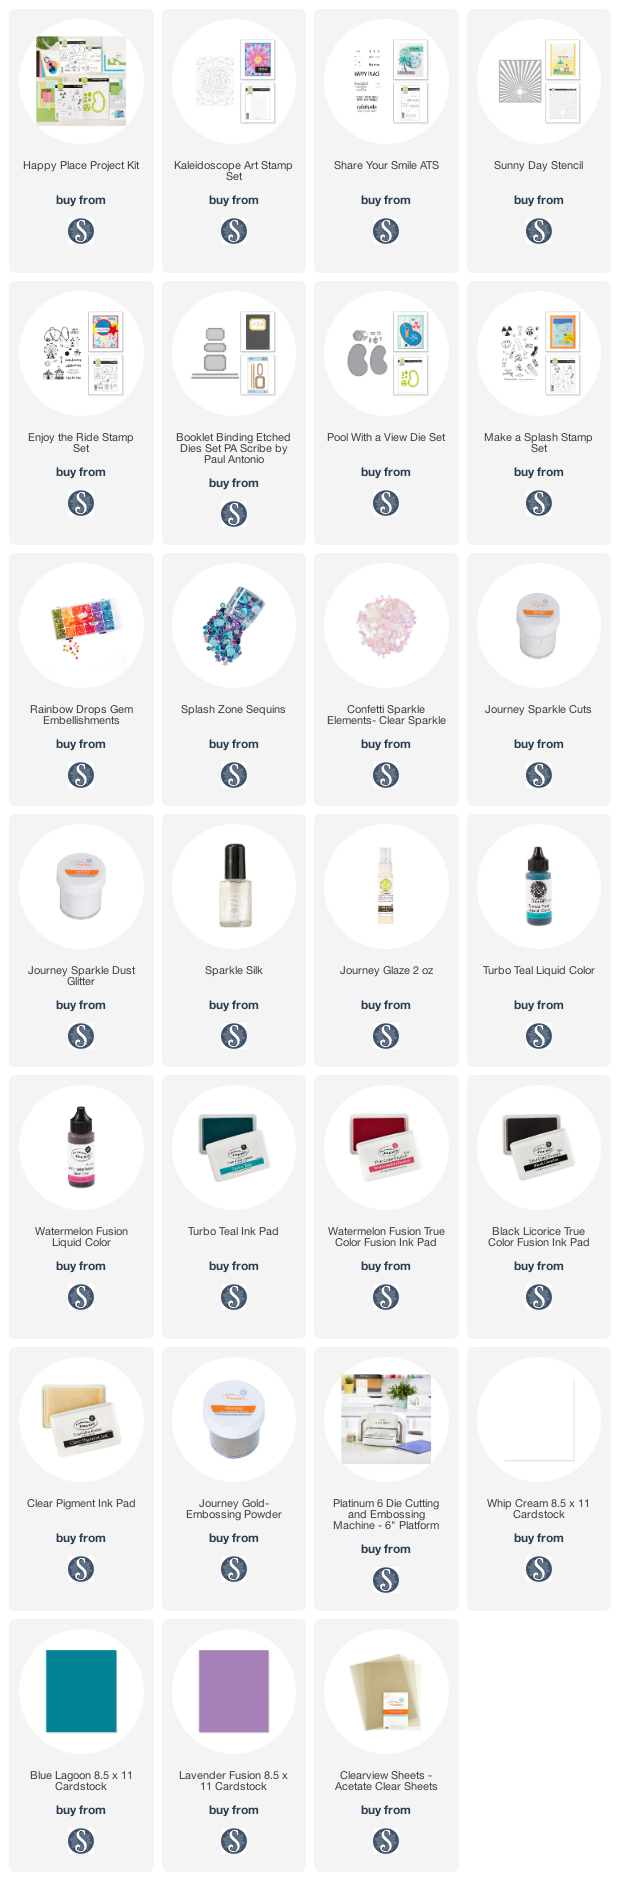
You can see how these cards come together on the video, but here is a little overview of the different products used. For this first card I stamped & heat embossed the Kaleidoscope Art stamp set to water friendly paper in gold. I gave it a good water wash, then dropped Turbo Teal & Watermelon Fusion liquid color to it. I lightly spritzed with a spray bottle, then used a brush to move the colors around. I added shimmer to it with Sparkle Silk. I stamped the sentiment from Share Your Smile in Black Licorice, then trimmed into a banner. I adhered it over a knot of gold thread with foam tape. Then accented with Rainbow Drops & Splash Zone sequins to finish.


For this card I ink blended the Sunny Day stencil to white cardstock using the Turbo Teal and Watermelon Fusion inks. I stamped & gold heat embossed the attractions from the Enjoy the Ride stamp set, then fussy cut. I stamped the sentiment to white cardstock in matching inks, then diecut with the ticket shaped die from the Booklet Binding die set. I layered everything to a teal cardbase, then added Sparkle Cuts to the attractions. I finished by accenting with Rainbow Drops & Splash Zone sequins.


The final card is a shaker, using the Pool with a View die set. I started by creating the shaker first, and filling it with Splash Zone sequins, Confetti Sparkle Elements and Sparkle Dust Glitter. I also diecut the beach ball, adhered it to the card front and covered it in Journey Glaze to give it some shine. I stamped the sentiment from the Make a Splash stamp set, and trimmed it into a banner strip. I adhered it coming out from underneath the beach ball, then accented the card with Rainbow Gems to finish.


That is my card set today! You will notice that many of the products are available by themselves, but you do get a significant discount by purchasing the Happy Place project kit. So definitely keep that in mind. If you have any questions about my cards, leave them in the comments and I will be sure to reply.

Before you move along with your day, I wanted to invite you to follow me on social
media. I would love to be crafty friends!
Have a great rest of your day!
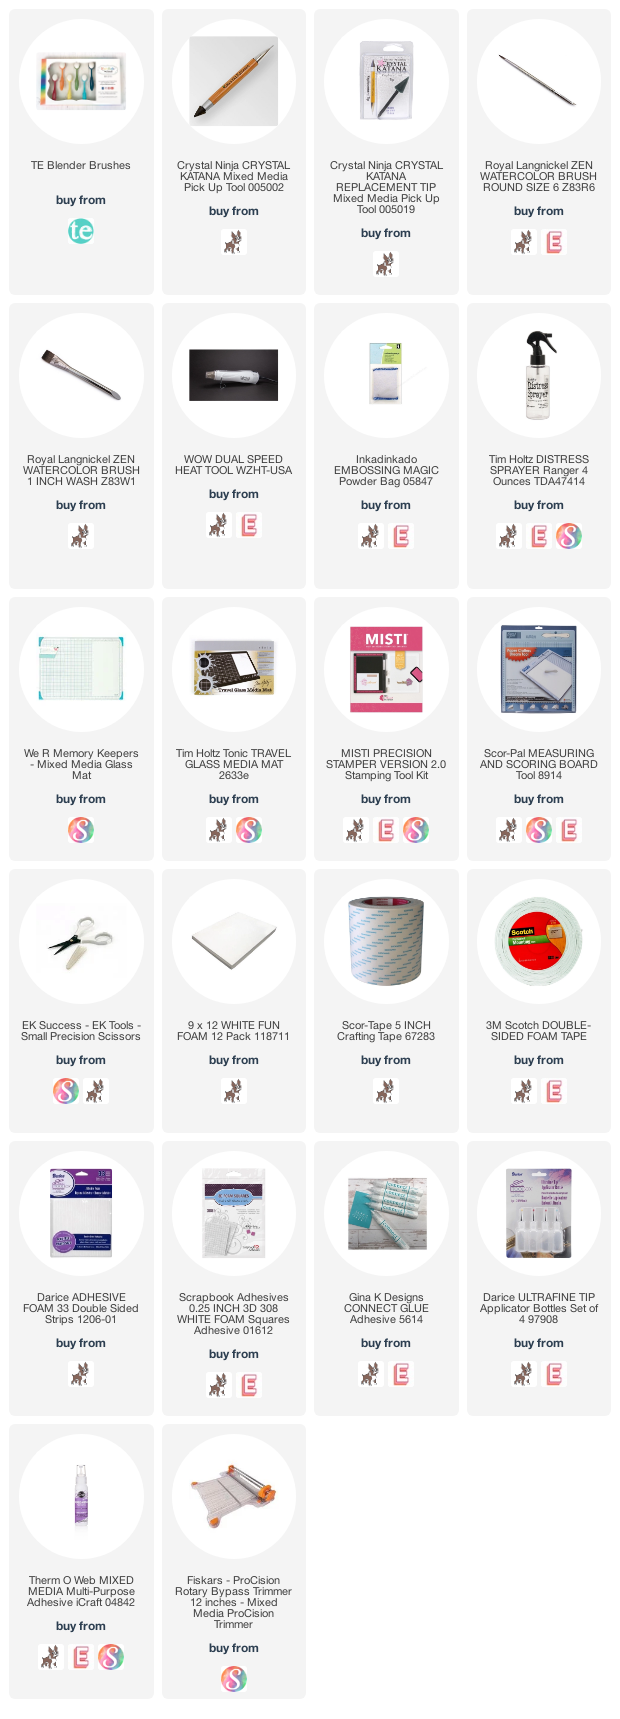
TOOLS & BASICS LIST

Happy Friday, crafty friends! We've made it to the end of the week! Woot! Pre COVID, we used to have a craft night on the first Friday of every month here in Minneapolis. I miss it SO much! So, tonight we are going to have a virtual craft night, which I am very excited for. It's not quite the same, but I'll take anything I can get!
I got this email newsletter from Taylored Expressions this week, and it reminded me of how much I love the Rainbow Brights paper pack! So, when I had tidbits of time, I created this card with it and some other TE goodies. Honestly, I'm assuming this promo went pretty quickly, but just in case....I'm sharing it here!

Also, don't forget that Taylored Expressions offers free shipping on orders $50, and you can also get this exclusive stamp set free with orders $100+! So, lots of great deals when you shop at TE!

Rainbow Friendship card

SUPPLY LIST
I started by diecutting the Bistro Lights from white cardstock three times. I layered two together flush, then added the third layer to give it a shadow effect. I trimmed off any excess after adhering them. Next I glued the Bistro Lights layer to the front a a block of rainbow paper, then mounted it to a pink A2 cardbase with a full panel of foam adhesive.


Next I stamped & heat embossed the Simple Stripes Background in gilded to white cardstock. Then I diecut it with the Simple Stripes die, and now I have a ton of great sentiments that are already done and ready to add to my next TE card! I've had this stamp & die duo forever, and it's the first time I've used it! I definitely love it! After that I diecut the friends word 3 times; once from gold foil paper and twice from white cardstock. I stacked & adhered them with a glue pen, then mounted the sentiment to the lower right corner of the card with thin foam tape.


To finish I accented some of the bistro light strings with the Jewels Mix in rainbow colors. It was a perfect little touch! If you have any questions about my card today, leave them in the comments and I will be sure to reply.

Have a great rest of your day!
TOOLS & BASICS LIST

Happy Saturday, crafty friends! Hope you are having a wonderful weekend so far! I wanted to pop in and share this card set with you - I created it forever ago, and photographed it...but then forgot about sharing it. Considering soon enough we are going to change seasons, into my VERY favorite season...it seemed fitting to share them today.
1 Card Design - 4 Seasons Set

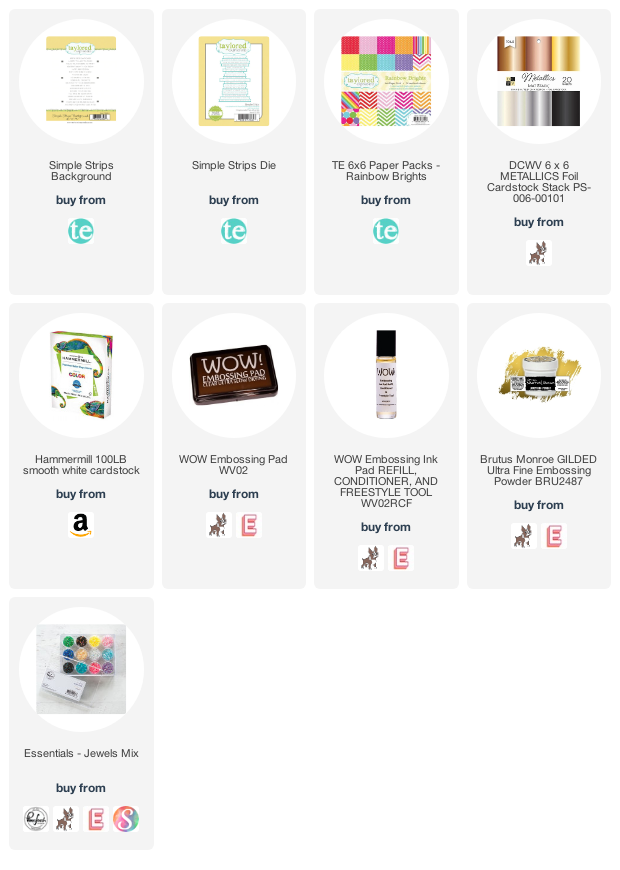
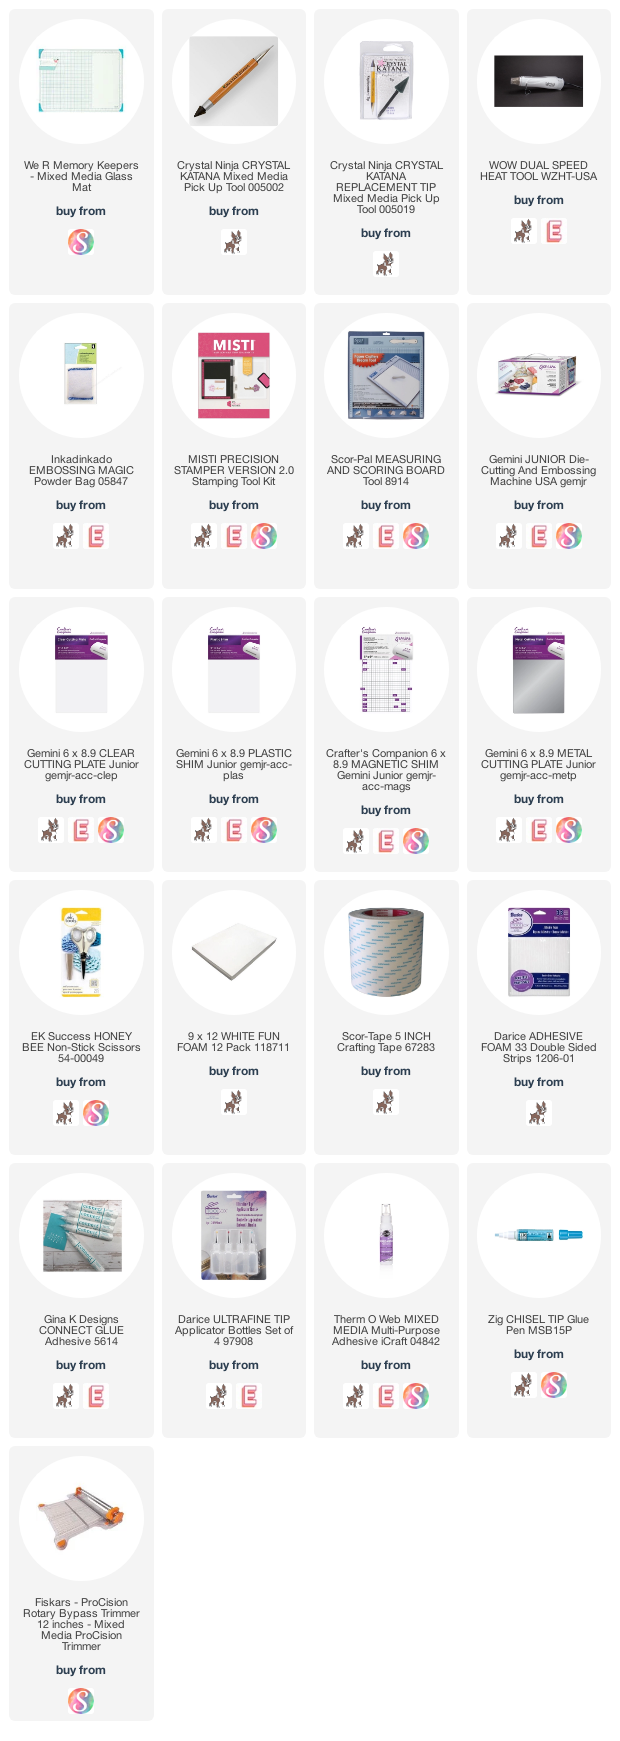
I started by stamping &/or heat embossing the floral image from the beautiful Everything Wonderful stamp set (which was illustrated by my friend, Emily Midgett. She is so talented!) to Strathmore Bristol paper. All heat embossing was stamped using the Wow! embossing pad, which I believe is the best embossing ink out there (and I have tried A LOT of them). I colored them over the course of a cold & lazy weekend this past spring, while Josh and I watched all of the James Bond movies featuring Daniel Craig. (I like the movies, but I never could have just sat there and watched them all like that without having something else to do.) Then I cut each one out with the Everything Wonderful coordinating die and layered them to matching A2 card fronts. I heat embossed a different sentiment for each one, and trimmed or diecut them into some sort of banner, label, or strip. I splattered each one, then accented with jewels to finish.
Here is a list of the main products that I've used on this card, plus you can find my list of tools, etc., at the end of this post. Thank you so much for clicking on my links and shopping from them, as they provide me with a small amount of compensation at no cost to you. I genuinely appreciate your support!
SUPPLY LIST
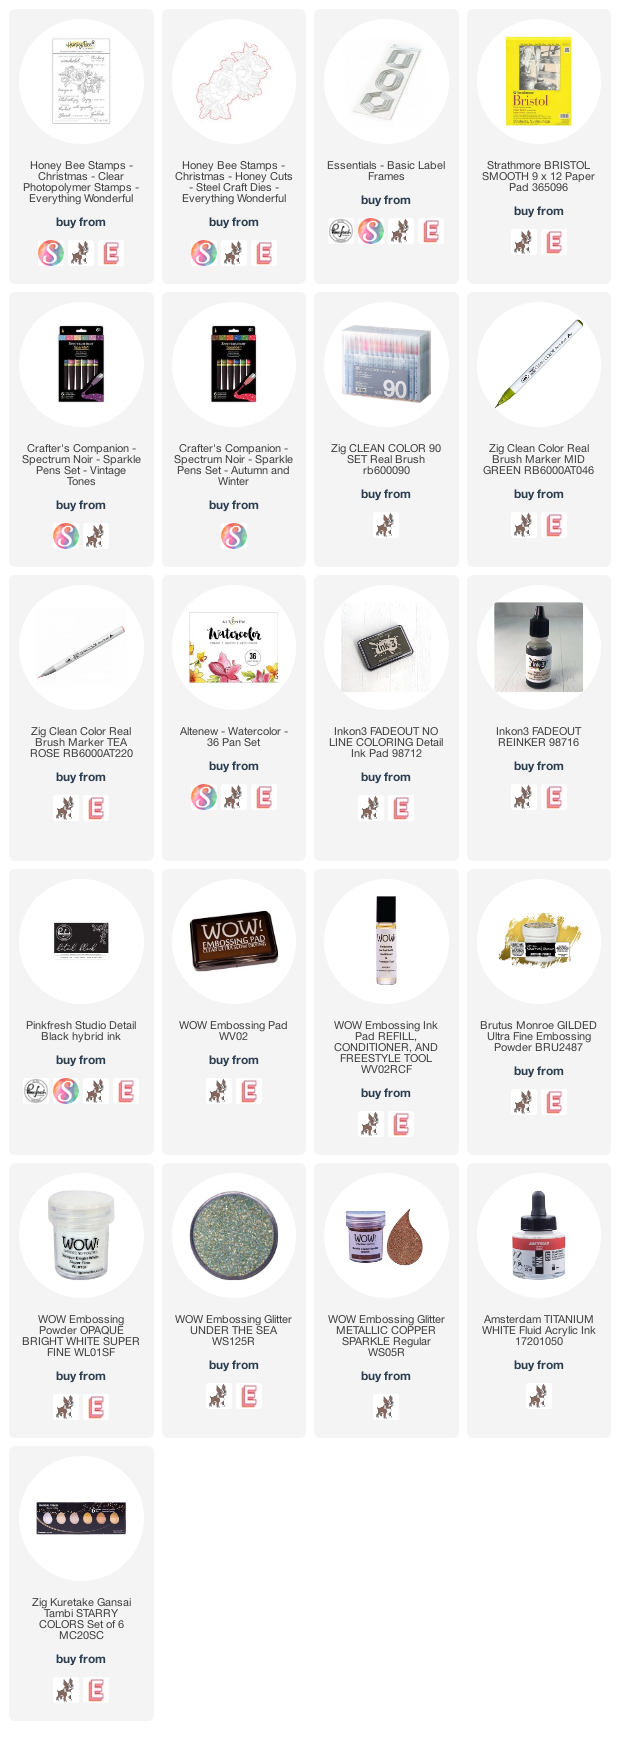
The spring version features no line coloring by using fadeout ink with Zig Clean Color Real brush markers. Specifically, I used Mid Green and Tea Rose colors. The sentiment is heat embossed in Gilded, then very fine splatters of titanium white acylic ink and Gansai gold were added to just the florals.

The summer card is a bit bolder, and very shimmery! I heat embossed the floral image in Gilded, then colored it in with Spectrum Noir Sparkle makers in the Vintage Hue set - specifically Macaroon & Olive Jade. The sentiment is also heat embossed in Gilded, and diecut with a Basic Label Frame. I splattered the card front with light splatters of titanium white acrylic ink and Gansai gold.

My favorite one is probably this one - all about FALL! I stamped this floral in Detail Black ink, then also colored it in with Spectrum Noir sparkle makers in the Autumn & Winter hues. This time I used harvest moon and smoked quartz colors. The sentiment is heat embossed in Metallic Copper Sparkle powder. I splattered the card front with light splatters of titanium white acrylic ink and Gansai gold.

The winter version is embossed in opaque bright white, then colored with the Altenew watercolor pan set. I heat embossed the sentiment in Under the Sea, then added a very light mist of gold & white splatters to the front.

All of the cards are accented with a mixture of the Pinkfresh Jewels Mix and self adhesive jewels that I have in my stash. I typically purchase the self adhesive jewels at Michael's.


I hope you liked my a card for all season set! If you have any questions about them, leave them in the comments and I will be sure to reply.

Have a great rest of your day!
TOOLS & BASICS LIST
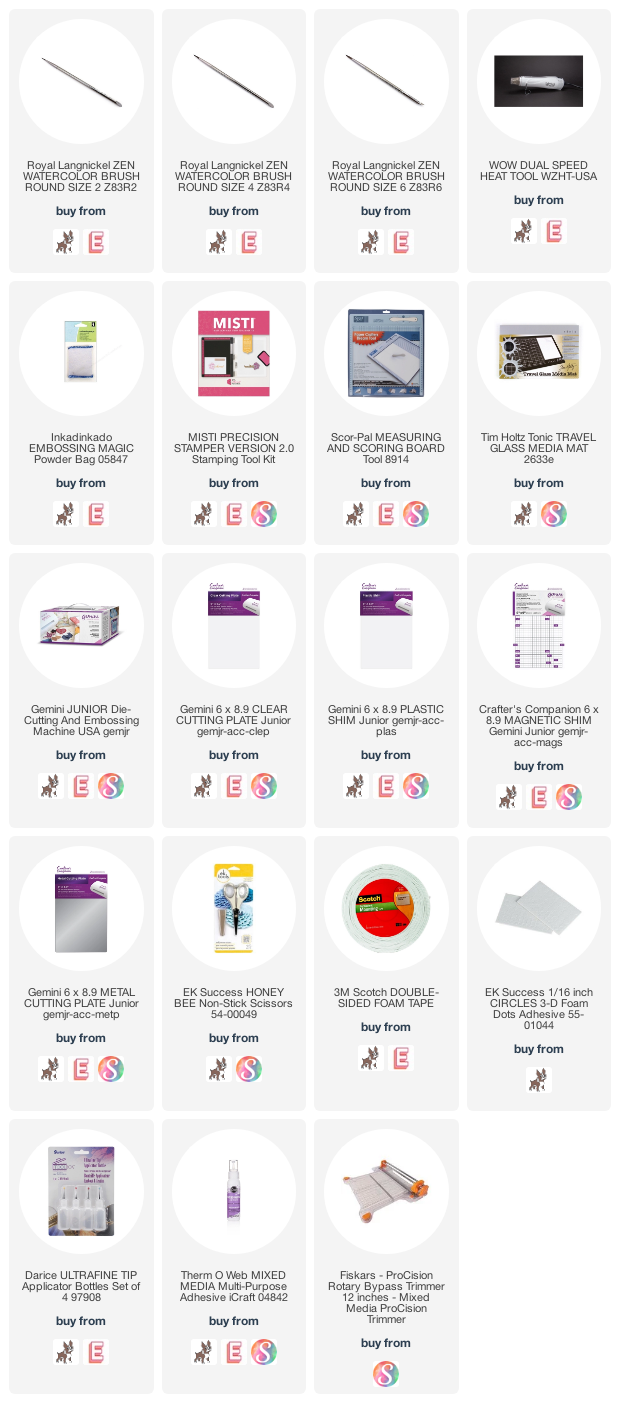

Happy Friday, crafty friends! I just wanted to pop in and share a Christmas card set that I created using some of the newest Spellbinders August release products! These cards feature elements from the gorgeous Yana's Christmas Foiled Basics, Christmas Cascade collection by Becca Feeken, and the Sparkling Christmas collection.
Glimmer Hot Foil Christmas Card Set

I love the elegance of the products that I've used on this card set today, and I feel like they mixed together beautifully! I created a couple of card sets using the first release of Yana's Foiled Basics, and this second release doesn't disappoint! It is beautiful. Here is a list of the main products that I've used on this card, plus you can find my list of tools, etc., at the end of this post. Thank you so much for clicking on my links and shopping from them, as they provide me with a small amount of compensation at no cost to you. I genuinely appreciate your support!
SUPPLY LIST
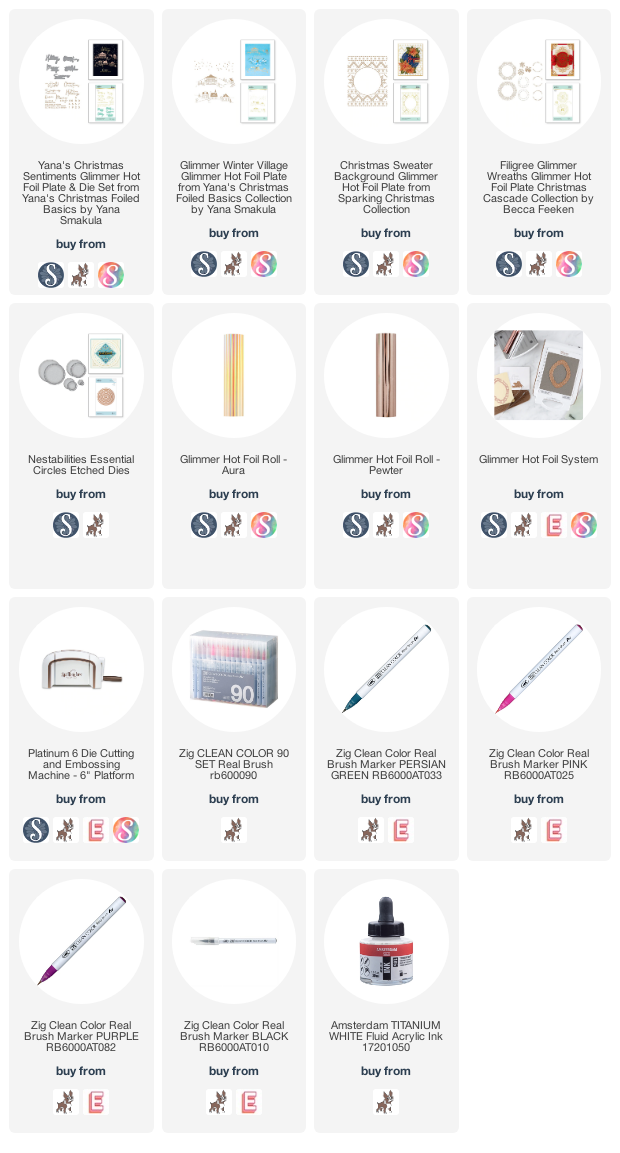
For this first card, I quickly created a galaxy background using Zig Clean Color Real Brush Markers (specific colors linked above). This is really simple to do by scribbling color around your watercolor panel, then adding in black around it. Spritz it with water, then move the colors around until it looks how you like it! Easy peasy! I tape my panel down to my glass media mat so that it won't warp or curl on me once I add the water, which makes it super easy. I use both my large We R Memory Keepers glass media mat, and the Tim Holtz travel glass media mat - just depends on my mood. Let it air dry or heat set it, then splatter it with Titanium White acrylic ink to create the stars.

Next I glimmer hot foiled the Winter Village and Yana's Christmas Sentiments to heavyweight white cardstock in Aura colored foil. I fussy cut alongside the top of the village, then proceeded to put the card together. I mounted the galaxy background to an A2 white card base with a full panel of foam adhesive, then adhered the winter village piece to the top. I popped only the very top of that piece up with foam dots.


Finally I mounted the sentiment to the corner with foam dots, and finished by accenting with self adhesive jewels that have been in my stash for awhile. I purchased them at a big box craft store.

With my Glimmer Hot Foil machine still out, I foiled the Christmas Sweater pattern to black cardstock using Aura colored foil. Then I foiled elements from both the Filigree Glimmer Wreaths and Yana's Christmas Sentiments sets to white cardstock in Pewter colored foil. I diecut it using the middle sized circle from the Essential Circles die set.

I proceeded to layer the foiled background to the front of an A2 white cardbase with a full panel of foam adhesive. Then I mounted the foiled circle to the middle with foam tape. I trimmed the rest of the sentiment into a thin strip, then adhered it with a thin strip of foam tape right below the word "from". To finish I accented with some self adhesive jewels.


Be sure to check out Spellbinder's August release, as it is fantastic! If you have any questions about them, leave them in
the comments and I will be sure to reply.

Have a great rest of your day!
TOOLS & BASICS LIST

Hi crafty friends! Did you guys know that we have a bi-weekly sketch challenge in the Pinkfresh Studio Facebook Friends Group? Every other Wednesday I post both a card sketch and scrapbooking sketch. You've got two weeks to create a new project for it, and add it into the correct Facebook album. We randomly pick a winner to receive a $25 gift card code to our shop, so it is definitely worth playing along!
It just so happens that this week's card sketch #14 is inspired by a card that I did for our April Release! Here is a look at the sketch graphic:

So, I've actually created the exact card again, just in brighter summery colors! I demo'd this card a couple of times on Hochanda in the UK via Skype in either May or June, but I never shared it here. So, it seemed like the perfect time to share it now!

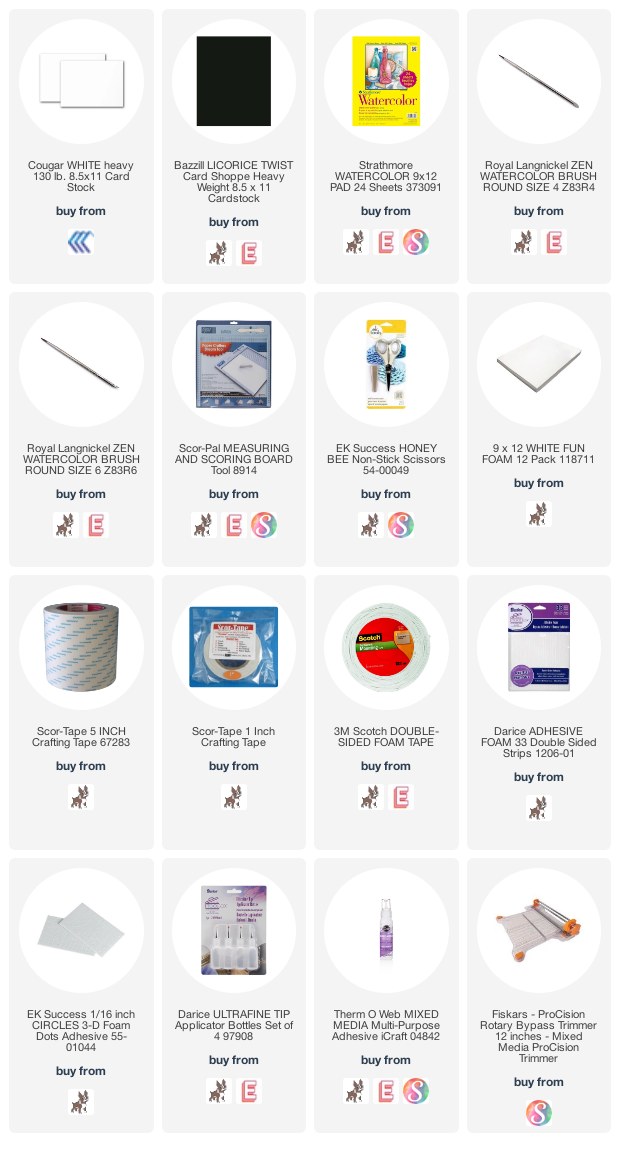
Do you ever "lift" your own work? I actually do it quite often, and I have some simple designs that I go to quite often. Here is a list of the main products that I've used on this card, plus you can find my list of tools, etc., at the end of this post. Thank you so much for clicking on my links and shopping from them, as they provide me with a small amount of compensation at no cost to you. I genuinely appreciate your support!
SUPPLY LIST
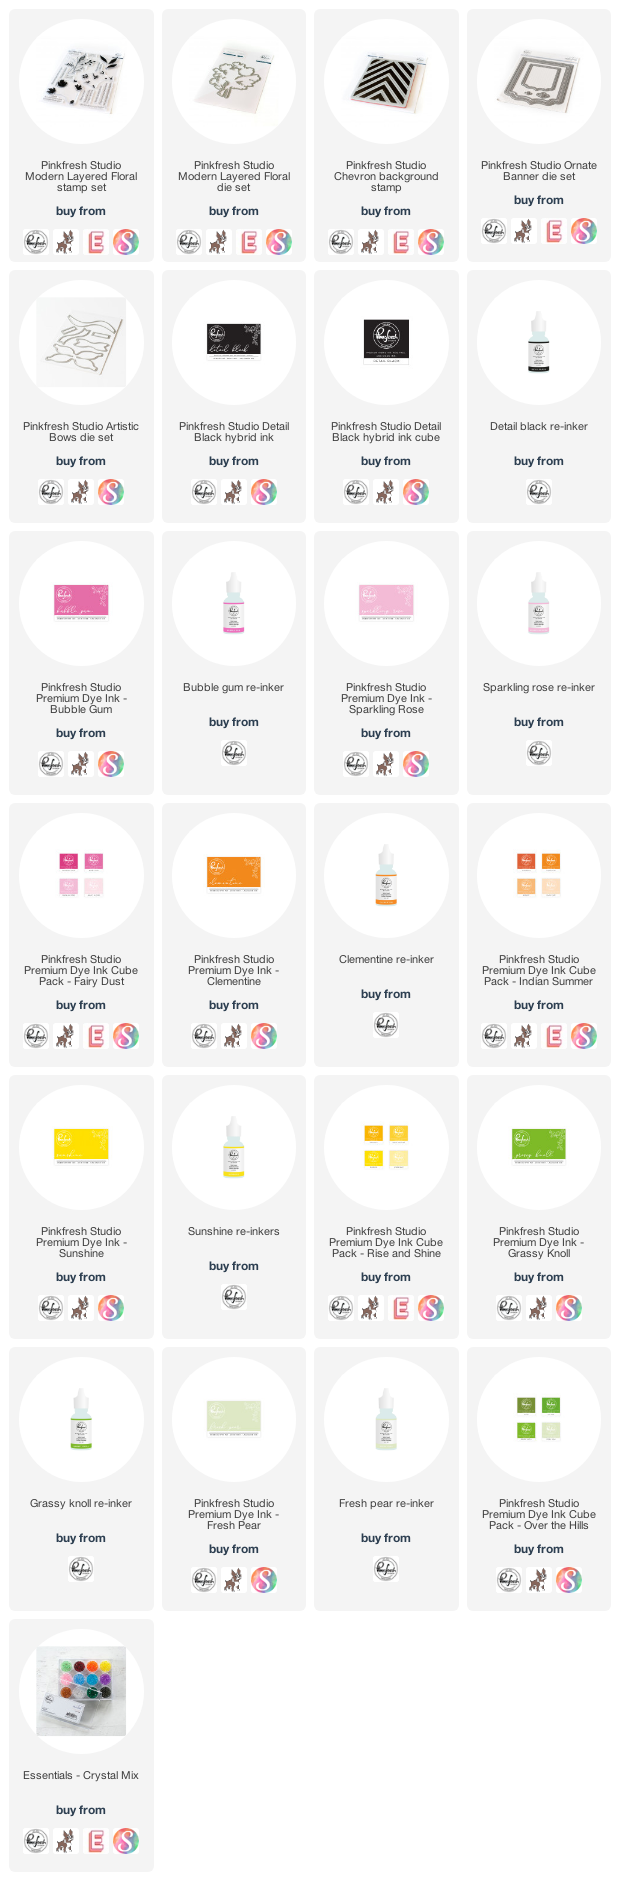
To start this card, I stamped the Pop Out Chevron Background in bright, summery colors. This is made easy with our Pop Out background stamps, as each layer is cut apart & separate from the other. Then I diecut the background using the Ornate Banner die set, and also cut a matching frame from dark pink cardstock.


Next I stamped the bouquet from the Modern Layered Florals stamp set. I highly suggest you cut the Modern Layered Floral diecut first from your paper choice, then use the negative piece as a jig in your MISTI or stamping platform. This makes lining up the different layers much easier and you are sure to get a perfect result every time. Next I diecut the Artistic Bow from gold glitter paper and assembled using glue dots. I find those much easier than liquid glue, and you can always reinforce it with liquid glue after putting it together.


I layered all the pieces to the front on a white A2 card base, then accented with our Crystals Mix to finish. If you have any questions about them, leave them in the comments and I will be sure to reply.

I hope you will join our Facebook Friends Group, and play along with our Card Sketch #14! I can't wait to see what you create! Before you move along with your day, I wanted to invite you to follow me on social media. I would love to be crafty friends!
Have a great rest of your day!
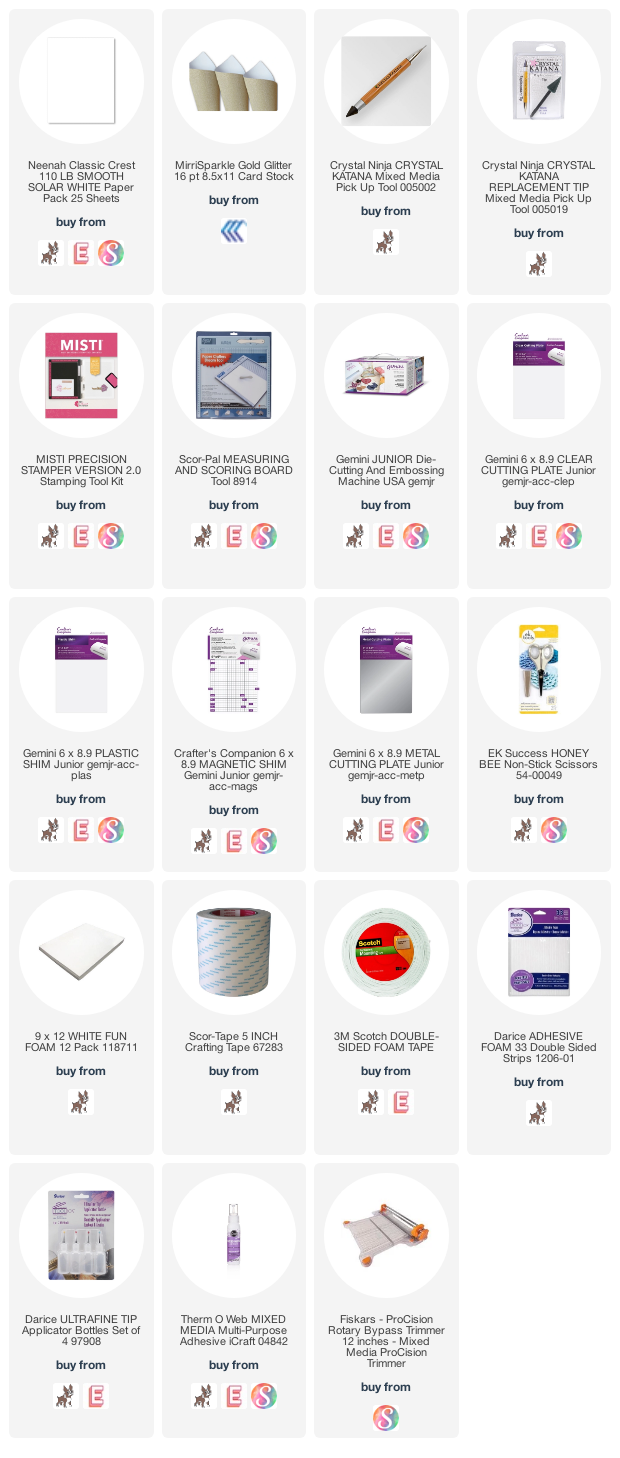
TOOLS & BASICS LIST
Subscribe to:
Posts (Atom)


Social Icons