
Showing posts with label ink blending. Show all posts
Showing posts with label ink blending. Show all posts

Happy Labor Day, crafty friends! I hope you are having a restful day so far. I wanted to create a quick post to share this card set that I made earlier this summer. It has quite a story to go along with it, so here we go. Spellbinders asked me to create a video with this project kit in May. Then there were some production delays, so we put creating with it on hold. Then we got the go ahead again, and I created/filmed my projects. We ended up having a couple family things come up, and headed to Montana a week early. I photographed the cards before we left, and I had my laptop with me in order to upload the video footage and get it edited. Well, when I did that....a quarter of the videos were corrupt. Nothing I could do about it, because I didn't bring these products along with me to Montana. Got home & re-recorded the content that was corrupt. I edited and did the video voice over....by then, this kit was sold out. Sigh.
My friends at Spellbinders were so understanding, and let me know that they were actually planning on re-stocking this kit, and that they would share the video when the Happy Place project kit was officially back in stock. And friends...today is that day! Woot woot! Here is my video that is on the Spellbinders YouTube channel.
Happy Place project kit card set

SUPPLY LIST
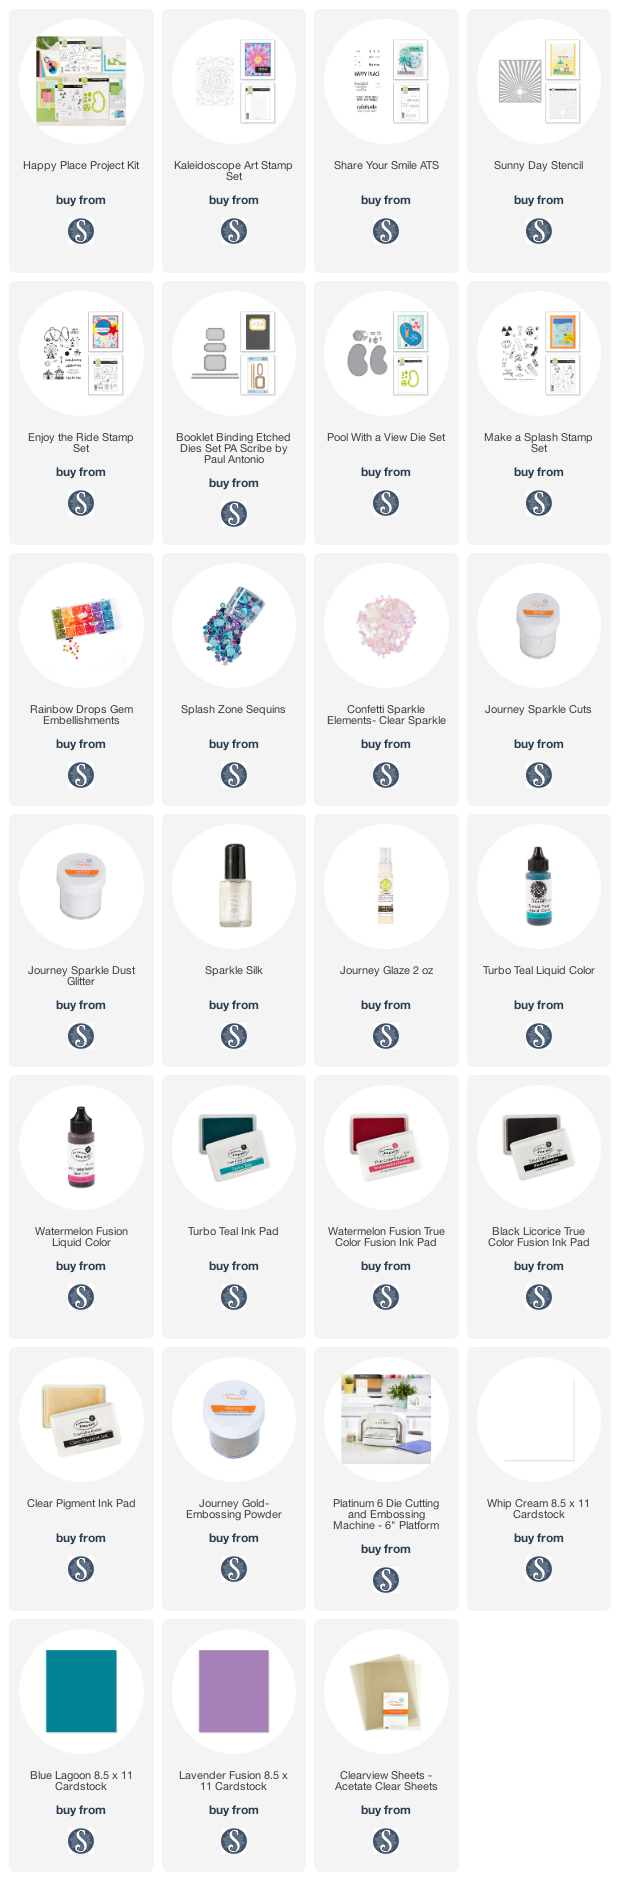
You can see how these cards come together on the video, but here is a little overview of the different products used. For this first card I stamped & heat embossed the Kaleidoscope Art stamp set to water friendly paper in gold. I gave it a good water wash, then dropped Turbo Teal & Watermelon Fusion liquid color to it. I lightly spritzed with a spray bottle, then used a brush to move the colors around. I added shimmer to it with Sparkle Silk. I stamped the sentiment from Share Your Smile in Black Licorice, then trimmed into a banner. I adhered it over a knot of gold thread with foam tape. Then accented with Rainbow Drops & Splash Zone sequins to finish.


For this card I ink blended the Sunny Day stencil to white cardstock using the Turbo Teal and Watermelon Fusion inks. I stamped & gold heat embossed the attractions from the Enjoy the Ride stamp set, then fussy cut. I stamped the sentiment to white cardstock in matching inks, then diecut with the ticket shaped die from the Booklet Binding die set. I layered everything to a teal cardbase, then added Sparkle Cuts to the attractions. I finished by accenting with Rainbow Drops & Splash Zone sequins.


The final card is a shaker, using the Pool with a View die set. I started by creating the shaker first, and filling it with Splash Zone sequins, Confetti Sparkle Elements and Sparkle Dust Glitter. I also diecut the beach ball, adhered it to the card front and covered it in Journey Glaze to give it some shine. I stamped the sentiment from the Make a Splash stamp set, and trimmed it into a banner strip. I adhered it coming out from underneath the beach ball, then accented the card with Rainbow Gems to finish.


That is my card set today! You will notice that many of the products are available by themselves, but you do get a significant discount by purchasing the Happy Place project kit. So definitely keep that in mind. If you have any questions about my cards, leave them in the comments and I will be sure to reply.

Before you move along with your day, I wanted to invite you to follow me on social
media. I would love to be crafty friends!
Have a great rest of your day!
TOOLS & BASICS LIST

Happy Wednesday, crafty friends! So, yesterday the 2020 STAMPtember® release went live, and today we are having a HUGE party! This STAMPtember® party has TONS of different sale promotions going on, and I happen to have one of them, which I think is a pretty great one!

With my promo, you can get a Hope die FREE with any purchase! Just use the code GWHD24 through tonight at 11:59pm EST. Woot! Just click on the image above, and it will take you right to the STAMPtember® 2020 release.
Since this is a HUGE party, to best place to get all the links that you need is the Simon Says Stamp blog. Everyone partying with shopping codes & tons of inspiration will be linked there!
I've created a few cards with the STAMPtember® 2020 release, and up first are some beautiful fall themed cards.
Fall Card Set

SUPPLY LIST
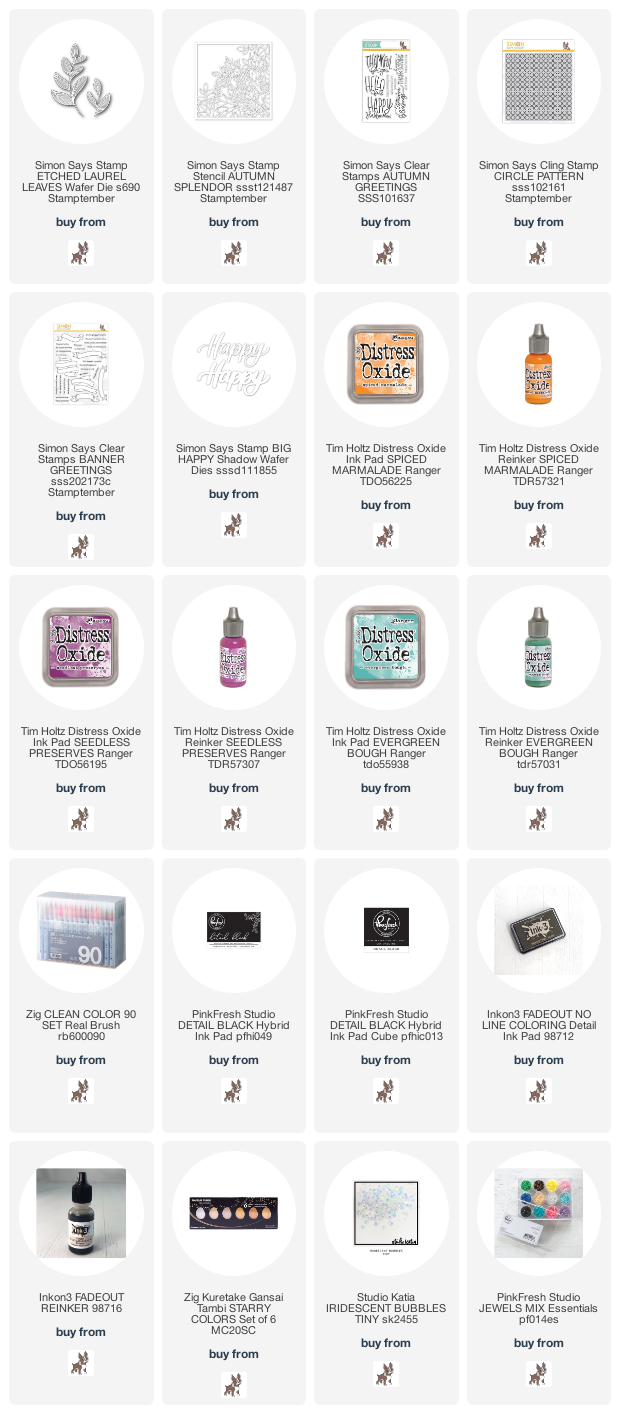
For this first card, I started by diecutting the Laurel Etched leaves from 6 shades of cardstock, then arranged them to a white cardstock panel in a wreath shape. I mounted that panel to a coordinating A2 card base, then accented the wreath with self adhesive jewels.

I stamped the sentiment from Autumn Greetings (an older, previously released stamp set) to white cardstock in Detail Black, then trimmed into a thin banner strip. I added banner edges to each end, then adhered over a knot of gold thread with a thin foam strip.


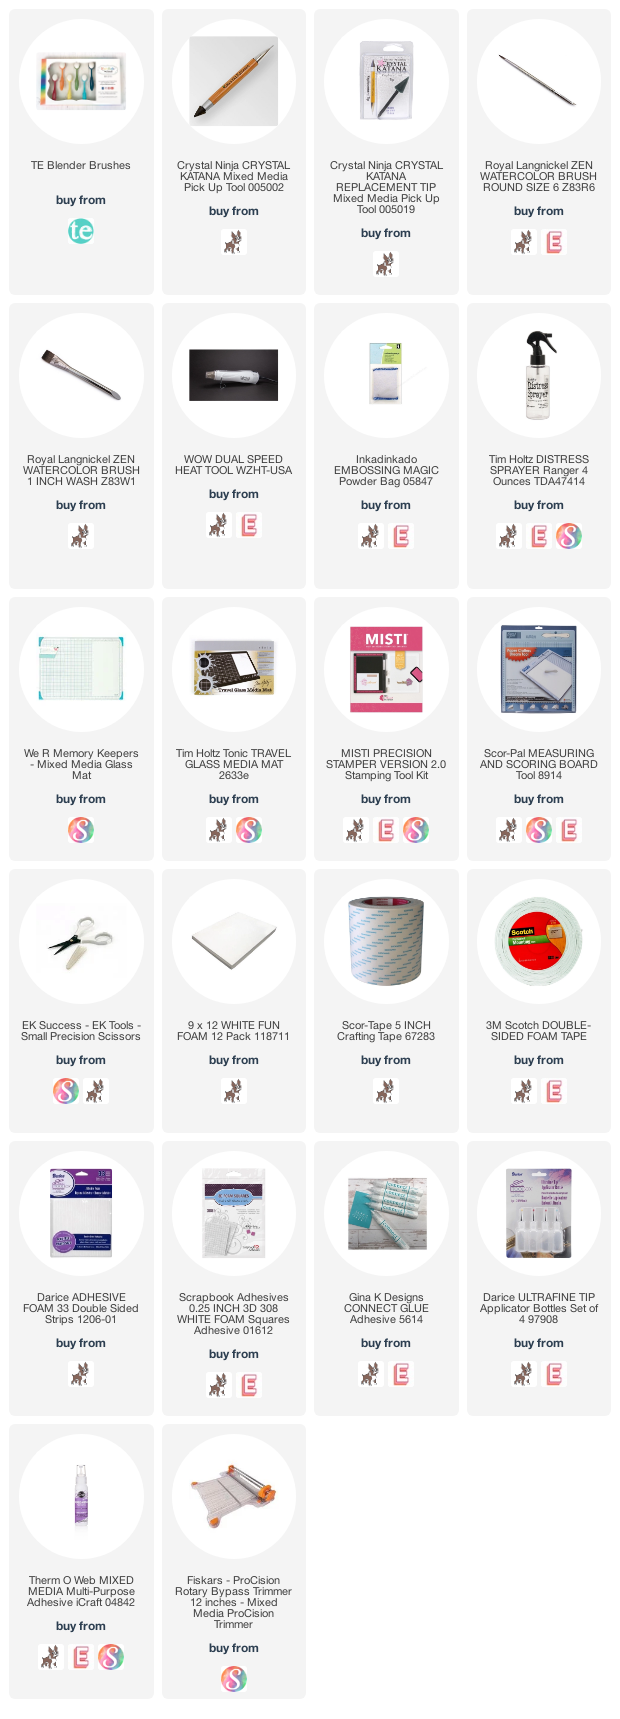
For the second card I used the new Autumn Splendor stencil, and ink blended it with Distress Oxide inks. With the stencil still in place, I splattered the front with gold paint from the Gansai Tambi Starry Colors set (I used the yellow gold). Once dry, I pulled the stencil away and placed the panel in my MISTI. I stamped the sentiment from Autumn Greetings to the lower right corner in Detail Black.

I mounted the ink blended panel to an orange A2 card base with foam adhesive, then accented with the Jewels Mix in golden yellow to finish.


I hope you like my jewel toned fall card set! If you have any questions about them, leave them in the comments and I will be sure to reply.

I created another card using some of the new STAMPtember® products. This one is rainbow & birthday themed - a perfect mix!
"Happiest Wishes" card

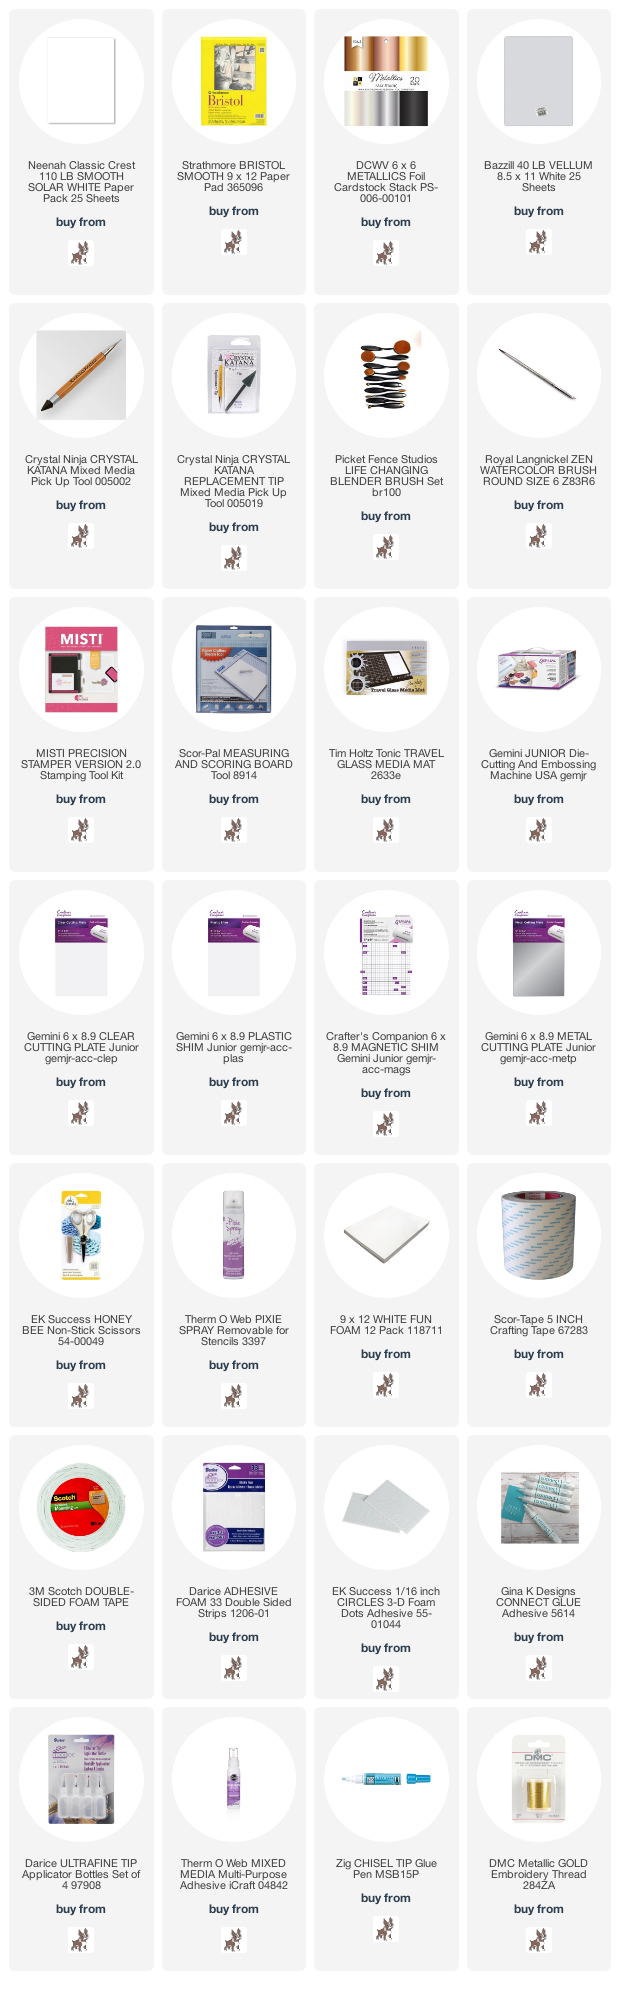
I started by stamping the Circle Pattern cling stamp to Strathmore Bristol cardstock in fadeout ink. I then proceeded to no-line color the circles with my Zig Clean Color Real Brush Markers - I have the 90 set, and I used a good portion of them. There aren't typically 10+ shades for each color, so I did some mixing to create new shades to make my ombre rainbow work out. I suggest having a scrap of the Bristol cardstock next to you so you can out the combo first and make sure it works.


Once I finished coloring, I diecut the panel and mounted it to an aqua A2 cardbase with foam adhesive. Next I diecut the Big Happy (from a previous release) script word from gold foil paper, and the shadow from vellum. I cut the word two more times from white cardstock, then stacked & adhered them with a glue pen. I mounted the word to the shadow, and adhered it to the card front at a slight angle. I stamped the rest of the sentiment from the Banner Greetings stamp set to white cardstock in Detail Black ink, then trimmed into a strip. I added a banner edge to just the left side, then adhered to the lower right corner of the card. I finished by accenting with Iridescent Bubbles.


I hope that you liked my no-line rainbow circle card! If you have any questions about them, leave them in the comments and I will be sure to reply.

That is all I have for you today! Before you move along with your day, I wanted to invite you to follow me on social
media. I would love to be crafty friends!
TOOLS & BASICS LIST

Happy Tuesday, crafty friends! I just wanted to pop in and share a cute little Halloween gift set that I created using some of the newest Spellbinders August release products! The great thing about two of the die sets is the compliment previously released sets, which freshens them up and allows you to use them for a different purpose.
"Hey Boo" card & gift box set

I'm not the biggest Halloween person, but these items were just too cute to pass up! These would be perfect for giving a little treat to your favorite person. It looks like Spellbinders is offering $25 bonus discount + free shipping on orders $100+, so be sure to check out the DEALS section.
SUPPLY LIST:
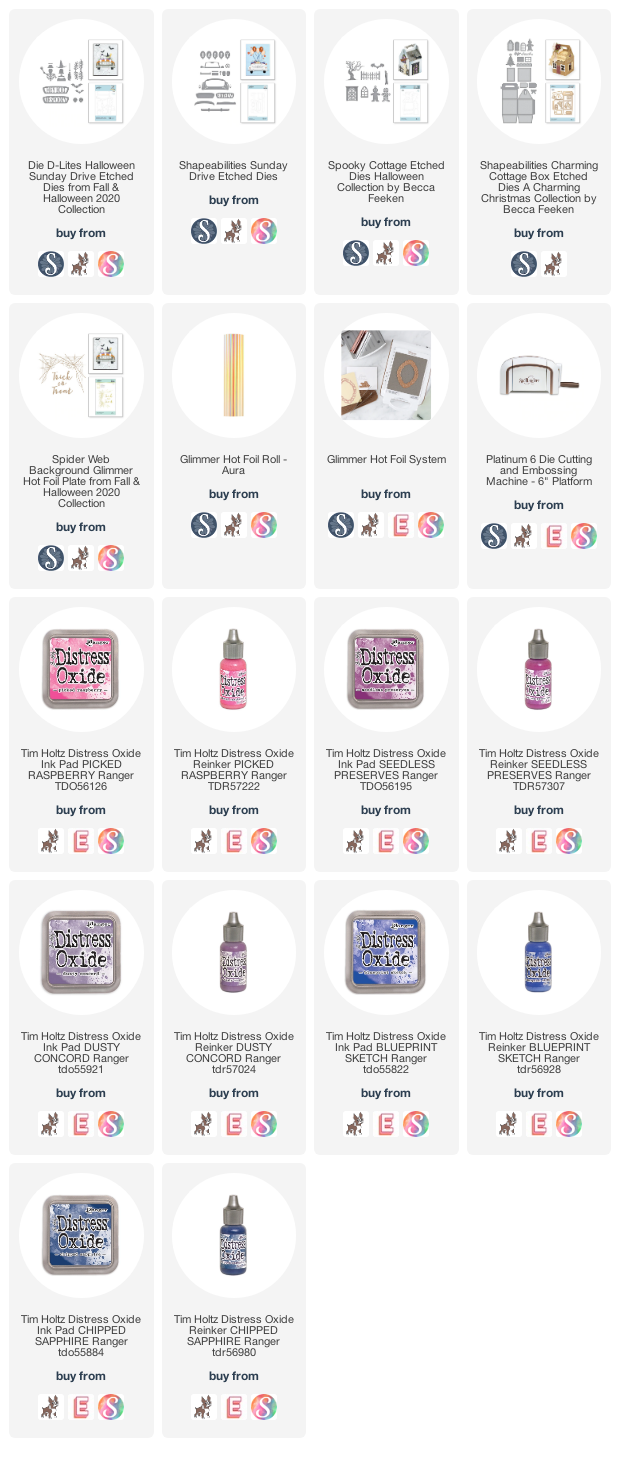
These were quite fun to create, but a little labor intensive. These might not be something that you create large quantities of, but definitely perfect for special Halloween gifts. ;) I ink blended the background using Distress Oxide inks (colors linked above), and set aside. Once I felt it was dry, I Glimmer Hot Foiled it using the Spider Web Background in Aura colored foil. (I did a lot of diecutting while I let the oxide ink set - I wanted to make sure that the hot foil didn't cling to anywhere that it wasn't supposed to.) I splattered the background with Titanium White acylic ink, covering up the bottom.

I used the previously released Sunday Drive die set, along with the new Halloween Sunday Drive set to create the little scene. I think it is absolutely adorable! We saw Wicked on Broadway while we were in NYC this past March, so I did a little ode to Elphaba on the cute little witch. ;)


I used the previously released Charming Cottage Box die set with the new Spooky Cottage add-on set to create the adorable little box. Lots of diecutting & layering went into this box, but it turned out super cute!


I hope that you like my cutie little card & gift box today! If you have any questions about them, leave them in the comments and I will be sure to reply.

Have a great rest of your day!
TOOLS & BASICS LIST

We Stand With You was designed by 12 members of The Stamping Village, including sentiments & images about inclusion, love, kindness and doing the right thing. There is truly something for everyone in this stamp set, and we think you will reach for it time and time again! 100% of the net profits of this stamp set will be donated to the NAACP.

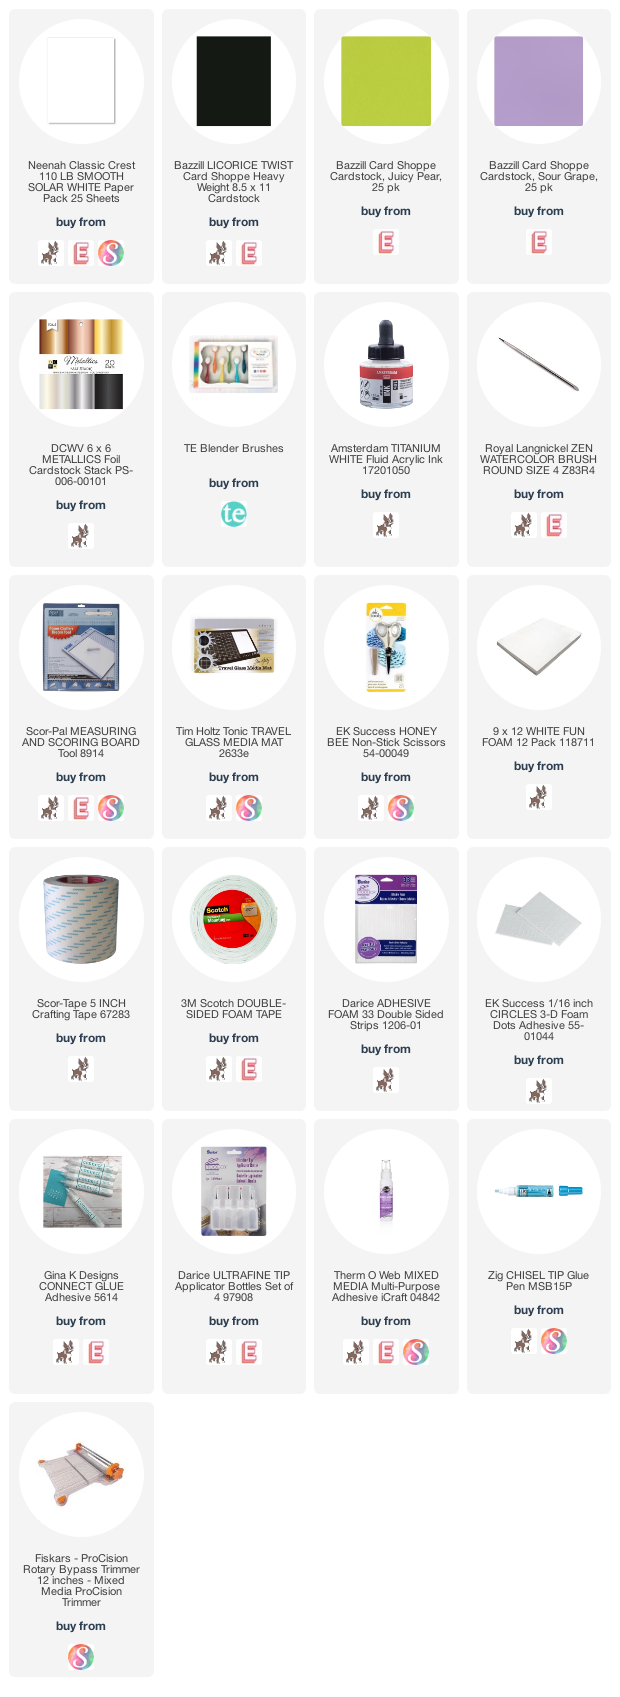
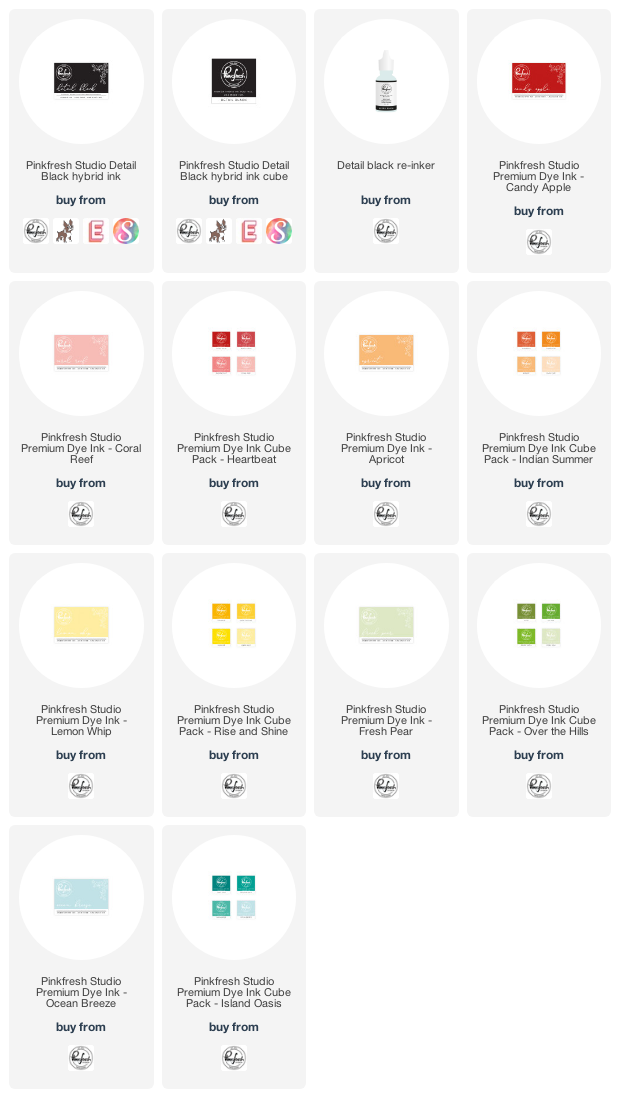
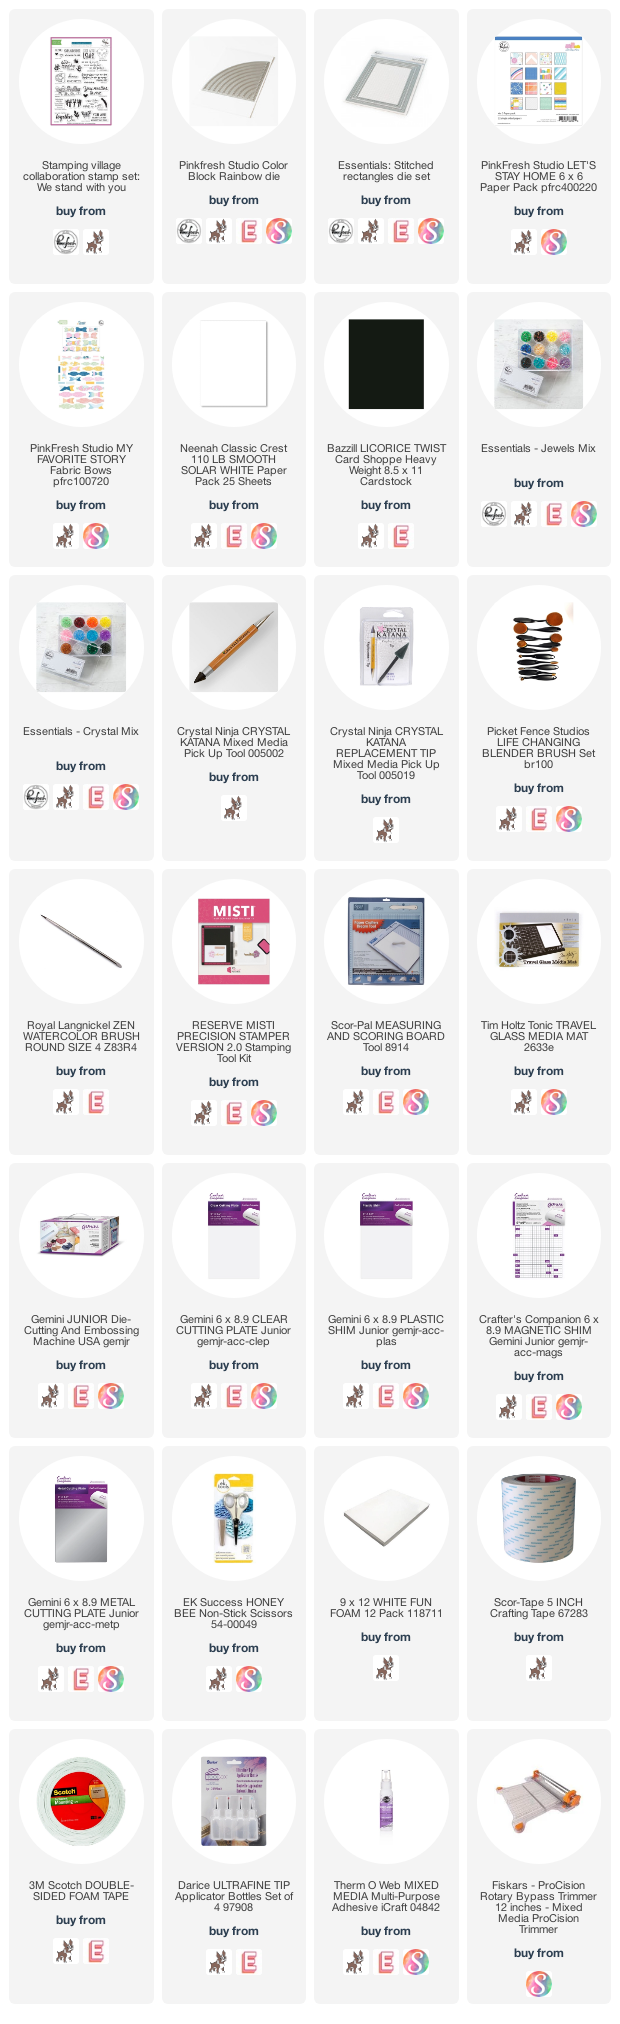
I chose a rainbow color theme for my first card, because well...rainbows. Lol! The background paper is from our Let's Stay Home 6x6 paper pad, and I ink blended the rainbow stripes with our inks colors that matched best. I also embellished it with one of the Fabric Bows from the Let's Stay Home collection as well.

INK COLORS:
Here are a couple of close up shots of my first card. This sentiment is the Pinkfresh Studio contribution to the collaboration stamp set, and the little brush swash is part of it too!


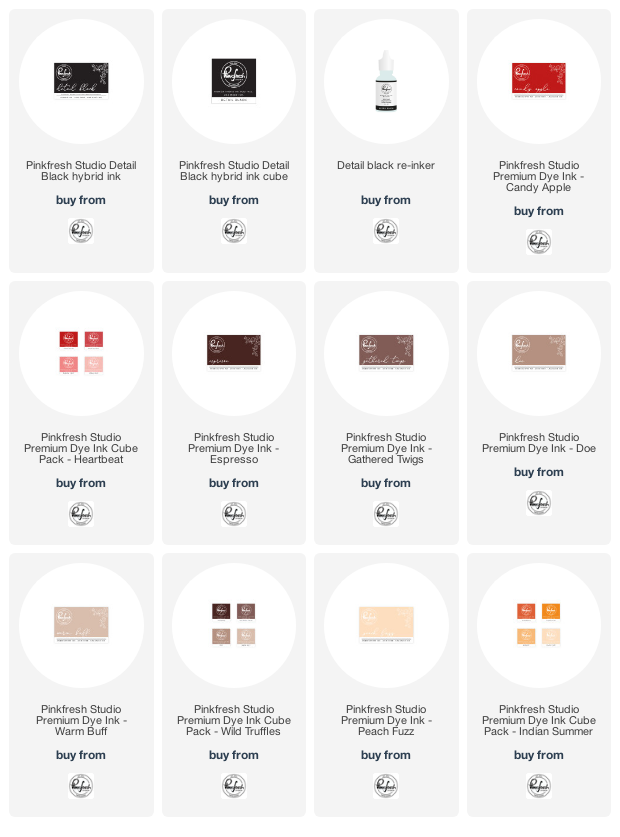
For my second card, I ink blended the rainbow strips in all different skin tones, because I do believe that we are called to love all people. No matter what. This sentiment is Concord & 9th's contribution to the set, along with the heart.

INK COLORS:
Here are some details shots of my second card.


Before you move along to the next stop on the hop, I wanted to invite you to follow me on social media. I would love to be crafty friends!
Have a great rest of your day!
SUPPLY LIST
Subscribe to:
Posts (Atom)


Social Icons