
Showing posts with label scrapbooking style. Show all posts
Showing posts with label scrapbooking style. Show all posts

Happy Friday, crafty friends! We've made it to the end of the week! Woot! Pre COVID, we used to have a craft night on the first Friday of every month here in Minneapolis. I miss it SO much! So, tonight we are going to have a virtual craft night, which I am very excited for. It's not quite the same, but I'll take anything I can get!
I got this email newsletter from Taylored Expressions this week, and it reminded me of how much I love the Rainbow Brights paper pack! So, when I had tidbits of time, I created this card with it and some other TE goodies. Honestly, I'm assuming this promo went pretty quickly, but just in case....I'm sharing it here!

Also, don't forget that Taylored Expressions offers free shipping on orders $50, and you can also get this exclusive stamp set free with orders $100+! So, lots of great deals when you shop at TE!

Rainbow Friendship card

SUPPLY LIST
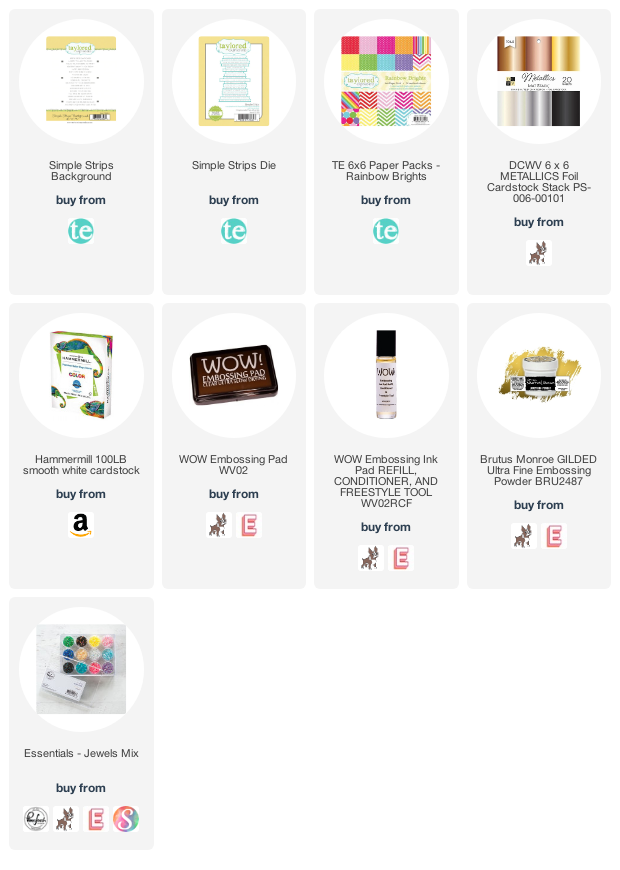
I started by diecutting the Bistro Lights from white cardstock three times. I layered two together flush, then added the third layer to give it a shadow effect. I trimmed off any excess after adhering them. Next I glued the Bistro Lights layer to the front a a block of rainbow paper, then mounted it to a pink A2 cardbase with a full panel of foam adhesive.


Next I stamped & heat embossed the Simple Stripes Background in gilded to white cardstock. Then I diecut it with the Simple Stripes die, and now I have a ton of great sentiments that are already done and ready to add to my next TE card! I've had this stamp & die duo forever, and it's the first time I've used it! I definitely love it! After that I diecut the friends word 3 times; once from gold foil paper and twice from white cardstock. I stacked & adhered them with a glue pen, then mounted the sentiment to the lower right corner of the card with thin foam tape.


To finish I accented some of the bistro light strings with the Jewels Mix in rainbow colors. It was a perfect little touch! If you have any questions about my card today, leave them in the comments and I will be sure to reply.

Have a great rest of your day!
TOOLS & BASICS LIST

Happy Monday, crafty friends! I hope you had a great weekend, and are having a great start to your week so far. It's starting to already feel like fall here in MN, and I am HERE for it. I am not a summer girl, and am so happy for cooler temps, all the pumpkins and fall candles.
Today I have a tips & tricks video up on the Pinkfresh Studio YouTube channel, and this time around I have an easy tip for getting perfect slimline diecutting every single time! Watch the video below, and watch it HERE.
"Happy Birthday" slimline card

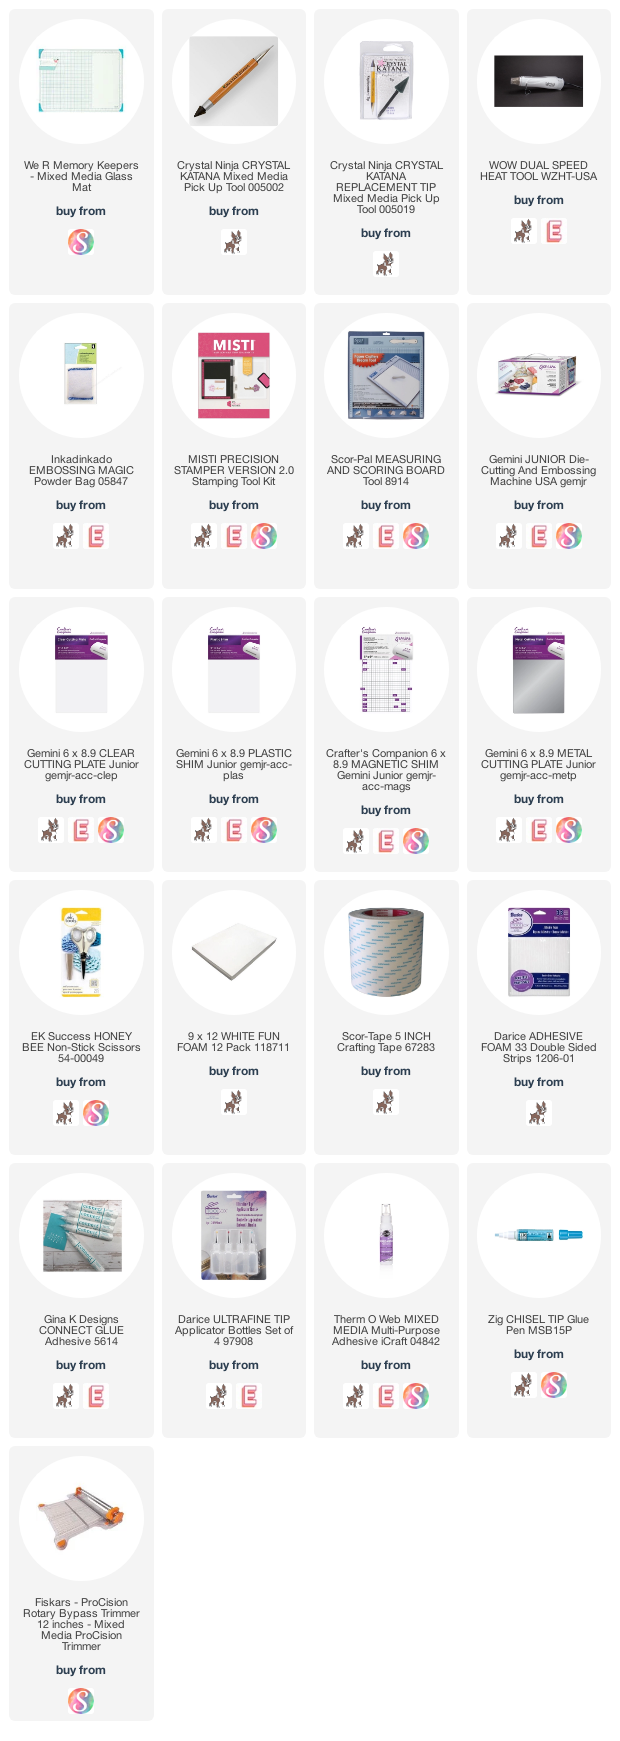
This card features one of our Slim Cuts die sets, along with our newest alpha stamp sets! The great thing about these alpha sets is that the fonts are exactly the same - the sets named after me just have added swashes to make them a little fancier. Thus, they can all be used interchangeably. Here is a list of the main products that I've used on this card, plus you can find my list of tools, etc., at the end of this post. Thank you so much for clicking on my links and shopping from them, as they provide me with a small amount of compensation at no cost to you. I genuinely appreciate your support!
SUPPLY LIST
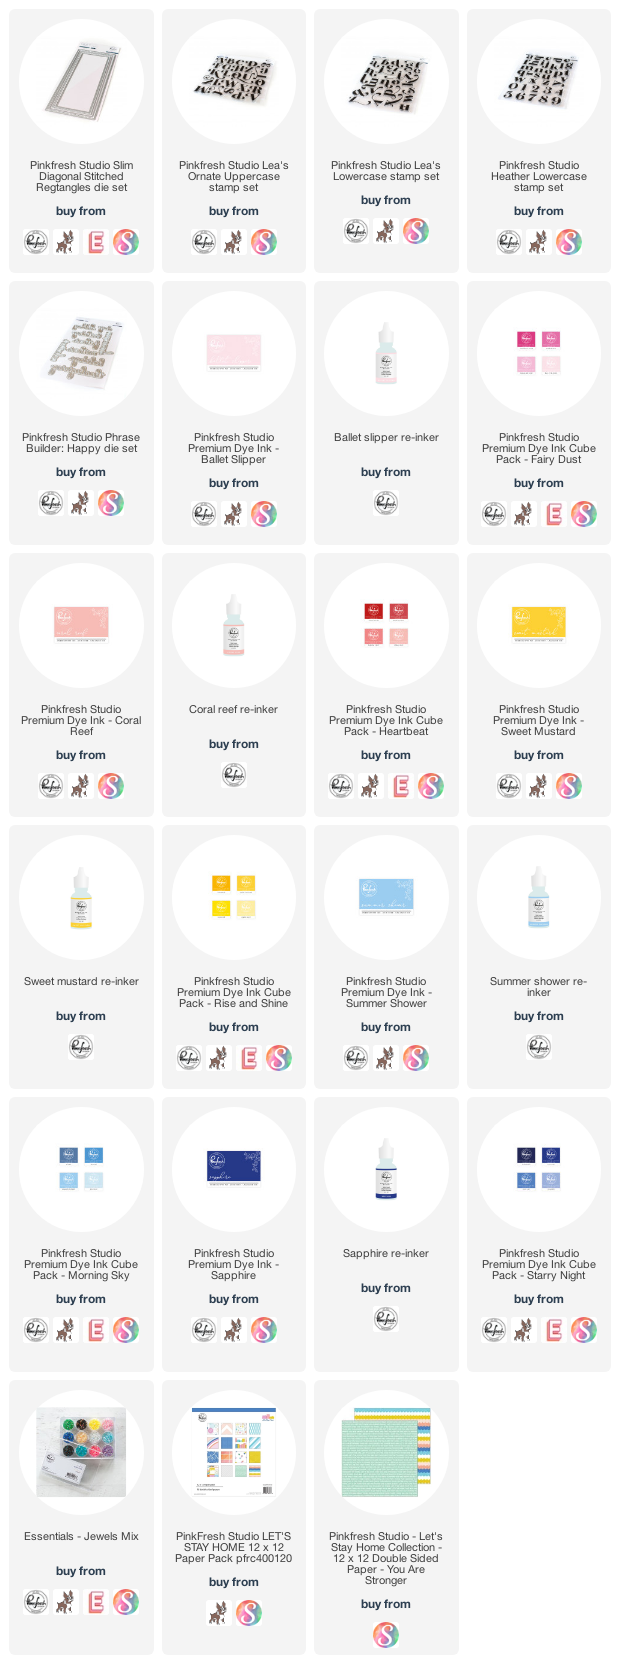
I started by diecutting the "You Are Stronger" scalloped Let's Stay Home 12x12 paper, and white cardstock using the Slim Stitched Rectangles die set. Next I stamped the word Happy to the white layer using all the ink colors listed above. I used a combination of Lea's Ornate Uppercase, Lea's Ornate Lowercase and Heather Lowercase on the stamped word.


Next I diecut the word birthday from our Phrase Builder: Happy die set. I diecut the scripted word once from gold foil paper and twice from white cardstock, then stacked and layered them together with a glue pen. I diecut the shadow layer from vellum, then glued those layers together with connect glue. I mounted the diecut word to the card front with thin foam strips, slightly overlapping the stamped sentiment. I mounted both diecut layers to a cashmere colored 4x9 card base with foam tape. To finish, I accented with trios of our Jewels Mix in dark blue, dark pink & yellow.


I hope you like my slimline card today, and I hope my easy tips in the video make slimline diecutting successful every time for you! If you have any questions about them, leave them in the comments and I will be sure to reply.

Before you move along with your day, I wanted to invite you to follow me on social media. I would love to be crafty friends!
Have a great rest of your day!
TOOLS & BASICS LIST

Happy Wednesday, crafty friends! I just wanted to pop in and share that we have designed an exclusive new die set for Scrapbook.com called Thin Words Everyday Script! This is an amazing die set that is perfect for both cardmakers and memorykeepers. We are so happy with how it turned out! We consider our retailers our partners in business, so we love having the chance to create exclusive products for them with our branding and design aesthetic.
"Birthday Wishes" card

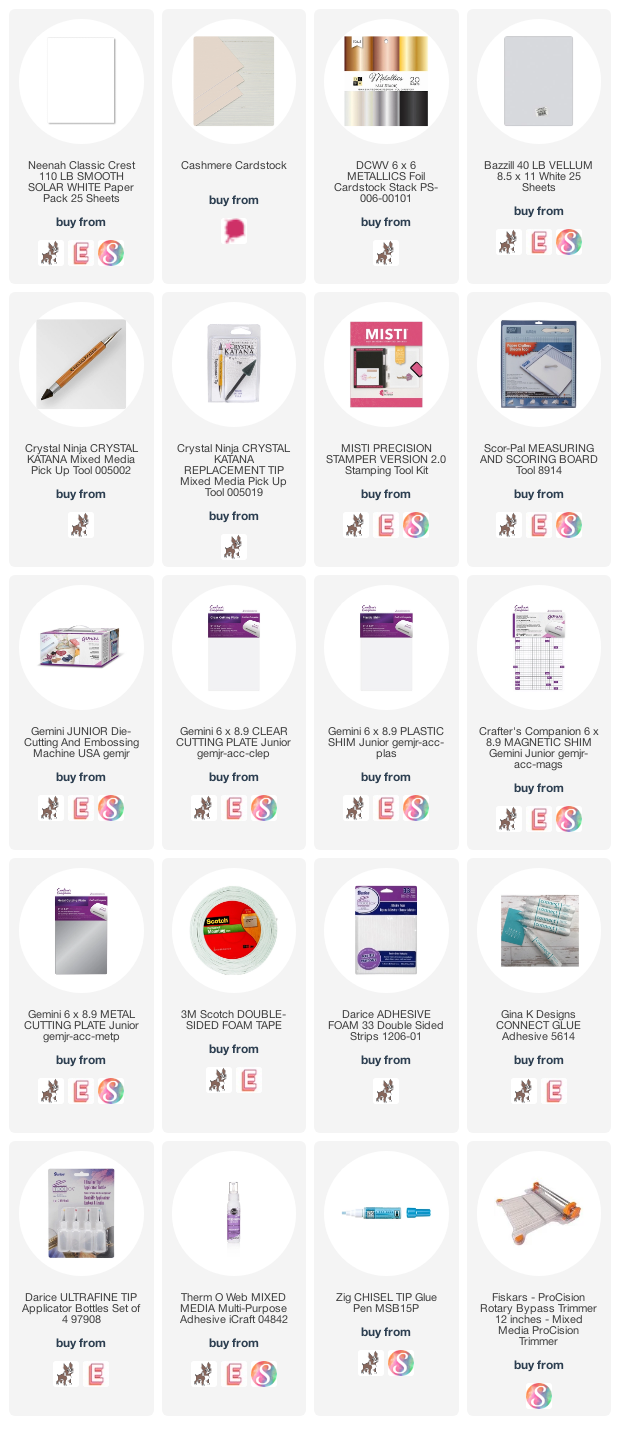
This die set pairs perfectly with pretty much all of our products at Pinkfresh Studio! I have paired it with our Pop Out: Diamonds background stamp, and the Simply Diamonds die, plus the Celebrate 6x6 paper pad from our collaboration with Altenew. Here is a list of the main products I've used to create this card. You will find my list of tools & such at the very end of the blog post.
SUPPLY LIST
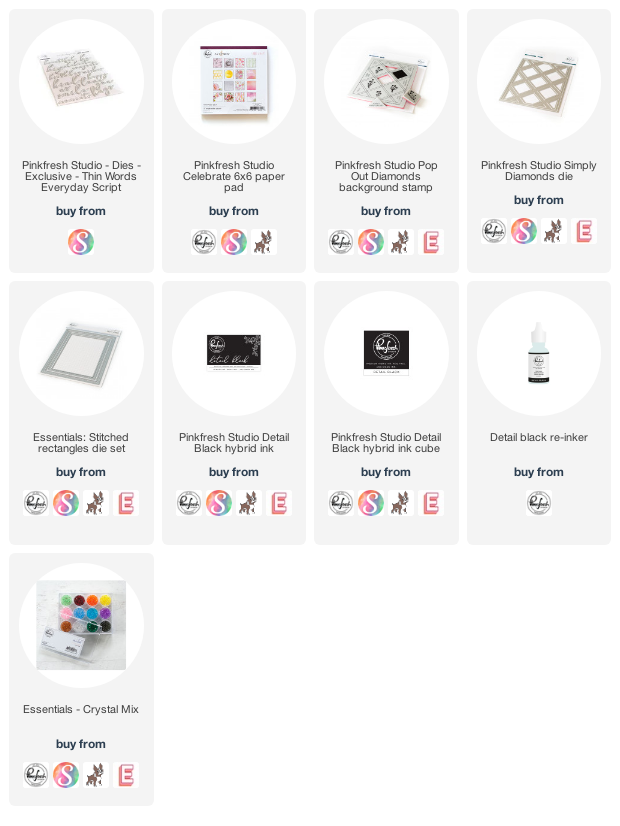
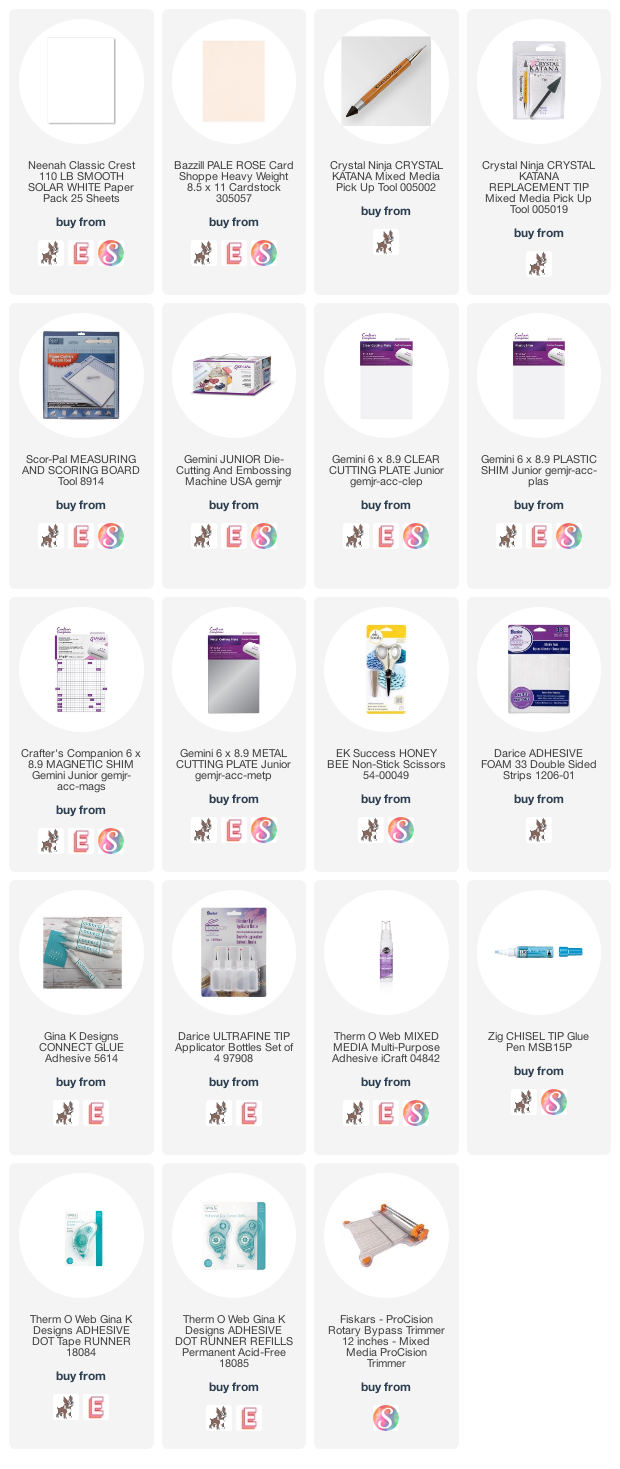
This card was quite easy to put together, as the background is patterned paper. I diecut the diamond layer from white cardstock first, then stamped the coordinating image to it in Detail Black using my MISTI. I fussy cut the floral cluster from patterned paper. Then diecut the words 3 times: once from champagne glitter paper and twice from leftover scraps of patterned paper. I stacked and glued those layers together with a Zig glue pen.


I mounted everything to the front of an A2 pale rose card base as shown, popping up the diamond layer with foam strips. Then I accented with the Crystals Mix to finish.

I hope you will love the Thin Words Everyday Script die set as much as we do! We think you'll reach for it time & time again. Remember, it is only available at Scrapbook.com! If you have any questions about this card, leave them in the comments and I will be sure to reply.

Before you move along with your day, I wanted to invite you to follow me on social media. I would love to be crafty friends!
Have a great rest of your day!
TOOLS & BASICS LIST

Happy Sunday, crafty friends! Josh and I started Whole 30 when we got home from Montana, because 3 months of quarantine then 3 weeks in Montana with family meant our diet was pretty terrible. The basis of Whole 30 is basically cutting down to only eating proteins, veggies, fruits and healthy fats. And I'm going to be real with you...we feel SO much better. I highly recommend doing this if you are just not feeling healthy and your body needs a reset. It's also about eliminating foods that cause inflammation within your body, and as you slowly reintroduce items back into your system...you can see how your body reacts. It's a true litmus test for food allergies that don't cause an anaphylactic reaction.
I don't miss much, but I do miss two things. My sweetened coffee in the morning, and having cocktails with Josh on the weekend. Lol! Those are things I am going to allow back into my life after we are done with Whole 30, but for the most part, we will be adopting Whole 30 as a lifestyle change. We plan on allowing cocktails on Friday & Saturday nights, but I'll probably make mine a bit less sweet. I'm also going to try out some paleo options for sweetening my coffee in the mornings, and found a great recipe for a homemade pumpkin spice latte. I'll let you know what I think in about a month. Lol! So, in honor of all the cocktails I am missing out on right now...I created a couple of cards with some beautiful Alexandra Renke products and dies from Pinkfresh Studio & MFT Stamps.
"Cheers" Cocktail Card Set

SUPPLY LIST
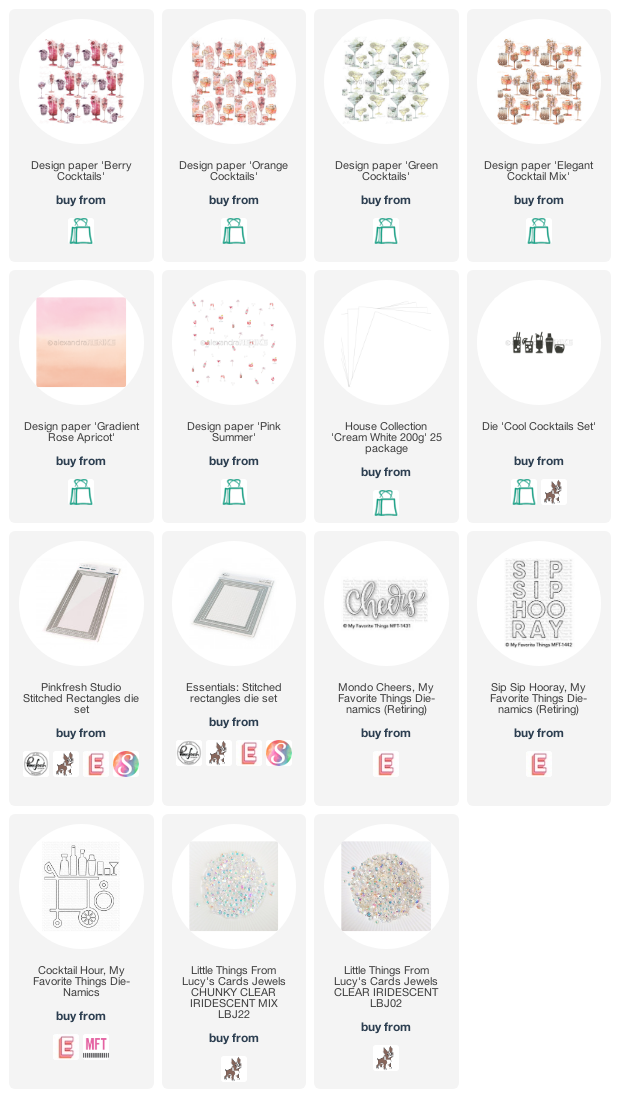
These aren't really technique driven cards by any means. I did some fussy cutting from the papers linked above, and I did some diecutting for the sentiments, and that adorable drink cart on the second card.


I REALLY want a copper drink cart in my house - it's on the list. I think that is probably why I reached for the copper foiled paper on this one. :)


I arranged the fussy cut drinks on the slimline card in rainbow order because, well...rainbows. Lol! It was just the proper thing to do in my brain. Both cards are also accented with iridescent jewels as a finishing touch.

As you can see, I reach for my Pinkfresh Studio Essentials dies on pretty much all of my cards. Most Essentials (Slim Cuts aren't included...sorry!) are on sale this weekend, so definitely grab your favorites at 15% savings!You've got through tonight at 11:59pm CST, and the code is ESS15. If you have any questions about this card, leave them in the comments and I will be sure to reply.

Have a great rest of your day!
TOOLS & BASICS LIST

Happy Friday, crafty friends! Pinkfresh Studio and Altenew have teamed up to bring you this very special collaboration collection called Celebrate, in honor of both companies celebrating our 6th year in business! Collaboratively and collectively designed, this collection was created to celebrate both milestones & everyday moments, and was designed with all papercrafters in mind. Celebrate includes a fresh & citrusy color palette perfect for summer time, and is full of gorgeous watercolor florals & elements.
We are so honored to have the opportunity to collaborate with our friends at Altenew on this beautiful collection, and we just know you will see both our design aesthetics throughout! The Celebrate collection includes 16 paper designs in both 12x12 and 6x6 size, along with a coordinating diecut ephemera pack. There are also (2) 4x6 stamp sets with coordinating dies. I am so excited to share all of my card samples with you, but first, here is at all the new products.
CELEBRATE COLLAB RELEASE
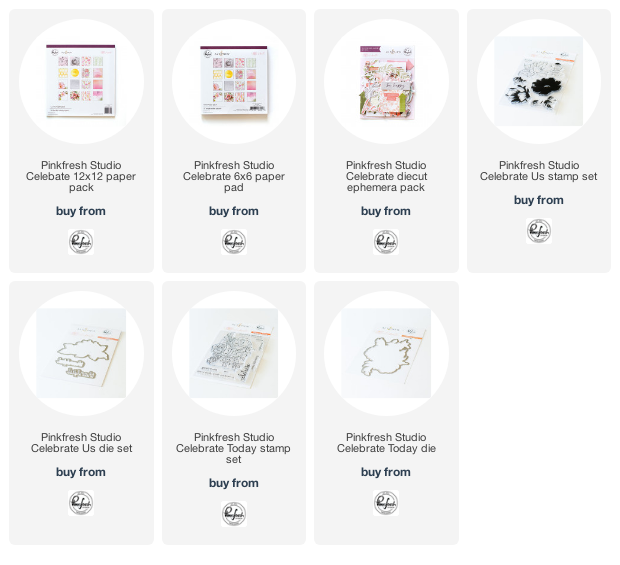
SHIPPING PROMO
We are offering free US or discounted international shipping on orders $50+. Just use the correct code below! Codes are valid until 11:59pm CST on July 2nd.
We've got a fantastic blog hop lineup and prizes at every stop! I'll get to all of that info at the end of my post, but how about we get to my cards first?
This is my first card set using both stamp sets, plus a couple of the gorgeous papers from the Celebrate collection. Of course, I've also used a lot of our Essentials collection to help bring the designs together and give them those beautiful finishing touches.

"Celebrate every little thing" card supplies:
- Celebrate Today stamp set
- Celebrate Today die
- Celebrate 6x6 paper pad
- Pinkfresh Studio liquid watercolors
- Detail Black hybrid ink
- Essentials: Stitched Rectangles
- Essentials: Basic Label Frames
- Essentials: Crystals Mix


I diecut the florals, then added white splatters to it. I chose a patterned paper background, and stamped & heat embossed the sentiment. After assembling the card, I accented with our crystals mix.


"Thankful for You" card supplies:
- Celebrate Us stamp set
- Celebrate Us die set
- Celebrate 12x12 paper pack
- Pinkfresh Studio premium dye inks
- Detail Black hybrid ink
- Essentials: Slim Stitched Scallop Circle
- Essentials: Slim Stitched Rectangles
- Essentials: Crystals Mix


I layered them to the card front, and added the sentiment to the lower right corner. I finished by accenting each circle with the coordinating color of crystals.


If you have any questions about these cards, leave them in the comments and I will be sure to reply.

I have another set of cards to share with you today, featuring this gorgeous collection of products!

"You are totally worth celebrating" card supplies:
- Celebrate Today stamp set
- Celebrate Today die
- Celebrate 6x6 paper pad
- Pinkfresh Studio liquid watercolors
- Detail Black hybrid ink
- Essentials: Diagonal Stitched Rectangles
- Essentials: Ornate Oval
- Phrase Builder: You die set
- Essentials: Crystals Mix


I layered the card up with a patterned paper background and glittered frame. The sentiment is a mix of diecutting & stamping, and I accented with crystals to finish.


"Prayers for you" card supplies:
- Celebrate Us stamp set
- Celebrate Us die set
- Celebrate 12x12 paper pack
- Pinkfresh Studio premium dye inks
- Detail Black hybrid ink
- Phrase Builder: Sending die set
- Essentials: Pretty Frames 2 die
- Essentials: Stitched Rectangles
- Essentials: Crystals Mix


I layered the card up with a patterned paper background and glittered frame. The sentiment is a mix of diecutting & stamping, and I accented with crystals to finish.

If you have any questions about these cards, leave them in the comments and I will be sure to reply.

BLOG HOP INFO
Both design teams have been crazy busy
creating inspiring projects using all these new background stamps! You
are going to LOVE hopping along this blog hop! You can view the entire link list HERE. You should have come from Nathalie's blog, and your next stop on the hop is to the lovely Lauren Hender's blog.
PRIZES
You have the chance to win a $15 gift card sponsored by Pinkfresh Studio
from my blog {and all the other posts on the blog hop too!} - all you
have to do is leave a comment!
Before you move along to the next stop on the hop, I wanted to invite you to follow me on social media. I would love to be crafty friends!
SUPPLY LIST

Subscribe to:
Posts (Atom)


Social Icons