
Showing posts with label watercolor. Show all posts
Showing posts with label watercolor. Show all posts

Happy Labor Day, crafty friends! I hope you are having a restful day so far. I wanted to create a quick post to share this card set that I made earlier this summer. It has quite a story to go along with it, so here we go. Spellbinders asked me to create a video with this project kit in May. Then there were some production delays, so we put creating with it on hold. Then we got the go ahead again, and I created/filmed my projects. We ended up having a couple family things come up, and headed to Montana a week early. I photographed the cards before we left, and I had my laptop with me in order to upload the video footage and get it edited. Well, when I did that....a quarter of the videos were corrupt. Nothing I could do about it, because I didn't bring these products along with me to Montana. Got home & re-recorded the content that was corrupt. I edited and did the video voice over....by then, this kit was sold out. Sigh.
My friends at Spellbinders were so understanding, and let me know that they were actually planning on re-stocking this kit, and that they would share the video when the Happy Place project kit was officially back in stock. And friends...today is that day! Woot woot! Here is my video that is on the Spellbinders YouTube channel.
Happy Place project kit card set

SUPPLY LIST
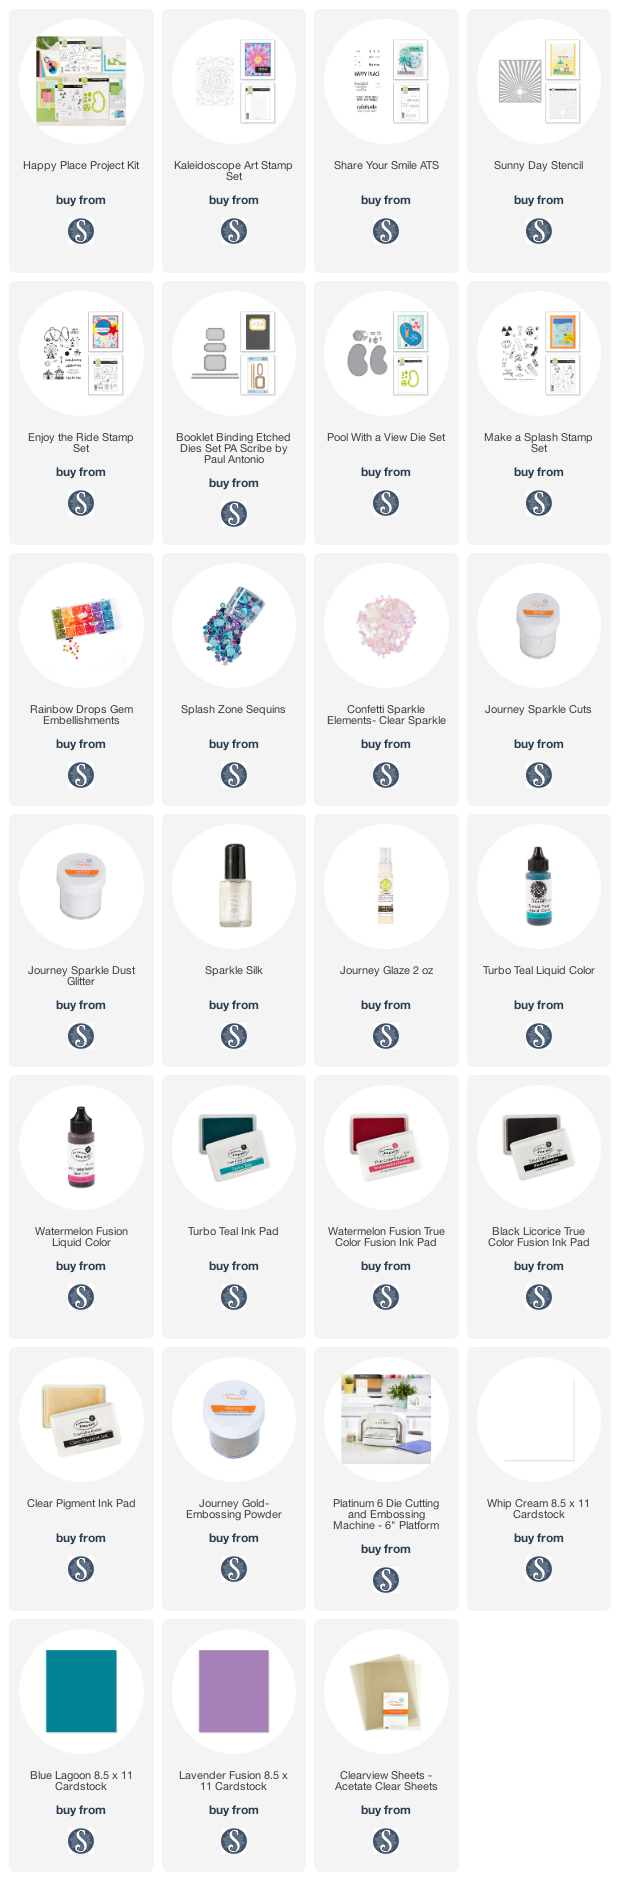
You can see how these cards come together on the video, but here is a little overview of the different products used. For this first card I stamped & heat embossed the Kaleidoscope Art stamp set to water friendly paper in gold. I gave it a good water wash, then dropped Turbo Teal & Watermelon Fusion liquid color to it. I lightly spritzed with a spray bottle, then used a brush to move the colors around. I added shimmer to it with Sparkle Silk. I stamped the sentiment from Share Your Smile in Black Licorice, then trimmed into a banner. I adhered it over a knot of gold thread with foam tape. Then accented with Rainbow Drops & Splash Zone sequins to finish.


For this card I ink blended the Sunny Day stencil to white cardstock using the Turbo Teal and Watermelon Fusion inks. I stamped & gold heat embossed the attractions from the Enjoy the Ride stamp set, then fussy cut. I stamped the sentiment to white cardstock in matching inks, then diecut with the ticket shaped die from the Booklet Binding die set. I layered everything to a teal cardbase, then added Sparkle Cuts to the attractions. I finished by accenting with Rainbow Drops & Splash Zone sequins.


The final card is a shaker, using the Pool with a View die set. I started by creating the shaker first, and filling it with Splash Zone sequins, Confetti Sparkle Elements and Sparkle Dust Glitter. I also diecut the beach ball, adhered it to the card front and covered it in Journey Glaze to give it some shine. I stamped the sentiment from the Make a Splash stamp set, and trimmed it into a banner strip. I adhered it coming out from underneath the beach ball, then accented the card with Rainbow Gems to finish.


That is my card set today! You will notice that many of the products are available by themselves, but you do get a significant discount by purchasing the Happy Place project kit. So definitely keep that in mind. If you have any questions about my cards, leave them in the comments and I will be sure to reply.

Before you move along with your day, I wanted to invite you to follow me on social
media. I would love to be crafty friends!
Have a great rest of your day!
TOOLS & BASICS LIST
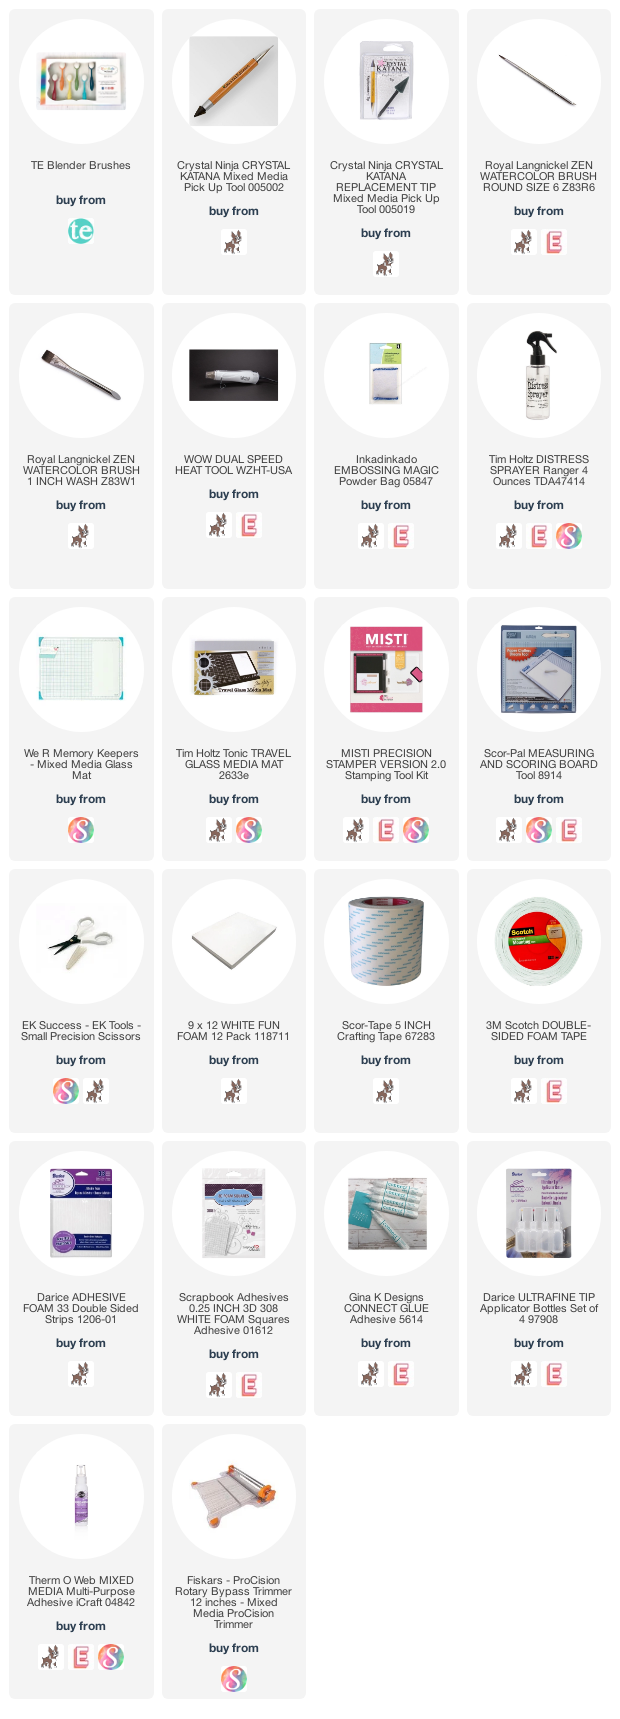

Happy Saturday, crafty friends! Hope you are having a wonderful weekend so far! I wanted to pop in and share this card set with you - I created it forever ago, and photographed it...but then forgot about sharing it. Considering soon enough we are going to change seasons, into my VERY favorite season...it seemed fitting to share them today.
1 Card Design - 4 Seasons Set

I started by stamping &/or heat embossing the floral image from the beautiful Everything Wonderful stamp set (which was illustrated by my friend, Emily Midgett. She is so talented!) to Strathmore Bristol paper. All heat embossing was stamped using the Wow! embossing pad, which I believe is the best embossing ink out there (and I have tried A LOT of them). I colored them over the course of a cold & lazy weekend this past spring, while Josh and I watched all of the James Bond movies featuring Daniel Craig. (I like the movies, but I never could have just sat there and watched them all like that without having something else to do.) Then I cut each one out with the Everything Wonderful coordinating die and layered them to matching A2 card fronts. I heat embossed a different sentiment for each one, and trimmed or diecut them into some sort of banner, label, or strip. I splattered each one, then accented with jewels to finish.
Here is a list of the main products that I've used on this card, plus you can find my list of tools, etc., at the end of this post. Thank you so much for clicking on my links and shopping from them, as they provide me with a small amount of compensation at no cost to you. I genuinely appreciate your support!
SUPPLY LIST
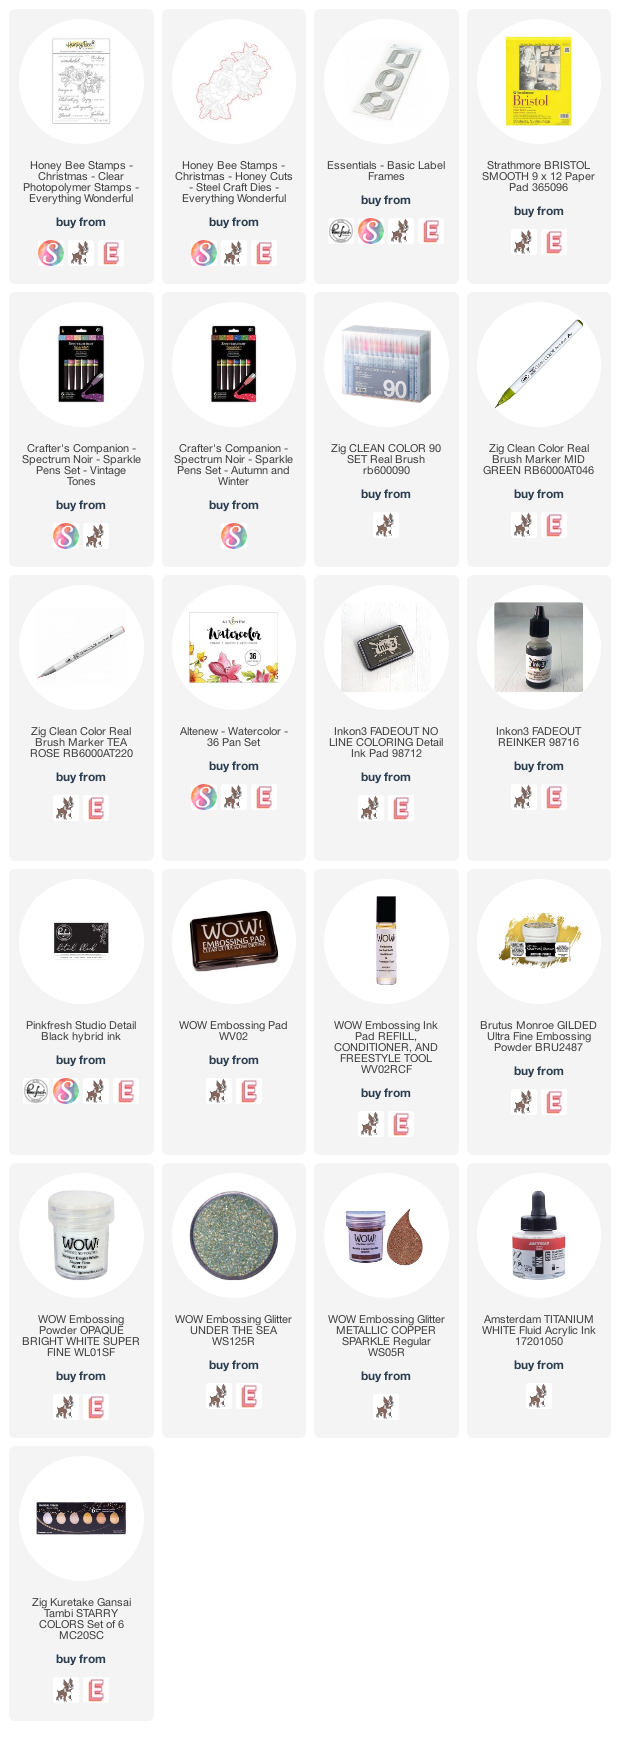
The spring version features no line coloring by using fadeout ink with Zig Clean Color Real brush markers. Specifically, I used Mid Green and Tea Rose colors. The sentiment is heat embossed in Gilded, then very fine splatters of titanium white acylic ink and Gansai gold were added to just the florals.

The summer card is a bit bolder, and very shimmery! I heat embossed the floral image in Gilded, then colored it in with Spectrum Noir Sparkle makers in the Vintage Hue set - specifically Macaroon & Olive Jade. The sentiment is also heat embossed in Gilded, and diecut with a Basic Label Frame. I splattered the card front with light splatters of titanium white acrylic ink and Gansai gold.

My favorite one is probably this one - all about FALL! I stamped this floral in Detail Black ink, then also colored it in with Spectrum Noir sparkle makers in the Autumn & Winter hues. This time I used harvest moon and smoked quartz colors. The sentiment is heat embossed in Metallic Copper Sparkle powder. I splattered the card front with light splatters of titanium white acrylic ink and Gansai gold.

The winter version is embossed in opaque bright white, then colored with the Altenew watercolor pan set. I heat embossed the sentiment in Under the Sea, then added a very light mist of gold & white splatters to the front.

All of the cards are accented with a mixture of the Pinkfresh Jewels Mix and self adhesive jewels that I have in my stash. I typically purchase the self adhesive jewels at Michael's.


I hope you liked my a card for all season set! If you have any questions about them, leave them in the comments and I will be sure to reply.

Have a great rest of your day!
TOOLS & BASICS LIST

Happy Friday, crafty friends! Today I am part of the day 1 blog hop for the SSS Let's Connect release, which is full of amazing products! They've got a free Gina K. Designs Dot Runner with purchase while supplies last. Just be sure to use the correct code on the graphic below.

I will put all of the blog hop details at the end of my post, but how about we get to my card first? Today I've used the new Cosmos Bloom die with Thinking of You sentiment strips on a slimline sized card!

I diecut 7 of the blooms from Bristol cardstock, then painted them in rainbow order with my Pinkfresh Studio liquid watercolors. Once dry, I splattered them with matching colors, and then Titanium White acrylic ink. Next I diecut a block of Bristol cardstock with the largest Slim Stitched Rectangle, and proceeded to watercolor in rainbow order around the edge. I splattered it with Titanium White acrylic ink as well.


I mounted the stitched panel to the front of a 4x9 Fog Grey cardbase, then adhered the blooms to the middle with connect glue. I accented the middles of the flowers with iridescent gems I had on hand, then trimmed down the sentiment and mounted it to the front with foam squares to finish.


I really love the messy, rainbow colors on this card, and hope you do too! If you have any questions about this card, leave them in the comments and I will be sure to reply.

How about we get to all the fun blog hop info now?
PRIZES:
Simon Says Stamp is giving away a $25 coupon to every stop on the hop from the blog comment section. They will choose the winners and post on the Simon Says Stamp store blog on Wednesday. Winners can email SSS to claim their prize.
Simon Says Stamp is giving away a $25 coupon to every stop on the hop from the blog comment section. They will choose the winners and post on the Simon Says Stamp store blog on Wednesday. Winners can email SSS to claim their prize.
BLOG HOP LINK LIST:
Simon Says Stamp Blog
Jennifer McGuire
Cathy Zielske
Nina-Marie Trapani
Nichol Spohr
Yana Smakula
Amy Rysavy
Lisa Addesa
Heather Ruwe
Kathy Racoosin
Suzy Plantamura
Sidnie Des Jardins
Bibi Cameron
Barb Engler
Cheiron Brandon
Lea Lawson
Simon Says Stamp Blog
Jennifer McGuire
Cathy Zielske
Nina-Marie Trapani
Nichol Spohr
Yana Smakula
Amy Rysavy
Lisa Addesa
Heather Ruwe
Kathy Racoosin
Suzy Plantamura
Sidnie Des Jardins
Bibi Cameron
Barb Engler
Cheiron Brandon
Lea Lawson
Wow....what a lineup that is! I know I am excited to grab a cup of coffee and see what everyone else created!
Finally, if you'd like to see even MORE inspiration from this release, check out the Let's Connect gallery. And be sure to link up YOUR creations too!
Before you move along to the next stop, I wanted to invite you to follow me on
social media before you move on with your day. I would love to be
crafty friends online!
Alright friends! Happy hopping!
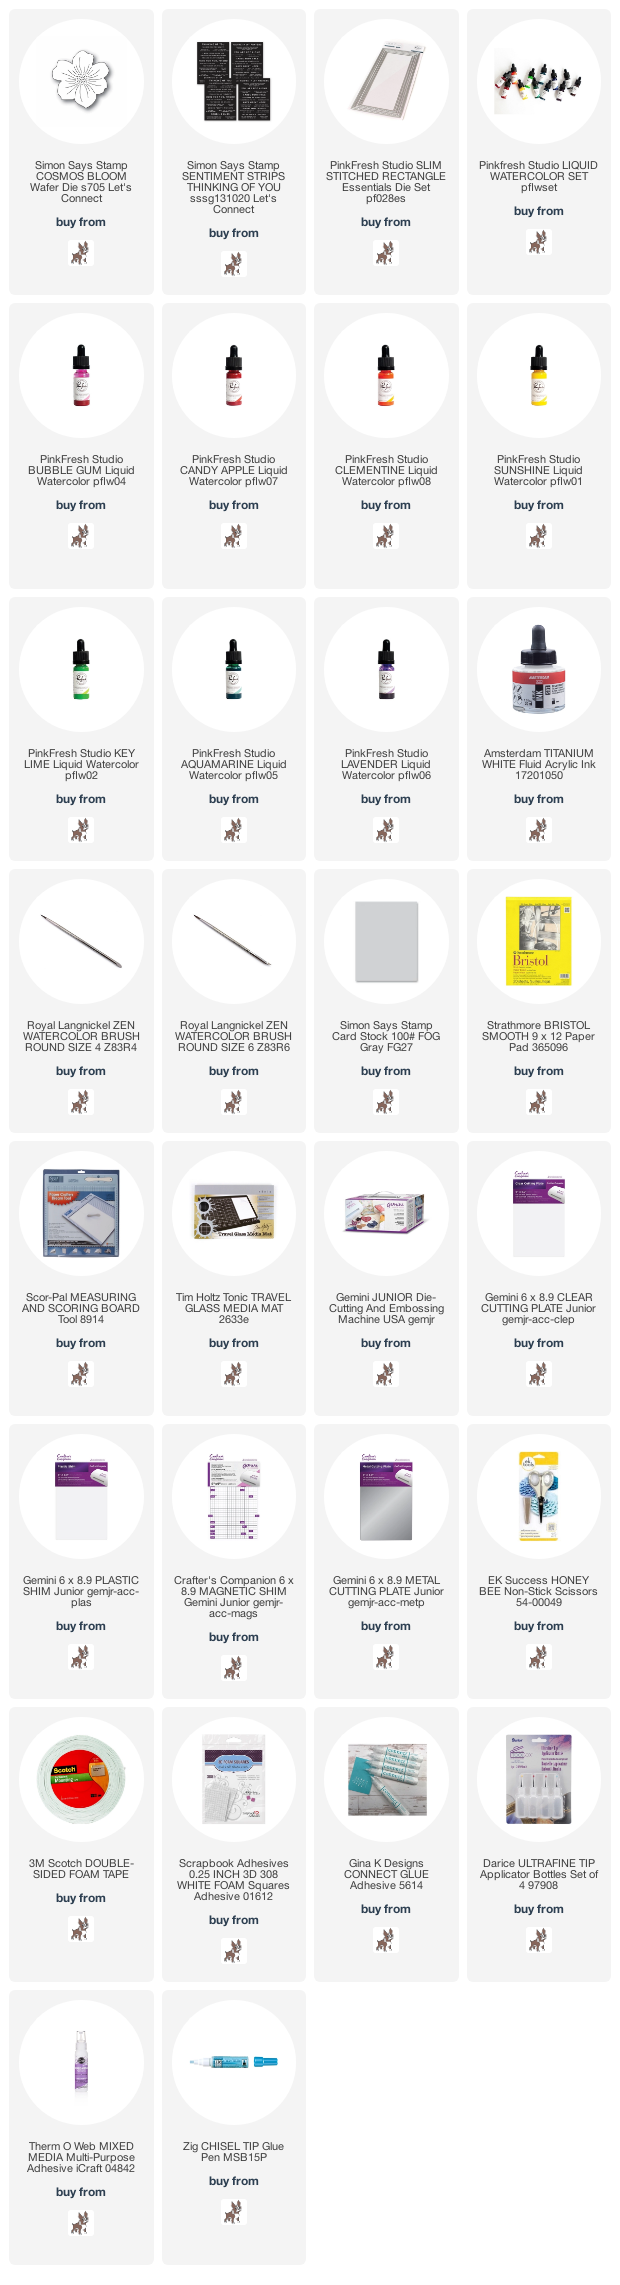
SUPPLY LIST
For your
shopping convenience, all products are linked below, including
affiliate linking when possible - this allows small compensation for me
at no cost to you. I only support legitimate retail
sites, that are true partners to stamp, die and scrapbooking
wholesalers. Today I will only be linking to Simon Says Stamp.

Happy Wednesday, crafty friends! I hope that you are having a good week so far! I've given myself a goal to participate in this month's 30 Day Coloring Challenge from Kathy Rac at The Daily Marker. Even if I end up not coloring every single day, I still want to try to share projects several times per month for it. Please join in the fun if you'd like!
I actually colored these cards at The Ton's Watercolor Retreat, which was in NYC at the beginning of March. Seriously friends - that feels like it was ages ago, rather than just a month. We fell in love with the city during the week we spent in Manhattan, and my hearts breaks over how hard it has been hit by COVID-19. Josh and I had the greatest time together, walking & exploring all over - eating tons of great food and taking in all the sites. We were able to see Wicked & Hamilton on Broadway, which just left me in utter awe. I think I had a permanent smile on my face through them, except during a part of Hamilton when instead, tears were flowing. No spoilers - you'll just have to see it. ;) There was so much life and so much vibrancy while we were there, and my greatest hope is that NYC will get back to that place. It may take some time, but I believe in the resiliency of that city, and of our country.
You are getting a peek at a stamp set that will release this month from The Ton called Bountiful Magnolias. I believe the release week starts tomorrow, so you shouldn't have to wait too long for it to become available! I've colored both images in with the gorgeous Spectrum Noir Sparkle markers, which were SO much fun to use. You will definitely get to see how much they shimmer & sparkle in the photos below.

"Happy Mother's Day" card features:
- Bountiful Magnolias stamp set (available sometime this week)
- Spectrum Noir sparkle markers: Peony, Fig, Olive Jade, Macaroon
- Pinkfresh Studio Essentials: Stitched Rectangles die set
- Pinkfresh Studio Essentials: Basic Label Frames


"Sending a Birthday Hello" card features:
- Bountiful Magnolias stamp set (available sometime this week)
- Spectrum Noir sparkle markers: macaroon, harvest moon, sage
- Pinkfresh Studio Essentials: Stitched Rectangles die set
- Pinkfresh Studio Essentials: Basic Label Frames

This card was put together almost exactly the same, with the exception of marker & heat embossing colors. There are some small differences in the sentiment, including stamping part of it in Detail Black ink and diecutting with the next size of this basic label frame. Other than that, they really are basically the same card.


I did the fun drop & glue technique when adding the clear sequins to the front. Basically, you take a small pinch of sequins and hold them over your panel and let them drop. Then you adhere them down wherever they land! I will admit, I took a couple off here & there, and maybe made some sight adjustments...but for the most part I kept them very close to where they landed. The exception to this, of course, is the accenting done around the sentiment labels. Those were placed strategically.


That is everything I have for you today! If you have any questions about my card, feel free to leave them in the comments and I will be sure to reply.

Have a great start to your weekend!
SUPPLY LIST
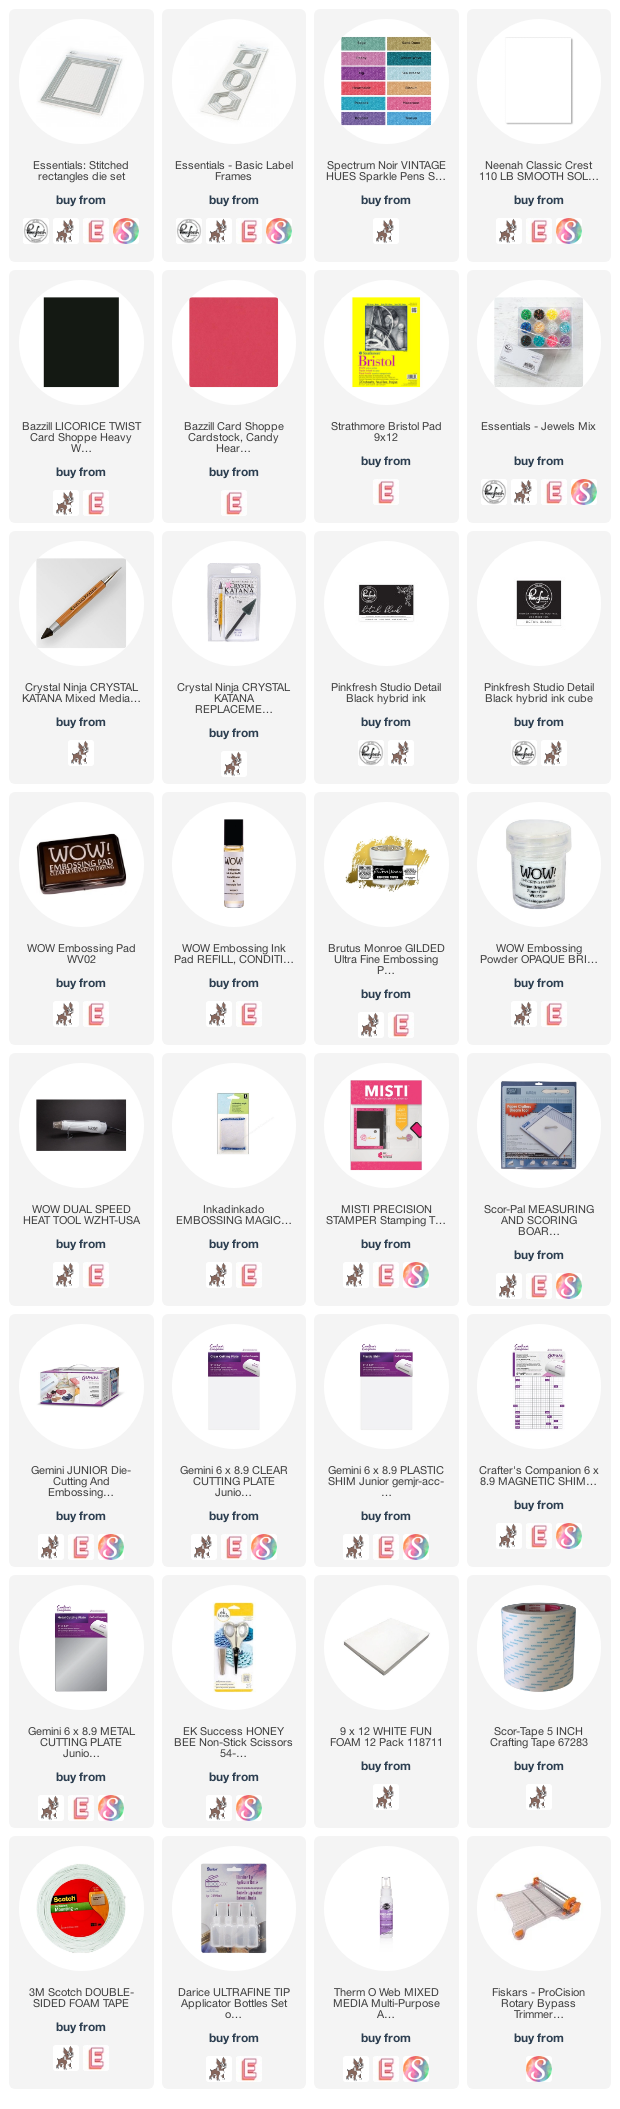
Here are all the products included:
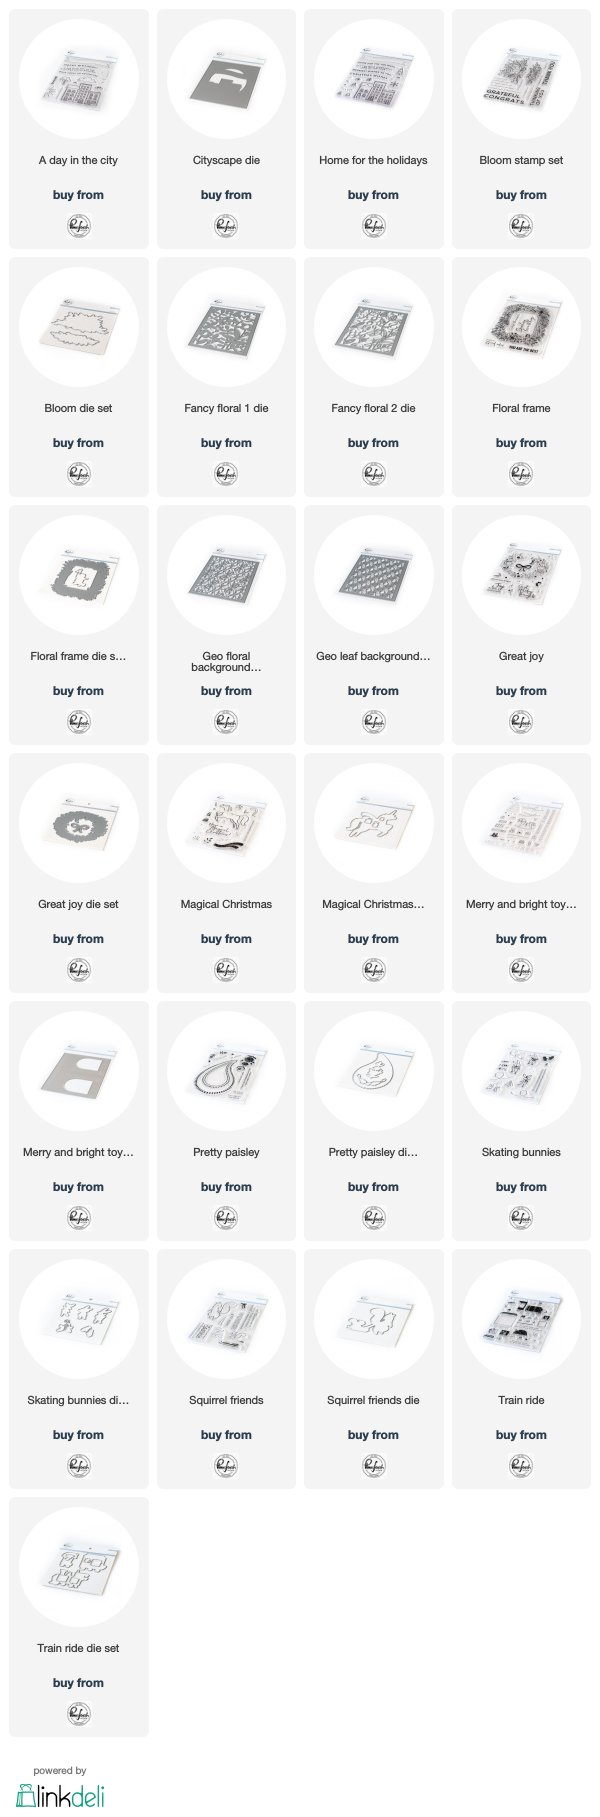
I have created lots of cards using these products, but here are some of my faves:


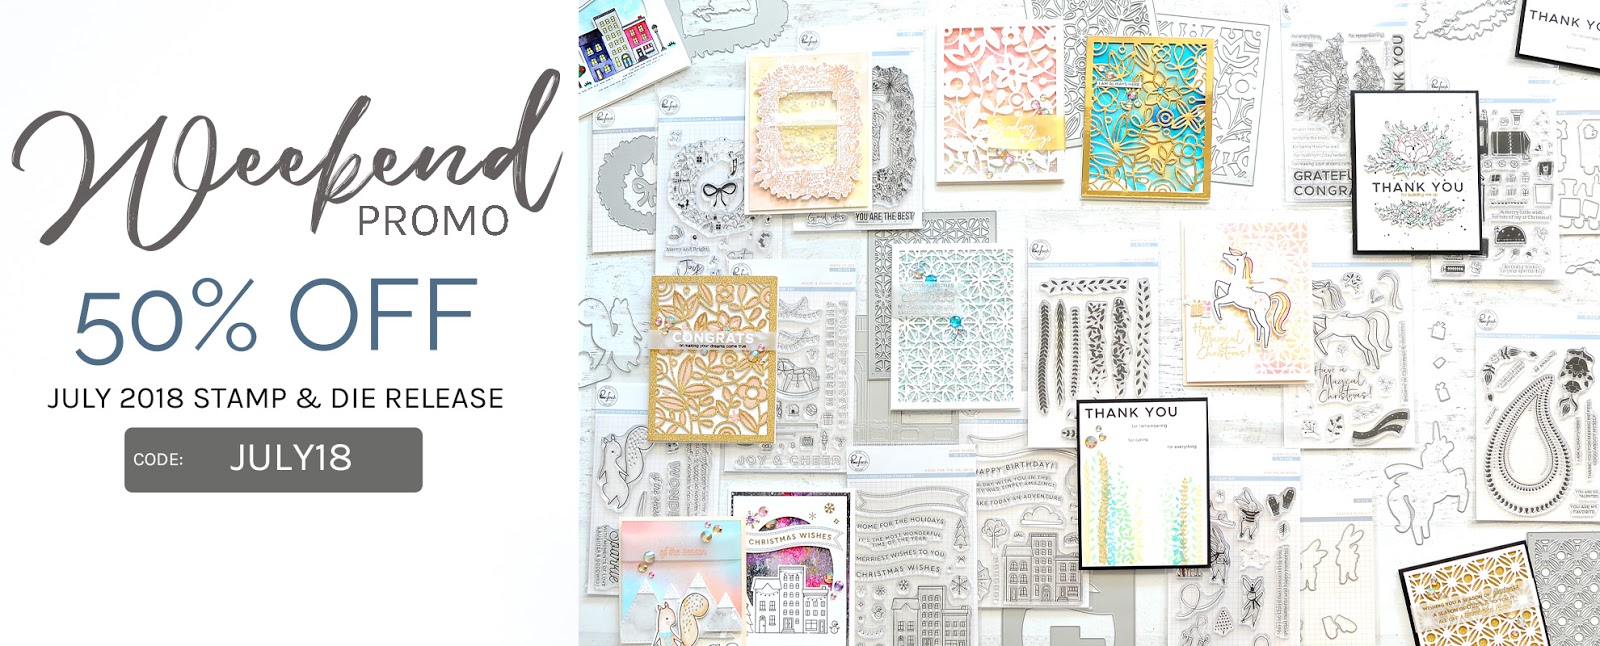
It's a great weekend to grab some of our lovely stamps & dies at a GREAT price, and it's never too early to start on Christmas cards, right? Lol!
I've also updated my Crafty Sale page with other amazing offers going on, so be sure to check it out! I absolutely appreciate when you shop from my affiliate links, as it allows me to help with our household bills (my salary from Pinkfresh Studio goes directly into savings/retirement).
I hope you have an awesome Friday!
~Lea
Subscribe to:
Posts (Atom)


Social Icons