

Happy Monday, crafty friends! I can't even begin to tell you how excited I am about today, as we release our own line of premium dye inks at Pinkfresh Studio today!

After almost a year of testing & perfecting, We are releasing 48 colors in 12 color families that coordinate perfectly with our liquid watercolor. Each color family has 4 ink colors that range from dark to light. These inks are premium quality, they stamp beautifully and the color families layer together seamlessly.
I've got SO much to share with you in this post! We have an amazing blog hop line-up full of so much talent, it makes me smile! We've got TONS of GIVEAWAYS and INSPIRATION! But first, how about we take a look at all of these new inks?
There are two options for adding these inks into your craft collection. You can purchase the individual colors in full size ink pads. Or you can purchase the color family set of 4 in ink cubes.
I've created a video for the Pinkfresh Studio YouTube channel today, where you can see all 48 colors in action and learn about some ways to swatch all of these amazing colors. You can watch it below, or HERE in HD. (I know my YouTube channel has been super quiet. I hope to be able to start creating more videos for my personal channel soon, but life has been busy and some things just have to be put on the backburner.)
We are so excited to be carrying these amazing swatching stamps & dies by Waffle Flower Crafts in our shop! I can't recommend them enough, especially if you love to swatch all the things like me. ;) I hope that you enjoyed my video today! If so, I would be so happy if you gave it a thumbs up!
SWATCHING PRODUCTS
I will add the blog hop & prize info at the bottom of my post, but let's get to my cards first. Today I've revisited a stamp set that we released last October called Inked Florals, and this is where my Thank You card trio begins. The first thing I did was create a background panel with these stamps. I started by stamping & heat embossing the outlined florals in rose gold embossing powder to a white cardstock panel. Then I used our premium dye inks in Ballet Slipper, Coral Reef & Storm to stamp in the blooms.
Next I created a diecut set of all the florals using the Inked Florals coordinating dies. The biggest tip I have for using this stamp set is to diecut first, then use the negative as a jig in your MISTI. Then you can stamp & heat emboss the same way you did above. Because of the way this stamp set layers, diecutting first makes sure you are adding all the blooms in the place they are meant to go. Once the Inked Florals stamping was complete, it was time to start creating my cards.

This card starts with diecutting the label from our Essentials: Pretty Frames diecut set from the middle of the Inked Florals background panel. Then I diecut the label 10 more times from white cardstock (yes - you are reading that correctly. Lol!) and once from rose gold glitter paper. I've also used the Possbility paper from our Just A Little Lovely 12x12 paper pack. And finally, the sentiment was created using the Kelly Alphas Uppercase die set and the Flower Garden stamp set.

1. Diecut the Possibility paper with the largest Diagonal Stitched Rectangle.
2. Adhere to a white A2 card base with a full panel of foam adhesive.
3. Stack & adhered the Inked Florals label with 5 of the white labels.
3. Stack & adhere the rose gold outline with 2 white layers.
4. Adhere the stacked labels & outline to the middle of the card.
5. Diecut the word KIND 4 times: once from rose gold glitter paper and three times from white cardstock.
6. Stack & glue together, then adhere to the middle of the label.
7. Stamp the sentiment to white cardstock, trim into a then strip & adhere to the top of the K.
8. Accent with our Essentials: Jewels Mix in blue, light pink & white to finish.


This card uses the other portion of the diecut Inked Florals panel, and the rest of the Pretty Frames labels. I stamped & heat embossed the sentiment from our Flower Garden stamp set to one of the white labels using onyx black Versafine and metallic copper embossing powder.

1. Layer foam tape to the back of the inked florals background, then mount to a blue A2 card base.
2. Stamp & heat emboss the sentiment to a white label.
3. Adhere the matching outline and remaining labels to the middle of the card.
4. Add a diecut inked floral to the lower right corner of the label.
5. Accent with our Essentials: Jewels Mix in blue, light pink & white to finish.


For my final card, I used the Possibility paper from our Just A Little Lovely 12x12 paper pack again. I trimmed a section of it down to 4.25 inches. The sentiment for this card comes from our Essentials: Classic Words die set and the Flower Garden stamp set. Finally, it also features our Essentials: Inverted Stitched Scallop Circle die set.

1. Diecut the scallop circle from the middle of the Possibility paper panel.
2. Diecut the scallop circle two more times from white cardstock.
3. Stack & adhere the three scallop circles together.
4. Adhere the Possibility paper layers to the front of a 4.5 inch pink card base.
5. Diecut the word beautiful 3 times: once from rose gold glitter paper & white cardstock.
6. Stack & adhere the word layers together.
7. Using the diecut word as a guide, stamp the rest of the sentiment directly to the front.
8. Accent the opposite corners of the scallop circle with diecut Inked Florals.
9. Adhere the word die to the middle.
10. Accent with our Essentials: Jewels Mix in blue, light pink & white to finish.


I hope you liked my cards for today's Ink Release Blog Hop! If you have any questions about them, please leave them in the comments and I will be sure to reply. I also really hope you are loving our new collection of inks! I was looking through all our stamp sets, and I see so many sets that are going to get some revitalization now that we have our own inks to use with them. I'm excited to ink more up in all 48 colors!

How about we get to the prizes & blog hop info?
PRIZES
You have the chance to win a $25 gift card sponsored by Pinkfresh Studio
from my blog {and all the other posts on the blog hop too!} - all you
have to do is leave a comment!
BLOG HOP LINK LIST
Our entire card team, most of our scrapbooking team and some very welcomed guests have been crazy busy
creating inspiring projects using all these new inks! You are going
to LOVE hopping along this blog hop! Here is a full link list, and please note that there is a second page of links. It's come to our attention that the Inlinkz lists aren't always showing up in all browers, so you can also view the entire link list HERE.
Before you move along to the next stop on the hop, I wanted to invite you to follow me on social
media. I would love to be crafty friends!
Happy Hopping, and have a great Monday!
SUPPLY LIST


Happy Sunday, crafty friends! I've got a big week ahead of me, so be sure to check back here, especially at the beginning of the week. I wanted to drop in today and share a couple cards that I've used with the most recent MFT Stamps holiday release! This release is super festive, and I am in LOVE with all the new dies!
Up first is this Merry & Bright card with some rainbow ink blending in the background. I guess I'm kind-of on a rainbow Christmas kick these days! Lol! This card features the new Merry & Bright die, which is a great size and amazing lettering - as you can see, it fills up a good portion of your card base!

1. Ink blend the rays to a heavyweight white cardstock block in rainbow colors.
2. Cut the round hill from the same cardstock, cover in chunky glitter & adhered below the ink blending.
3. Diecut two scalloped edges from gold glitter paper, then adhered to each side.
4. Diecut the word die 3 times: once from gold glitter paper and twice from white cardstock. Stack & adhere.
5. Adhere the ink blended panel to the front of a white A2 card base with foam tape.
6. Adhere the Merry & Bright sentiment to the front with mixed media adhesive.
7. Accent with iridescent jewels to finish.


For my second card, I drew inspiration from this week's MFT Stamps Wednesday Sketch Challenge - Sketch 458. I just flipped it so the sentiment would fit on my card front. This is the new Merry Christmas Blend stamps and coordinating die set, and I LOVE it! I have the Happy Birthday Blend set, which I used HERE. I was SO excited to see a Christmas version of it.

1. Diecut & stamp the Merry Christmas blend set in light pink, red, & light green,
2. Cover the stamped words with spray adhesive, then cover with chunky glitter.
3. Diecut a white cardstock panel with a stitched rectangle, then cut into three blocks.
4. Ink blend the blocks with matching inks as shown in the images, then splatter with titanium white paint.
5. Layer the blended blocks to a full panel of foam adhesive, then adhere to a white A2 card base.
6. Adhere the sentiment to the front with foam dots.
7. Accent with iridescent jewels to finish.
TIP: I found it easier to diecut the words first, then use the negative cut as a jig for stamping. This made lining up each letter section much easier.


That is all that I have for you today! If you have any questions at my cards above, please leave them in the comments and I will reply to them. I did want to mention that the inks I used on the cards above are brand new, and will be releasing tomorrow morning. Check back then for more info!
Before you move along with your day, I wanted to invite you to follow me on social media. I would love to be crafty friends!
Have a wonderful Sunday!
SUPPLY LIST

Happy Friday, crafty friends! It's always a happy day when we are celebrating a brand new release from Simon Says stamp, right?! Their latest collection is called Cheer & Joy, and it is full of lovely products which are mostly Christmas themed! SSS is also giving a cute Post Office Box enamel pin free with purchase using the code HPYML9. This is valid until Sunday, 10/13 at 11:59pm or while supplies last.

This is day 1 of the Cheer & Joy Blog Hop, and we've got quite the lineup for you! I will put all of the blog hop details at the end of my post, but how about we get to my cards first? I LOVE creating Christmas cards in non-traditional colors. Today I felt like getting my rainbow on, and both backgrounds were ink blended with Distress Oxide inks! I've linked the specific colors used on my cards in the link list at the end of my post.

For my first card, I used the new Snowflakes Stencil on the background, the Grace Snowflake die, and the Clean Lines Christmas by CZ Design for my sentiment. This is a fantastic sentiment set - I always love the clean & graphic font choices in Cathy Z.'s stamp sets! (BTW - did you see that they have a LEA snowflake die too?! I didn't get it in my package, so I am definitely going to have to order it. It's SUPER cute!)

1. Ink blend the background to heavyweight white cardstock with distress oxide inks.
2. Diecut (3) snowflakes from matching cardstock, then cover in chunky iridescent glitter.
3. Stamp & heat emboss the word jingle to white cardstock in Gilded embossing powder.
4. Stamp the second part of the sentiment in onyx black Versafine ink.
5. Diecut the sentiment with a label from the Essentials: Basic Label Frames diecut set.
6. Adhere the ink blended background to an A2 red cardbase with a full panel of foam adhesive.
7. Adhere the sentiment to the front with foam tape, then trim off the excess.
8. Add the snowflakes to the front, then accent the middles with iridescent jewels.

This card features the new Reindeer background cling stamp, which is SO cute! I've ink blended the rainbow background with a previously released stencil called Nautical Stripes. This card also features the Grace Snowflake die, and Clean Lines Christmas stamp set.

1. Ink blend the background to heavyweight white cardstock with distress oxide inks.
2. Stamp & heat emboss the Reindeer background in WOW! opaque bright white to the front, masking off the bottom.
3. Stamp & heat emboss the sentiment to the bottom in Gilded.
4. Diecut the snowflake from matching cardstock, then cover in chunky iridescent glitter.
5. Adhere the ink blended background to an A2 teal cardbase with a full panel of foam adhesive.
6. Add the snowflake to the front, then accent with iridescent jewels.


I hope you enjoyed my rainbow colored Christmas cards today! I try to make my process explanations as clear as possible, but if you have any questions, feel free to leave them in the comments. I will be sure to reply! Finally, I did want to mention that the jewels I've used are from my crafty stash, and not available at SSS. They will not be linked below. I also realized after the fact that they don't carry the glitter I've used, but the Lawn Fawn chunky glitter would be a perfect substitute. :)

That is what I have for you today! How about we get to all the fun blog hop info now?!
PRIZES:
Simon Says Stamp is giving away a $25 coupon to every stop on the hop from the blog comment section. They will choose the winners and post on the Simon Says Stamp store blog on Wednesday. Winners can email SSS to claim their prize.
Simon Says Stamp is giving away a $25 coupon to every stop on the hop from the blog comment section. They will choose the winners and post on the Simon Says Stamp store blog on Wednesday. Winners can email SSS to claim their prize.
BLOG HOP LINK LIST:
Be sure to hop
along and leave comments along the way for your best chance to win one
of the prizes!
Wow....what a lineup that is! I know I am excited to grab a cup of coffee and see what everyone else created!
Finally, if you'd like to see even MORE inspiration from this release, check out the Cheer & Joy Gallery. And be sure to link up YOUR creations too!
Before you move along to the final stop, I wanted to invite you to follow me on
social media before you move on with your day. I would love to be
crafty friends online!
Alright friends! Happy hopping, and happy Friday!
SUPPLY LIST


Happy World Cardmaking Day, crafty friends! I really hope you are getting some crafty time in today! It's rainy & gloomy here, and I will be making cards all weekend long! Woot!
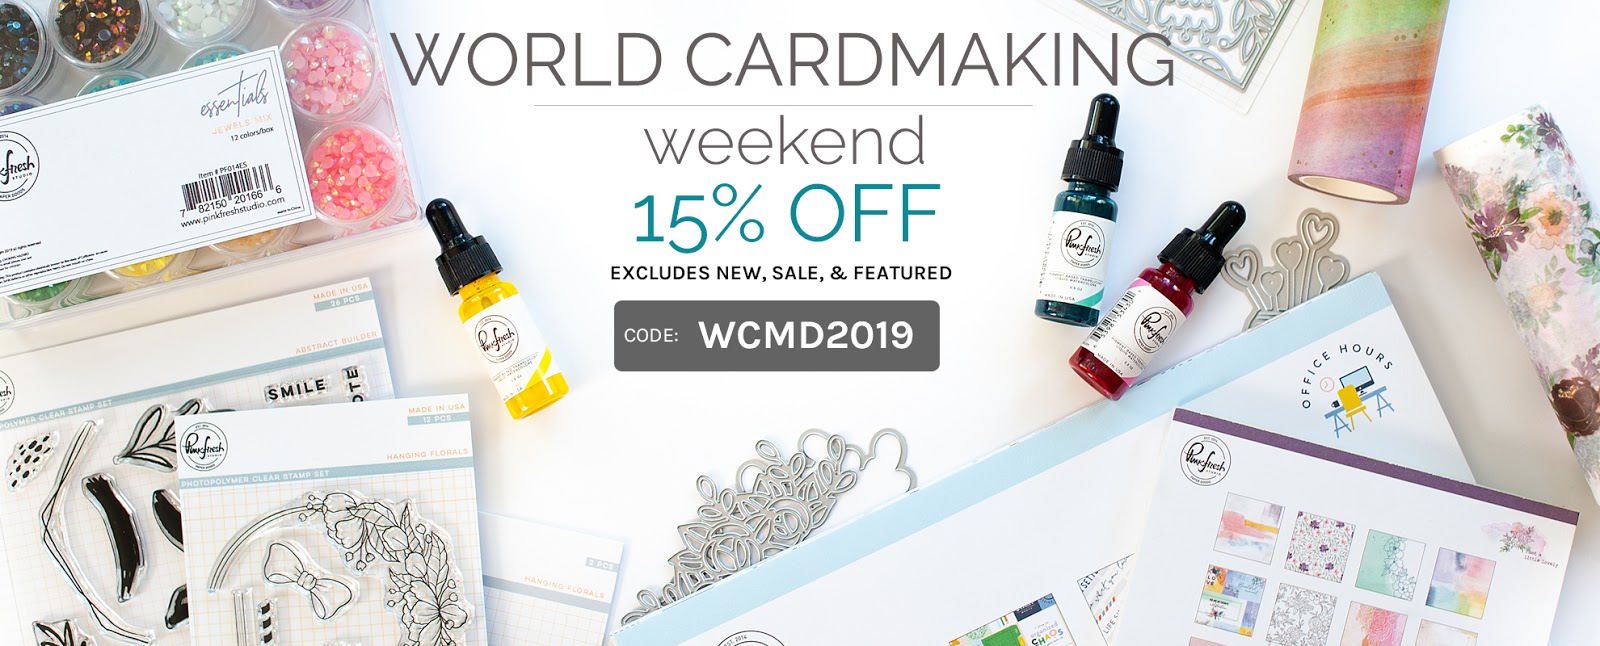
I wanted to mention that we are doing a 15% off sale for WCMD Weekend at Pinkfresh Studio now through Sunday! Just use code WCMD2019 upon checkout to get your savings, but keep in mind that the NEW, SALE & FEATURED categories are excluded from the sale.
We also have two challenges going on today! I have created a card for this first challenge, which is all about your Favorite Technique! Get all the details on the Challenge #1 post on the Pinkfresh Studio blog...but keep in mind that one entry is going to win a $50 gift card code to Pinkfresh! Woot woot! Just get your project(s) linked up before 11:59pm CST tomorrow night!
All of the products that I've used on this card are eligible for the sale! And the favorite technique that I'm sharing is how I love to use my Zig watercolor markers just like you would an alcohol marker. They blend easily, and I rarely feel the need to use water unless I really need to lighten a color.
I colored these blooms on a plane ride home from Phoenix, as I had forgotten earbuds. Honestly, it was so calming & therapeutic, I will be bringing projects like this on planes with me from now on. It also draws some attention...lol! One of the flight attendants looked at my box of Zig markers, and mentioned how fancy they were. (Lol - I didn't realize Zig markers were fancy...apparently he's never seen a Copic marker...bahaha!). Then as the flight was descending and we were packing our stuff away, the man sitting next to me said how much he enjoyed watching me color the flowers throughout the flight.
I've used the Floral Elements stamp set and coordinating dies, which are companions to the Painted Florals washi tape. I hadn't used the stamps alone yet, and I really love how they look by themselves. I'm really proud of the washi/stamp/die combos that we've come up with...it is such an innovative concept, and really give crafters a ton of versatility.

HOW TO CREATE:
1. Stamp the flowers in onyx black Versafine to Strathmore Bristol paper.
2. Color the flowers in with Zig Clean Color Real Brush markers.
3. Cut the flowers out with the coordinating dies.
4. Diecut Circle Frame with Botanicals 3 times: once from gold glitter paper and twice from white cardstock. Stack & adhere the layers (I use a Zig glue pen for this).
5. Diecut the "New Thoughts" 12x12 paper with the largest Stitched Rectangle die, then adhere to a white A2 card base with a full panel of foam adhesive.
6. Cut the Beautiful word die 3 times: once from the 6x6 "New Thoughts" paper and twice from white cardstock. Stack and adhere the layers.
7. Put the circle frame with one layer of the white insides into a MISTI. Using the word die, place the Hello stamp, then stamp in onyx black Versafine. (This sentiment stamp is from the Delicate Wreath set.)
8. Adhere the entire circle frame to the front of the card.
9. Arrange the flowers & Beautiful word, then adhere, popping the smaller florals up with foam dots.
10. Add some sparkle with a Tonic Aqua Shimmer pen, then accent the card with our Essentials: Jewels Mix in dark pink, gold & white to finish.


Once a month or so, I do a little explanation on my DIY full panels of foam adhesive. I've been doing this for years, and keep refining the process and making it easier. It is one of the most cost effective ways I've found, and you only need 2-3 supplies.
- White fun foam
- 5" Scor Tape (you can also use 2.5")
- Mixed Media liquid adhesive (optional)
I've recently started using the 5" Scor Tape, and adding it to one side of the foam panel - this is the side that I stick to the top panel, not the card base. Then I use liquid adhesive on the side that will stick to the card. I started doing this because when I was using Scor Tape on both sides, sometimes I wouldn't stick it down completely straight...and there is NO grace. Once it's stuck...it's stuck. So using the liquid adhesive gives me time to make sure the panel is straight, and then I sandwich it between two clean cutting plates while the glue sets. It doesn't take too long, and then my card panel is completely straight! If you are really good at making sure your panel is lined up perfectly with your card base, then you could also just use Scor Tape on the back.


I really hope that you enjoyed my card today, and I really hope that you will play along with our WCMD challenges today! This card is for our WCMD Challenge #1: Favorite Technique...so be sure to check it out! There will be another challenge at noon! ;)


Before you move along with your day (and hopefully go play with your Pinkfresh goodies!), I wanted to invite you to follow me on social media. I would love to be crafty friends!
Have a happy Saturday!
SUPPLY LIST
Subscribe to:
Posts (Atom)


Social Icons