

Happy Sunday, crafty friends! I hope you've had a wonderful weekend so far! We had a fantastic party at our home last night and even made some new friends. It felt like "old times" when our weekends were packed with friends, food and fun. It's interesting how much loss affects your entire life. We find ourselves in a city that we love, but with few people that we know. Grief & loss makes it that much harder to meet people, especially for me. But I saw a semblance of my old self surface last night. I will never be the same. I will always have the pebble in my pocket that is loss. My little ones will never be far from my thoughts. I will never be the woman I was before loss, trauma and grief. But it was nice to see the gracious hostess, the witty comebacks and the laughter that came with ease.
On Friday night, I got in a little bit of crafting time with some new papers from Alexandra Renke. This is her new Autumn Color collection, and friends...she released this one in 12x12 AND 6x6!! I can't even tell you how excited I am about that! I LOVE Alexandra's designs, and I have found ways to use the 12x12 papers on cards and I will continue to do so. But, I am head over heels that she is also starting to introduce 6x6 because it makes some of the designs easier to use.
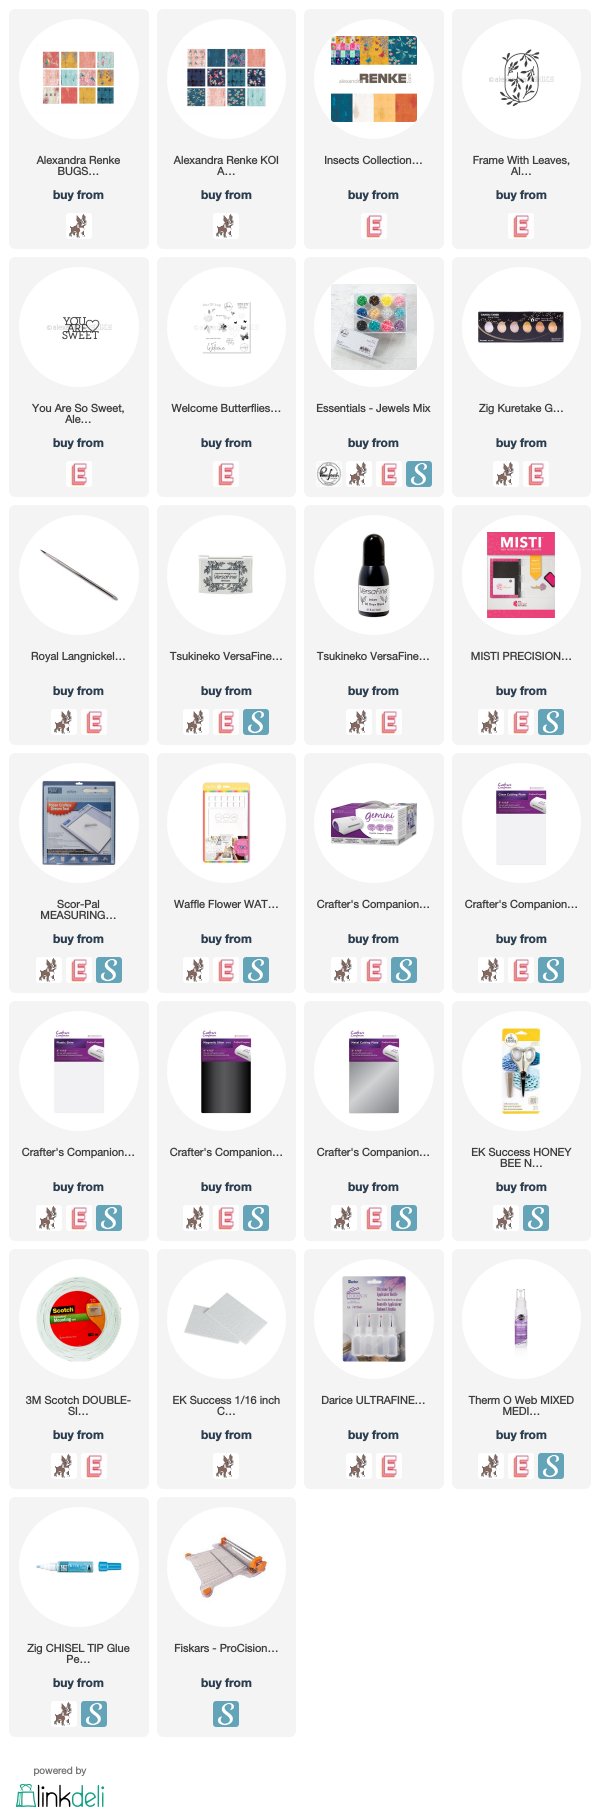
Alexandra Renke products are slowly but surely becoming more readily available here in the U.S., and I linked everything I could find that I used today in the link list at the end of my post. Not everything is available here, and I will link those items to Alexandra's online shop, but keep in mind that she is in Germany.
I created these cards on card bases made from Alexandra's House Collection "Cream White" cardstock. This is cardstock that matches her patterned papers perfectly. You can use any cardstock you have on hand, but I do love the option of matching the whites, so I wanted to be sure to mention what I used.

This first card is actually the last card I created when making this set, but it is probably my favorite! I used Alexandra's Hexagon dies with the Autumn Insect Dance 12x12 paper, which you can get in the Insects collection from Ellen Hutson. This is one of those papers that you might not see all the possibilities it has for cardmakers, so I wanted to be sure and showcase how these cutaways can be used in a fun & unique way! The sentiment was created with the You Are Sweet die.

1. Diecut the hexagons from patterned paper & cardstock multiple times.
2. Arrange the hexagons to the front of an A2 card base, then adhere once you like the design.
3. Layer each hexagon outline with 2 cardstock cuts using a Zig glue pen.
4. Adhere the hexagon outlines to the front, using a different design from the inside hexagon.
5. Trim the pieces hanging over the edge of the card, then splatter the front with gold paint.
6. Diecut the sentiment 4 times: once from gold glitter paper and three times from cardstock. Stack & adhere.
7. Diecut the botanicals & the heart from patterned papers, then layer them with the sentiment to the front.
8. Accent with jewels to finish.


This next card is super simple, and uses one of my favorite dies from Alexandra called Frame with Leaves. I've used the Koi and Dragonfly 6x6 paper on this card. The sentiment comes from the Welcome Butterflies stamp set.

1. Diecut the frame 5 times: once from patterned paper and four times from cardstock.
2. Stack & adhere the inside cut with three layers.
3. Stack & adhere the outside frame cut with all 5 layers.
4. Diecut the botanicals twice from aqua patterened paper.
5. Stamp the sentiment to the inside cut with onyx black Versafine.
6. Adhere all the diecut layers to an A2 card base.
7. Protecting the sentiment & bird's heads, splatter the front with gold paint.
8. Accent with jewels to finish.


This images on this card are fussy cut from a sheet from the Birds and Bugs 6x6 paper. The sentiment was created using the Beautiful die.

1. Fussy cut the different elements from the 6x6 paper sheet.
2. Adhere all fussy cut pieces to an A2 card base, popping the bird layer up with foam tape.
3. Protecting the bird's eyes, splatter the front with gold paint.
4. Diecut the word 4 times: once from gold glitter paper and three times from cardstock.
5. Stack & adhere the layers, then mount to the card front.
6. Accent with jewels to finish.


I really hope you like this card trio that I've created for you today! As always, if you have any questions at all...feel free to leave them in the comments and I will be sure to reply. I would also love to hear your thoughts on these GORGEOUS Alexandra Renke papers!!


Before you move along with your day, I wanted to invite you to follow me on social media. I would love to be crafty friends!
Have a wonderful rest of our weekend!
SUPPLY LIST

Happy Friday, crafty friends! I hope you've had a wonderful week. Before I get to my post, I just wanted to say thank you for all your support for the 2nd annual Layton's Legacy Card Drive & Fundraiser! I couldn't do this without your donations, and I just appreciate it so much. I'm close to half way to my goal for being able to purchase (50) $50 Starbucks gift cards for the UMMCH Level 4 NICU. Any funds raised beyond that goal will be donated to the Upper Midwest Ronald McDonald House, where Josh and I lived for Layton's entire life. I would love if you would continue sharing the fundraiser, as it is proven that a shared fundraiser raises more funds.
I wanted to pop in and share Pinkfresh Studio's weekend promo. We are offering 50% off the Do All Things With Love & Hey Gorgeous word dies with the code 50DATWLHG. This code is valid through Sunday night, or while supplies last. And you must use the code upon checkout in order to get the discount.

I've used both of these dies in a rainbow card set, and you can see that post HERE. I came upon a batch of images of cards the other day that I haven't ever shared. And in that batch is this card, which features the Hey Gorgeous die, along with the Inked Florals stamp set and coordinating dies.

1. Diecut two of the floral clusters, then stamp the floral images in a MISTI, using the diecut negative as a jig.
2. Diecut the thin Hey Gorgeous die three times: once from blue glitter paper and twice from white cardstock.
3. Diecut the Hey Gorgeous shadow from vellum.
4. Stack and adhered the thin word, then adhere to the vellum shadow die.
5. Using the word die as a guide, stamp the rest of the sentiment to a white cardstock panel.
6. Mount the panel to an A2 card base with a full sheet of foam adhesive.
7. Layer the diecut florals to the front, then add black splatters with Licorice liquid watercolor.
8. Layer the word die to the front once dry.
9. Accent with iridescent jewels to finish.

This card isn't part of the promo, but I photographed them together...so it's like a bonus! This one features the Fancy Blooms stamp set and coordinating dies, and the sentiment is from our Train Ride stamp set.

HOW TO CREATE:
1. Stamp & heat emboss the floral image in rose gold embossing powder to Arches watercolor paper.
2. Watercolor the floral image with distress inks, then diecut once dry.
3. Use the leftover distress inks to watercolor smoosh a panel of Arches watercolor paper.
4. Stamp the sentiment to the upper left corner of the background panel in onyx black Versafine.
5. Layer the watercolor panel to an A2 card base with foam adhesive.
6. Adhere the floral cluster to the card front with foam tape.
7. Add black splatters to the front with Licorice liquid watercolor.
8. Accent with iridescent jewels to finish.

That is all I have for you today! If you have any questions about my card, feel free to leave them in the comments and I will be sure to reply.

Before you move along with your day, I wanted to invite you to follow me on social
media. I would love to be crafty friends!
Have a wonderful Friday!
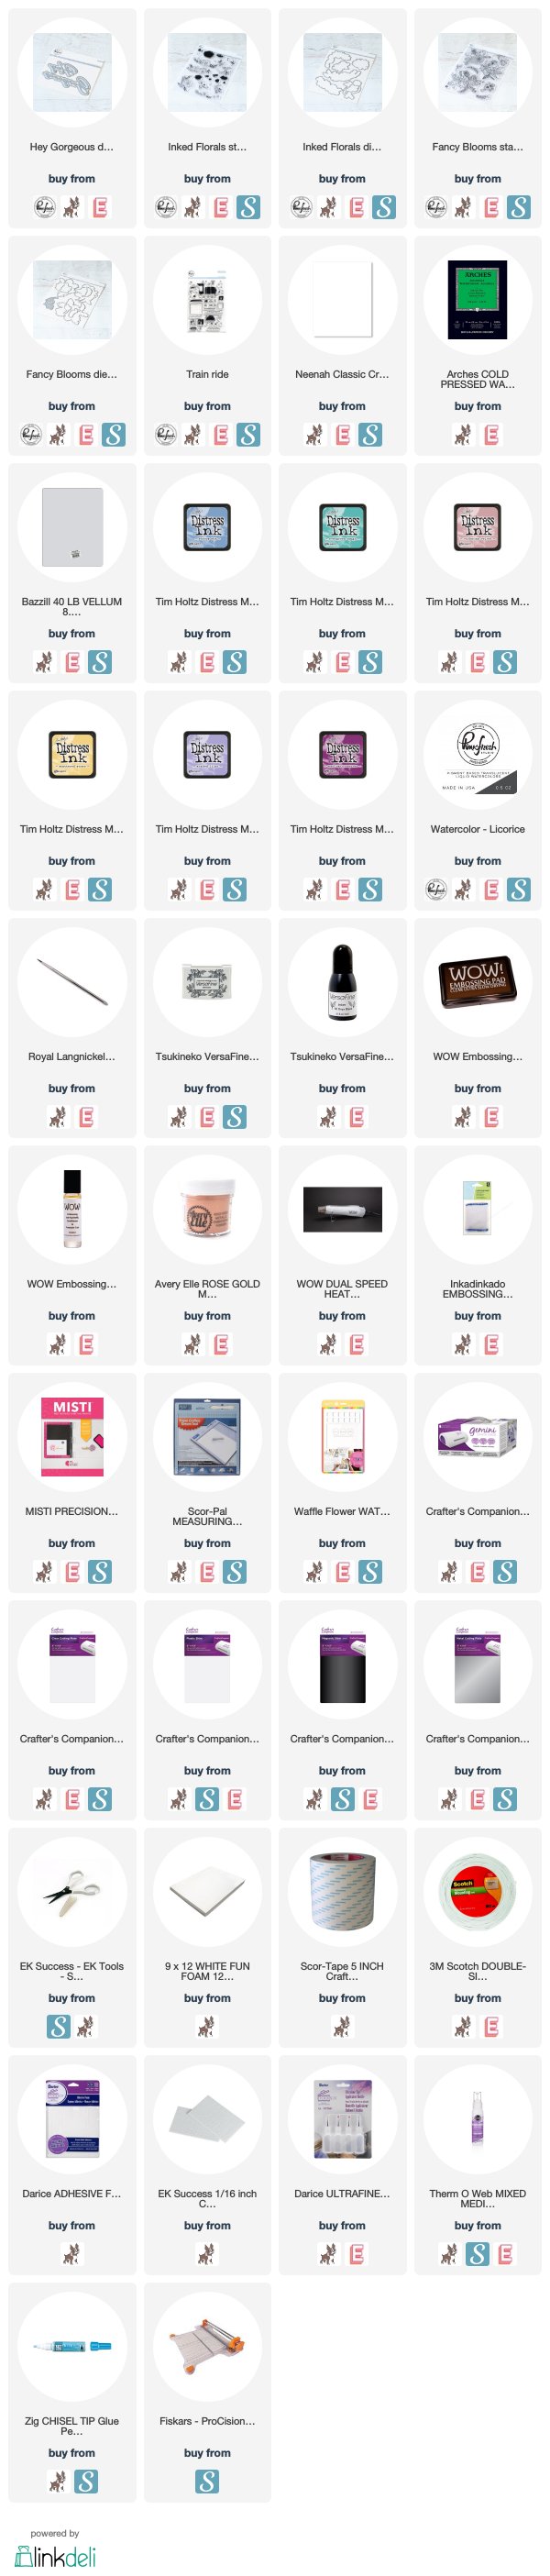
SUPPLY LIST

Happy Tuesday, crafty friends! It's a busy day on my blog, so if you are looking for the 2nd annual Layton's Legacy post, it's linked.
Today I'm joining in on some blog hop fun with HoneyBee Stamps in celebration of their 2019 Holiday release: Season to Sparkle!

There are so many fun products in this release, and today I am focusing on one of the die sets that is my favorite! I will put all the blog hop info at the end of my post, but how about we check out my card first.
I've used the Joy Noel Wreath die set for my card today, and it is an awesome set. I think you will love it! I did some ink blending with distress oxide inks, and some splattering with titanium white paint and Gansai Tambi starry colors paint set.

1. Ink blend around the edges of a white cardstock panel with Peacock Feathers distress oxide ink.
2. Splatter the front with water droplets, then pick up with a dry cloth or paper towel.
3. Protect the middle with a scrap of paper, then splatter white, gold & champagne colored paints around the edges.
4. Diecut with the largest Stitched Rectangle die, then mount to an A2 card base with foam adhesive.
5. Ink blend a cardstock block with matching oxide ink, then splatter with water & pick up.
6. Diecut the letters 3 times: once from the ink blended block, and twice from white cardstock. Stack & adhere.
7. Diecut the wreath twice from two different glittered papers.
8. Diecut the ribbon cuts from gold glitter paper & adhere.
9. Diecut the berries from 3 different aqua colored cardstocks.
10. Arrange the diecuts as shown to the middle of the card base.
11. Accent with self adhesive jewels to finish.


I can't get over how beautiful this wreath is, and there are so many ways you can use it! Think of all the different colors combos you could use, and you can also use it with the word NOEL.


That is what I have for today's blog hop post! I hope you enjoyed my cute little card! I had so much fun ink blending, diecutting and putting it all together. If you have any questions about my card, feel free to leave them in the comments and I will be sure to reply.
PRIZES
HoneyBee Stamps is giving away a $30 gift card to their online shop. All you have to do is hop along and comment at each stop in order to enter for your chance to win!
BLOG HOP LINK LIST:
It looks like I am the end of the hop, so be sure to check out the entire blog hop if you just happened upon my blog! Before you move along with your day, I wanted to invite you to follow me on social media. I would love to be crafty friends!
Have a wonderful Tuesday!
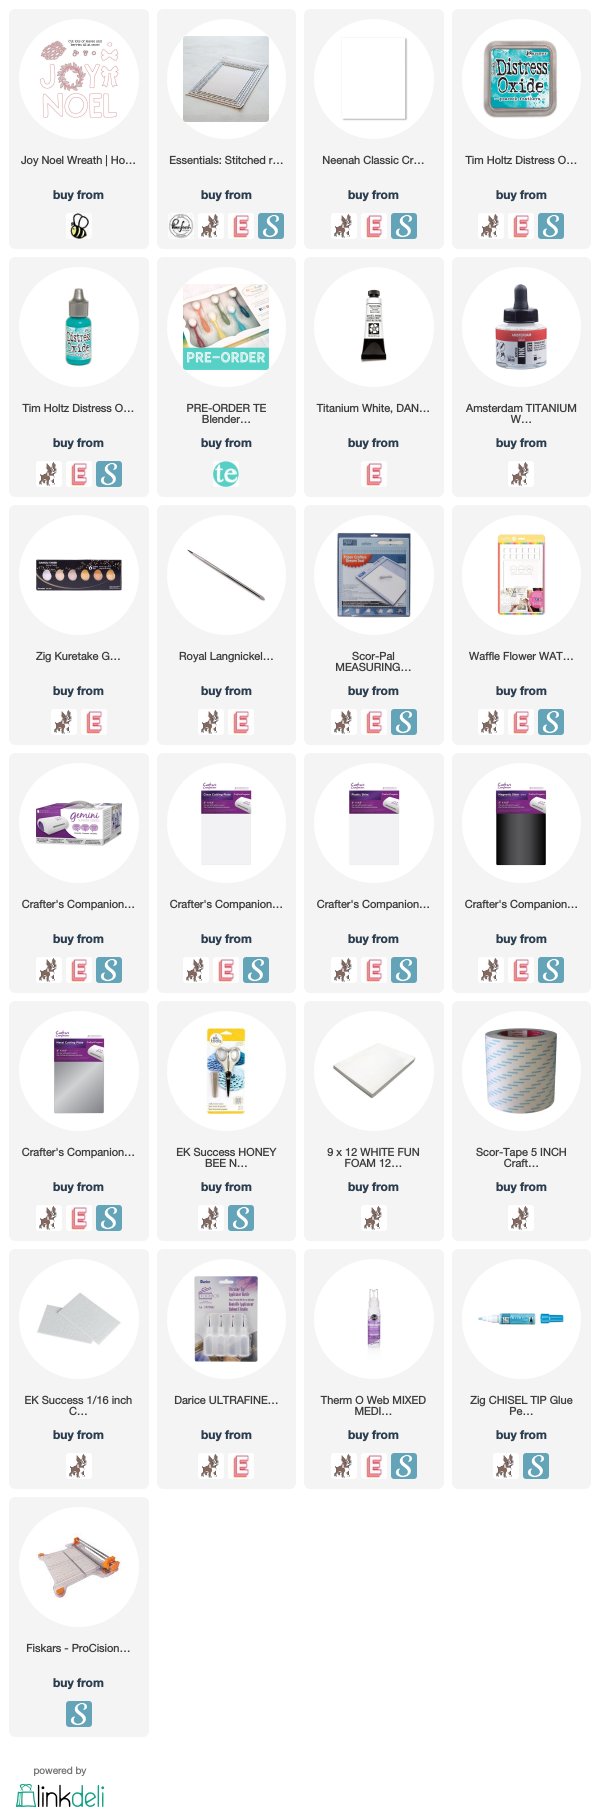
SUPPLY LIST

Hi there friends, and welcome to the 2nd annual Layton's Legacy Card Drive & Fundraiser for NICU Parents. I plan this event each year in honor, and in memory of my son, Layton Caleb Lawson.

Layton was born 11 weeks early on June 9, 2016, weighing in at almost 3 pounds with two critical medical conditions. He had a heart condition called Double Outlet Right Ventricle with Ventricular Septal Defect (aka: DORV w/VSD), and he had a stomach condition called an omphalacele. Because of his premature birth and those two complications, he also struggled with very bad lungs. Layton's life in the NICU wasn't easy, but he fought for every moment of it. He touched more people in his 5 months on this earth than most do in a lifetime, and on November 17, 2016, he made his way to Heaven to be with his big sister, Ellie.
My husband and I have been dealt a very hard hand, and every single day we miss those beautiful babies more than we can put into words. But I can't think of a better way to honor their memory than to give to those who find themselves in a similar situation to us. The medical diagnosis and prognosis may be different but one thing will always be the same...being the parent to a critically ill baby in the NICU is hard.
OCTOBER: PREGNANCY & INFANT LOSS AWARENESS MONTH
Before I get to all the fundraising info, I wanted to let you know that this month was deemed Pregnancy & Infant Loss Awareness month on October 15, 1988 by President Reagan. Did you know that 1 in 4 are affected by infertility, pregnancy & infant loss? That is 25% of our population, which is a staggering statistic. And while this type of loss is so common, talking and sharing about it has been stigmatized & shamed for many years. We are finally becoming more sensitive as a society, but there is always more work to be done. We are conditioned to believe that death happens at the end of a complete and full life, and it is uncomfortable when we are taken out of that mindset. But the truth is that sometimes lives are taken before they even have a chance to begin. Some lives are taken at the very beginning, and others are taken far too soon. But that doesn't mean they weren't as loved and as wanted as a life that continues, and it is important that we allow parents to talk about their children, and grieve their little ones in any way they need to.This looks different for anyone grieving the loss of a pregnancy, infant or child. October 15th is known in the loss community as the Wave of Light. Some draw comfort from lighting a candle in honor of their lost child, and sharing on social media. I find more comfort in doing good in honor of my babies, and thus, Layton's Legacy was born.
LAYTON'S LEGACY FUNDRAISING
Each year I have a set goal of raising $2500. This allows me to purchase (50) $50 Starbucks gift cards, which equates to one gift card for every bed in the Level 4 NICU at University of Minnesota Masonic Children's Hospital, where Layton lived his entire life. Fundraising efforts will run from today through November 10th. This will give me enough time to withdraw the funds, make necessary purchases and bring them to the hospital the week of November 17th. This year I have set up a GoFundMe page, as YouCaring was taken over by them right after my fundraiser last year. There are many ways you can help, and here is how:
1. DONATE - directly to Layton’s Legacy GoFundMe Fundraising Page.
2. SHARE - not everyone is able to financially donate, but sharing on your social media outlets is welcomed & helpful!
3. CREATE - this year’s card drive theme is “Sensitive Sympathy” geared towards parents who have lost a pregnancy due to miscarriage or stillbirth, infant or child. You can get all the card drive info HERE.
SPONSORS & PRIZES
This fundraising & card drive effort wouldn't be possible without some amazing companies who have supported me, lifted me up and chosen to honor & remember my little ones right alongside me. You will see these company owners, design team coordinators & members, and my closest crafting friends sharing about Layton's Legacy all over social media & on their blogs. They are also offering up some fantastic prizes to help make this fundraising & card drive effort FUN!
This year prizes will be drawn randomly from all donation & cards linked to the card drive. You get one entry per item, and winners will be posted on the Layton's Legacy Prize page during the week of November 17th. (Please note that it might be later in the week, as this is the anniversary of Layton's passing, and it isn't the easiest week for me. I will need you to extend me some grace.)
Finally, I wanted to share something that is basically my heart in photopolymer. I came to Kinnari, the owner of Pinkfresh Studio, earlier this summer and asked if she would be willing to manufacture & sell a stamp & die set for Layton's Legacy. She gave me a resounding yes, and we got to work on this special stamp set called "Forever in our Hearts". This stamp set is a beautiful collaboration of my thoughts, my heart & sentiments, with the butterfly being brought to life by our graphic designer/illustrator Inna Moreva, and the sentiments coming to life by Kinnari Zaveri.
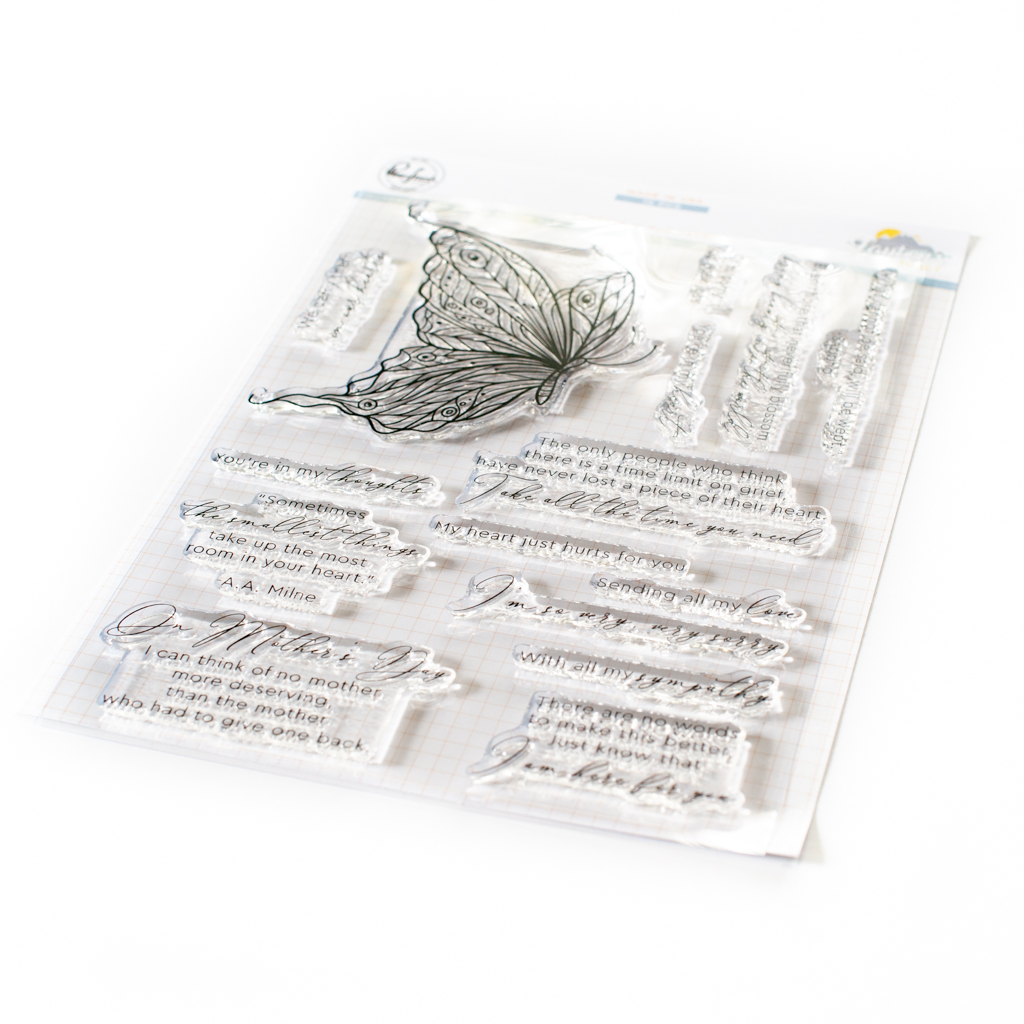
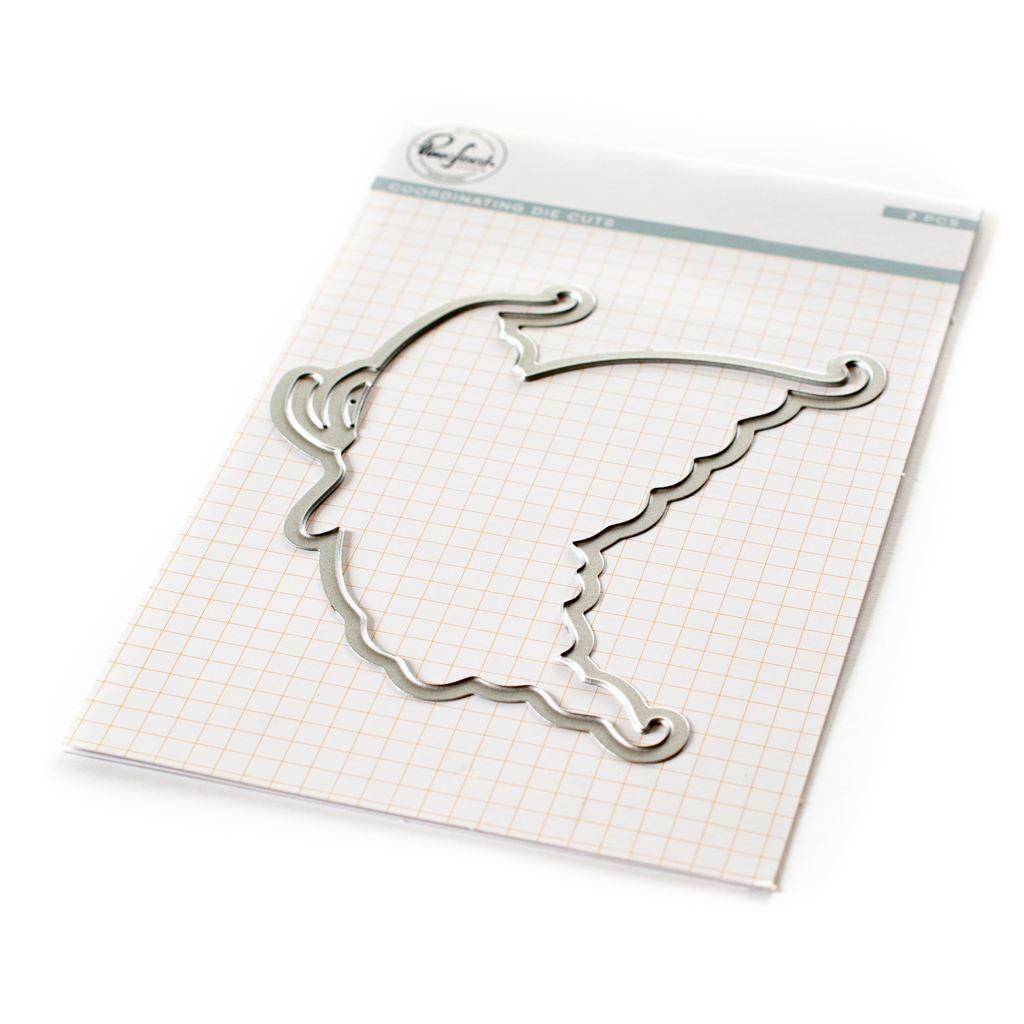
I chose a butterfly for this stamp set, because this is what they use in hospitals to signify there has been a loss of a baby. They put up a butterfly on the number plate to your door, so that all staff members know to only go into the room if they absolutely have to, and to be quiet & quick if they must. Apart from that, when you think about a butterfly and its life cycle...it also just seems fitting.
I've created a video today for Layton's Legacy & for this card set, and I would love for you to watch it below or HERE in HD.
I have created a set of cards with this stamp set today, and I am so excited to share them with you. I left them relatively simple, so the butterfly & the sentiments could take center stage.

This first card was created by ink blending with some of the softest shades from our brand new premium dye ink release. I've used my favorite cloud stencils from Taylored Expressions to create the background. Isn't it a nice thing to think that lost little ones are just above a set of rainbow clouds?

1. Ink blend the clouds to heavyweight white cardstock.
2. Stamp the sentiment to the bottom in onyx black Versafine.
3. Diecut the panel with the largest Diagonal Stitched Rectangle, then adhere to an A2 card base with foam adhesive.
4. Stamp & heat emboss the buttefly in Gilded embossing powder to vellum, then diecut.
5. Adhere the butterfly to the front of the card.
6. Accent the card with the Essentials: Jewels Mix in light pink, gold & white.


For this card, I used my FAVORITE paper from the Just A Little Lovely 6x6 paper pad. I've used the inlaid diecut technique for the butterfly on this card.

1. Diecut a patterned paper panel with the largest Stitched Rectangle.
2. Diecut the butterfly from the left side, then stamp the sentiment to the lower right corner.
3. Mount the entire panel to the front of an A2 card base.
4. Stamp & heat emboss the buttefly in Gilded embossing powder to vellum, then diecut.
5. Adhered the butterfly inside the negative space on the card front.
6. Accent the card with the Essentials: Jewels Mix in light pink, gold & white.


I couldn't bare to waste the beautiful butterfly that was cut from the patterned paper above, so I used it to make this very quick & simple card.

1. Round the opposite corners of an A2 card base, then stamp the sentiment to the upper left corner.
2. Flick gold splatters to the front.
3.Stamp & heat emboss the butterfly in Gilded to the patterned paper diecut.
4. Adhere the butterfly to the card front.
5. Accent the card with the Essentials: Jewels Mix in light pink, gold & white.


I hope that you like my card set for today, and the heartfelt meaning behind them. As always, leave a comment if you have any questions about them. I will be sure to answer them.


Be sure to check out the Pinkfresh Studio blog post today, as many of my friends (some who are our team members and some who are guests) have also created cards with this special stamp set, and they are all gorgeous! You will definitely want to see them.
There are many different ways that you can follow along with Layton's Legacy. You will get most of the info from here on my blog. But I will be sharing on all 3 of my social media accounts as well, and you can follow me on those below.
Thank you SO much for reading this post, and for being part of the 2nd Annual Layton's Legacy. I appreciate it more than I can say. With your help, we can make this fundraising effort & card drive another success!
SUPPLY LIST

Subscribe to:
Posts (Atom)


Social Icons