

Happy Tuesday, friends! I hope you had a wonderful weekend, and start to your week! I went to a local scrapbooking store about an hour north of the cities on Sunday. I haven't been to an actual scrapbooking store in a VERY long time, so it was pretty fun! I went with a group of cardmaking friends that I've made here, and we went for a late lunch afterwards. It was a lovely day!
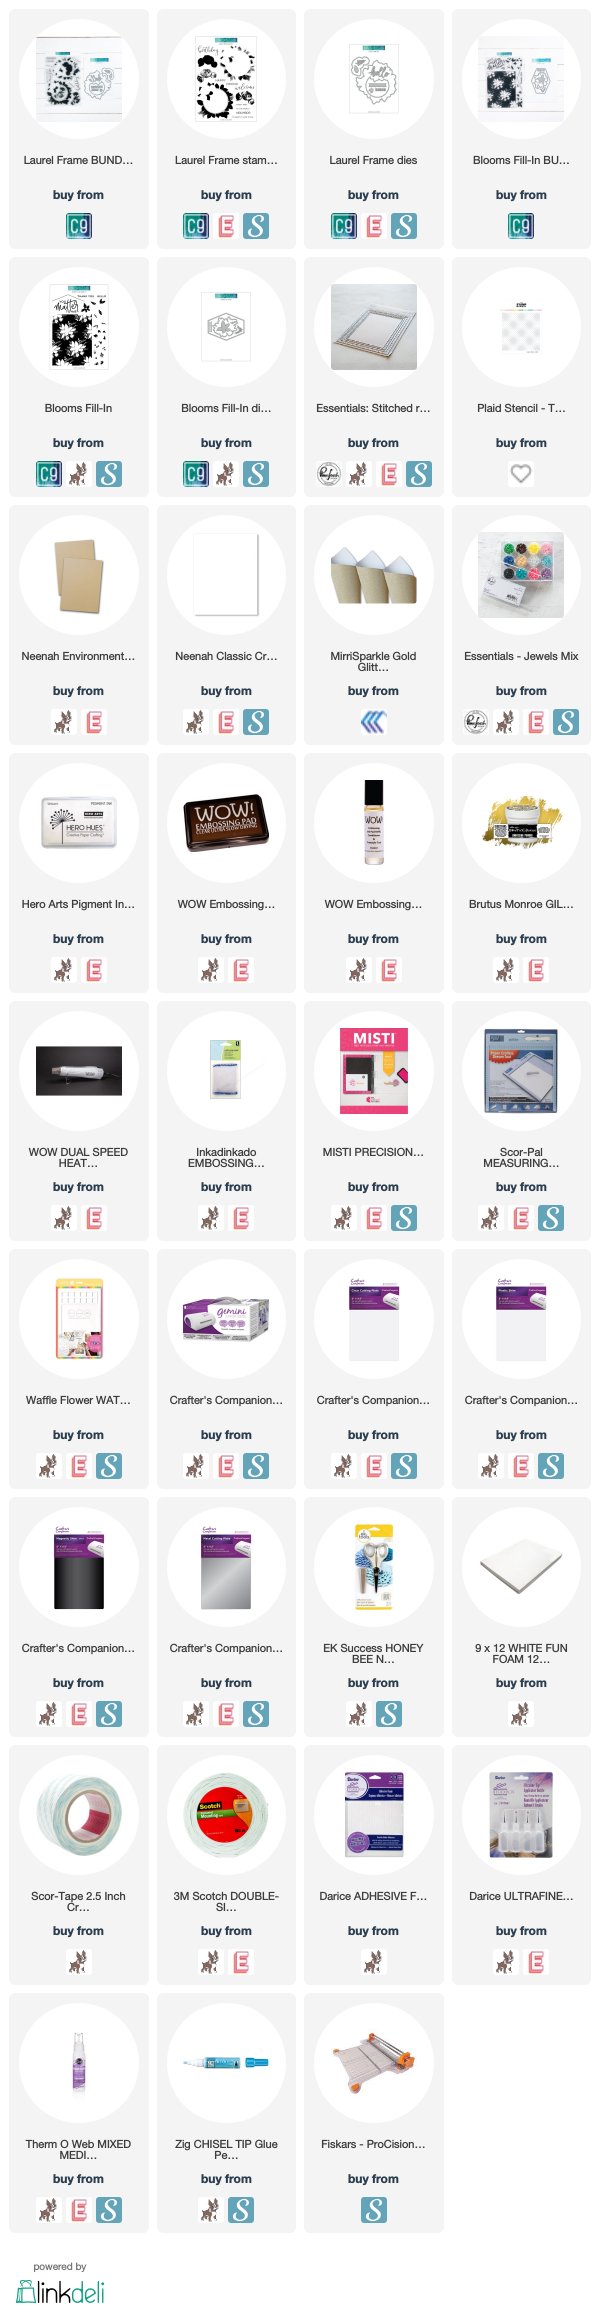
On Saturday, I had some crafting time that was just "me" crafting time. I pulled out some items from Concord & 9th that I either haven't ever used, or hadn't been used in awhile, to create this set of baby cards. I prefer not always creating baby cards in blue, pink or yellow...and like to create them with the season in mind. We are in that late summer, early fall place...where things are still green, but starting to turn colors, and I love this color palette I've used. I also used my brand new Plaid stencil from The Stamp Market - it is fantastic!


For this first card, I layered the plaid stencil over a block of kraft cardstock and blended white pigment ink over it. I ink blend & use stencils on my Waffle Flower water media mat. It is the perfect smooth surface for ink blending, and cleans up super quickly & easily! I just use my microfiber cloth to clean it right up! Pigment ink needs a little time to dry, so I set it aside and started working on the stamping.
I bought the Laurel stamp & die bundle from C9 awhile ago, and have never had a chance to use it. It is now in the Last Chance category at C9, so it is a great time to grab it if you love it! I adore the sentiments in it, and the leafy frame is just lovely. I stamped the frame in greens & the florals in light shades of orange. This is a new collection of inks that will be releasing soon...so I will share more about those at a later date.


Next I diecut all the stamped images, the standalone branches & the banner strip with the Laurel Frame die set. Then I diecut the background with the Pinkfresh Essentials: Stitched Rectangles die. Then I stamped & heat embossed the word "welcome" in Gilded to the plaid background. Finally I stamped the second part of the sentiment to the banner strip.
Finally, it was time to put the card together. I adhered the plaid background to a white A2 card base with a full panel of foam adhesive. Then I mounted the leafy frame & flowers to the front with foam tape. I tucked the diecut branches under the florals with mixed media adhesive. I added the sentiment strip below the heat embossing, then accented with jewels to finish. (The jewels were purchased from Michael's.)

For this card, I stamped the Blooms Fill-In background in white pigment ink to a kraft cardstock panel. Then I stamped in the florals & leaves with the same/matching inks as used above. Then I did the diecutting - including the background, the hello word (which is stacked with two layers of white & one layer of gold glitter), branches & the banner strip. Next I stamped the second part of the sentiment to the banner strip.


I put this card together in the same fashion as the first card. I adhered the background to an A2 white card base with foam adhesive. Then added the hello word to the lower right corner with mixed media adhesive. I mounted the sentiment strip below it with a thin strip of foam tape. I added the branches to each end with mixed media adhesive. To finish, I accented with the Pinkfresh Studio Essentials: Jewels Mix, using the light pink, light orange & white colors.

I would love to challenge you to think outside of the pink/blue/yellow box when it comes to creating baby cards. I love matching my cards to the season that I am in, and hope you will try it out too! Let me know...what do you think of my non-traditional colors for baby cards?

That is all I have for you today! Before you move along with your day, I wanted to invite you to follow me on social
media. I would love to be crafty friends!
Have a great Tuesday!
SUPPLY LIST
For your
shopping convenience, all products are linked below, including
affiliate linking when possible - this allows small compensation for me
at no cost to you. I typically link to 2-3 sites, in hopes that your
preferred retailer will be among them. I only support legitimate retail
sites, that are true partners to stamp, die and scrapbooking wholesalers.

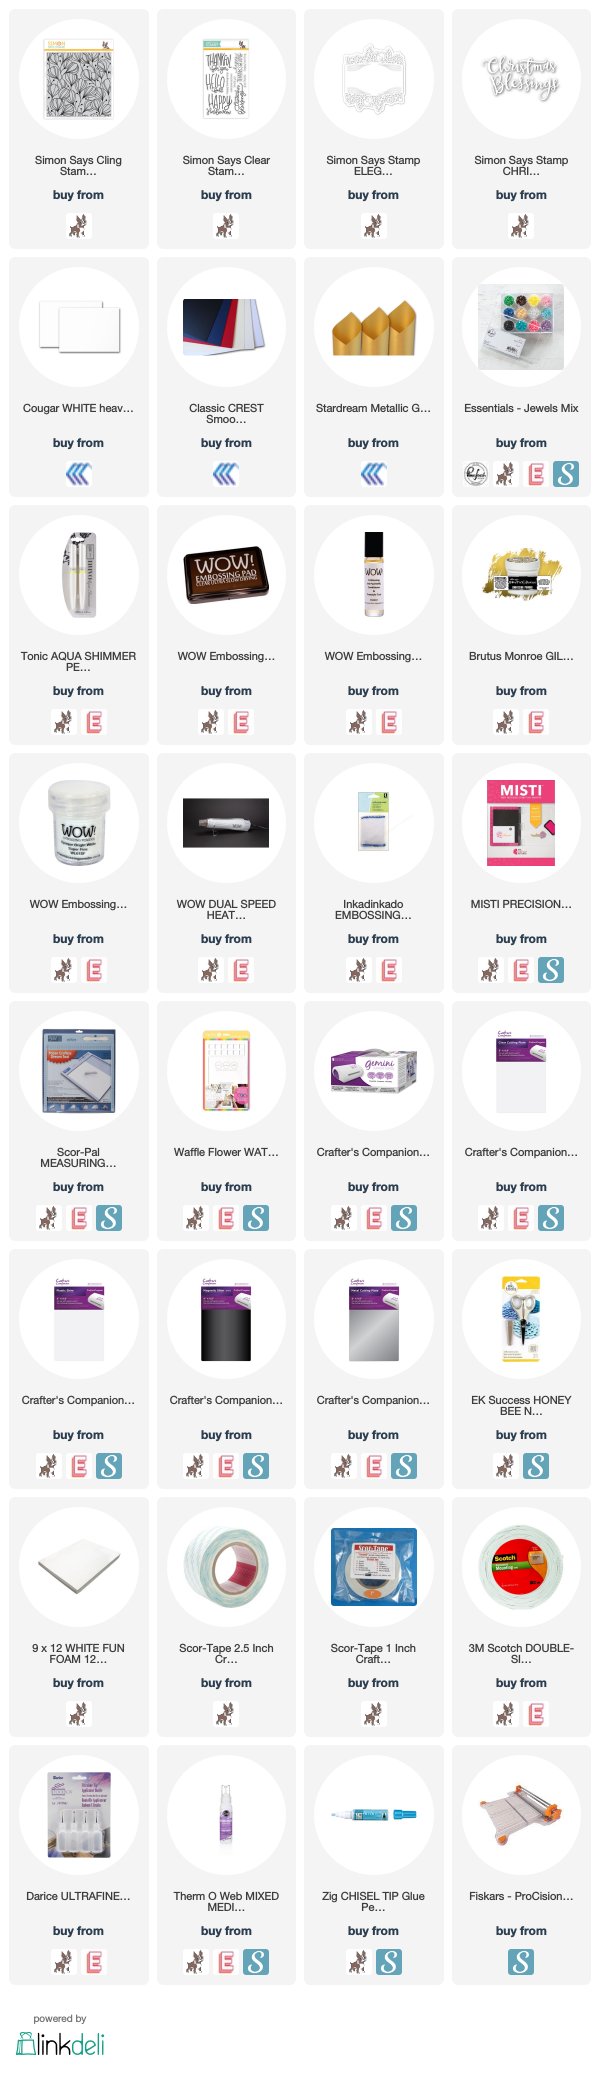
Happy Saturday, crafty friends! I wanted to pop in today and share this fall card that I've made recently. The Flora Background cling stamp from Simon's STAMPtember® exclusives sold out rather quickly, but it looks like it is back in stock now!
I'm sent these cling background stamps quite often, and when I am creating for my initial post I typically stamp &/or heat emboss them multiple times to different paper types and colors. This background was heat embossed in Brutus Monroe Gilded (which is my FAVE gold embossing powder) to Patriot Blue 130 LB cardstock. And while I loved how it turned out, it didn't fit with my initial post. I saved it, because it did turn out beautifully....and now I am using it today!
Before I share my process for making this card, I wanted to let you guys know where I purchase a lot of my cardstock. It's no secret that I like thick, dimensional cards...and I LOVE 130 LB cardstock. I get mine at Cut Cardstock, which has a really great selection of cardstock in general, including the ever popular Neenah Smooth Solar White in 110 LB. They are also super friendly, and they ship REALLY quickly. They can also cut your cardstock (for an additional fee), which is super convenient when you want a lot of white card bases.


As I mentioned, the embossed background was already done when I started creating this card. So my actual first step was diecutting. I started by diecutting the Elegant Fall Blooms twice from Stardream metallic gold cardstock. (This is also from Cut Cardstock and is 105 LB.) Then I diecut the word Blessings twice from cougar white 130 LB cardstock. I stacked & glued the layers together with a Zig glue pen.


Next I stamped & heat embossed the word Autumn from the Autumn Greetings stamp set in white to the gold frame. This sentiment technically says Autumn Blessings, so I just masked off the word blessings with purple tape. Once heat set, I adhered the diecut part of the sentiment underneath the embossed part.

At this point it was time to turn it into a card. I layered the embossed background to an A2 white card base with a full panel of foam adhesive. Then I layered the gold frame to the front with foam tape. Finally, I accented it with trios of Pinkfresh Studio Essentials: Jewels in brown, blue & white.

That is all I have for you today! Before you move along with your day, I wanted to invite you to follow me on social
media. I would love to be crafty friends!
Have a great Saturday!
SUPPLY LIST
For your
shopping convenience, all products are linked below, including
affiliate linking when possible - this allows small compensation for me
at no cost to you. I typically link to 2-3 sites, in hopes that your
preferred retailer will be among them. I only support legitimate retail
sites, that are true partners to stamp, die and scrapbooking wholesalers.

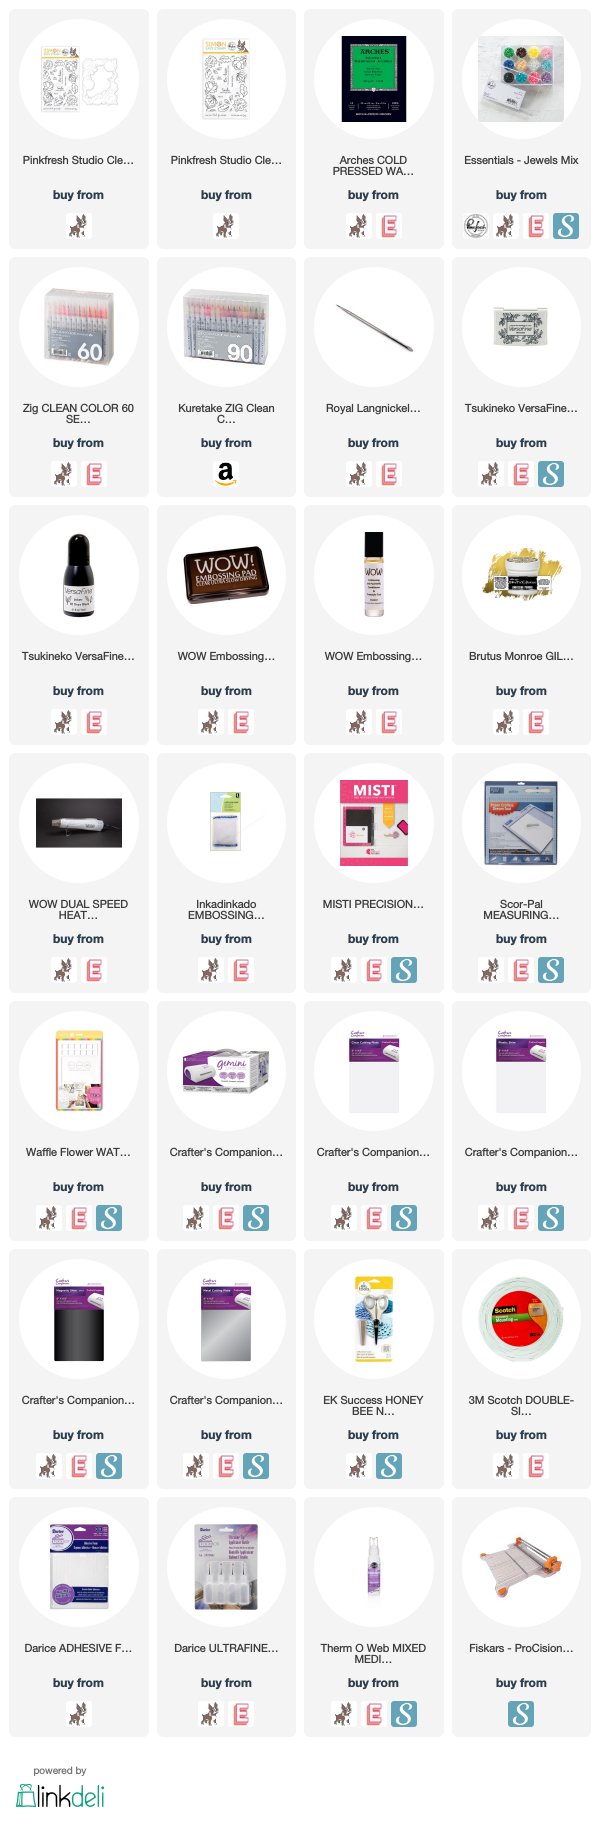
Happy Tuesday, crafty friends! I hope that you had a great weekend, and start to your week! I'm so excited to share that Pinkfresh Studio was asked to illustrate a set for STAMPtember®, and today is our release day! This set is called Partial Cut Floral Frame, and you can either get the stamp & die combo, or just the stamp set if you prefer. This set is only available at Simon Says Stamp, and has very limited quantities. Be sure to grab it if you want this gorgeous stamp set!
The purpose of the die is to give you the ability to add a little dimension around the flowers & leaves. It was designed to be quite subtle, and for my card today, I kept it as is. BUT, what I love this about the die...if you want to be able to add more dramatic dimension, it is super easy to snip some of the sections with precision tip scissors, or use an exacto knife.


I feel like using the die first, and then stamping worked best for me. That way I could really line up the stamp within the partial cut area. I heat embossed mine in Brutus Monroe Gilded to Arches watercolor paper, then colored it in with Zig clean color real brush markers. I added some very fine splatters in matching colors around the stamped frame.


I stamped the sentiment directly to the middle of the watercolor panel in onyx black Versafine. It needed to stamp it twice to get a good impression on the watercolor paper, so I was sure to use my MISTI. I "fluffed" the partial cut areas to give the image dimension, then adhered the entire panel with foam tape to the front of a blue A2 card base. To finish, I accented with Pinkfresh Studio's Essentials: Jewels Mix.


I hope that you have a wonderful Tuesday! Happy STAMPtember®!
SUPPLY LIST
For your
shopping convenience, all products are linked below, including
affiliate linking when possible - this allows small compensation for me
at no cost to you. I typically link to 2-3 sites, in hopes that your
preferred retailer will be among them. I only support legitimate retail
sites, that are true partners to stamp, die and scrapbooking wholesalers.

Happy Friday, crafty friends! It's been a week, hasn't it? How is your September so far? I can admit, I've been struggling in these first few days. I love fall. I love EVERYTHING about fall. But it is the start of my hardest season. Ellie's missed due date, the day Layton passed away, and all the holidays that hurt because they aren't here to celebrate with us. It's a lot, friends.
On a particularly hard morning, I was sitting at my desk working. I looked up & out my window to see a squirrel and a bunny chasing each other. And it wasn't the "get out of my territory" chasing...they were honestly just playing. After a few rounds, the bunny was done and scampered off. But the squirrel kept on playing, flipping himself all around in the grass. Like...literal FLIPS. It was hilarious. And then I thought of my kids. I have no idea what shape, form or age they take on in Heaven. But I imagine them playing with each other like that. Ellie finally being done with it, and maybe like me, heading off to read a book. And Layton, ever the boy, going on to entertain himself without his big sister by flipping all around and being a little wild. It's a beautiful thought, both sad & wonderful at the same time. And maybe the bunny & squirrel were a little note from Heaven, reminding me that they are perfect and healthy and fully loved on the other side of the veil.
The devastation that Hurricane Dorian has left in its path hasn't helped my mood either. As videos & photos emerge of all that is just gone...my heart has just broken even more. Friends, A LOT of crafty companies are doing what they can to help. It's a really great weekend to do some shopping, as I know many are donating. I believe that Jennifer McGuire will be compiling a list, so I would suggest checking out her site or social media. I'm just going to mention what we are doing at Pinkfresh Studio.
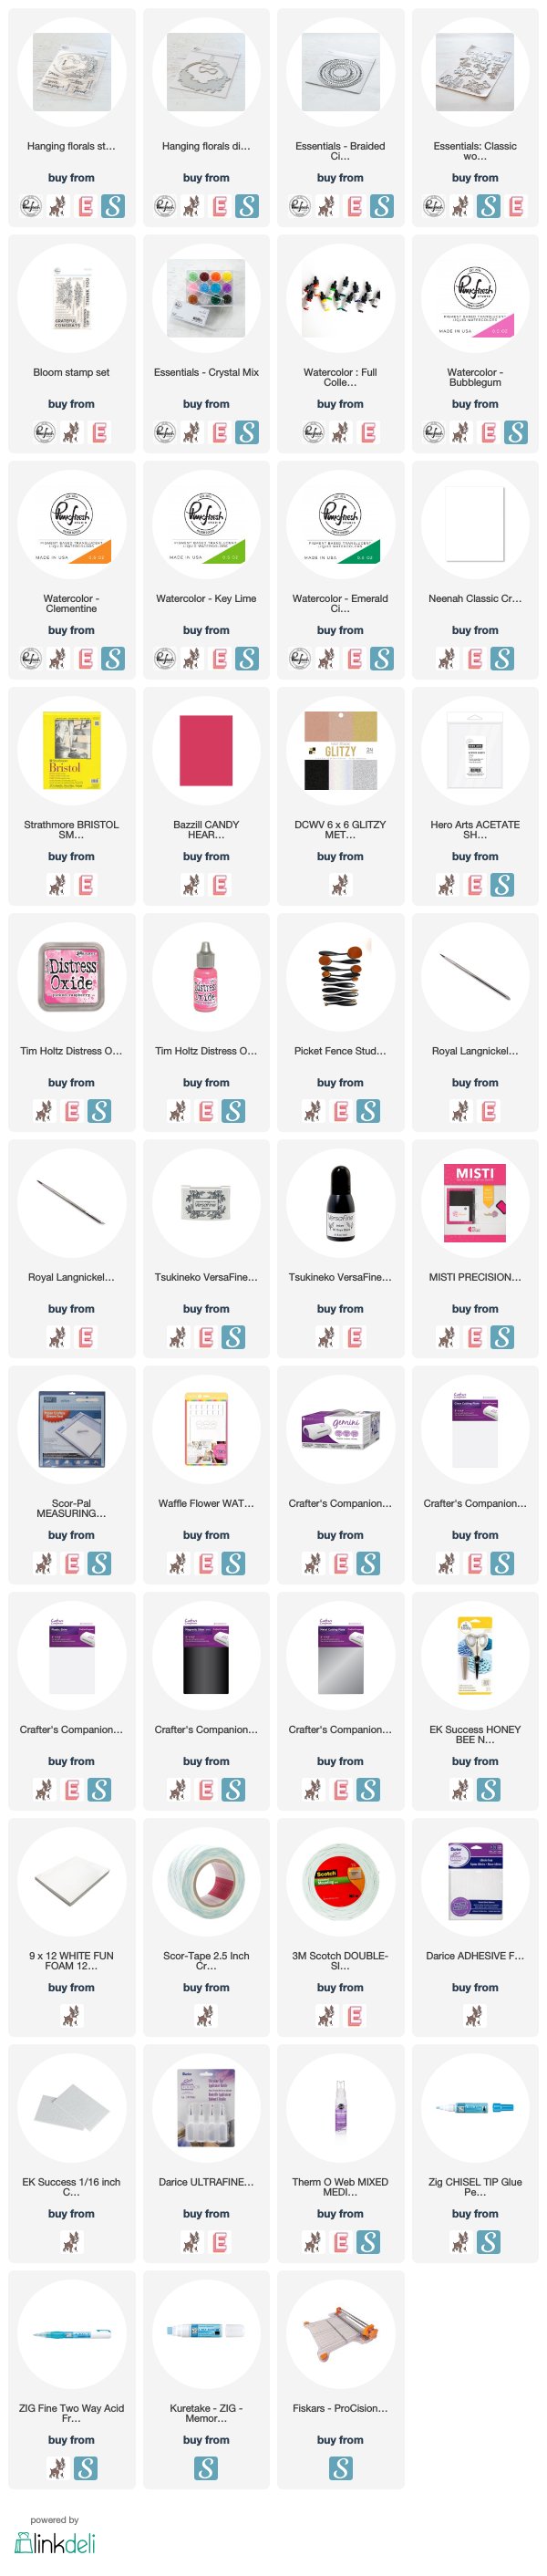
I'm going to share mine today - I've chosen the Hanging Florals stamp set and coordinating dies. This is such a versatile floral design, and can be used in so many different ways! I have a Christmas themed card in mind using it as well, which I will create a little closer to the holidays. For today, I'm going to share this fun wedding themed shaker card.


I've colored the flowers in with our Liquid Watercolor. I loosely mixed the Bubblegum & Clementine to get the floral color. Because I just barely mixed it, the clementine peeks through the Bubblegum here & there on the flowers...it's quite lovely. The circle shaker window was created using our Essentials: Braided Circles dies, which pair perfectly with the Hanging Florals image. As you can see, I trimmed off the hoop, and just use the flowers. The sentiment is a combination of our Essentials: Classic Words dies and the Bloom stamp set.


The shaker is filled with our Essentials: Crystals Mix, which are diamond shaped crystals in 12 colors! They are SO pretty, and perfect for shaker cards. I also accented the card with the crystals, just gluing them down on either the flat top or angled on it's side. If you use a liquid glue for this, you will get a good permanent bond once it dies.

That is everything I have to share with you today, friends! Before you move along with your day, I wanted to invite you to follow me on social
media. I would love to be online crafty friends!
Have a wonderful weekend!
SUPPLY LIST
For your
shopping convenience, all products are linked below, including
affiliate linking when possible - this allows small compensation for me
at no cost to you. I typically link to 2-3 sites, in hopes that your
preferred retailer will be among them. I only support legitimate retail
sites, that are true partners to stamp, die and scrapbooking wholesalers.
Subscribe to:
Posts (Atom)


Social Icons