

Happy Saturday, crafty friends! I hope you are having a good weekend so far! We are sitting here watching football, and I thought I would write up a blog post. I feel like this card has been a work in process for about a month now...lol! When this Home for the Holidays small die from Spellbinders arrived in October, I was SO excited to use it. The first thing I did was find the papers that I wanted to use with it, and I finally settled on the My Mind's Eye Splendor 6x6 paper pad. Then those items sat together for a couple weeks because I was just so darn busy.
I brought them with me to Texas, but didn't end up getting a moment to start. When we got home, I got all the pieces diecut and finally....I got most of it done last night and finished the rest this morning. Sheesh!

1. Diecut the pieces of the lady from patterned papers & cardstocks, then layer together with Connect glue.
2. Diecut the pie, ink blend with antique linen oxide ink, then layer together.
3. Diecut the scalloped background from 6x6 patterned paper, then mount to an A2 card base with foam adhesive.
4. Diecut the label frames from cashmere cardstock & gold glitter paper.
5. Diecut the ribbon from striped patterned paper.
6. Stamp the sentiment to the cashmere colored fancy label, then adhere it to the gold glitter layer.
7. Adhere the sentiment label to the upper left corner of the card, then accent with the bow.
8. Add the diecut lady to the right side of the card with foam tape.
9. Finish by accenting the middle of the bow with an iridescent jewel.


I used a little bit of tulle to finish off her apron, which I think is such a fun touch! I love the little added texture it gives the card. As you can see by the instructions above, there is A LOT of diecutting on this card! Lol. But I love how it turned out! I did want to mention that most of the cardstock I used on the lady were scraps, so I don't have the exact colors for you. Just use something you have on hand if you want to recreate it! :)

That is everything I have for you today! If you have any questions about my card, feel free to leave them in the comments and I will be sure to reply.

Have a great rest of your Saturday!
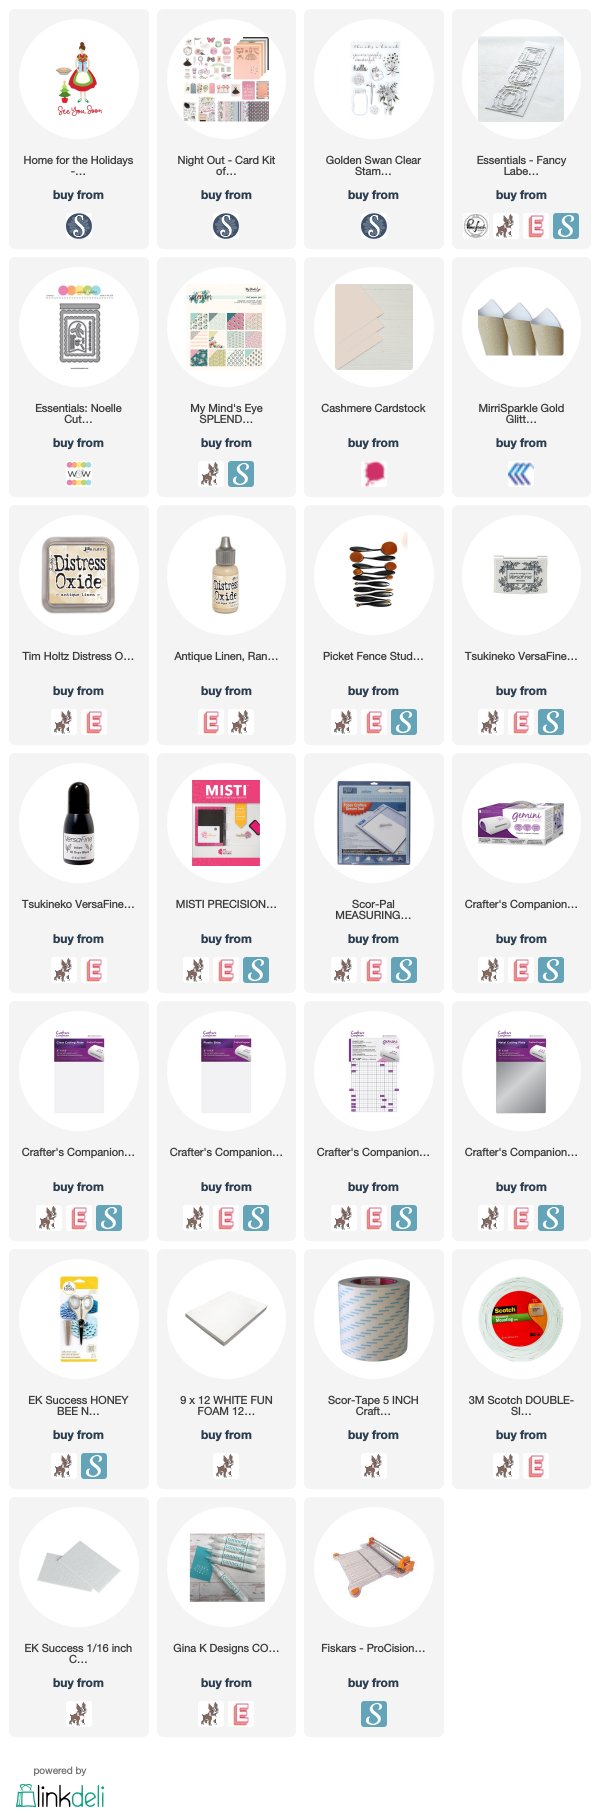
SUPPLY LIST


I want to dote on Ellen for just a moment. I had worked with Ellen's products a couple times, and she graciously sponsored my crafty comeback month. I officially met her at Creativation in 2018, which was 1 year & two months after Layton's death. First, she gives the greatest hugs. She hugged me for such a long time, and let me just say this. Grief is heavy. When you carry it for so long on your own, you don't realize how heavy it truly becomes. So when someone pulls you in for a genuine hug and let's you have a break...where they almost carry that weight for you for a moment...that is just what Ellen did. And then she talked with my about Ellie & Layton, which people don't often do. Ellen is one of the most genuinely loving and wonderful people I have ever had the privilege to call a friend.
Today I have a card to share using her brand new Tis the Season sentiment stamp set, which I LOVE. It's got some fantastic seasonal sentiments, with a unique & fun feel! What I really love about this stamp set is it allowed me to also use some products from Ellen's winter release in 2018 that didn't see much love, like the Winter Window die set, and the Mountain Holiday stamp set.

1. Stamp the Jumbo Plaid background to Bazzill Gumball cardstock in white pigment ink. Set aside to dry.
2. Diecut the window & snow elements from white cardstock, and the trees from green.
3. Ink blend the full background piece using the Starry Night ink set from Pinkfresh Studio.
4. Splatter the ink blended background & trees with watered down titanium white paint. Set aside to dry.
5. Cover the hills & icicles in glitter.
6. Diecut the plaid background with the largest Essentials: Stitched Rectangle.
7. Stamp the sentiment to the bottom in onyx black Versafine & Stargazer premium dye ink from Pinkfresh.
8. Mount the background panel to an A2 card base with a full sheet of foam adhesive.
9. Layer the window scene together, popping some areas up with foam adhesive.
10. Adhere the finished window scene above the sentiment.
11. Accent with jewels to finish.


The self-adhesive jewels I've used are not linked below, as I purchased them at a craft store. You can substitute them with anything you might have on hand. For the glitter, you can mix the prisma glitter & chunky glitter from Lawn Fawn together for this mix. I love how it catches light, and adds some lovely color to my cards!


That is everything I have for you today! If you have any questions about my card, feel free to leave them in the comments and I will be sure to reply.

Before you move along with your day, I wanted to invite you to follow me on social media. I would love to be crafty friends!
Have a fantastic rest of your Friday!
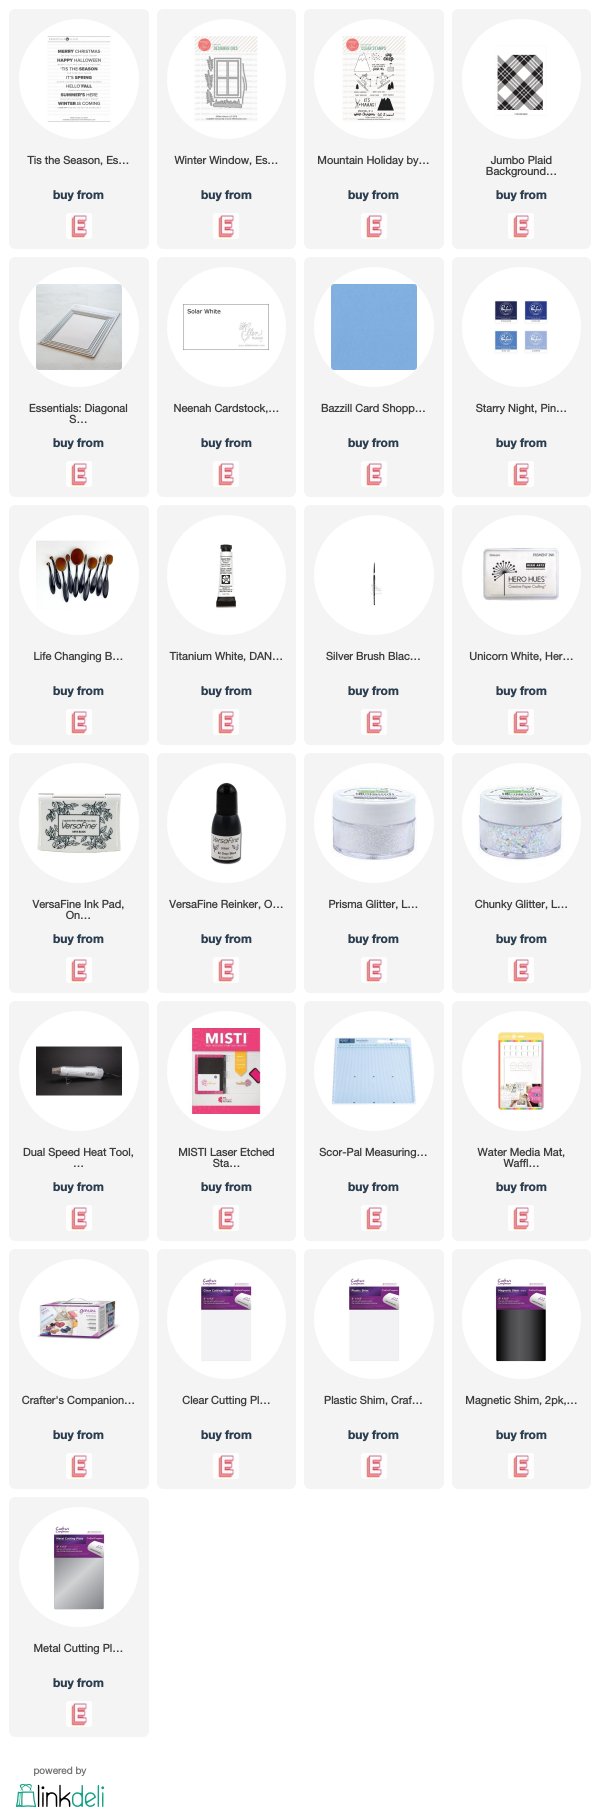
SUPPLY LIST

Hi crafty friends! Sorry for taking such a long break between posts - we took a trip to Texas to visit Josh's parents and I didn't have access to internet much while I was there. It was actually a nice break! But now I am catching up on some posts that I committed to when I didn't know I would be without internet. I hope that you all have had a wonderful couple of weeks!
Today I've got two cards to share using some new Spellbinders dies from the Holiday 2019 collection by Sharyn Sowell. These dies are beautiful, and I had a wonderful time using them! This first card uses the Love Came Down Down die, which is a large background die. It's got such a beautiful message, and I feel like you could easily create multiple cards with it for Christmas this year. I suggest using a metal shim when diecutting it, especially from glitter paper. This makes all those middles pop out super easily. The only coloring medium I brought with my on my trip was Zig water brush markers, and I made both backgrounds to these cards with them on Strathmore Bristol cardstock (SSS | EH). It was SUPER easy - just scribble some colors where you want them, then use a watercolor brush & water to spread them around.

1. Color the galaxy background with Zig markers, then heat set.
2. Splatter with white & gold paint, then set aside to dry.
3. Diecut the Love Came Down background 3 times: once from white glitter paper and twice from white cardstock.
4. Stack & adhere the diecut layers together with a Zig glue pen.
5. Mount the dry background to an A2 cardbase with a full panel of foam adhesive.
6. Adhere the diecut background to the front with connect glue.
7. Accent with Essentials: Jewels Mix in white to finish.


For this card I've used the Peace On Earth die, which still fills up a card pretty well but is a bit smaller than that first die. I created a striped rainbow background for this card, using the same instructions as above...but just keeping it all in a horizontal line. This die has a few more pieces and requires a few more diecutting steps, so it might not be perfect for bulk creating. It will still make some really lovely holiday cards, just be aware that there are a few additional steps!

1. Create the rainbow background with Zig markers, then heat set.
2. Splatter with white & gold paint, then set aside to dry.
3. Diecut each piece 3 times: once from gold glitter paper and twice from white cardstock.
4. Stack & adhere the diecut layers together with a Zig glue pen.
5. Mount the dry background to an A2 cardbase with a full panel of foam adhesive.
6. Adhere the diecut pieces to the front with connect glue.
7. Accent with Essentials: Jewels Mix in aqua, pink & white to finish.


That is everything I have for you today! If you have any questions about my card, feel free to leave them in the comments and I will be sure to reply. I hope you like my cards using the new Spellbinders Holiday 2019 collection by Sharyn Sowell! If you pick them up, I'd love to see what you create with them - so be sure to share them!

Have a wonderful Wednesday!
SUPPLY LIST


Happy Friday, crafty friends! I hope you've had a wonderful week! I just wanted to remind you that Layton's Legacy Fundraiser
still has a couple weeks left for donating. Even if you can't donate, I
would love if you continued to share it! And don't forget about the Card Drive, which has a theme of Sensitive Sympathy. You don't have to send the cards to me to link them up, that is just an option! :)
I wanted to pop in and share Pinkfresh Studio's weekend promo. We are offering 50% off our April 2018 release with the code 50APRIL18. This code is valid through Sunday night, or while supplies last. And you must use the code upon checkout in order to get the discount.
I don't have anything new to share today, but thought I would share some past cards created using some of the products from this release. Up first, here is a video of one of my favorite cards I've ever made using Pinkfresh Studio products, which happen to be part of the sale this weekend!
And here are some other cards I've made using the April 2018 release.


Before you move along with your day, I wanted to invite you to follow me on social media. I would love to be crafty friends!
Have a wonderful Friday!
Subscribe to:
Posts (Atom)


Social Icons