

Happy Monday, crafty friends! I hope you had a wonderful weekend! Can you believe we are in the final days of not only this year, but this decade? Man - what a decade it has been. It hasn't been an easy decade for me, but it will always be my favorite because it is the decade that my little ones were born. They may have only graced me with their presence for a short time, but they that short time was my greatest gift.
I got some cardmaking time in this weekend, and decided to play along with MFT's Wednesday Sketch Challenge #469. It's a good one for this Fairy-Tale Friends stamp set that I purchased, and haven't had a moment to use yet! Here is a look at the sketch:

Here is my take on the sketch. I've combined the Fairy-Tale Friends stamp set and coordinating dies with Magical Rainbow and Cute Cloud Outlines die sets. I also did some very light ink blending in the background with TE's Set the Scene Cloud stencils and Distress Oxide inks in Tattered Rose, Worn Lipstick, Tumbled Glass, Peacock Feathers & Wilted Violet (linked at the end of the post). I used my TE Blender Brushes to achieve such light blending. When I finished blending, I stamped the sentiment to the bottom then covered it up with the same stamp. I lightly spritzed it with clear shimmer spray first, then added just a tiny spritz of gold shimmer spray.


I colored the unicorn in with Zig Clean Color Real Brush markers. Rather than using water, I typically blend the colors with the Zig blender brush. Here is a list of all the colors I've used. At the end you will see some different set options, but I think the only set that will have all of the colors is the 90 set. This Zig Line Up link is one of the best ways to know what colors are offered in each set!
Body/Nose: pale gray + blender, midas touch aqua shimmer (nose only)
Wings: haze blue + blender, glitter gloss aqua shimmer
Mane/Tail: light carmine, tea rose, pink, light pink, turquoise green, light blue, violet, light violet + blender, midas touch aqua shimmer
Horn/Hooves: gold Uniball Gel Impact pen
PEN LIST:
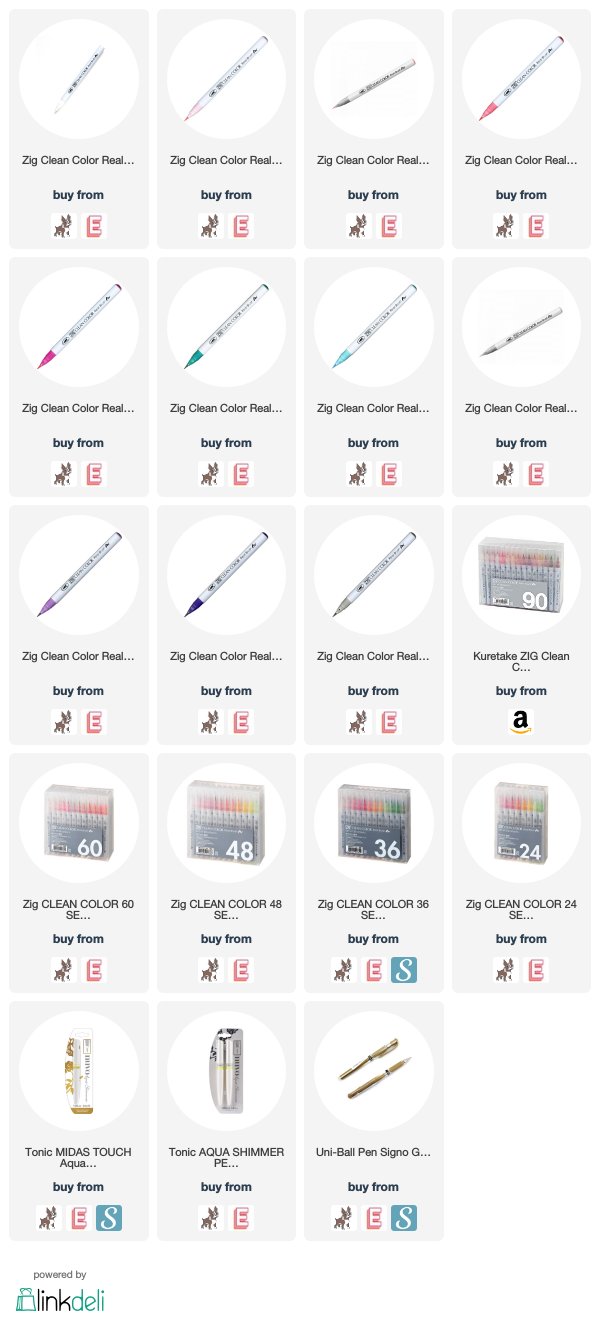
Here is a closer look at the colored & shimmery unicorn!


PEN LIST:
Here is a closer look at the colored & shimmery unicorn!
Once I did all the diecutting, I covered just the cloud outlines in glitter. Then I put the card together as shown, popping items up with foam dots here & there. Finally, I did some accenting with iridescent jewels from Lucy's Little Things (linked below).


That is everything I have for you today! If you have any questions about my card, feel free to leave them in the comments and I will be sure to reply.

NEW BLOG FEATURE:
CRAFTY QUESTION OF THE POST
What are your favorite ink blending tools?

I thought I would start a new feature to my posts, where I ask you about something, but also answer it myself! I hope it helps me to know you better, and learn about products or techniques that I am unaware of. And hopefully it will be beneficial for you too! The question will likely relate to the card I've created for the post, and today is all about ink blending! I own three different sets of ink blending tools, and I use all three for different reasons.
1. TE Blender Brushes: I reach for these the most because they are color coded. I don't really have to clean them between uses, just blot off any excess ink on to scrap paper. If they do need a cleaning, I've found a damp, soft cloth works perfectly. They also help me keep a soft hand when I want to keep the ink blending light, and you can gradually add more color in.
2. Ranger Mini Round Ink Blending Tool: I've had these the longest, and I will never get rid of them. They are perfect when you want a heavier hand and bolder colors when ink blending. I've blended some of the most seamless and beautiful backgrounds with these tools, and they are a staple in my crafting studio.
3. Picket Fence Studios Life Changing Brushes: I love the different sizes & shapes included in the full set, and I reach for them most when I am trying to keep my ink blending in a very small area. Or, I grab the biggest brush when I am ink blending a full panel with the same color.
I can't wait to hear your responses! Before you move along with your day, I wanted to invite you to follow me on social media. I would love to be crafty friends online! You will likely see my question on IG & FB too, so you can answer wherever you'd like!
Have a happy Monday! I hope you get some crafty time in. :)
SUPPLY LIST

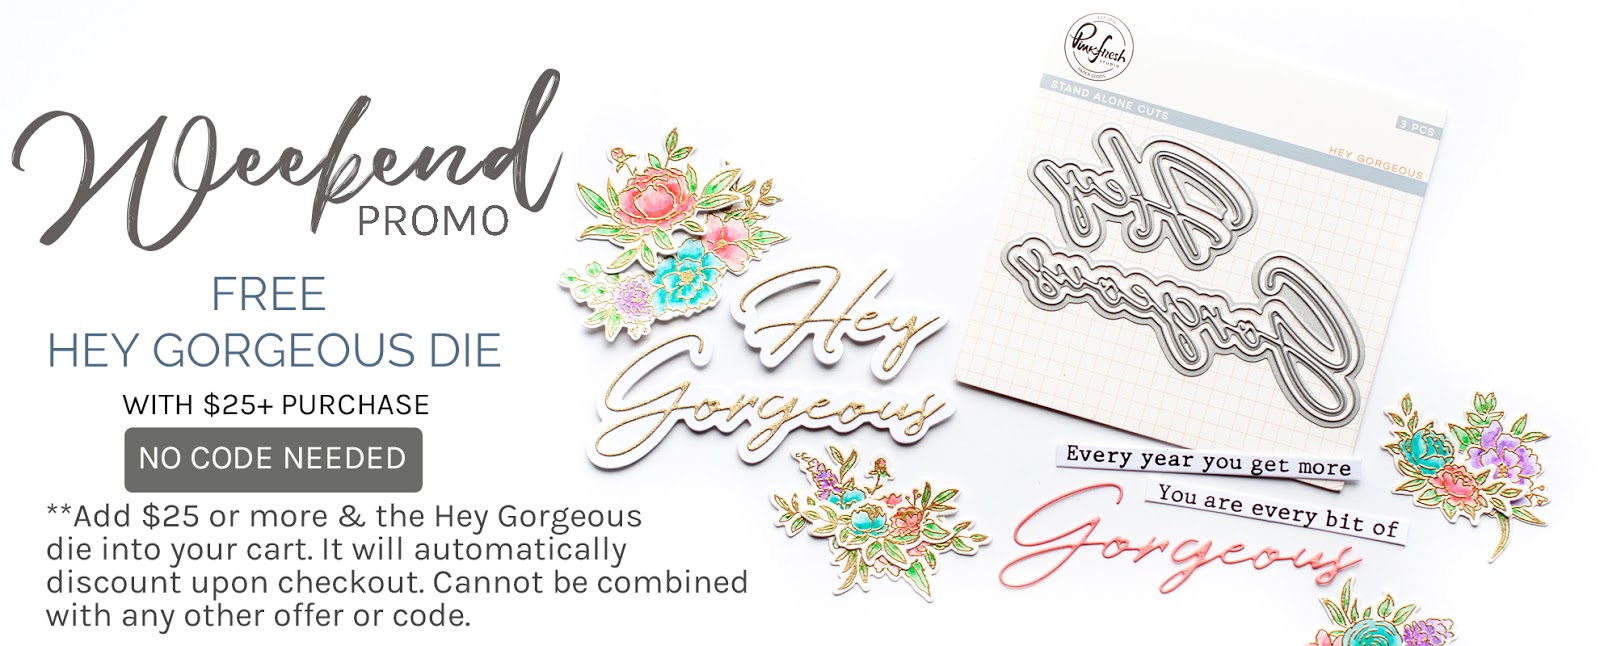
STEP 1: Add 25+ in Pinkfresh goodies to your cart
STEP 2: Add the Hey Gorgeous die to your cart.
When you checkout, the die will automatically discount. Easy as that! This offer is valid through Sunday, 12/29 at 11:59pm CST or while supplies last.
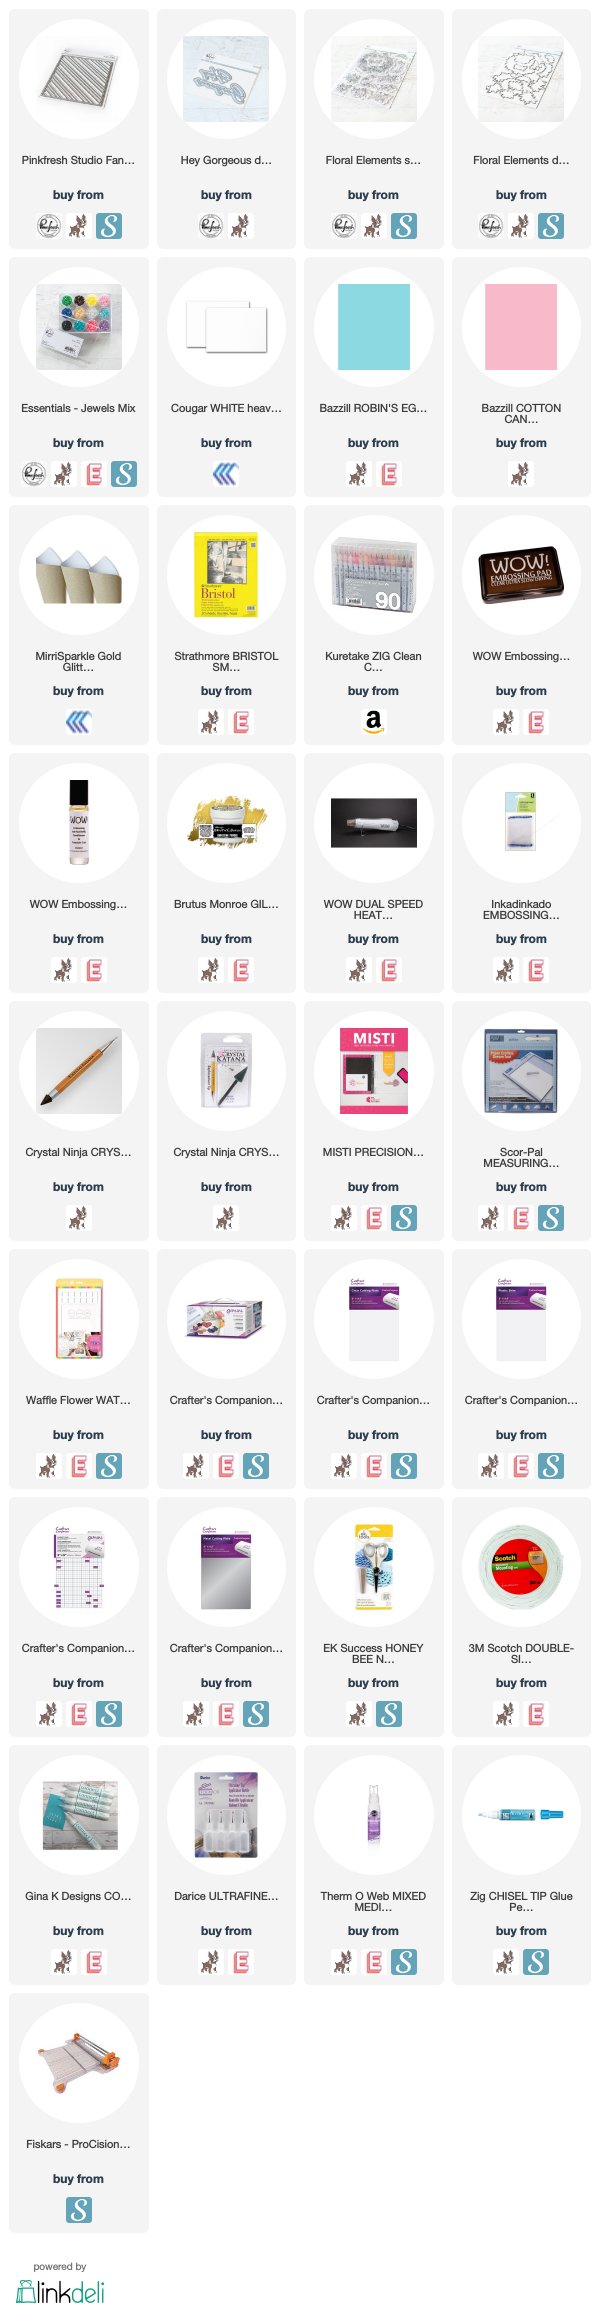
I created a card for today and did a video tutorial for it too! What?! I'm getting a head start on my 2020 goal of doing far more videos, and brushing all the cobwebs off my YouTube channel. Lol! My card uses the brand new Essentials: Fancy Diagonal Stripes die, along with the Floral Elements stamp set and coordinating dies. Of course, the sentiment is the Hey Gorgeous die.

I would love for you to watch my card come together today. You can view my video below, or HERE in HD.
I hope you enjoyed my video for today. I would love for you to give it a thumbs up if you did, and subscribe to my channel if you don't already! I have a lot more videos planned for 2020 now that my crafty space is dialed in!
Here are some detail shots of my card:


That is everything I have for you today! If you have any questions about my card, feel free to leave them in the comments and I will be sure to reply.

Before you move along with your day, I wanted to invite you to follow me on social media. I would love to be crafty friends online!
Have a wonderful weekend! I hope you get some crafty time in. :)
SUPPLY LIST

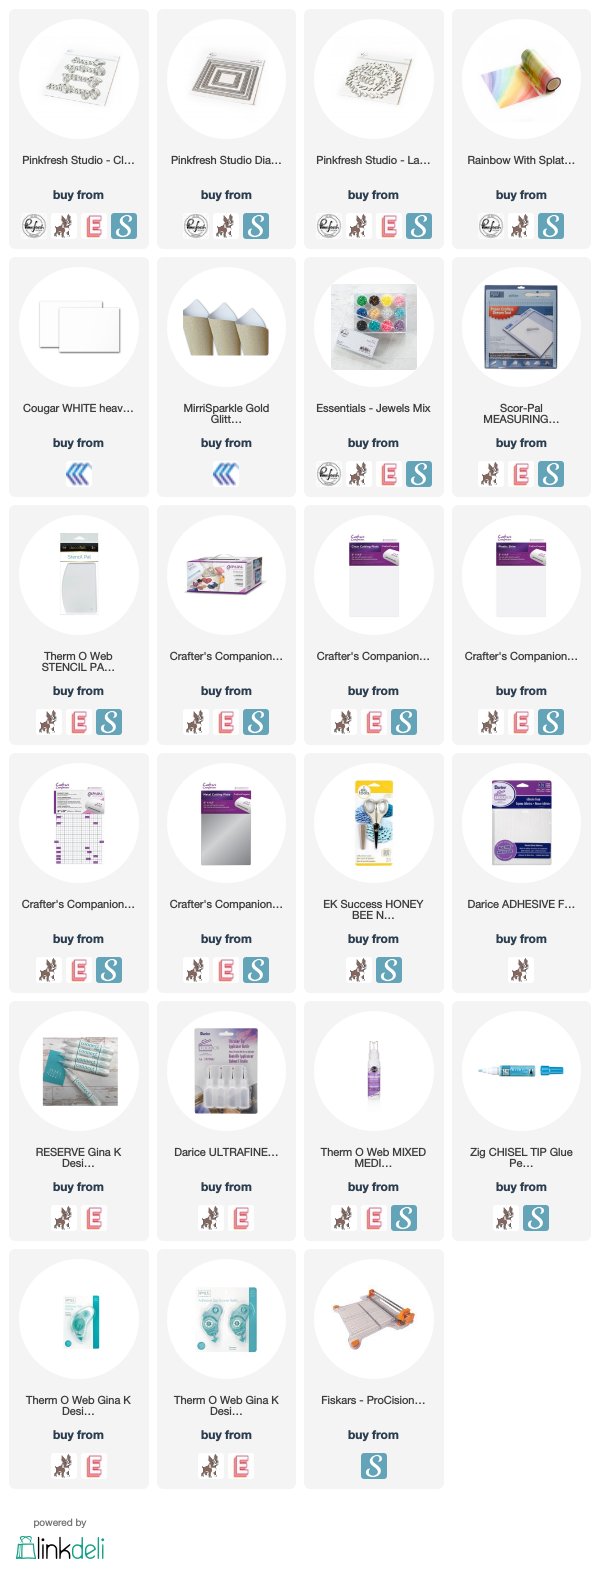
Happy Sunday, crafty friends! I hope this final busy holiday weekend finds you well. I wanted to pop in before I finish my Christmas baking and share this quick & easy Christmas card! I've used the Rainbow with Splatters washi tape from Pinkfresh Studio, which helps make it easy because the background is completely finished for you! I've used the rainbow background for this card, but the background that you can see on the roll of washi in my image would be really perfect for a Christmas card as well. The sentiment was cut using our Classic Holiday Words die set, which has three lovely sentiments with shadows.

1. Adhere the rainbow washi tape background to 65 LB white cardstock, smoothing out any air bubbles.
2. Diecut the background with the largest Diagonal Striped square, then adhered to a 4.5" square cardbase.
3. Diecut a frame with the same set, using the two largest square dies.
4. Layer the frame to the top of the washi background with thin foam strips.
5. Diecut the sentiment once from gold glitter paper, and once from 130 LB cardstock.
6. Diecut the shadow from 130 LB cardstock, then stack & layer them together with a glue pen.
7. Adhere the sentiment to the front with connect glue.
8. Diecut the leafy layers from gold cardstock using the Layered Wreath die set, then adhere to the front.
9. Use our Essentials: Jewels mix in white to add berries to the gold leaves to finish.


TIP: I've found that using the Stencil Pal by Gina K really helps with getting the washi tape to adhere smoothly to whatever paper you are putting underneath it, and smoothing out any air bubbles it in.

That is everything I have for you today! If you have any questions about my card, feel free to leave them in the comments and I will be sure to reply.

Before you move along with your day, I wanted to invite you to follow me on
social media. I would love to be
crafty friends online!
Have a happy Sunday! I am now off to finish my Christmas baking. :)
SUPPLY LIST

I have a set of cards that I made during the release that it looks like I never shared here on my blog. These cards feature the Dainty Blossoms and Noteworthy Frames die sets, and My Favorite Things to Say stamp set. I paired them with our Indigo Hills 2 6x6 papers, which was one of our most popular collections of 2018.

To start I diecut all the Dainty Blossoms multiple times from gold & rose gold glitter papers, and white cardstock. Then I cut the background panels for my A2 card bases.


I diecut the Noteworthy Frames from three of the backgrounds. Keep in mind, these don't cut out fully. They are meant to only cut partially and do some embossing, so that you can slip the Dainty Blossoms behind the labels.


I stamped & heat embossed sentiments to all the panels using the My Favorite Things to Say stamp set. At this point I put all the cards together, then added some splatter to each card in different colored paints. Finally, I added a twine bow & button accent to the card that I didn't use a Noteworthy frame die.


That is everything that I have for you today! Before I finish, I also wanted to mention that we added quite a few new items to our SALE section. These products are retiring, so once they are gone...they are gone! They are discounted by 75%, so it's a great time to add some Pinkfresh Studio products into our crafty studio!

Before you move along with your day and maybe do some shopping ;), I wanted to invite you to follow me on
social media. I would love to be
crafty friends online!
Have a great Friday!
SUPPLY LIST

Happy Tuesday, crafty friends! I hope you've had a good start to your week. I woke up Sunday with a terrible cold - one where I slept practically all day and still slept through the night type of cold. Ugh. I still don't feel great, but hopefully not too much longer before my body kicks it.
Over the weekend I had the chance to work on some new cards using a really lovely Christmas collection by Alexandra Renke. I focused on the papers that are more woodland themed, as it makes me think about my little ones in Heaven. We had woodland themed nurseries planned for both of them, with adorable little fawns in Ellie's, and bears & moose in Layton's.
This first card is a slimline size of 3 5/8" x 8 5/8". I find that slimline is so great for a lot of Alexandra's papers, because it lets me show more of the paper in whole. She has so many amazing large designs, and I love to show them off as much as possible!

The word Joy is diecut from a really pretty glitter paper I purchased at a crafting store - Michael's, if you live in the US. It's an interesting color that I can't quite explain, but it worked nicely with this paper. I finished the sentiment using the Meet Me Under the Mistletoe stamp set in smokey gray Versafine, then just diecut it into a thin banner.

I fussy cut some extra critters from the paper, and added them to the card. This includes the fox, fawn & bunny. Once the card was put together, I thought it needed a little something else - so I glittered the trees, and added some glittery placed on the ground to mimic glittering snow! I did this by using a chisel tip Zig glue pen, and a mix of prisma glitter and chunky glitter.


Don't you just love all the woodland critters on this paper? I think they are so sweet!

My next card is more layered, and features more diecutting. This card size is 4.5" x 6.5", so that I could use the Frame Rectangle die to feature the 4 different scenes. I diecut the first part of the sentiment from gold glitter paper using the Christmas die. Then stamped the word JOY from the Merry & Bright stamp set.

I thought the addition of the gingham bow and bells was a nice touch, as the card was a bit plain without them. You definitely can't send this card in an envelope now, but it would look beautiful tucked into a gift bag, or adorned to the front of a gift package. I am a huge fan of purchasing recyclable white or kraft bags & wrapping papers, then decorating them with fabric bows, plus a handmade card or tag.


That is everything I have for you today! If you have any questions about my card, feel free to leave them in the comments and I will be sure to reply. I did want to mention that I know my links are a bit all over the place - I try to give you links to just one shop throughout a post, but with Alexandra's products being German, every piece isn't always offered here in the US. If I can't find them in the US, I do give you links to her shop in Germany (which is beautiful, by the way). That way you can at least get notifications for when it comes back in stock, or start creating a wishlist of items to create a big order to come over from Germany. :)

Before you move along with your day and maybe do some shopping ;), I wanted to invite you to follow me on
social media. I would love to be
crafty friends online!
Have a great Tuesday!
SUPPLY LIST

Happy Friday, crafty friends! I wanted to pop in and share Pinkfresh Studio's weekend promo. We are offering 20% off select standalone dies with the code STANDALONE. This code is valid through Sunday night on in-stock items only. It is not valid on dies in the NEW or SALE category. Finally, you must use the code upon checkout in order to get the discount.

If you frequent my blog at all, you know that I LOVE dies. Like...LOVE. I love the nice finished edge that dies give, and just how much easier they make papercrafting for me. It's been so whirlwind busy over here, that I haven't really had a chance to pull out our holiday paper collection yet. It's called Home for the Holidays, and it is fantastic! The bundles on our site sold out super quickly, and we don't re-order seasonal paper or embellishments. However, it looks like you can still get most of it at Simon Says Stamp, and all of it at Scrapbook.com (including 12x12 paper options).

For my first card, I finally had a moment to use the Lovely Frames die that we released this year. I didn't get a chance to use it when it released, and I can't believe it's taken me so long to pull it out. I thought it was so fun to use for a scrapbooking style card!

To start this card I did a lot of diecutting. I cut the Lovely Frame from 130 LB white cardstock three times, then adhered it together with spray adhesive. Then I mounted it to the front of a cashmere colored A2 card. Next I diecut it from six different 6x6 papers. I pulled two papers from our Office Hours 6x6 paper pad to add some additional pink into the mix, and the other 4 are from the Home for the Holidays 6x6 paper pad.


I mixed and matched the inside labels until it looked right, then adhered those down permanently. After that I just embellished the front with different stickers & such from the Home for the Holidays collection. I know someone will likely wonder about the leatherette bow - it is from the kit we offered with a gift wrap class two years ago. It is no longer available, but you can change it out for any type of bow, or use our amazing bow diecut! Finally, I added a few Essentials: Jewels in white & yellow.

One thing about me is that I don't like to waste paper strips, and you always end up with them when you are using 6x6 papers. So, this is a go to card design for me when I have thin strips that I need to use up. For this second card I've used up all the paper strips that the card above created, and diecut them with our Lacey Edgers 1 dies.

The papers were wonky on the left side, so I covered up that far left edge with some ribbon, which was a nice touch. I kept trying other pieces of patterned papers at first, but I just wasn't feeling it. I am glad that I thought to look in my ribbon drawer, because it turned out much better this way!


I embellished the card with some more Home for the Holidays goodies. Then I finished by adding some Essentials: Jewels in pink as the berries.

Well friends, this weekend is a really great weekend to grab some of our fave standalone dies from Pinkfresh. There are 52 different dies eligible for the 20% off discount code, and I pretty much love every single one. Lol!

That is everything I have for you today! If you have any questions about my card, feel free to leave them in the comments and I will be sure to reply.

Before you move along with your day and maybe do some shopping ;), I wanted to invite you to follow me on
social media. I would love to be
crafty friends online!
Have a great start to your weekend!
SUPPLY LIST
Subscribe to:
Posts (Atom)


Social Icons