

Today I am part of the day 2 blog hop for the SSS Crafty Hugs release, which is full of amazing products! It seems most of the products I used for today are now on reserve, so keep in mind that it will be about 10 or so days before it ships! They've got a free gift with purchase, and this time around it is some rainbow deco foil. Just be sure to use the code on the graphic below.
I will put all of the blog hop details at the end of my post, but how about we get to my card first? I needed some rainbows in my life this week, so I did some ink blending with the new Radiating Hearts stencil and some of my favorite shades of Distress Oxide inks (they are all linked at the end of my post). I didn't mask the edges very well of the first panel I blended, and I had some random ink lines that I was SO bummed about. So, more carefully, I ink blended another one. But if you know anything about me, you know I hate wasting work - so I lightly colored over the rogue ink blending with a white gel pen. Then I covered the entire panel in glitter, and I LOVE it! I do this quite often actually, but this time it was to save a mistake.

I used the new Extra Large Thank You die, designed by the fantastic Cathy Z. from CZ Design. I ADORE this new die, and I foresee myself using it quite often!


This card features an older die set called Thank You Script, that I realized I had never used! It got a little lost in my crafting stash, but I am so happy that I happened upon it for my second card. I think the beautiful script is a lovely feminine touch to go along with all the glitter.


Those are my two rainbow ink blended cards using some of the newest products from the SSS Crafty Hugs release. I hope you like them!

That is everything I have for you today! If you have any questions about my card, feel free to leave them in the comments and I will be sure to reply.

How about we get to all the fun blog hop info now?
PRIZES:
Simon Says Stamp is giving away a $25 coupon to every stop on the hop from the blog comment section. They will choose the winners and post on the Simon Says Stamp store blog on Wednesday. Winners can email SSS to claim their prize.
Simon Says Stamp is giving away a $25 coupon to every stop on the hop from the blog comment section. They will choose the winners and post on the Simon Says Stamp store blog on Wednesday. Winners can email SSS to claim their prize.
BLOG HOP LINK LIST:
Be sure to hop
along and leave comments along the way for your best chance to win one
of the prizes!Simon Says Stamp Blog
Laura Bassen
Debby Hughes
Yoonsun Hur
Heather Hoffman
Bibi Cameron
Barb Engler
Sidnie Des Jardins
Cheiron Brandon
Laurie Willison
Caly Person
Betty Wright
Bobbi Lemanski
Lea Lawson
Preeti Chandran
Lin Brandyberry
Wow....what a lineup that is! I know I am excited to grab a cup of coffee and see what everyone else created!
Finally, if you'd like to see even MORE inspiration from this release, check out the Crafty Hugs gallery. And be sure to link up YOUR creations too!
Before you move along to the next stop, I wanted to invite you to follow me on
social media before you move on with your day. I would love to be
crafty friends online!
Alright friends! Happy hopping!
SUPPLY LIST
For your
shopping convenience, all products are linked below, including
affiliate linking when possible - this allows small compensation for me
at no cost to you. I only support legitimate retail
sites, that are true partners to stamp, die and scrapbooking
wholesalers. Today I will only be linking to Simon Says Stamp.


Happy Tuesday, crafty friends! I hope you had a lovely long holiday weekend. We got some work done in our backyard, and planted a small herb garden that we are excited about. Mostly basil & mint, which we use in cooking & cocktails, plus lavender - mostly because I love the scent, but it can also deter bunnies from eating the things they want (like basil & mint. Lol!). We have a cute little bunny that sleeps behind our AC unit at some point most days, and while we love that little critter...I don't want her or her family to eat our herb garden. Lol! We shall see if we end up needing to put fencing around it.
Today I am featuring some gorgeous papers and dies from Alexandra Renke. I think I say this every time I post with her products, but I just LOVE them. The papers are luxurious, and so beautifully designed. I love the watercolor design with these gorgeous outline florals.


"UR Beautiful" card set features:
- "Paradise Sidelong Poppy" 12x12 paper
- "Autumn Calm Turquoise" 12x12 paper
- ABC Tags die set
- Beautiful word die
- Welcome Butterflies stamp set

I cut the scripted Beautiful word die 3 times: once from glittered paper and two times from scraps of patterned paper. Then I stacked and adhered it together with a glue pen. I used Martha Stewart glitter paper in champagne for the glittered layer. I purchased this at Michael's, so it isn't in my link list at the end of the post. I had previously diecut the ABC Tags multiple times for THIS POST, so I just grabbed a couple from the leftovers for this card. I layered everything to the front of an A2 card base made from Autumn Calm Turquoise 12x12 paper, then accented with jewels to finish.


"I Believe in You" card set features:
- House Collection "Cream White" cardstock
- "Paradise Pastel Color Blobs" 12x12 paper
- "Paradise Big Colorful Flowers" 12x12 paper
- "Fröhlichkeit, Freundschaft" 12x12 paper
- "Süße Grüße" 12x12 paper
- "Watercolor Rose" 12x12 paper

I fussy cut the floral elements that the peekaboo circles are embellished with from 1212 papers listed above. I cut the scripted I Believe in You word die 3 times: once from the same glittered paper used one the first card and two times from scraps of patterned paper. Then I stacked and adhered it together with a glue pen. I didn't realize that this die had been clearanced, so it is no longer available. You can easily substitute it with another word die that is still current! I mounted everything to the front of a 4x9 slimline card base that I created from the "Watercolor Rose" 12x12 paper. To finish, I accented with clear iridescent jewels.


I've linked to most items today in the Alexandra Renke shop, as I wasn't able to source them in the US this time. The only way to make Alexandra's product more readily available here is to ask for it at your favorite store...whether it be online or brick & mortar. So, please be sure to ask if you would like to be able to get her products here!


That is everything I have for you today! If you have any questions about my card, feel free to leave them in the comments and I will be sure to reply.

Have a great Tuesday!
SUPPLY LIST

We are retiring some products at Pinkfresh Studio, and you can grab them at 60% off while supplies last! This is the last time to add these goodies to your stamping stash, so be sure to grab them before they're gone!
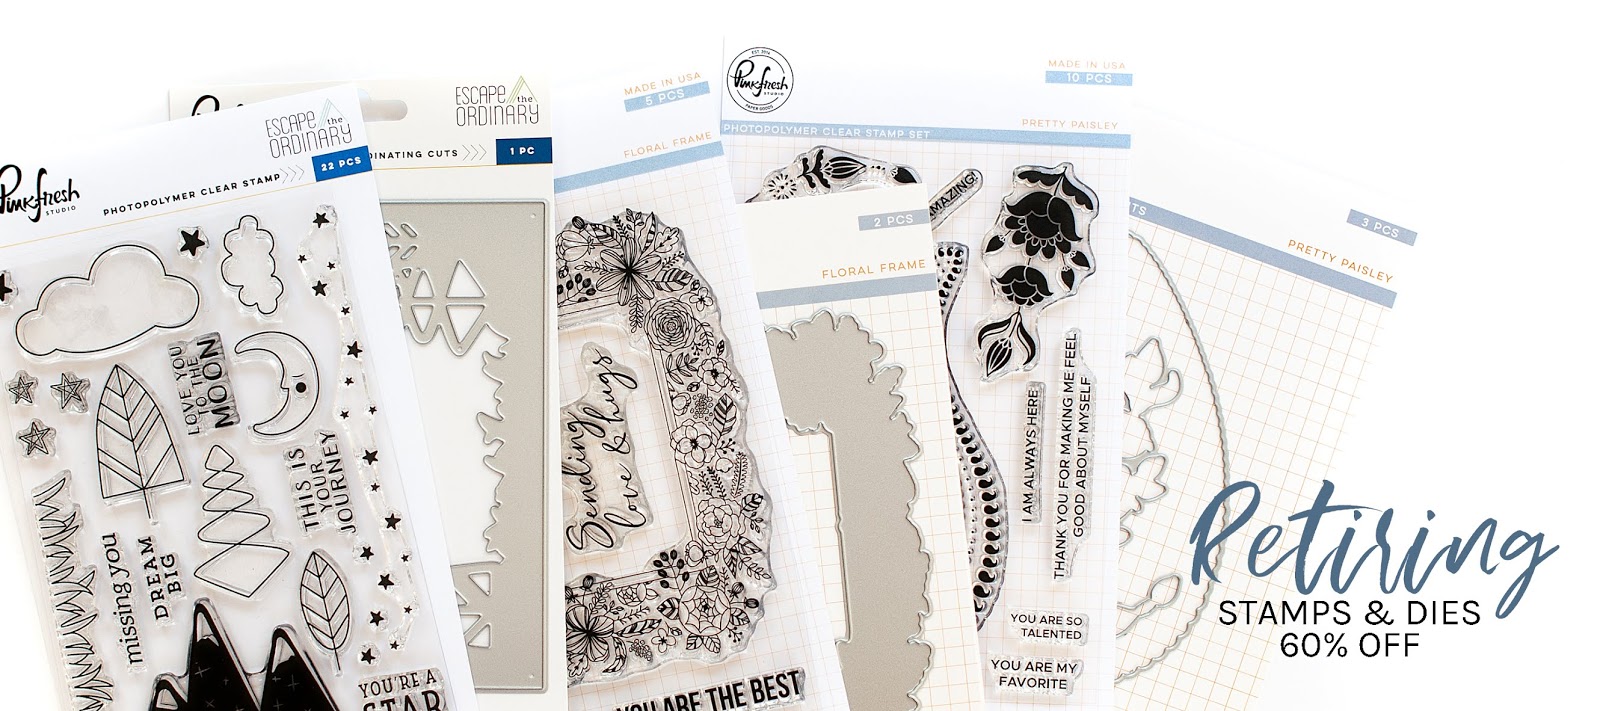
Apart from a couple of the sentiments, I've hadn't used the Pretty Paisley stamp set yet. So, I wanted to be sure to ink it up before it wasn't available any longer! I had so much fun creating the card I featured in my Cards for Kindness post this week, so I did the same technique for this card with rainbow colors. I just left off the white iridescent mist step and added white acyrlic ink splatters instead.

I started this card by stamping and heat embossing the big paisley design multiple times in gold to water friendly Strathmore Bristol cardstock. Then I taped it down to my travel sized Tim Holtz glass media mat, added a light water wash and did my drop & spritz technique with the Pinkfresh Studio liquid watercolors (individual colors linked at the end of post). After spritzing with water, I used a size 6 round brush to have more control over where I wanted the colors to go and blend. I didn't move it around too much to avoid muddiness and to help keep it's vibrancy.


Once the panel was dry, I mounted it to the front of an A2 white cardbase. I stamped the sentiment to matching white cardstock in Detail Black hybrid ink, then diecut with a stitched banner (not Pinkfresh branded. MFT branded - linked below). I popped it to the front with some foam tape over top of a knot of gold thread. Then I finished by accenting with our Essentials: Crystals Mix.


That is all I have for you today! If you have any questions about my card, feel free to leave them in the comments and I will be sure to reply.

Before you move along with your day, I wanted to invite you to follow me on social media. I would love to be crafty friends!
Have a great rest of your day!
SUPPLY LIST


Hi crafty friends! I'm excited to be a guest today over on the SCT Magazine blog! I am sharing a pretty pastel card to share with you that features many of the latest stamps & dies from Pinkfresh Studio, along with our premium dye inks which come in 48 delicious colors.

I tend to work in sections when I create cards, and I typically start with the stamping. I started by stamping the Nested Diamond background with premium dye inks in ballet slipper, lemon whip, peach fuzz and mint. This cling rubber background stamp has an exciting feature to it - each layer is a separate piece to make stamping in multiple colors a cinch! When the background was finished, I moved on to stamp layering the bouquet from the Modern Layered Floral stamp set. I find that it is easier to line up the stamp layers if you diecut this one first, then do the stamping in your MISTI - just use the negative cut as a jig. Finally, I stamped & heat embossed the sentiment from Layered Bouquet in Gilded embossing powder to white cardstock.


The next step is diecutting all the layers. I started by diecutting the background with the largest Diagonal Stitched Rectangle. Then I diecut a frame from champagne glitter cardstock using the Pretty Frames 2 die. Finally, I diecut the sentiment layers with our Fancy Label Frames die set.
I decided that I wanted a little
extra shimmer, so I covered the Modern Layered Floral bouquet in a
glitter mix of prisma & chunky glitters. I love mixing these two
types of glitter together because they add an attention grabbing factor
to any project!

At this point I put my card together. I mounted everything to a pink A2 top folding card base using foam adhesive. To make this card more mail friendly, you can use less dimensional adhesive if you'd like! I finished by accenting each corner with the Essentials: Crystals Mix in pink & clear.


I've also started updating my CRAFTY SALE
page more lately, so feel free to see what great deals there are out in
the papercrafting world right now. It's a great time to support these
small businesses if you are able!
Before you move along with your day, I wanted to invite you to follow me on social media. I would love to be crafty friends!
Have a great rest of your day!
SUPPLY LIST


I speak from experience that when you are in your darkest of days, opening a card from a friend or loved one let's you know that you aren't alone. It's a beautiful reminder that you are loved and remembered at that very moment, and something that is so very important to me. It's why I love cardmaking so very much. I was recently given the opportunity to record an episode of Scrapbook.com's Life Handmade Podcast, where I speak candidly about the loss of my children. I also talk a lot about crafting and Pinkfresh Studio, so we would love for you to check it out!
Today I wanted to share a card I made for Cards for Kindness™ featuring the Forever in our Hearts stamp set. This stamp set benefits Layton's Legacy, a fundraiser for NICU parents that I do in honor of my son each year. All funds raised go towards purchasing items for parent's with babies in the NICU, or get donated to a charity that benefits NICU parents. $5 for the sale of every stamp set, and $3 from the sale of every coordinating die are donated to Layton's Legacy.

I decided to create a background with the beautiful butterfly that is included in the stamp set, and heat embossed it in gold multiple times to water friendly smooth Bristol cardstock. I applied a light water wash to it, then dropped liquid watercolor in Bubblegum and Clementine in a few different areas. I lightly spritzed it with water to get some movement of the colors, then used a brush for more control over the color placement.


To soften the colors and give the background a beautiful shimmer, I spritzed it down with iridescent white mist while it was still wet. I dried it with the lower setting on my heat gun, but you could also just let it air dry. Once it was dry, I carefully wiped the mist off the embossing so it would really shine through. Finally, I diecut the background panel with our largest Essentials: Stitched Rectangle die to give it that nice finished edge.
I stamped the sentiment from the Forever in our Hearts set to white cardstock in Detail Black ink, then trimmed it into a thin strip with banner edges. I wanted to bring up the meaning behind this sentiment, because some people believe the sentiment should read "You're on my heart." Both are technically correct, but this sentiment stems from deep loss. And much like we carry those we lose within our hearts, when I grieve with someone...I am carrying them IN my heart. That is why we chose to phrase it this way.


With all the pieces complete, I mounted each one to the front of a white A2 top folding card base with foam adhesive. I added a knot of gold thread underneath the sentiment for some added texture, then finished by accenting with clear iridescent sequins and our Essentials: Crystals Mix in clear & pink.
I don't normally take images of my cards standing up, but I wanted to share that one above just to show the amount of gorgeous shimmer & shine on this card!

We hope that you will be able to partner with Scrapbook.com for their Cards for Kindness™ initiative! Be sure to follow the submission guidelines and fill out the necessary paperwork. All of those details are included in that link above. Just think of all the smiles your beautiful handmade cards will bring to faces all over!
That is all I have for you today! If you have any questions about my card, feel free to leave them in the comments and I will be sure to reply.

Before you move along with your day, I wanted to invite you to follow me on social media. I would love to be crafty friends!
Have a great rest of your day!
SUPPLY LIST
Subscribe to:
Posts (Atom)


Social Icons