

Hi blog friends!! I recently received a super exciting email from Nichole at Papertrey Ink, inviting me to be part of the Make It Market kit team!! And this is my first kit as a team member.


How fun is that?! I just love this fun kit, and look forward to creating a lot more super fun projects using it!! You might also notice that the larger cupcake flower graced many of my images...I created it as added decor for my photos! But I was thinking that it would be awesome if you put a clip on the bottom, and used it in your daughter's hair!
The next Make It Market Kit will be released on April 1st
and it is entitled "Party Pops". Betsy has once again outdone
herself! Party Pops is all about interactive birthday cards, tags,
favors, gift wrap, decor and anything else you can dream up! Just wait
until you see these dies! They provide several options for creating
different types of interactive cards — pop-ups, lift-the-flap, and SO
much more! These could potentially be THE most innovative products that
Betsy has designed to date! She has even invented some clever tools to
turn colorful cupcake wrappers into works of art. If there was ever a
kit you didn't want to miss out on, it would be this one!
PARTY POPS KIT CONTENTS:
-Party Pops stamp set
-Party Pops Basics die collection
-Party Pop Ups die collection
-Baking Cup Shapers die collection
-Party Pops paper collection (18 A2 sheets, 2 sheets each of 9 designs)
-Party Pops Pom Pom Assortment
-25 standard baking cups (5 each of 5 designs)
-25 mini baking cups (5 each of 5 designs)
-Mini Cherries (3)
-Teal Raffia (2 yards)
-Orange Raffia (2 yards)
-Pink Raffia (2 yards)
-Green Raffia (2 yards)
-Melon Raffia (2 yards)
The
total retail cost of the "Party Pops" Kit is $110. There will be a
limited number of these exclusive kits available, so be sure to get
yours on Wednesday! The "Party Pops" Kit will be available for sale beginning on April 1st at 10pm EST, only at Papertrey Ink. Read all the details on Nichole's blog or contact Customer Service with any questions.
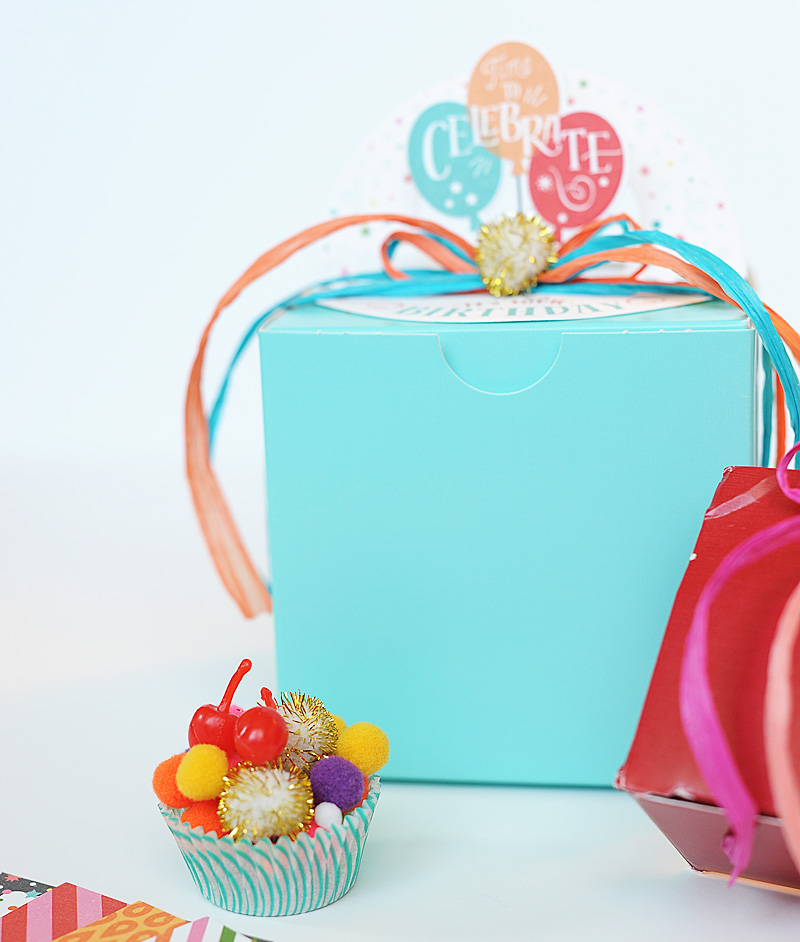
I've had SO much fun using this kit so far, and I just know that I will be using it a ton more in the days to come! I just adore the bright colors & all the super fun interactive elements that are possible. For today's post I've created a fun little gift set! Check it out!
I've decorated the colorful boxes with the Party Pops paper collection, some of the colorful raffia, one of the gold poms, and with a cupcake liner flower that I created using the Baking Cup Shapers die collection!
I made a little cupcake with one of the tiny cupcake liners, the colorful poms and a couple of the mini cherries. It's so cute in real life!
I also created a matching pop-up card using the Party Pops stamp set, Party Pops paper collection, Party Pops basic dies & Party Pops pop-up dies.
Who wouldn't love to get a fun card like this? I wanted to use all of the fun images in my gift set, so I put the cupcake image on the front of the card and then popped up the candle images on the inside. They actually go together perfectly...cake & candles! :)
And for my final project, I created this tag using the the Party Pops stamp set and the Party Pops basic dies. I really wanted to create something with the flip up element, and decided a tag was a good fit for my little gift set!
How fun is that?! I just love this fun kit, and look forward to creating a lot more super fun projects using it!! You might also notice that the larger cupcake flower graced many of my images...I created it as added decor for my photos! But I was thinking that it would be awesome if you put a clip on the bottom, and used it in your daughter's hair!
That is what I created for today using the Make It Market: Party Pops kit! I know that I can't wait to check out what the rest of the team created, so be sure to check them all out!
Thank you so much for checking out my first post as the newest Make It Market kit club creative team member! I'm so happy & excited to be part of this team, and look forward to even more crafting fun!!
I hope that you have an awesome Tuesday!
Until later,
~Lea
Supply List:
{All supplies are from Papertrey Ink unless otherwise noted.}
Cardstock: Fresh Snow - linen, White, True Black
Patterned Paper: Party Pops paper collection
Stamps: Party Pops
Dies: Party Pops basics, Party Pops pop-ups, Party Pops baking cup shapers
Ink: True Black, Pure Poppy, Berry Sorbet, Orange Zest, Ocean Tides, Harvest Gold
Ribbon: Pure Poppy saddle stitch 5/8"
Craft Supply: jewels, buttons

Hey there, blog friends! How are you doing today? I'm doing well...just been busy with life here in Fargo. Thanks for being patient with me while my blog has been so quiet!!
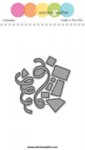
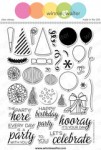
Today I want to catch up on some birthday cards that I've created using the new Winnie & Walter Cutaways!! I wasn't able to participate in "A Week to Die for" on the W&W blog because of our trip to Montana...but I've done a few "make-up" cards in the past few days!
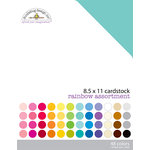
My first card is stamp free, focusing on three different sets of Cutaways! I chose a rainbow color theme...which you know is one of my all-time favorites! Check it out:

 Instructions:
Challenges:
Supplies:
**The white glitter cardstock is not linked above. I purchased it from the scrapbooking paper section at Michael's, and is branded as Recollections.**
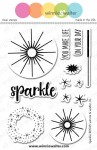
My next card uses layers of stamping & heat embossing, plus some beautiful flourished jewel trims & some confetti cuts. I love how it turned out!!


 Instructions:
Challenges:
Supplies:
**The white glittered cardstock & the green jeweled trim are not linked above. I purchased the cardstock from the scrapbooking paper section at Michael's, and is branded as Recollections. The green jeweled trim is from Prima Marketing & the color is listed as Medaline.**
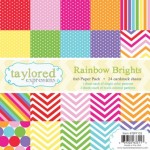
My final card looks a little different from the first two, and uses a colored card base & some patterned papers. It's fun & festive & I think you'll like it! Check it out:


 Instructions:
Challenges:
Supplies:
**The white glittered cardstock, enamel dots & wood veneer are not linked above. I purchased the cardstock from the scrapbooking paper section at Michael's, and is branded as Recollections. I believe the wood veneer & enamel dots came from a past kit, but am unsure of the company or month. Sorry I can't be of much more help on those items.**
Whew...I know that was A LOT of cards & content to look over in one blog post. Thanks for sticking it out & I really hope that you like them!! Have a great rest of your Tuesday!
Until later,
~L.
Today I want to catch up on some birthday cards that I've created using the new Winnie & Walter Cutaways!! I wasn't able to participate in "A Week to Die for" on the W&W blog because of our trip to Montana...but I've done a few "make-up" cards in the past few days!
My first card is stamp free, focusing on three different sets of Cutaways! I chose a rainbow color theme...which you know is one of my all-time favorites! Check it out:
- Make A2 card from white cardstock.
- Diecut the scallop trim from rainbow colored cardstocks.
- Layer the scallop trim cuts to the bottom half of the card, then trim the excess.
- Diecut the word "happy" from purple dotted paper.
- Adhere it with foam dots to the top of the scallop trim.
- Diecut the word "birthday" from white glittered cardstock.
- Adhere it slightly overlapping the bottom of the word "happy".
- Accent with jewels to finish.
Challenges:
- ShowCASe Your Style #10 - color challenge
- Verve Stamps March Inspiration challenge - B is for birthday
Supplies:


**The white glitter cardstock is not linked above. I purchased it from the scrapbooking paper section at Michael's, and is branded as Recollections.**
My next card uses layers of stamping & heat embossing, plus some beautiful flourished jewel trims & some confetti cuts. I love how it turned out!!
- Make A2 card from white cardstock.
- Stamp & heat emboss the larger sparkles directly to the card front.
- Stamp & heat emboss the smaller sparkles over top of the larger ones.
- Stamp & heat emboss the stardust over top of the layered sparkles.
- Layer two strips of jeweled trim diagonally to the card front.
- Embellish the stamped sparkles with large jewels.
- Diecut the banner from white cardstock.
- Stamp & heat emboss the word "sparkle" twice.
- Finish the sentiment in black ink, then adhere the banner to the front.
- Diecut the confetti from white glitter cardstock & layer to the top of the trim.
Challenges:
- Virginia's View #13 - all things embossed
- Cupcake Inspirations #300 - sparkle
- Cupcake Inspirations #300 - color challenge
- Cupcake Inspirations #300 - confetti
Supplies:


**The white glittered cardstock & the green jeweled trim are not linked above. I purchased the cardstock from the scrapbooking paper section at Michael's, and is branded as Recollections. The green jeweled trim is from Prima Marketing & the color is listed as Medaline.**
My final card looks a little different from the first two, and uses a colored card base & some patterned papers. It's fun & festive & I think you'll like it! Check it out:
- Make A2 card from red cardstock.
- Diecut the background paper & adhere to the card front.
- Cut 4 2-inch squares from patterned paper, and layer to the front.
- Diecut the circle from patterned paper, & adhere to the middle.
- Tuck stickers into the top & middle of the patterned blocks.
- Diecut the word "happy" from navy cardstock & adhere to the top.
- Add letter stickers to the top & stamp the word "day" below it to finish the sentiment.
- Add a wood veneer birthday cake below the sentiment.
- Add a star sticker & arrow sticker to the wood veneer.
- Diecut the confetti from white glittered paper & adhere to the top.
- Embellish with enamel dots to finish.
Challenges:
Supplies:


**The white glittered cardstock, enamel dots & wood veneer are not linked above. I purchased the cardstock from the scrapbooking paper section at Michael's, and is branded as Recollections. I believe the wood veneer & enamel dots came from a past kit, but am unsure of the company or month. Sorry I can't be of much more help on those items.**
Whew...I know that was A LOT of cards & content to look over in one blog post. Thanks for sticking it out & I really hope that you like them!! Have a great rest of your Tuesday!
Until later,
~L.
Subscribe to:
Posts (Atom)


Social Icons