

I am so happy with the results, and while they aren't perfect, I am learning to embrace imperfections when papercrafting and finding ways to strategically use them or cover them up when it happens. With that being said, I have a few tips that I want to share about the foiling process as we take a look at my two cards today. First, I want to mention how I got started. When Yana shared these new foiling products with me, the first thing that came to mind was the classy & bold colors that are often used in Kate Spade collections. So that was the jumping off point for my inspiration for my card set!

TIP #1: PRACTICE
Grab a few sheets of cardstock that you are okay with tossing if you don't like how the foiling turns out. The Glimmer Hot Foil System comes with a couple of foil colors, and one of them was silver. I'm not the biggest silver person, so I used that since I wouldn't reach for it very often when crafting. During my practice time, I followed the instruction manual first and then made adjustments based on what I saw in the foiling. Sometimes that meant adding a paper shim, which I needed for the polka dots but not the intricate foliage & sentiments.I felt the practice time was crucial to really get a feel for how foiling works best for me and my workspace. I practiced for about 30 minutes, and after about 10 I was getting good foiled impressions that could actually be useable on a card. So, I promise you won't waste too much but I do think this part is important!


TIP #2: WATCH THE EXPERT
I learned SO much from just watching Yana's videos. This video is a perfect introduction to the Glimmer Hot Foil System, and then this video is packed with helpful tips, techniques & tricks for foiling. She has done a lot of foiling as she works for Spellbinders, so she really is an amazing resource for learning.

TIP #3: HAVE FUN!
This is THE most important tip! Just have some fun, and don't worry about everything being completely & utterly perfect. Sure, there are some flaws in the foiling on these cards. But I did it myself, making it handmade & special for my recipient. I am THRILLED with how they turned out, and I had SO much fun making them! And that truly is the most important aspect - to have fun while creating and doing what you love. :)

STEP BY STEP INSTRUCTIONS:
- Create (2) A2 top folding card base out of white cardstock.
- Foil light pink cardstock in Polished Brass using Polka Dot Strip, then cut into two strips
- Foil navy blue & light pink cardstock in Rose Gold and Polished Brass using Foliage Border & Organic Foliage, then die-cut.
- Foil light pink cardstock in Rose Gold using Yana’s Sentiments, then die-cut.
- Layer the polka dot strips with a thin dark pink strip of cardstock to the A2 card fronts.
- Layer the circle foliage frames to the front of each one with foam tape.
- Accent the foliage frames with additional foliage, leaves & flowers.
- Add a die-cut sentiment to each circle with foam tape.
- Finish by accenting with iridescent jewels.
That is everything I have for you today! If you have any questions about my post today, feel free to leave them in the comments and I will be sure to reply.

Before you move along with your day, I wanted to invite you to follow me on
social media. I would love to be
crafty friends online!
Wishing you a wonderful Thursday!
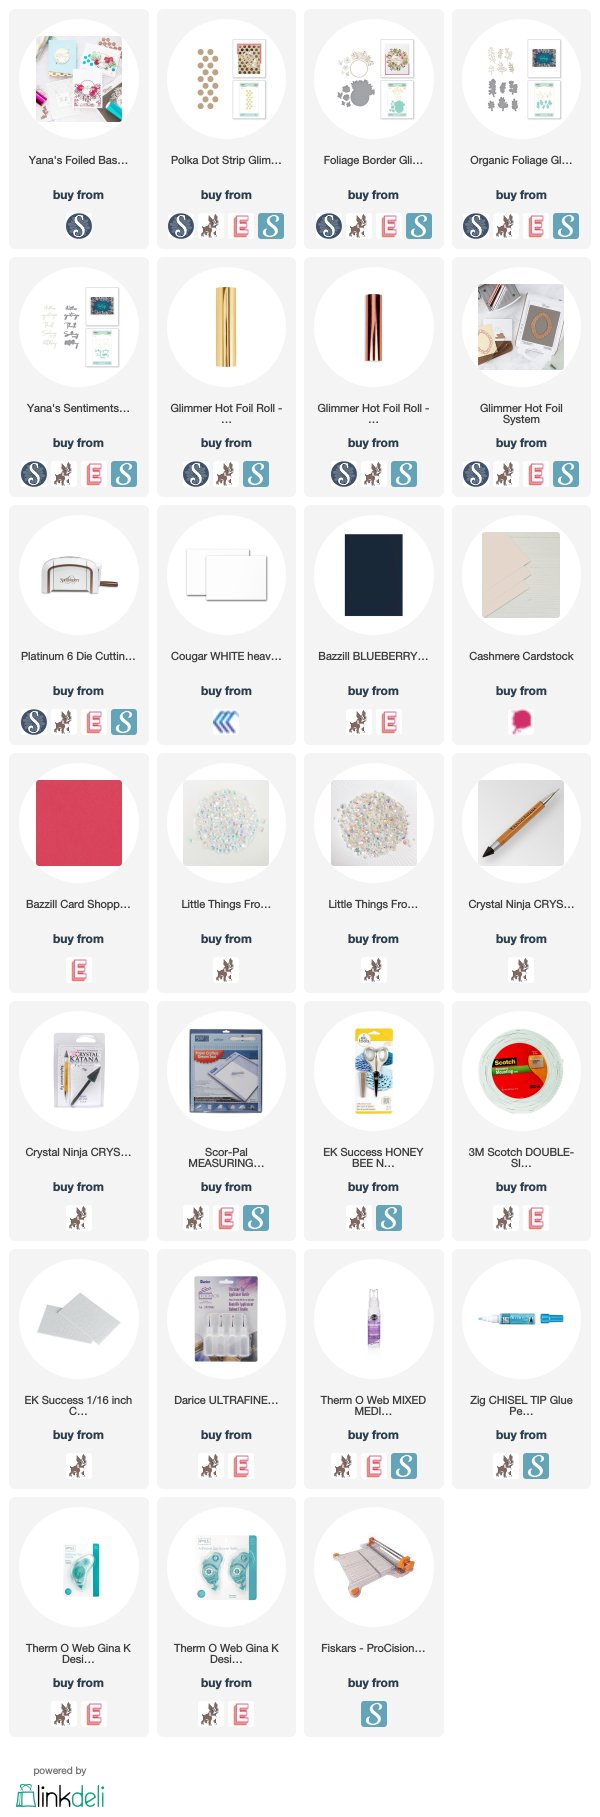
SUPPLY LIST


2 comments
Wow these are gorgeous!! Love those polka dots!!😍
ReplyDeleteThese are so pretty
ReplyDeleteComments warm my heart. Thank you! ♥