Happy Friday, crafty friends! I hope you've had a wonderful week! I just wanted to remind you that Layton's Legacy Fundraiser still has a couple weeks left for donating. Even if you can't donate, I would love if you continued to share it! And don't forget about the Card Drive, which has a theme of Sensitive Sympathy. You don't have to send the cards to me to link them up, that is just an option! :)
I wanted to pop in and share Pinkfresh Studio's weekend promo. We are offering 30% off the Cityscape die and its matching stamp sets with the code 30CITY. This code is valid through Sunday night, or while supplies last. And you must use the code upon checkout in order to get the discount.
I've used the Home for the Holidays stamp set and the Cityscape die (just trimming the top off), along with the Skiing By die set. The background was created with our liquid watercolor, and I also did a little ink blending with our premium dye inks in Metropolis & Rocky Slope on the mountain, and Ocean Breeze for the snow drifts. This is an unusual color palette for me, but I love how it turned out!
HOW TO CREATE:
1. Tape down Strathmore Bristol paper to a craft mat, then give it a light water wash.
2. Drop liquid watercolor to it in bubblegum, aquamarine, sapphire and licorice. Swirl around until it looks right.
3. Once dry, splatter the front with titanium white & gold paint splatters.
4. Diecut the mountains, snow caps, cityscape and snow drift from Bristol paper & white cardstock.
5. Cover the snow caps in glitter, then adhered to the mountain tops.
6. Lightly ink blend the bottom of the mountains with 2 shades of gray.
7. Stamp the village & snowman to the cityscape die, then trim off the top half.
8. Stamp the trees to that trimmed off portion.
9. Color the village and trees with Zig Clean Color Real Brush markers, then fussy cut the trees.
10. Stamp & heat emboss the sentiment in Gilded to the snow drift.
11. Ink blend the snow drift and around the village with ocean breeze ink.
12. Adhere the watercolor background to an A2 card base with a full panel of foam adhesive.
13. Mount the remaining layers to the front, popping just the tops up with foam tape.
14. Cover the trees in glitter, then adhere to the card front.
15. Add a red jewel to the middle of the wreath to finish.
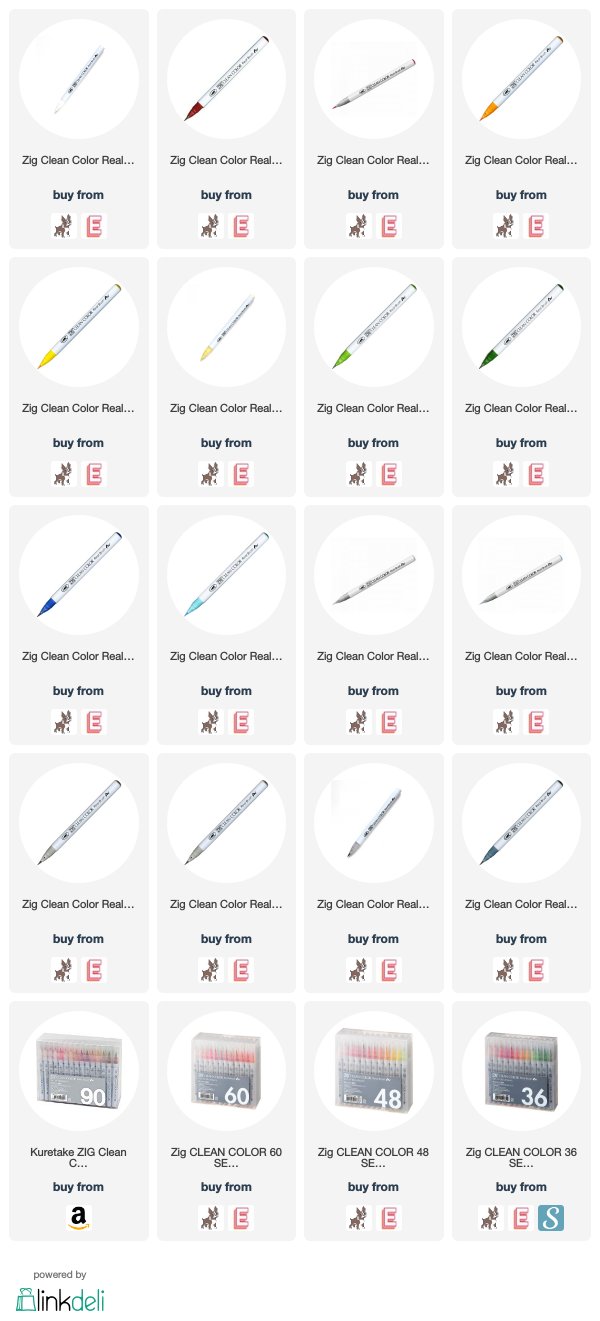
As I mentioned, I colored all the stamping in with Zig Clean Color Real Brush markers. Rather than using water, I typically blend the colors with the Zig blender brush. Here is a list of all the colors I've used. At the end you will see some different set options, but the only set that will have all of the colors is the 90 set. This Zig Line Up link is one of the best ways to know what colors are offered in each set!

That is all I have for you today! If you have any questions about my card, feel free to leave them in the comments and I will be sure to reply.
Before you move along with your day, I wanted to invite you to follow me on social media. I would love to be crafty friends!
Have a wonderful Friday!
SUPPLY LIST


3 comments
Wonderful card and SALE!
ReplyDeleteThis is gorgeous Lea - I love this stamp and die set!
ReplyDeleteLovely card and absolutely gorgeous sky !
ReplyDeleteComments warm my heart. Thank you! ♥