

Happy Friday, crafty friends! We've made it to the end of the week! Woot! Pre COVID, we used to have a craft night on the first Friday of every month here in Minneapolis. I miss it SO much! So, tonight we are going to have a virtual craft night, which I am very excited for. It's not quite the same, but I'll take anything I can get!
I got this email newsletter from Taylored Expressions this week, and it reminded me of how much I love the Rainbow Brights paper pack! So, when I had tidbits of time, I created this card with it and some other TE goodies. Honestly, I'm assuming this promo went pretty quickly, but just in case....I'm sharing it here!

Also, don't forget that Taylored Expressions offers free shipping on orders $50, and you can also get this exclusive stamp set free with orders $100+! So, lots of great deals when you shop at TE!

Rainbow Friendship card

SUPPLY LIST
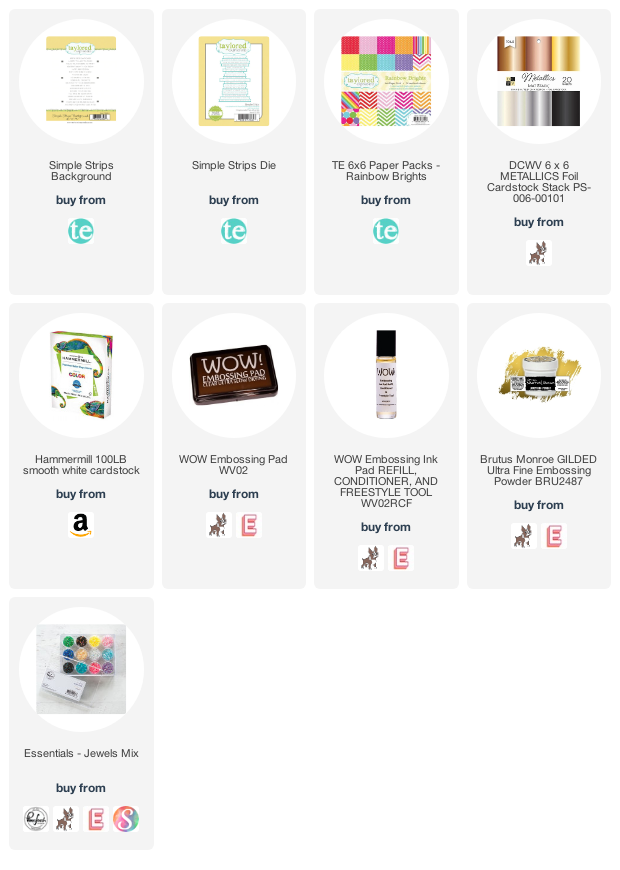
I started by diecutting the Bistro Lights from white cardstock three times. I layered two together flush, then added the third layer to give it a shadow effect. I trimmed off any excess after adhering them. Next I glued the Bistro Lights layer to the front a a block of rainbow paper, then mounted it to a pink A2 cardbase with a full panel of foam adhesive.


Next I stamped & heat embossed the Simple Stripes Background in gilded to white cardstock. Then I diecut it with the Simple Stripes die, and now I have a ton of great sentiments that are already done and ready to add to my next TE card! I've had this stamp & die duo forever, and it's the first time I've used it! I definitely love it! After that I diecut the friends word 3 times; once from gold foil paper and twice from white cardstock. I stacked & adhered them with a glue pen, then mounted the sentiment to the lower right corner of the card with thin foam tape.


To finish I accented some of the bistro light strings with the Jewels Mix in rainbow colors. It was a perfect little touch! If you have any questions about my card today, leave them in the comments and I will be sure to reply.

Have a great rest of your day!
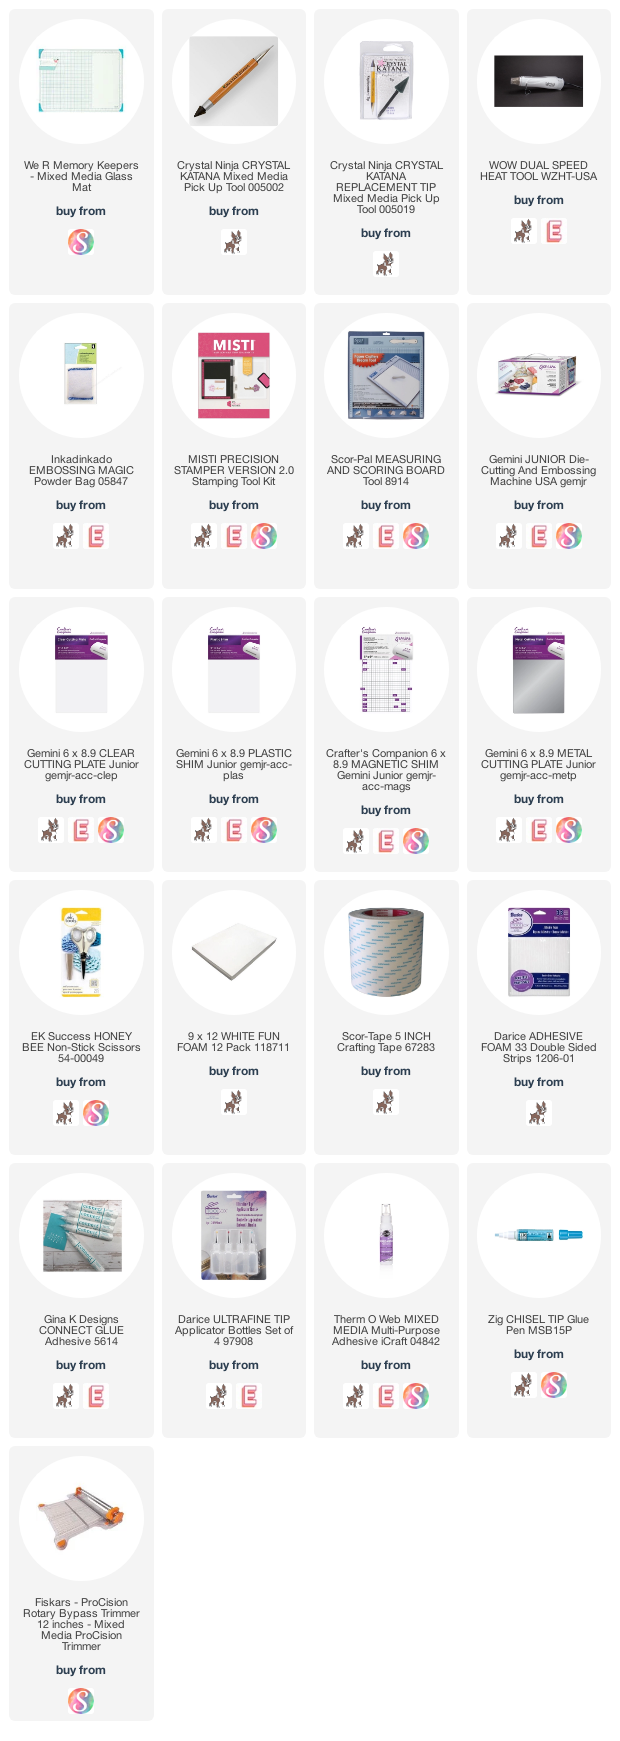
TOOLS & BASICS LIST


1 comment
Really great card ... I love TE!
ReplyDeleteComments warm my heart. Thank you! ♥