

ESSENTIALS 3 RELEASE
We've got a fantastic blog hop lineup and prizes at every stop! I'll get to all of that info at the end of my post, but how about we get to my cards first? Today I've done an entire set of rainbow cards, using many of the different products from the release. I wasn't able to get to every single item, but I will in the coming weeks! I am going to group my projects into product categories to make it a little easier to read through.
BACKGROUND DIES: FANCY DIAGONAL STRIPES & DIAGONAL STRIPES WITH WINDOW
These might be my new latest faves when it comes to background dies. I love all the different details included, like the trim lines inside the Fancy Diagonal Stripes die that don't cut fully, but just add a great finishing detail. I really love the window in the Diagonal Stripes with Window die, and that it can easily be used both vertically & horizontally.
I paired this first card with the Adore Alpha and Partial Cut Bouquet and a Bow die sets. I finished the sentiment with the Merry & Bright Toy Shop and Merry Days stamp sets. If you are wondering how I created the rainbow letters, it is super easy - just a little time consuming. I cut 1/8" strips of cardstock and arranged them in rainbow order to 65 LB white cardstock using a Zig glue pen.

1. Diecut the striped background die from 130 LB white cardstock two times & layer together.
2. Adhere a panel of gold glitter paper to an A2 card base, then mount the background die to the front.
3. Stamp the sentiment to the bottom of the white window.
4. Diecut the letters 3 times: once from the rainbow panel, and twice from white cardstock.
5. Layer the letters together, than adhere above the stamped sentiment.
6. Add a white outline layer to the letters.
7. Stamp the final part of the sentiment in Ocean Breeze ink, trim into a thin strip and adhere to the letters.
8. Diecut and assemble the bow from red cardstock, then attach to the front.
9. Finish by accenting the bow and below the sentiment with jewels.


I kept this card simple, because I really wanted the background to be the star. The sentiment is from our Classic Holidays Words die set, and I accented with our Essentials: Jewels mix.I started by diecutting it from all the same cardstock colors used in the rainbow letters above, plus 130 LB white. Then I diecut it from printer paper, and adhered the printer paper version to a white cardbase.

1. Diecut the background from each color of cardstock, including 130 LB white.
2. Diecut the background from printer paper, then adhere to an A2 card base.
3. Add the colored stripes to the card front in rainbow order.
4. Cover the back of the white layer in foam tape, then adhere to the front.
5. Diecut the words 3 times: once from gold glitter paper and twice from white cardstock. Stack & adhere.
6. Diecut the shadow from white cardstock, then adhere together.
7. Mount the completed sentiment to the card front.
8. Accent with a rainbow of jewels in opposite corners to finish.


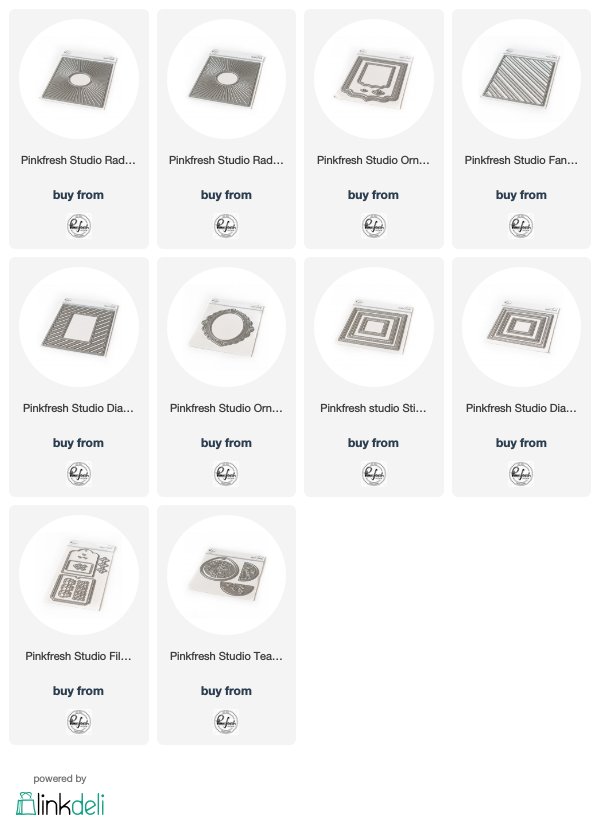
Here is a look at all the different Pinkfresh Studio products I've used to create these two cards!

STITCHED & DIAGONAL STITCHED SQUARES
These two are the follow up to our Stitched & Diagonal Stitched Rectangles die sets (which are the most reached for dies in my collection), but this time they are in squares! You get three widely used sizes of squares in both the Stitched Squares and Diagonal Stitched Squares die sets.What I love about our basic panel die sets is the versatility. I've never really loved nested dies because I never use more than 1 or 2 sizes, and they tend to be a bit expensive. So when we designed these sets, we wanted to make them versatile, useful and affordable. I love that you can create panels and frames with the unique way we've nested our dies, and every piece is 100% usable.

For this first card, I've done the same technique as the letters in my first set for the rainbow stripes. I've added a sentiment from the Season's Greetings stamp set and kept this card super simple. I LOVE IT! I created the frame using the large & middle stitched dies so it would be a little wider.

1. Diecut the frame from 130 LB white cardstock, then add foam tape to the back.
2. Add a rainbow stripe at an angle to a 4.25" square card base.
3. Stamp the sentiment above & below the rainbow stripe.
4. Mount the frame to the top with foam tape.
5. Accent with a strip of rainbow jewels to finish.


For this card I created a wreath from the branch in our December Days stamp set, and also used a sentiment from it as well. I stamped the wreath in rainbow colors picked from our premium dye inks, which are all linked below, then cut them out with the coordinating December Days die set.

1. Diecut the frame from 130 LB white cardstock, then add foam tape to the back.
2. Add an angled rainbow stripe background to a 4.25" square card base.
3. Mount the frame to the top with foam tape.
4. Layer the rainbow wreath together, then mount to the front with foam dots.
5. Stamp the sentiment to white cardstock, then trim & adhere to the front.
6. Accent the wreath with Essentials: Jewels Mix to finish.


Here is a look at all the different Pinkfresh Studio products I've used to create these two cards!

ORNATE BANNER & FILLABLE TAG WITH POCKET
This is the final set of projects I have to share with you today, and I am so happy with out they turned out. The Ornate Banner die set is gorgeous, and I actually have a banner in progress that I will share at a later date. It is SO cute, but I ran out of time to get it finished for the blog hop today. So be on the lookout either here, or on my IG account!

For this first card, I created another rainbow wreath, but this time I used the Layered Wreath die set, which is one of my favorite die sets released this year. It is SO versatile, and it has a set of flowers so you can use it for any season. The sentiment is from our Season's Greetings stamp set, and I can't get over the adorable bow, cut from another one of my faves, Partial Cut Bouquet and a Bow.

1. Diecut the largest banner 3 times: once from gold glitter paper and twice from white cardstock. Stack & adhere.
2. Diecut the wreath from white cardstock twice.
3. Diecut the wreath leaves from rainbow colored cardstocks.
4. Diecut & assemble the bow from handmade rainbow striped paper.
5. Layer all the items to the front as shown.
6. Stamp the sentiment to the middle of the wreath.
7. Accent the bow and wreath with jewels to finish.
For this cute tag, I used the Fillable Tag with Pocket die set, but left off the pocket. Then I used the outline letters from the JOY card show above, cut from the Adore Alpha dies. I don't like to let anything go to waste, so a tag was perfect for these fantastic rainbow outlined alphas! The stamped part of the sentiment comes from our Merry Days stamp set.

1. Diecut the tag & peekaboo elements from white cardstock, then back with gold glitter paper.
2. Diecut the tag hole cover from red, and adhere.
3. Layer the rainbow outline letters to the front of the tag.
4. Stamp the sentiment to white cardstock, and trim into a banner.
5. Adhere the sentiment to the middle of the letters.
6. Add baker's twine through the tag hole to finish.


Here is a look at all the different Pinkfresh Studio products I've used to create these two cards!

Those are all the cards I have to share with you today! How about we get to all
the info you need for this new release!
PRIZES
You have the chance to win a $25 gift card sponsored by Pinkfresh Studio
from my blog {and all the other posts on the blog hop too!} - all you
have to do is leave a comment!
BLOG HOP LINK LIST
Our entire card team and some very welcomed guests have been crazy busy creating inspiring projects using all these new Essentials dies! You are going to LOVE hopping along this blog hop! Here is a full link list, and please note that there is a second page of links. It's come to our attention that the Inlinkz lists aren't always showing up in all browers, so you can also view the entire link list HERE.Before you move along to the next stop on the hop, I wanted to invite you to follow me on social media. I would love to be crafty friends!
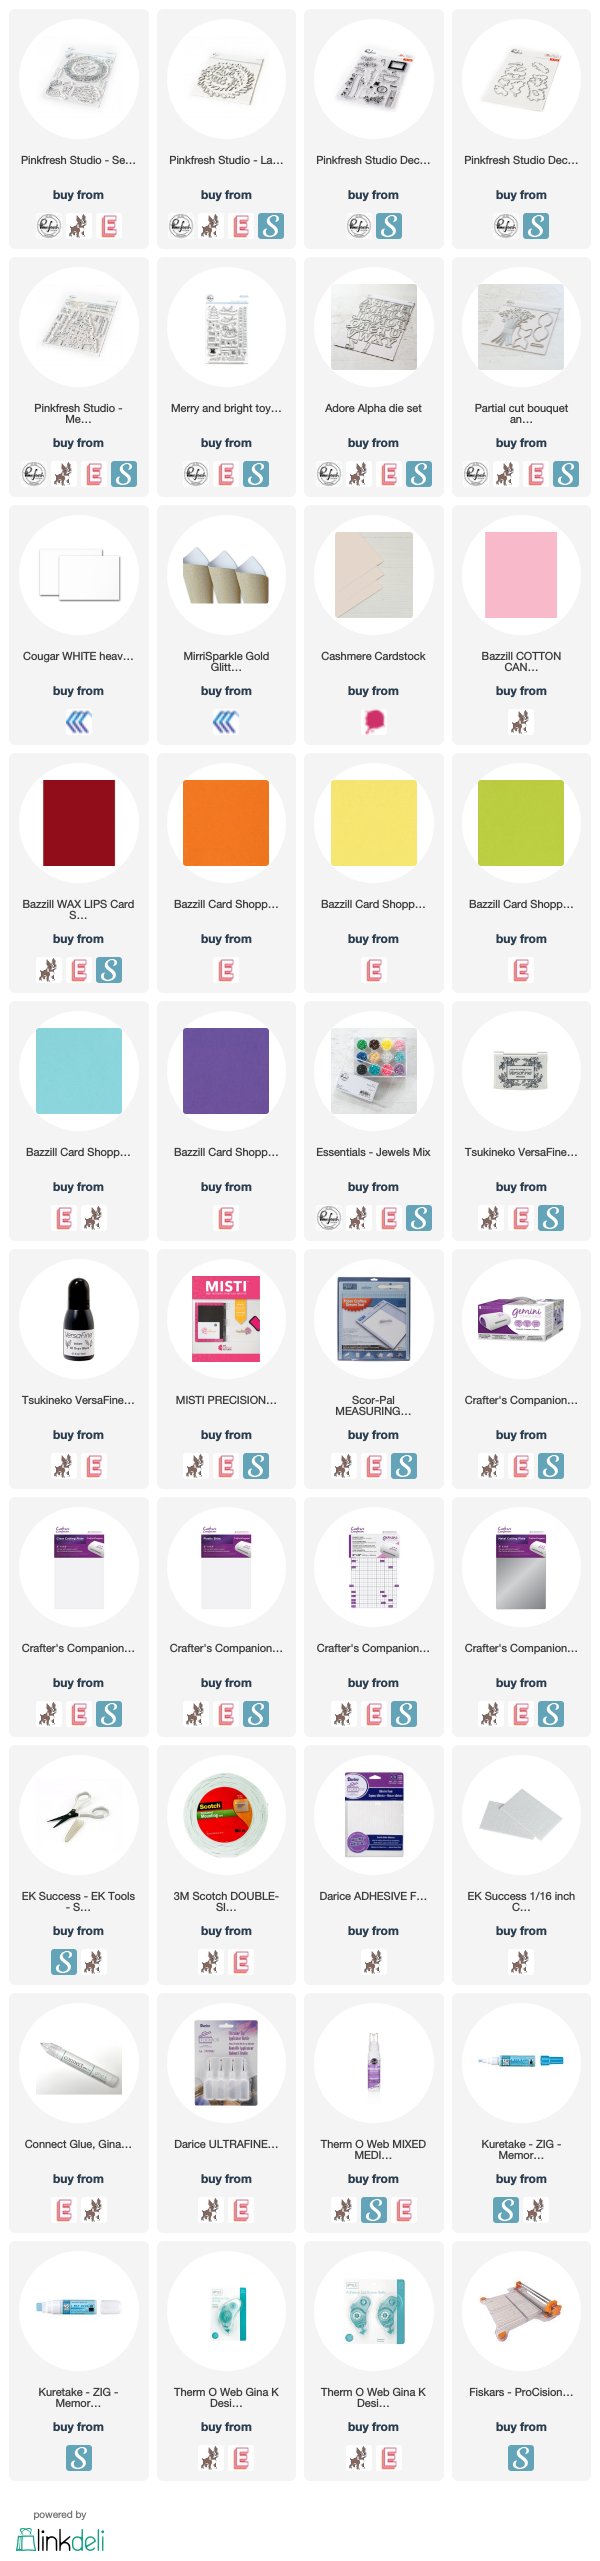
SUPPLY LIST

Hi crafty friends! I don't have anything new to share with you today, as I am getting ready for our Essentials 3 release on Monday morning! But I wanted to pop in and share our weekend promo with you!
Anyone else still creating Christmas cards? I surely am, and this weekend is a great one to freshen up your Christmas stamps & dies! Now through Sunday night, take 50% off our 2018 holiday stamps & dies using the code HOLIDAY18. This code is valid through Sunday, 12/6 at 11:59pm CST or while supplies last.
These stamp sets are SO cute, and have so many great sentiments! You can use the sentiments with the cutie critters, or use them alone for a more elegant design! I've used all of these sets before, so here is some card inspiration!


 That is everything that I have for you today! If you decide to pick up some of these great deals, I would love for you to shop from my affiliate link. Thanks so much for your support!
Anyone else still creating Christmas cards? I surely am, and this weekend is a great one to freshen up your Christmas stamps & dies! Now through Sunday night, take 50% off our 2018 holiday stamps & dies using the code HOLIDAY18. This code is valid through Sunday, 12/6 at 11:59pm CST or while supplies last.
These stamp sets are SO cute, and have so many great sentiments! You can use the sentiments with the cutie critters, or use them alone for a more elegant design! I've used all of these sets before, so here is some card inspiration!
Before you move along to the final stop, I wanted to invite you to follow me on
social media before you move on with your day. I would love to be
crafty friends online!
Happy Friday!

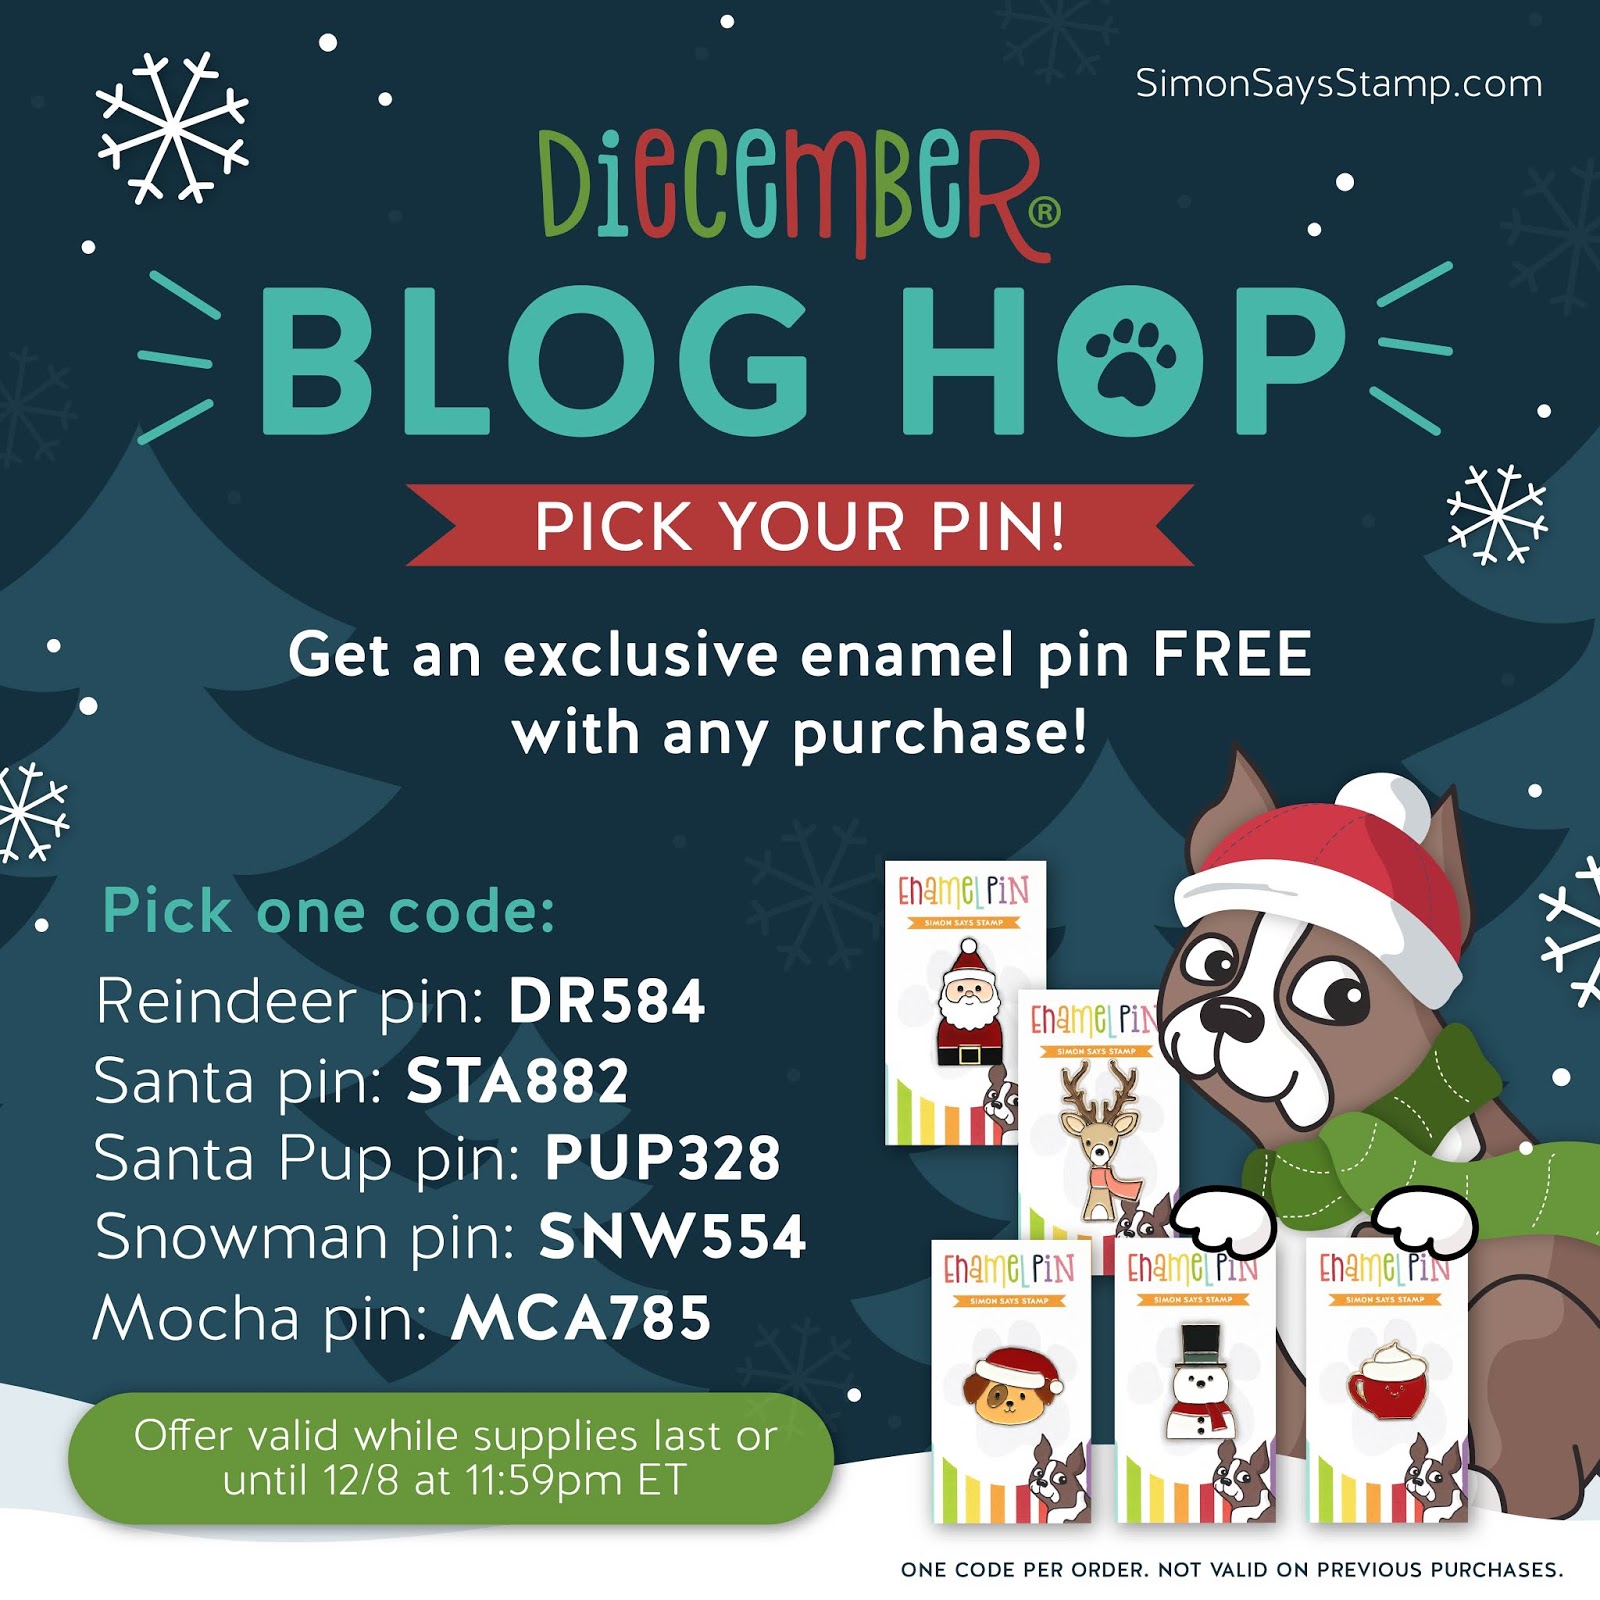
Happy Monday, crafty friends! It's a super happy start to the week, as we are celebrating the start of DIEcember with Simon Says Stamp! The 2019 DIEcember release is live, and FULL of amazing dies! SSS is giving away an enamel pin of your choice with any purchase - just be sure to use the corresponding discount code when you check out! The codes are valid while supplies last, or until 12/8 at 11:59pm EST.
This is day 1 of the DIEcember release blog hop, and we've got quite a lineup! I will put all of the blog hop details at the end of my post, but how about we get to my cards first? For my card set today, I've paired some of the new DIEcember dies with the Rainbow with Splatters washi tape from Pinkfresh Studio. I love to create watercolor and ink blended backgrounds as much as anyone, but it is also SO nice to have them already done for you sometimes! So many of these new dies work beautifully with this A2 sized washi tape!

On this first card I featured the brand new Birthday Wishes Circle die, with the previously released Bixby Wreath die. They combine together perfectly, and I love when a newer product helps freshen up an older product. This really helps you get the most out of the products you purchase!

1. Adhere the washi background to white cardstock, then trim to 4"x5.25".
2. Diecut the Bixby Wreath from the center, then adhere the panel to an A2 white cardbase.
3. Diecut the Birthday Wishes Circle 3 times: once from gold glitter paper, and twice from white cardstock.
4. Adhere the diecut layers together with a Zig glue pen, then mount to the card front with connect glue.
5. Diecut the stitched frame, and mount to the front with thin foam strips.
6. Accent the card with the Essentials: Jewels mix.
I have a little tip which makes adhering these wide panels of washi tape a bit easier. I use this stencil tool to help me smooth out air bubbles & wrinkles that can happen, just be sure to take it slowly. I also find it easier to trim the full background from the washi tape before adhering, as you have more control over the piece of tape.


This card was created exactly the same way as the first one, but I used the Shimmer Oval die on the background and the Proud of You die for the sentiment. This is the same washi tape, just a different background. (There is one more background not shown, and it is a beautiful rainbow gradient).

I've used the Essentials: Stitched Rectangles to create my framed borders for each card, but you can really use any background/frame die you might have in your diecut stash. To adhere such a thin border frame to my card fronts, I use these tiny foam strips from Darice. They are a must have in my adhesive collection, and I reach for them all the time.


There are SO many great new dies in the 2019 DIEcember release! What are your faves?

That is everything I have for you today! If you have any questions about my card, feel free to leave them in the comments and I will be sure to reply.

PRIZES:
Simon Says Stamp is giving away a $25 coupon to every stop on the hop from the blog comment section. They will choose the winners over the weekend and post them to the SSS blog by Wednesday, Dec. 11. Winners will email SSS to claim their prize.
Simon Says Stamp is giving away a $25 coupon to every stop on the hop from the blog comment section. They will choose the winners over the weekend and post them to the SSS blog by Wednesday, Dec. 11. Winners will email SSS to claim their prize.
BLOG HOP LINK LIST:
Be sure to hop
along and leave comments along the way for your best chance to win one
of the prizes!
Simon Says Stamp Blog
Jennifer McGuire
Cathy Zielske
Nina-Marie Trapani
Amy Rysavy
Lisa Addesa
Heather Ruwe
Bibi Cameron
Marge Yoon
Gayatri Murali
Barb Engler
Lea Lawson
Crystal Thompson
Betty Wright
Bobbi Lemanski
Jennifer McGuire
Cathy Zielske
Nina-Marie Trapani
Amy Rysavy
Lisa Addesa
Heather Ruwe
Bibi Cameron
Marge Yoon
Gayatri Murali
Barb Engler
Lea Lawson
Crystal Thompson
Betty Wright
Bobbi Lemanski
Wow....what a lineup that is! I know I am excited to grab a cup of coffee and see what everyone else created!
Finally, if you'd like to see even MORE inspiration from this release, check out the 2019 DIEcember Gallery. And be sure to link up YOUR creations too!
Before you move along to the final stop, I wanted to invite you to follow me on
social media before you move on with your day. I would love to be
crafty friends online!
Alright friends! Happy hopping, and have a great start to your week!
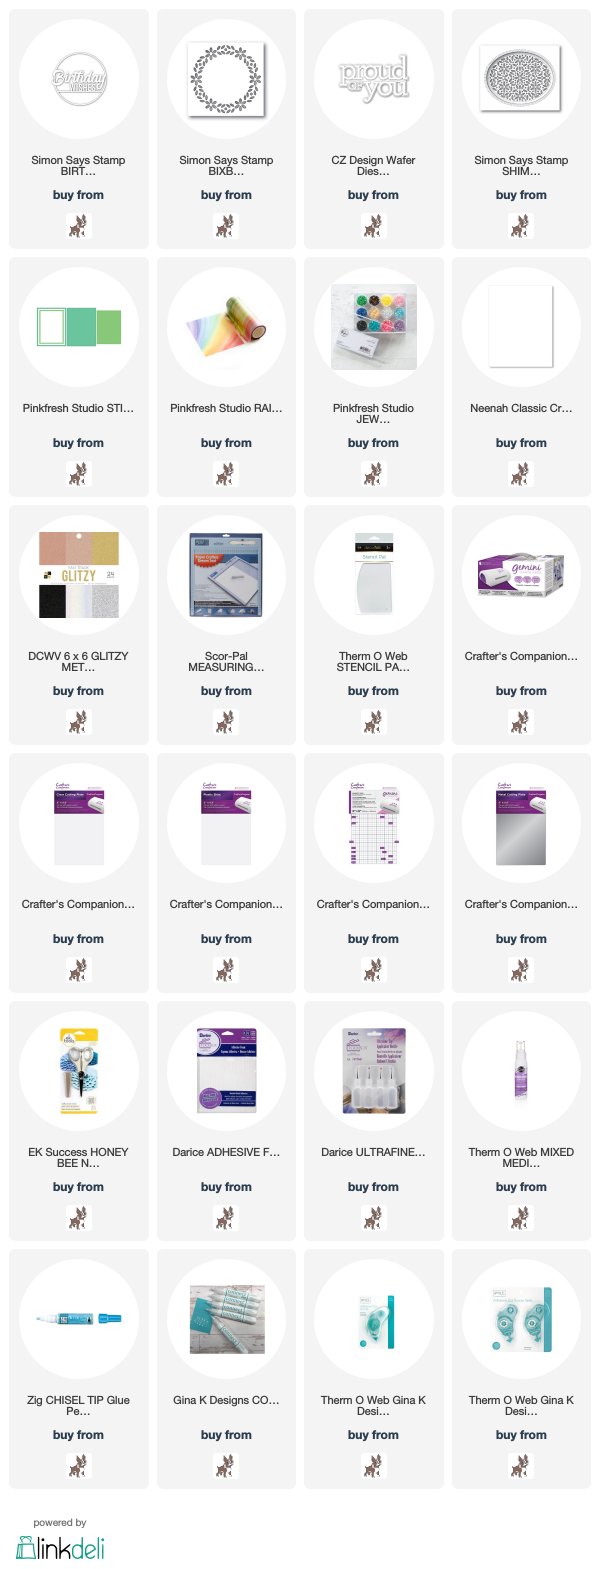
SUPPLY LIST
For your
shopping convenience, all products are linked below, including
affiliate linking when possible - this allows small compensation for me
at no cost to you. I only support legitimate retail
sites, that are true partners to stamp, die and scrapbooking
wholesalers. Today I will only be linking to Simon Says Stamp.


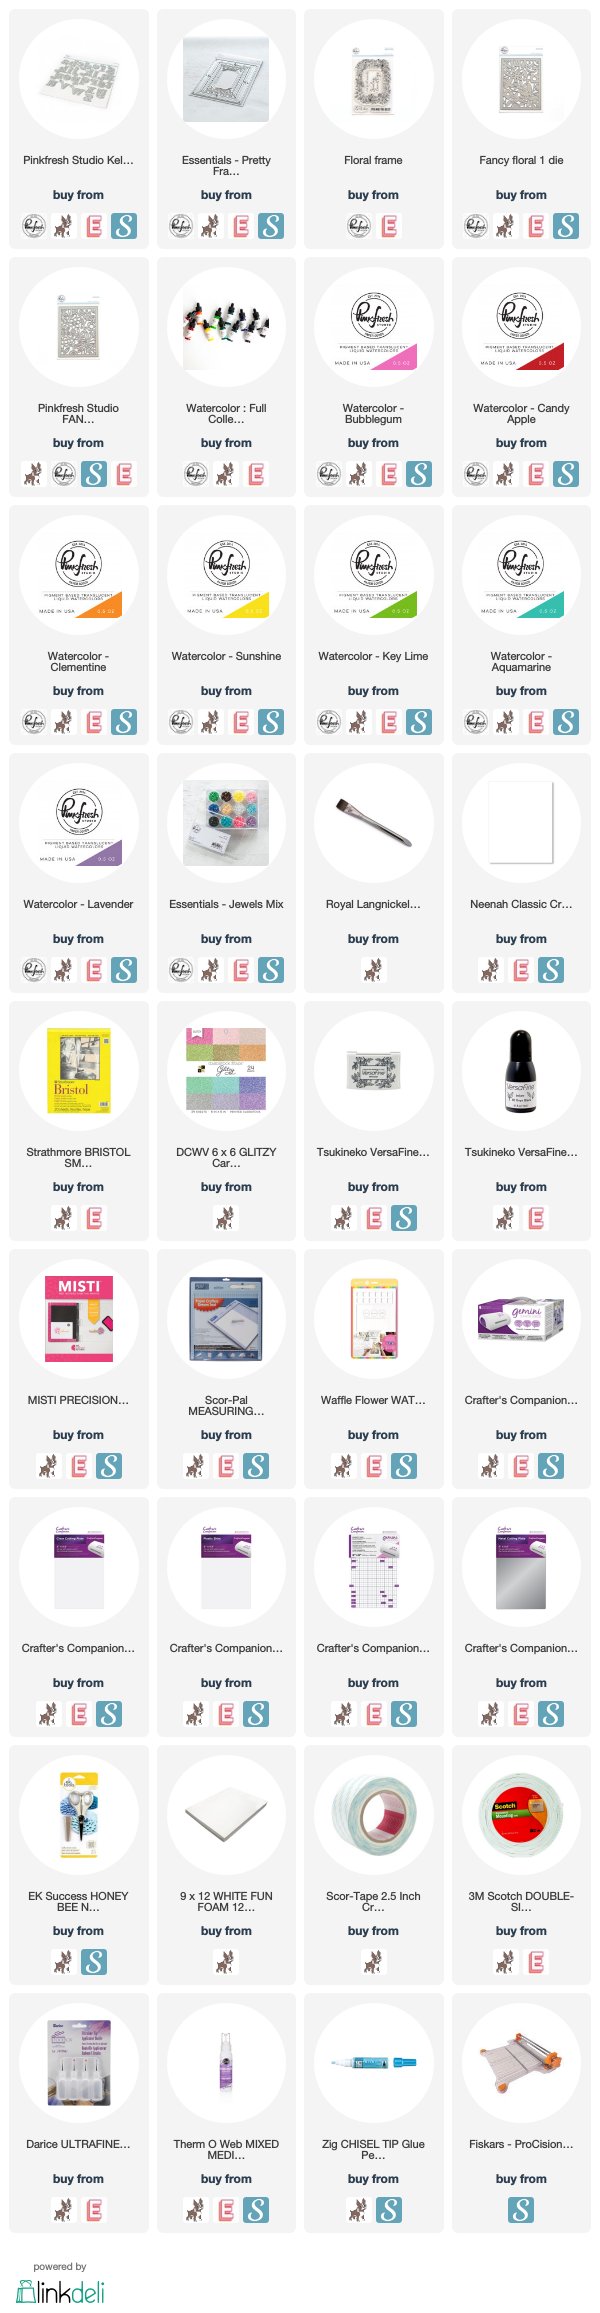
So, I've had these rainbow backgrounds in my bag of unfinished projects FOREVER. I've created them with another one of my very favorite Pinkfresh products, liquid watercolor. This watercolor is so super easy to use, and super forgiving if you make a mistake. I reach for it all of the time, and with the 25% off discount code this weekend...it's the lowest price these have ever been offered.

For the landscape card, I added just a couple of the frames from the Essentials: Pretty Frames 2 die set. This was perfect to frame the Kelly Alphas Lowercase letters.

The first part of the sentiment is from the Floral Frame stamp set. I masked off the rest of the sentiment that I didn't want, then just stamped it above the letters in onyx black Versafine.


For the portrait card, I layered the Fancy Florals 1 and Fancy Florals 2 background dies to the front. I love how well the gold pops off the bright rainbow background!

The sentiment on this card is also from the Floral Frame stamp set. And of course, both cards are accented with our Essentials: Jewels Mix!


That is everything I have for you today! If you have any questions about my card, feel free to leave them in the comments and I will be sure to reply.

Before you move along with your day, I wanted to invite you to follow me on social media. I would love to be crafty friends!
Have a great rest of your Sunday!
SUPPLY LIST
Subscribe to:
Posts (Atom)


Social Icons