Happy Labor Day, crafty friends! I hope you are having a restful day so far. I wanted to create a quick post to share this card set that I made earlier this summer. It has quite a story to go along with it, so here we go. Spellbinders asked me to create a video with this project kit in May. Then there were some production delays, so we put creating with it on hold. Then we got the go ahead again, and I created/filmed my projects. We ended up having a couple family things come up, and headed to Montana a week early. I photographed the cards before we left, and I had my laptop with me in order to upload the video footage and get it edited. Well, when I did that....a quarter of the videos were corrupt. Nothing I could do about it, because I didn't bring these products along with me to Montana. Got home & re-recorded the content that was corrupt. I edited and did the video voice over....by then, this kit was sold out. Sigh.
My friends at Spellbinders were so understanding, and let me know that they were actually planning on re-stocking this kit, and that they would share the video when the Happy Place project kit was officially back in stock. And friends...today is that day! Woot woot! Here is my video that is on the Spellbinders YouTube channel.
Happy Place project kit card set
SUPPLY LIST

You can see how these cards come together on the video, but here is a little overview of the different products used. For this first card I stamped & heat embossed the Kaleidoscope Art stamp set to water friendly paper in gold. I gave it a good water wash, then dropped Turbo Teal & Watermelon Fusion liquid color to it. I lightly spritzed with a spray bottle, then used a brush to move the colors around. I added shimmer to it with Sparkle Silk. I stamped the sentiment from Share Your Smile in Black Licorice, then trimmed into a banner. I adhered it over a knot of gold thread with foam tape. Then accented with Rainbow Drops & Splash Zone sequins to finish.
For this card I ink blended the Sunny Day stencil to white cardstock using the Turbo Teal and Watermelon Fusion inks. I stamped & gold heat embossed the attractions from the Enjoy the Ride stamp set, then fussy cut. I stamped the sentiment to white cardstock in matching inks, then diecut with the ticket shaped die from the Booklet Binding die set. I layered everything to a teal cardbase, then added Sparkle Cuts to the attractions. I finished by accenting with Rainbow Drops & Splash Zone sequins.
The final card is a shaker, using the Pool with a View die set. I started by creating the shaker first, and filling it with Splash Zone sequins, Confetti Sparkle Elements and Sparkle Dust Glitter. I also diecut the beach ball, adhered it to the card front and covered it in Journey Glaze to give it some shine. I stamped the sentiment from the Make a Splash stamp set, and trimmed it into a banner strip. I adhered it coming out from underneath the beach ball, then accented the card with Rainbow Gems to finish.
That is my card set today! You will notice that many of the products are available by themselves, but you do get a significant discount by purchasing the Happy Place project kit. So definitely keep that in mind. If you have any questions about my cards, leave them in the comments and I will be sure to reply.
Before you move along with your day, I wanted to invite you to follow me on social
media. I would love to be crafty friends!
Have a great rest of your day!
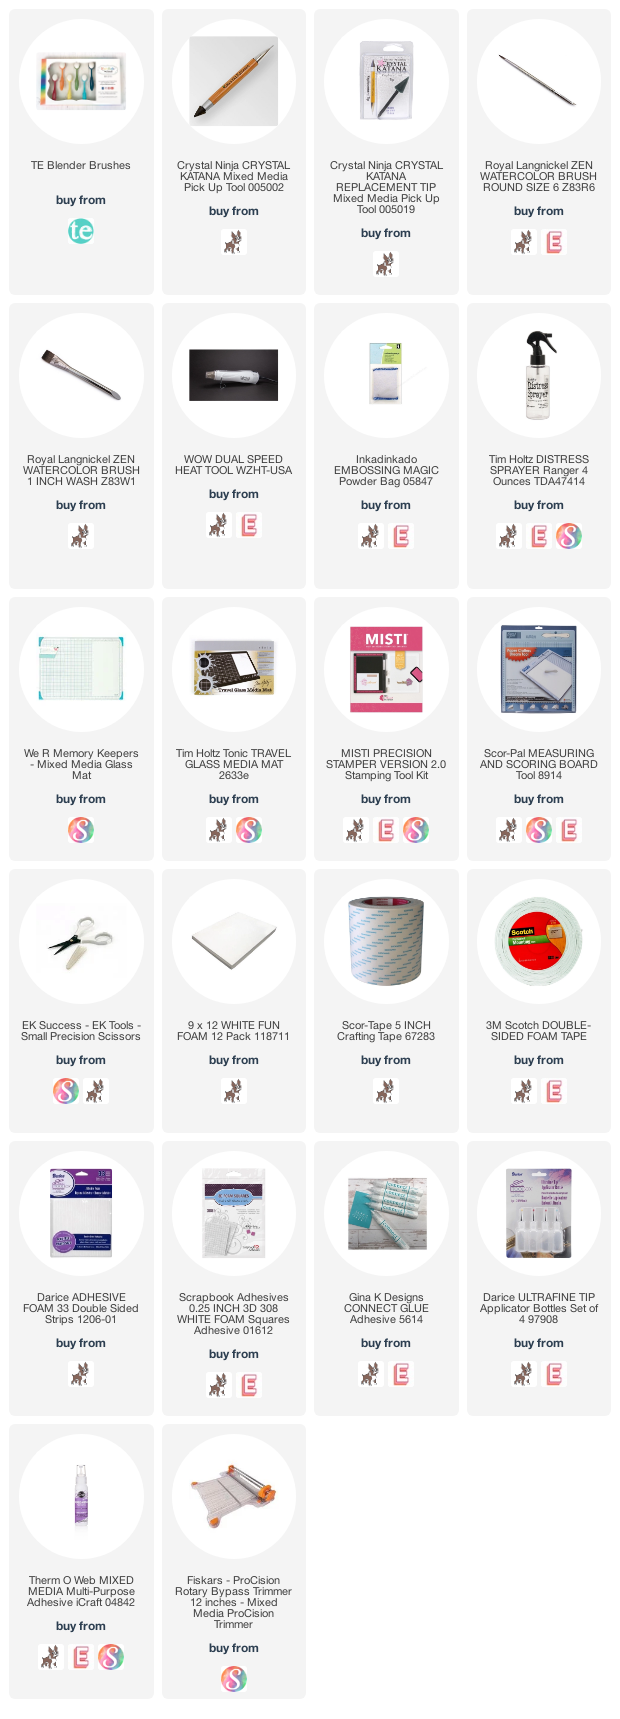
TOOLS & BASICS LIST


1 comment
Beautiful cards Lea!
ReplyDeleteComments warm my heart. Thank you! ♥