Today I have my 2nd guest post with My Favorite Things to share with you, and it is up on today's post at the MFT Stamps blog! Also, everything from MFT that I used will be linked below!
For today’s post I am focusing on the newly released Painted Flowers stamp set. I fell in LOVE with this set the moment it arrived in the mail, and couldn’t wait to use it! But here is something that maybe you can relate to — multi-step stamping doesn’t come naturally to me and I normally spend a good hour just marking the top of the stamp set, making notations about what goes together, where the top is, etc. Imagine my excitement when I saw that MFT GIVES you all of this info already right on the stamp set! I could just start stamping, and knew I was going to be successful at it!
My first step in creating these cards was stamping multiples of all the flowers & leaves. I chose dye ink colors that had matching shades, and used my MISTI stamping tool. This way, I could easily re-stamp an image if I didn’t feel like I got a good impression…which sometimes happens to me with dye inks. I wanted a really feminine feel to these cards, so I chose pink, aqua, and yellow inks for the flowers, plus green for the leaves.
Once I finished stamping, it was time to clear my desk and cut everything out. I die cut all the stamped flowers and leaves first and grouped them together. Then I die cut the other leaf shapes in the Painted Flowers Die-namics set from gold glitter paper. Lastly, I die cut the Stitched Tag-Corner Square two times from Smooth White Card Stock.
Once all the die cutting was complete, I stamped and heat embossed the sentiments in gold on the stitched squares. In my first guest post, I talked about how I love to combine newly released items with older items in order to freshen them up a bit. I did that with these cards as well, and used the Words of Inspiration stamp set that I have had in my stamping stash for awhile. It hasn’t gotten nearly enough love lately and it combined beautifully with the Painted Flowers stamp set!
Once the sentiments were finished, it was time to layer the cards together. I made two A2 card bases from Smooth White Card Stock. I cut ombre patterned papers slightly smaller, and adhered them to the card fronts with foam adhesive. Next I layered the corner square sentiment blocks to the front with foam adhesive as well.
The next step was to add the flowers & leaves to the front. I wish I could say there was a technical way to get this done, but ultimately…I push them around, move them, tuck them here & there and fuss with them until I feel like it looks right. Once I felt like they looked balanced and pretty, I adhered them permanently. I did this by carefully pulling out the bottom pieces first, adding adhesive and tucking them back in. I repeated this process until the top layer of flowers and leaves were adhered.
The final step to creating these cards is some accenting! I adhered some of my favorite gems to the centers of the flowers, adding a knot of gold thread to a few of the larger ones. Then I added some pink gems in the corners to give the card some movement. They were the perfect final touch!
If you haven’t picked up your Words of Inspiration stamp set in awhile, I highly encourage you to use it with the Painted Flowers set! The sentiments are beautiful and encouraging, and they pair perfectly with the beautiful multi-step flower stamps.
You guys have also often left me comments, wondering about what jewels I use. While lots of them in my stash are older & no longer available...I also use jewels from Michael's a lot as well. They are now linked below! I used the Iridescent Assortment 72 pack, and the Adhesive Back Iridescent 42 packs in champagne & pink on these cards.
Thank you for checking out my cards today, and I will see you again tomorrow with my 3rd post! Have a wonderful day!
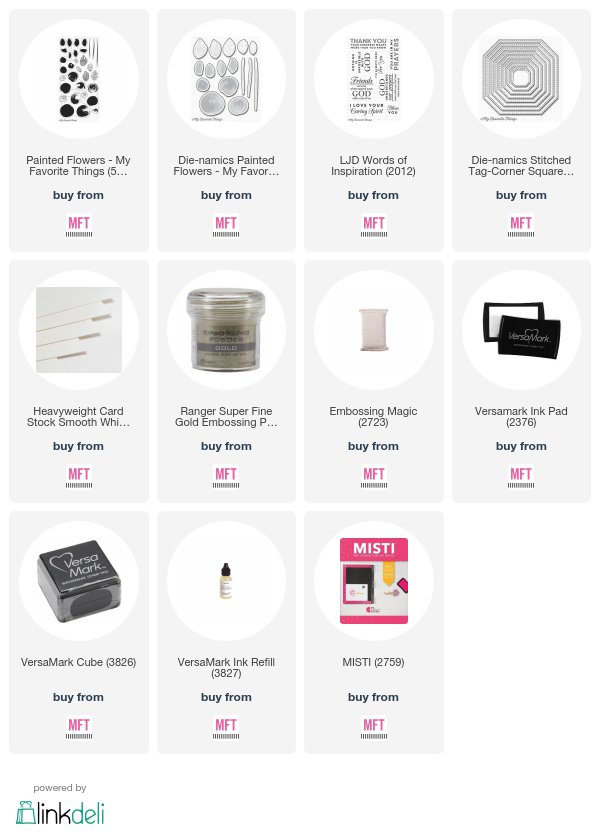
Supplies used:

Card Challenges:
Simon Says Monday challenge - something new
Simon Says Work It Wednesday - something new


6 comments
Happy New Year to you! Beautiful, soft colour palette on these cards that look rather dainty. If I made anything this lovely, I'd never part with it. I wish you good fortune for 2018 and beyond.
ReplyDeleteBeautiful card Lea, love the sentiment
ReplyDeleteOh, wow! Such gorgeous cards with the beautiful flowers and the perfect sentiments!! Love the touches of gold and pretty gems!!
ReplyDeleteGorgeous!!!!!
ReplyDeleteVery pretty cards. Lovely pastel and ombre backgrounds. I love the golden embossing elements too. Thank you for joining Simon Says Stamp Monday Challenge and have a Happy Year!
ReplyDeletestunning cards! thank you for letting us know your process. :) I work in a very similar way of moving things around until I like their composition. TFS!
ReplyDeleteComments warm my heart. Thank you! ♥