

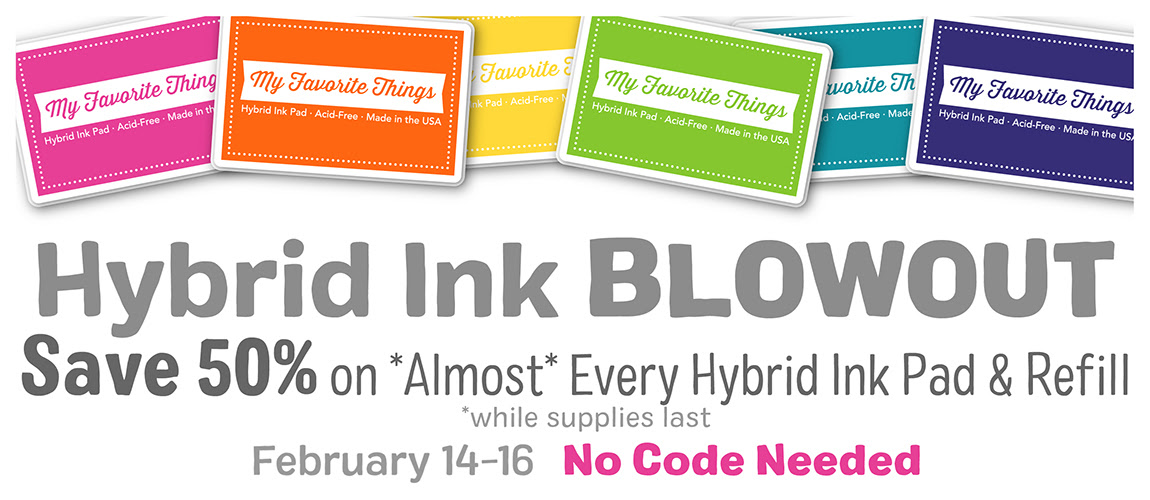
Hey there again, friends! This is my second post of the day, as I have a guest post up on the MFT Stamps blog today! Before I get to that, I also wanted to mention that they are having a HUGE sale on their Hybrid Inks from February 14-16 - no code needed!


I started by blending the background using
Shaded Lilac, Tattered Rose, and Worn Lipstick Distress Oxide inks. I
die cut the Happy Birthday Blend from the middle of the panel, then
splattered with watered down white acrylic paint before setting aside to
dry.
As the background dried, I worked on the
elements from Party Penguins. I found that it was best to die cut the
penguins first, and then do the stamping. If you keep the card stock
block that you cut them from, you can just place a little bit of washi
tape on the back, and then place the die-cut pieces back into it in your
stamping platform. This makes lining up your stamps so much easier!


You could also do the above process with
the party hats as they are two-step stamped pieces as well, but I found
that it wasn’t really necessary. I stamped the balloons and hats in
light pink and purple inks with clear blocks then cut them out with
their coordinating dies as usual.
At this point the background was dry, so I
placed it on top of an unfolded A2 white card base in my stamping
platform, and held it in place with washi tape and magnets. I proceeded
to stamp the Happy Birthday Blend sentiment in light pink & light
purple inks. I love how they blend together in places – such a fun
element that MFT Stamps added to this set!


Next, I stamped the second part of the sentiment directly onto the blended background, along with the balloon strings. After doing all of that work, I ended up accidentally smudging the sentiment and couldn’t fix it. I’m not one to waste time, so I stamped the secondary sentiment again on white card stock and cut it into a thin banner. Then I adhered it over top of the smudged sentiment with a thin foam strip, and I think I actually like it this way more — you’ve got to love happy accidents!
Finally, I adhered the penguins, party
hats, and balloons to the front, popping parts of them up with foam
dots. Lastly, I accented here and there with some iridescent jewels.


I hope you liked my sweet birthday card today and I hope that I helped give some tips on how to overcome mistakes, as they do happen sometimes and that is okay!
That is all I have for you today! Before I close, I wanted to mention that there are recent updates on my CRAFTY SALES page, so head over there to check them out. I also wanted to invite you to follow me on social media. I would love to be crafty friends!
Have a great start to your week, and happy hopping!
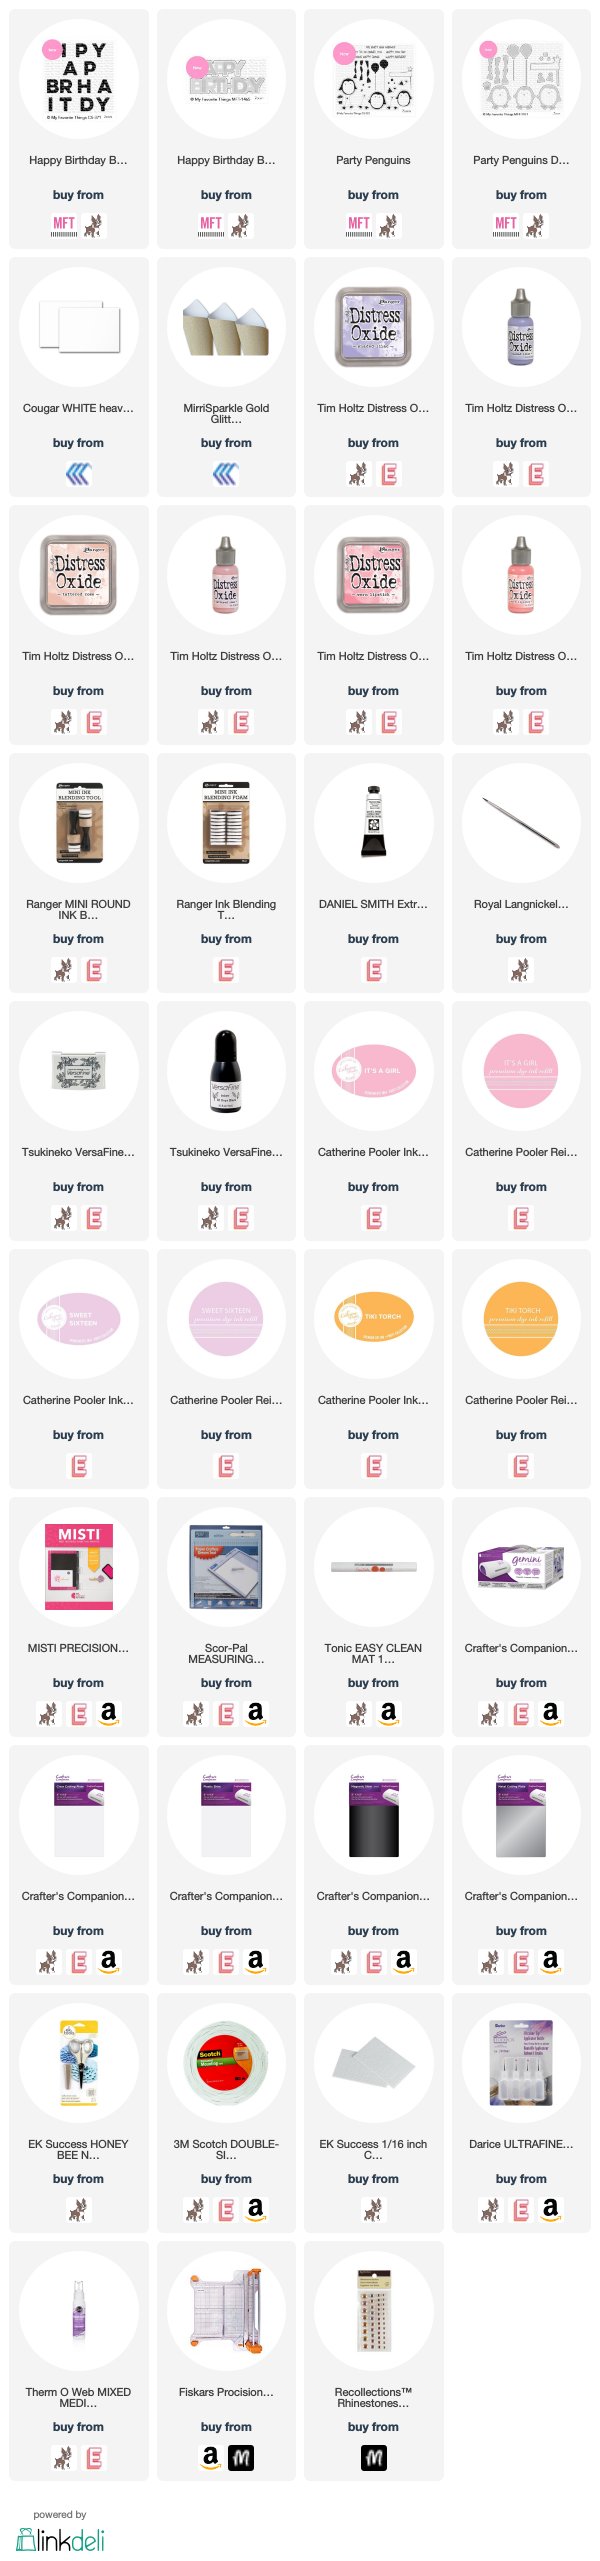
SUPPLY LIST
For your shopping convenience, all products are linked below. {Includes affiliate linking where possible - this allows small compensation for me at no cost to you. Never fear - I will only ever link to products that I truly love & use!}
For your shopping convenience, all products are linked below. {Includes affiliate linking where possible - this allows small compensation for me at no cost to you. Never fear - I will only ever link to products that I truly love & use!}


Post a Comment
Comments warm my heart. Thank you! ♥