

Happy Sunday, friends! I hope you had a great weekend! We photographed a really lovely wedding yesterday, and today we are just in major relaxation mode. I wanted to drop in today and share some cards, one of which I did for the Pinkfresh Studio August challenge.
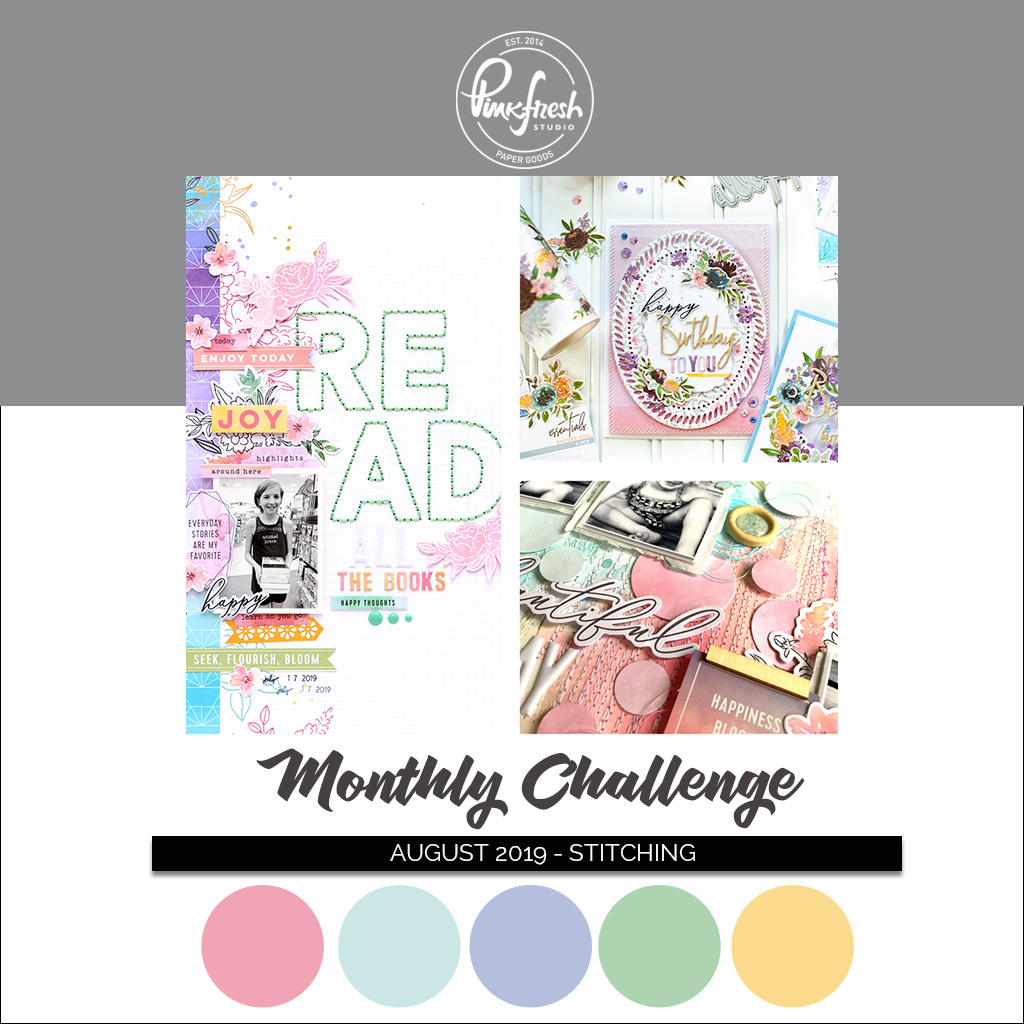
This month's challenge theme is stitching, and the colors are from our brand new Just A Little Lovely collection. I've created this card using the Just A Little Lovely 6x6 paper pad, Embellishment bundle, and some Essentials dies. I started by diecutting the pink ombre backround with the Diagonal Stitched Rectangles set - this is how I interpreted the stitching theme, showing that you don't have to actually stitch on your project for the challenge. You can use an item that simulates stitching - our Stitched Rectangles & Inverted Stitched Circles would work as well!
Next I diecut the watercolor floral paper with the largest Braided Oval die. I mounted both diecut items to the front of a white A2 card base using foam adhesive. Then I diecut the watercolor drop label using the Fancy Label Frames dies. I mounted that to the front of the card with foam tape. Finally I used Classic Words to diecut the word birthday (3) times: once from gold glitter paper, and twice from heavyweight white cardstock. I stacked them together using a Zig glue pen, then arranged the sentiment to the label frame with added puffy stickers from the Just A Little Lovely embellishment bundle.
Finally, I added some floral clusters to the opposite corners of the sentiment label. These were cut from the Painted Florals washi tape, using the coordinating Floral Elements diecut set. Then I accented with trios of Essentials: Jewels to finish the card.


This card is not for the challenge, but I had it completed and it perfectly matches this card...so I decided to share it as a set! For this card I diecut just ONE sheet of paper from the Just A Little Lovely 6x6 paper pad using the Lacey Edgers 1 set. I layered them to the front of cardstock panel cut slightly smaller than A2 size. I only adhered the tops so that I could curve the lacey parts for some dimension.
I used the Classic Words die set to diecut the word Hello three times, done just the same as the card above. I also used the Partial Cut Bouquet and a Bow set to create the gold glitter bow. I assembled & layered these items, then adhered to the card front as shown, adding a thin strip of gold glitter paper to the top of the lacey edges.
Finally, I added some floral clusters from the Painted Florals washi tape, and finished the sentiment with a phrase sticker from the Just A Little Lovely embellishment bundle. This is one of my latest favorite cards - I just love everything about it!


I have already shared the shaker card in THIS BLOG POST. When I photographed the other two cards, I did it for a marketing piece for Pinkfresh, and I thought it looked better with the third card. So - I'm just sharing this one photo here, but you can see a couple other images on that blog post linked above if you'd like. :)

That is all that I have for you today! I hope you will join us for our August challenge, and enter for your chance to win one of the $50 gift card code prizes. There is one cardmaking winner, and one memory keeping winner.
I wanted to invite you to follow me on social media before you move on with your day. I would love to be crafty friends online! I've been adding a lot more to my IG Stories lately, and have plans to keep that up. I hope you will join me!
Have a wonderful rest of your Sunday!
SUPPLY LIST
For your shopping convenience, all products are linked below, including affiliate linking when possible - this allows small compensation for me at no cost to you. I typically link to 2-3 sites, in hopes that your preferred retailer will be among them. I only support legitimate retail sites, that are true partners to stamp, die and scrapbooking wholesalers.
For your shopping convenience, all products are linked below, including affiliate linking when possible - this allows small compensation for me at no cost to you. I typically link to 2-3 sites, in hopes that your preferred retailer will be among them. I only support legitimate retail sites, that are true partners to stamp, die and scrapbooking wholesalers.


3 comments
What a beautiful set of cards!! Lovely work!!
ReplyDeleteThese are so gorgeous, Lea!
ReplyDeleteYour cards are just stunning Lea!
ReplyDeleteComments warm my heart. Thank you! ♥