

Hi crafty friends! Did you guys know that we have a bi-weekly sketch challenge in the Pinkfresh Studio Facebook Friends Group? Every other Wednesday I post both a card sketch and scrapbooking sketch. You've got two weeks to create a new project for it, and add it into the correct Facebook album. We randomly pick a winner to receive a $25 gift card code to our shop, so it is definitely worth playing along!
It just so happens that this week's card sketch #14 is inspired by a card that I did for our April Release! Here is a look at the sketch graphic:

So, I've actually created the exact card again, just in brighter summery colors! I demo'd this card a couple of times on Hochanda in the UK via Skype in either May or June, but I never shared it here. So, it seemed like the perfect time to share it now!

Do you ever "lift" your own work? I actually do it quite often, and I have some simple designs that I go to quite often. Here is a list of the main products that I've used on this card, plus you can find my list of tools, etc., at the end of this post. Thank you so much for clicking on my links and shopping from them, as they provide me with a small amount of compensation at no cost to you. I genuinely appreciate your support!
SUPPLY LIST
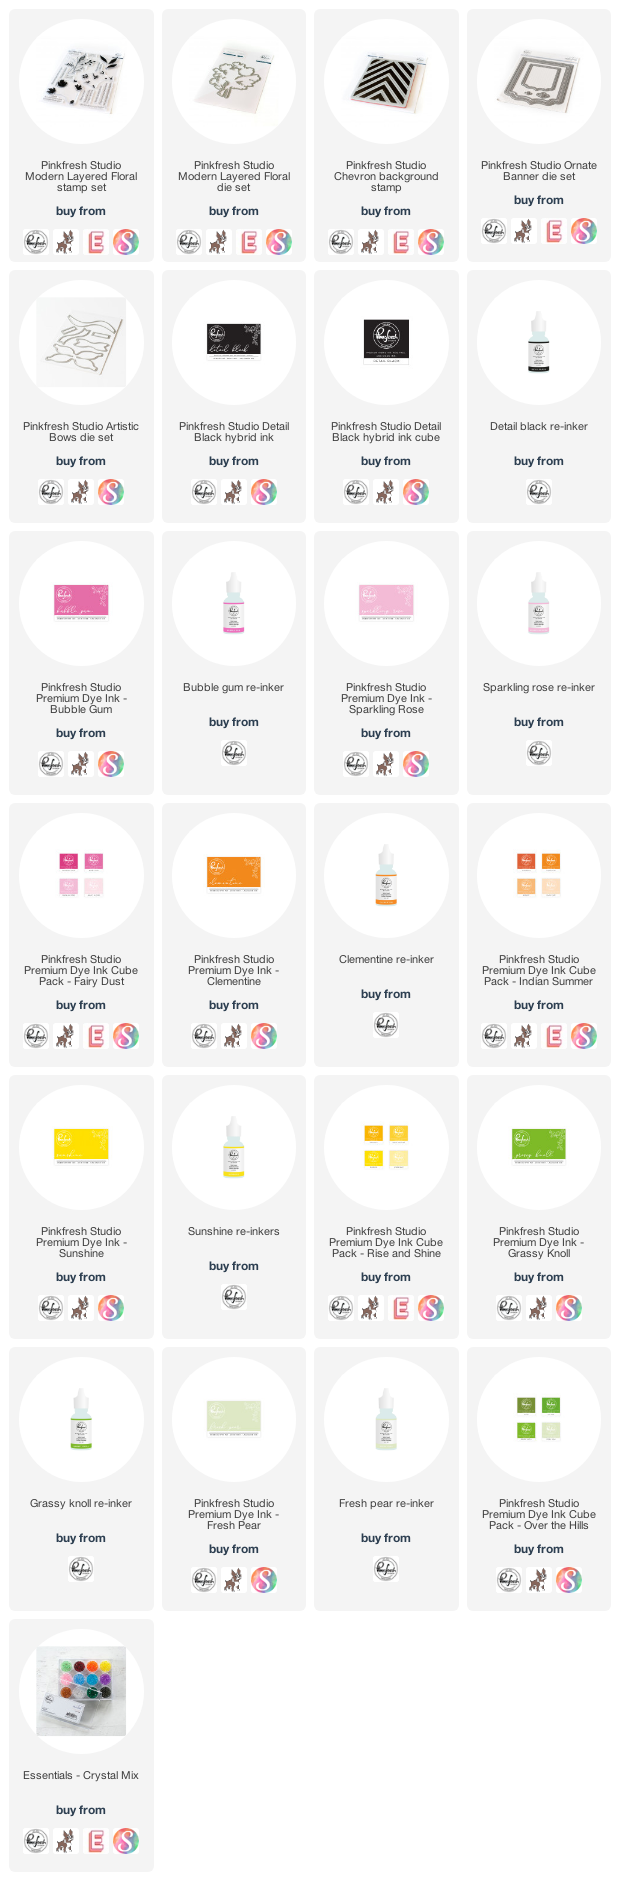
To start this card, I stamped the Pop Out Chevron Background in bright, summery colors. This is made easy with our Pop Out background stamps, as each layer is cut apart & separate from the other. Then I diecut the background using the Ornate Banner die set, and also cut a matching frame from dark pink cardstock.


Next I stamped the bouquet from the Modern Layered Florals stamp set. I highly suggest you cut the Modern Layered Floral diecut first from your paper choice, then use the negative piece as a jig in your MISTI or stamping platform. This makes lining up the different layers much easier and you are sure to get a perfect result every time. Next I diecut the Artistic Bow from gold glitter paper and assembled using glue dots. I find those much easier than liquid glue, and you can always reinforce it with liquid glue after putting it together.


I layered all the pieces to the front on a white A2 card base, then accented with our Crystals Mix to finish. If you have any questions about them, leave them in the comments and I will be sure to reply.

I hope you will join our Facebook Friends Group, and play along with our Card Sketch #14! I can't wait to see what you create! Before you move along with your day, I wanted to invite you to follow me on social media. I would love to be crafty friends!
Have a great rest of your day!
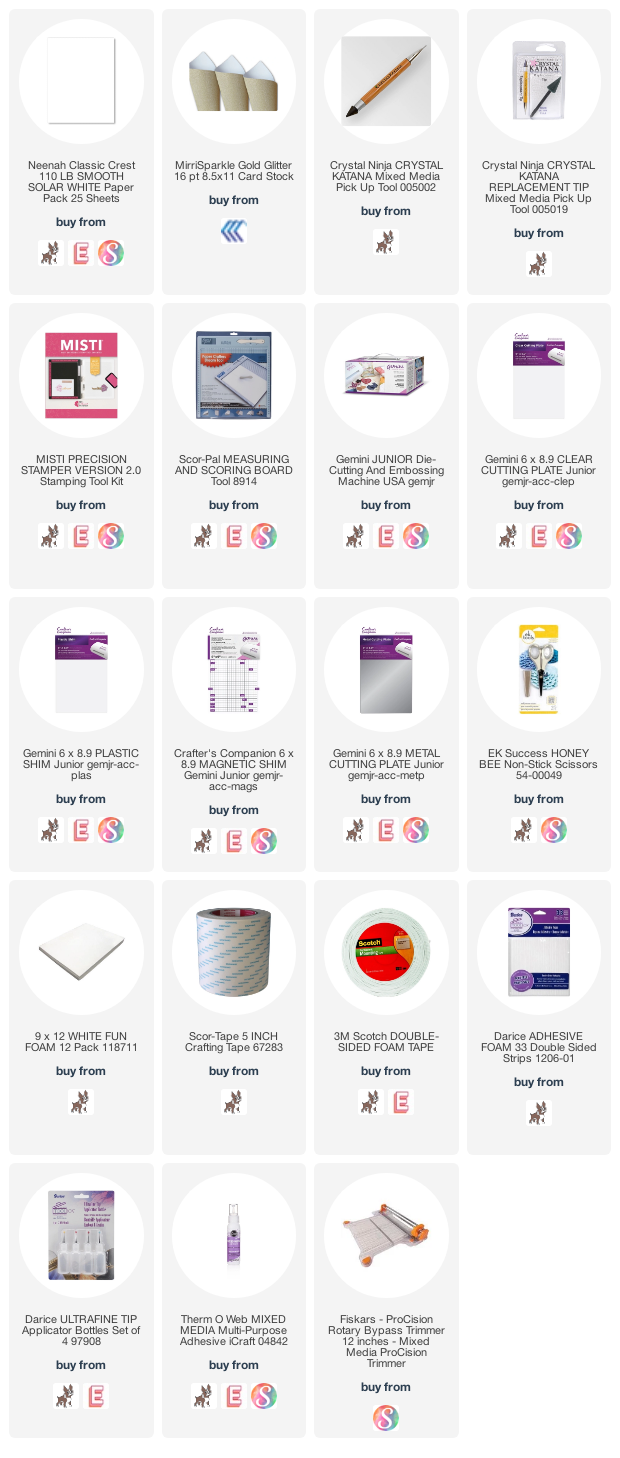
TOOLS & BASICS LIST


2 comments
I was just thinking the other day that these companies coming out with ink pads and matching card stocks are great but I love my Pinkfresh Studio inks so I don’t need to buy from another company. I just wish that Pinkfresh would come out with matching cardstocks? Your card is beautiful and the cardstock you used does match very well. I would just love more Pinkfresh products like cardstocks and envelopes that match the inks.
ReplyDeleteThis is so pretty Lea
ReplyDeleteComments warm my heart. Thank you! ♥