

Happy Monday, crafty friends! I hope you had a great weekend, and are having a great start to your week so far. It's starting to already feel like fall here in MN, and I am HERE for it. I am not a summer girl, and am so happy for cooler temps, all the pumpkins and fall candles.
Today I have a tips & tricks video up on the Pinkfresh Studio YouTube channel, and this time around I have an easy tip for getting perfect slimline diecutting every single time! Watch the video below, and watch it HERE.
"Happy Birthday" slimline card

This card features one of our Slim Cuts die sets, along with our newest alpha stamp sets! The great thing about these alpha sets is that the fonts are exactly the same - the sets named after me just have added swashes to make them a little fancier. Thus, they can all be used interchangeably. Here is a list of the main products that I've used on this card, plus you can find my list of tools, etc., at the end of this post. Thank you so much for clicking on my links and shopping from them, as they provide me with a small amount of compensation at no cost to you. I genuinely appreciate your support!
SUPPLY LIST
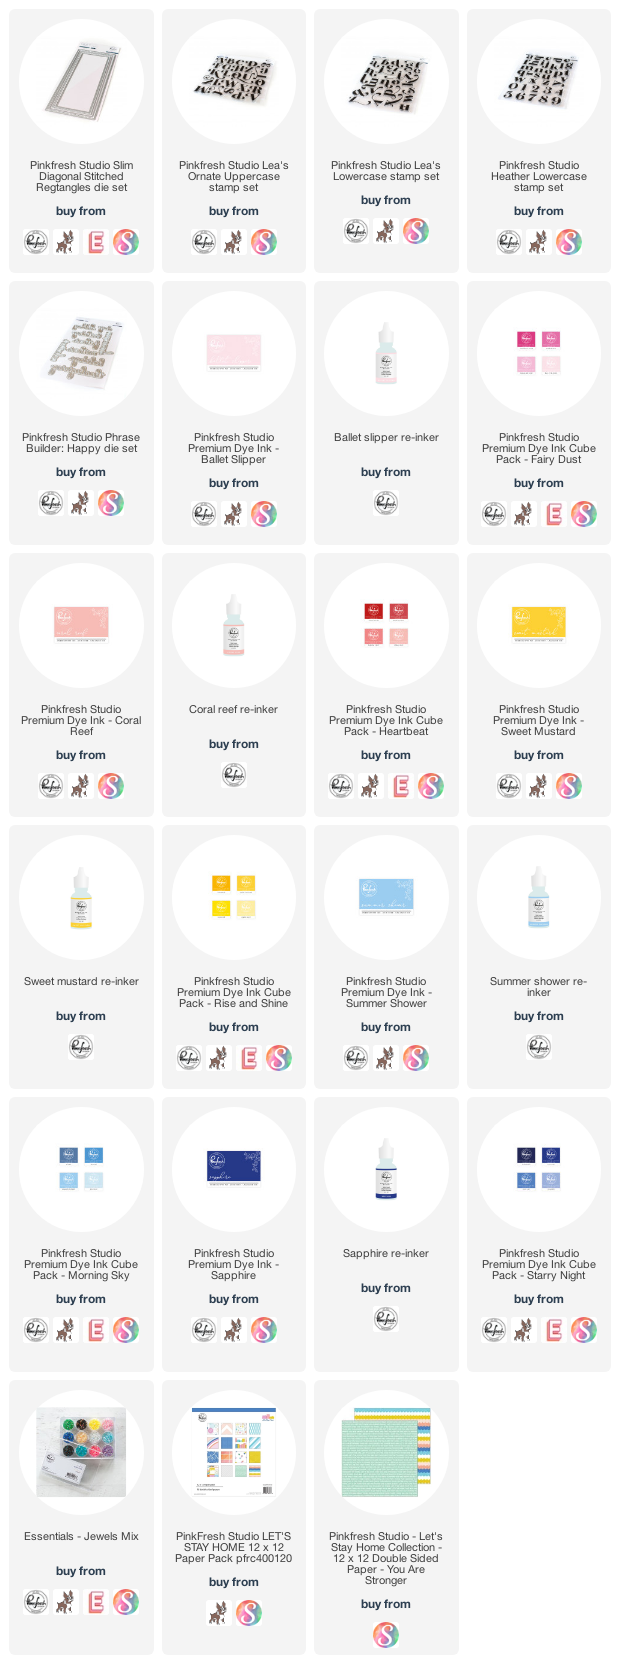
I started by diecutting the "You Are Stronger" scalloped Let's Stay Home 12x12 paper, and white cardstock using the Slim Stitched Rectangles die set. Next I stamped the word Happy to the white layer using all the ink colors listed above. I used a combination of Lea's Ornate Uppercase, Lea's Ornate Lowercase and Heather Lowercase on the stamped word.


Next I diecut the word birthday from our Phrase Builder: Happy die set. I diecut the scripted word once from gold foil paper and twice from white cardstock, then stacked and layered them together with a glue pen. I diecut the shadow layer from vellum, then glued those layers together with connect glue. I mounted the diecut word to the card front with thin foam strips, slightly overlapping the stamped sentiment. I mounted both diecut layers to a cashmere colored 4x9 card base with foam tape. To finish, I accented with trios of our Jewels Mix in dark blue, dark pink & yellow.


I hope you like my slimline card today, and I hope my easy tips in the video make slimline diecutting successful every time for you! If you have any questions about them, leave them in the comments and I will be sure to reply.

Before you move along with your day, I wanted to invite you to follow me on social media. I would love to be crafty friends!
Have a great rest of your day!
TOOLS & BASICS LIST


3 comments
Checking out the video! Pretty card!
ReplyDeleteGorgeous card Lea ... great colours!
ReplyDeletePerfect name for a beautiful font, congrats Lea! Wonderful die cutting tips and lovely card.
ReplyDeleteComments warm my heart. Thank you! ♥