
Showing posts with label Studio Calico. Show all posts
Showing posts with label Studio Calico. Show all posts


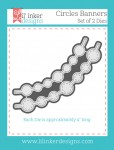
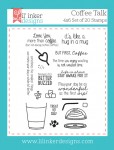
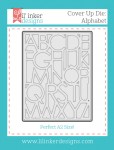
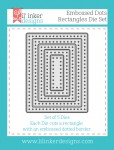
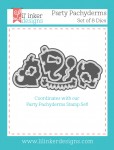
It's that time again...new stamps & dies from Lil' Inker Designs!! There are some amazing things in store for you over the next few days, so I hope you are looking forward to some inspiration.
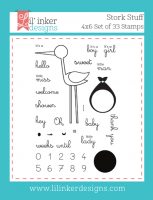
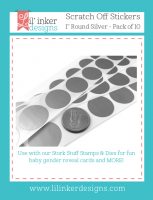
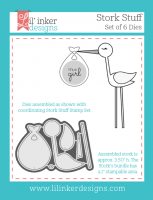
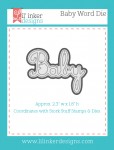
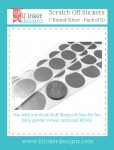
Today I am focusing on some of the new BABY items that are releasing this month!! Oh how I love baby items right now...something about being almost 20 weeks pregnant & just in total baby mode! I've created a sweet little reveal card...although I think you would know what it was BEFORE scratching off the reveal sticker. Lol...I wasn't too sneaky with the colors!
DISCLAIMER: This is NOT a reveal of what my little one is. Lol! As of right now, he/she is baby Lawson, and could be either a boy or a girl. You can speculate as much as you'd like, but mum is the word over here until we do our gender reveal photo shoot! :)


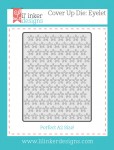
I chose a really soft cashmere pink for this card, and just love the little bit of color that peeks in behind the eyelet coverplate. And aren't the scratch away stickers such a COOL idea?! You are going to LOVE using them, and they work perfectly with this sweet little baby set.
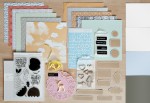
LID Supplies used on this card:


Be sure to check out what the rest of the designers have created for today!
LID Blog http://www.shoplilinker.blogspot.com/
Jennifer Carter http://jensinkspot.blogspot.com/
Sarah Jay http://www.criminalgrace.com/
Lisa Henke http://mylittlecreativeescape.blogspot.com/
Amy Tsuruta (Guest) http://tsurutadesigns.blogspot.com/
Laura Williams http://lauralooloo.blogspot.com/
Amy Kolling http://stamp-n-paradise.blogspot.com/
Heather Hoffman http://housesbuiltofcards.blogspot.com
Chrissy Larson http://chrissycards.blogspot.com/
Karen Baker http://thebalddragonfly.blogspot.com/
Maureen Merritt http://www.mamamostamps.com/
Lea Lawson http://www.lealawsoncreates.com/
Link to Store http://lilinkerdesigns.com/#_a_llawson
I hope that you have a wonderful Monday!
Until later,
~L.
If you would like to purchase any of the newly released items this month, feel free to click on the links below. I have included everything that is new for your convenience!


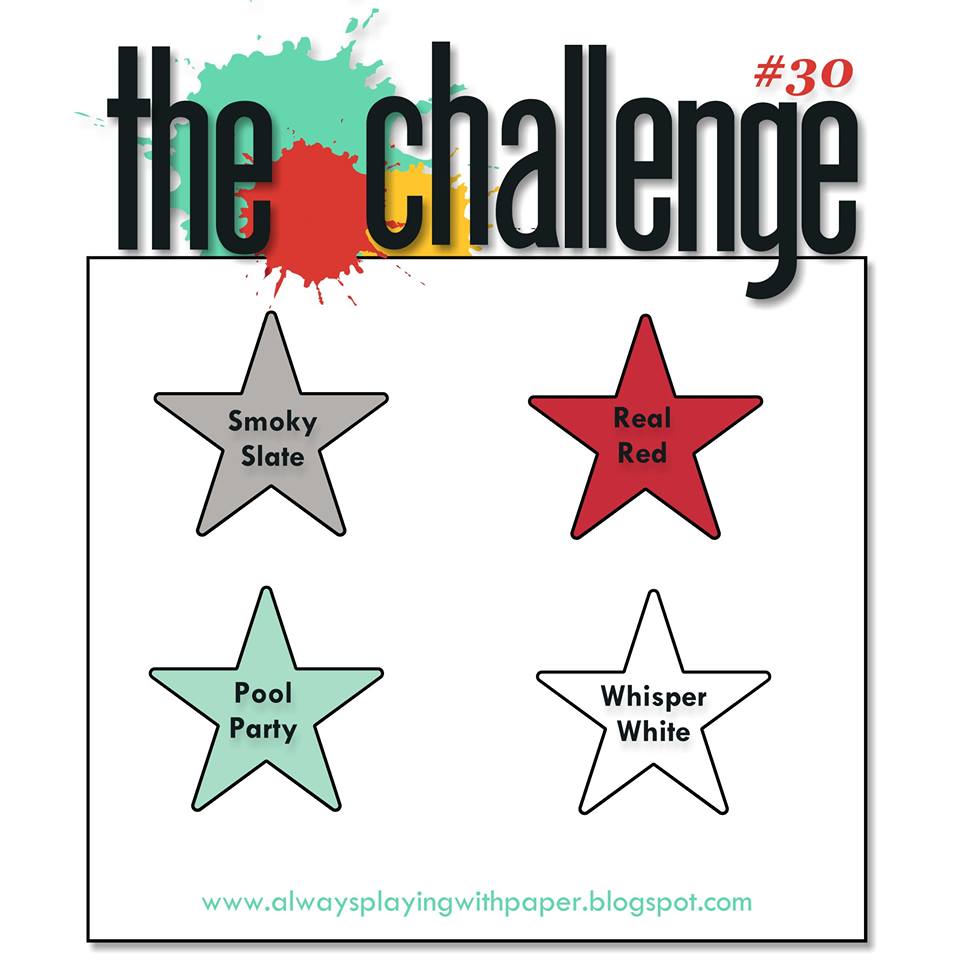
Hi there, blog friends! I am guest creating at The Challenge blog this month, and today starts the 2nd challenge in April!
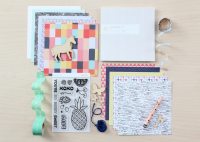
I used a combination of papers & goodies from Studio Calico to create my card using these fantastic colors!! Here is how it turned out:


 Instructions:
Challenges:
Thanks for checking out my card for this week! I hope you will join in on the fun and create with this super fun sketch! Have a happy Monday!
Until later,
~L.
Supplies:
I used a combination of papers & goodies from Studio Calico to create my card using these fantastic colors!! Here is how it turned out:
- Make 5" card from grey cardstock.
- Cut background paper slightly smaller & adhere.
- Cut 4 2" squares from patterned paper & adhere the top two to the front.
- Diecut the word "awesome" from white cardstock, & adhere to the middle.
- Punch a circle from the middle of the square of star paper.
- Adhere the bottom 2 squares to the front, popping the star square with foam dots.
- Stamp the rest of the sentiment above the word "awesome".
- Accent the card with stars, enamel dots & a piece of flair to finish.
Challenges:
Thanks for checking out my card for this week! I hope you will join in on the fun and create with this super fun sketch! Have a happy Monday!
Until later,
~L.
Supplies:
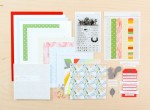


Hi blog friends! Sorry my little blog has been so quiet...I just have some things going on right now. But today it is time for another new challenge at The Card Concept!!
For my card, I used the Get Well sentiment and muted tones of all the amazing colors in the crocheted stars! I've used an eclectic mix of patterned papers, and gave it a bit of a spring feel with the wood veneer & paper flowers. Check it out!


 Creation Instructions:
Card Challenges:
Supplies:
Cardstock: My Favorite Things (smooth white)
Paper: Studio Calico (Brighton Pier & Wanderlust 6x6 pads)
Stamps: Studio Calico
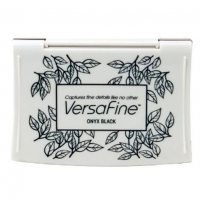
Ink: Tsukineko (Versafine - onyx black)
Flowers: Prima Marketing
Wood Veneer: Freckled Fawn
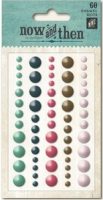
Enamel Dots: My Mind's Eye
Dies: My Favorite Things (Blueprints 18) & Lil' Inker Designs (Long & Skinny Rectangles)
That is all that I have for you today! If you want to see sneak peeks of future projects & keep up with me on Facebook, please head on over & like the Lea Lawson Creates page!! And don't forget to become a follower in the right sidebar so you never miss a post. Have an awesome rest of your day!!
Until later,
~L.
- Make an A2 card from white cardstock.
- Cut two blocks of patterned paper slightly smaller, and adhere to the front.
- Diecut the stitched rectangle from yellow paper.
- Adhere to the front at an angle, then trim off the excess from each edge.
- Layer green & pink paper blocks to the top.
- Diecut the circle from numbered paper, and adhere it to the top with foam dots.
- Diecut the banner from white cardstock & stamp the sentiment to it.
- Adhere it sentiment banner to the top of the circle with foam dots.
- accent around the banner with paper flowers & wood veneer accents.
- Embellish with enamel dots to finish.
Card Challenges:
Supplies:
Cardstock: My Favorite Things (smooth white)
Paper: Studio Calico (Brighton Pier & Wanderlust 6x6 pads)
Stamps: Studio Calico
Ink: Tsukineko (Versafine - onyx black)
Flowers: Prima Marketing
Wood Veneer: Freckled Fawn
Enamel Dots: My Mind's Eye
Dies: My Favorite Things (Blueprints 18) & Lil' Inker Designs (Long & Skinny Rectangles)
I really hope that you will join us in using this beautiful inspiration
photo, & defining what your style of card making is!! Here is a
reminder of the rules:
- Use the Challenge to create a card.
- Choose one of the design team "styles" to create your card. Click HERE for the different styles summary.
- Explain in your post which style you used.
- Link up your blog post here, not your whole blog.
- Comment on the card ahead of you and behind you in the linky. Everyone loves comments!
That is all that I have for you today! If you want to see sneak peeks of future projects & keep up with me on Facebook, please head on over & like the Lea Lawson Creates page!! And don't forget to become a follower in the right sidebar so you never miss a post. Have an awesome rest of your day!!
Until later,
~L.

It's been a fun month at Winnie & Walter, celebrating their first birthday! There have been big giveaways & lots of challenges...and now it is time to release some new product!! Today we are introducing three items that will be available to purchase in the Winnie & Walter store on the evening of January 30th.
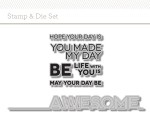
The Big, The Bold and Party stamp set:
The Big, The Bold and Party cutaways:
The Big, The Bold and You cutaways:
For my card, I've used the brand new stamp set with the previously released The Big, The Bold and Happy cutaways. This is how it turned out!


 I just love how this card turned out....that colorful, blocked paper was just screaming to be used with the stamps & dies!
Creation Instructions:

Be sure to head on over to today's Winnie & Walter blog post to see what all of the other designers created, and to enter for a chance to win these great products!!
If you want to see sneak peeks of future projects & keep up with me on Facebook, please head on over & like the Lea Lawson Creates page!! And don't forget to become a follower in the right sidebar so you never miss a post. Have an awesome rest of your day!!
Until later,
~L.
The Big, The Bold and Party stamp set:
- 6x8 stamp set
- Retails for $22.00
- Includes fifty-four (54) stamps--five (5) big words + forty-nine (49) small words
The Big, The Bold and Party cutaways:
- Wafer Thin Steel Die
- Retails for $25.00
- Includes five (5) dies
The Big, The Bold and You cutaways:
- Wafer Thin Steel Dies
- Retails for $14.00
- Includes three (3) dies
For my card, I've used the brand new stamp set with the previously released The Big, The Bold and Happy cutaways. This is how it turned out!
Creation Instructions:
- Make A2 card from white cardstock.
- Cut patterned paper slightly smaller, then spatter black watercolor paint on it.
- Once dry, stamp the word "birthday" to the front.
- Diecut the word happy directly above it.
- Add a strip of gold glitter paper to the area where the word "happy" will be.
- Layer the stamped paper block to the card front using foam tape adhesive.
- Adhere a wood veneer party hat to the top of a gold thread knot.
- Accent with enamel dots to finish.


Be sure to head on over to today's Winnie & Walter blog post to see what all of the other designers created, and to enter for a chance to win these great products!!
If you want to see sneak peeks of future projects & keep up with me on Facebook, please head on over & like the Lea Lawson Creates page!! And don't forget to become a follower in the right sidebar so you never miss a post. Have an awesome rest of your day!!
Until later,
~L.
Subscribe to:
Comments (Atom)


Social Icons