
Showing posts with label coloring. Show all posts
Showing posts with label coloring. Show all posts
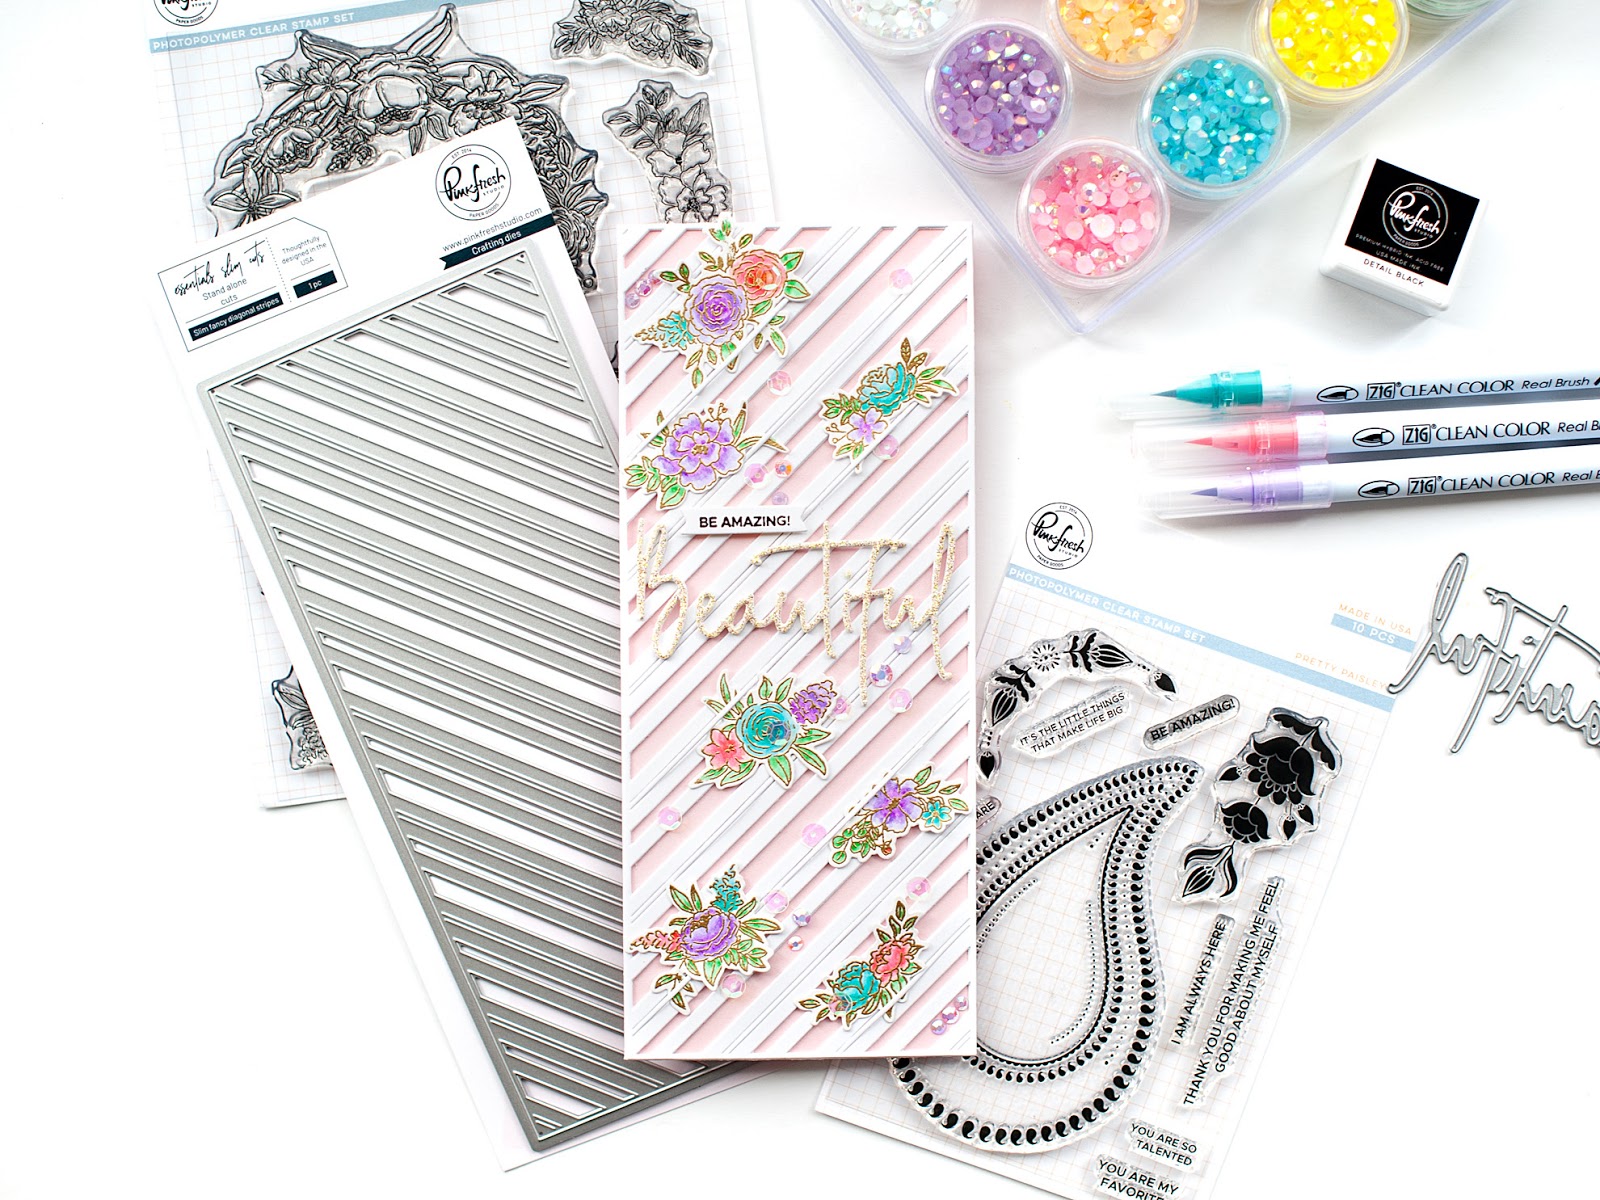
Today I've made a slimline card using one of the dies that I didn't have a chance to play with during our March Slim Cuts release at Pinkfresh Studio. I was also inspired by my friend Channin, who created a card with the A2 version of this die and tucked beautiful flowers in the stripes. Hers is WAY better, but I am happy with how mine turned out. Lol!
"Be Amazing! Beautiful" card features:
- Pinkfresh Studio Essentials: Slim Fancy Diagonal Stripes die
- Pinkfresh Studio Floral Elements stamps set
- Pinkfresh Studio Floral Elements coordinating dies
- Pinkfresh Studio Beautiful word die
- Pinkfresh Studio Pretty Paisley stamp set
- Pinkfresh Studio Detail Black hybrid ink

I started by creating a slimline card from pink cardstock. Then I diecut the Slim Fancy Diagonal Stripes background from white cardstock twice. I used spray adhesive to point the first one to the card front, then set aside. The florals were stamped & heat embossed in Gilded, then colored in with Zig Clean Color Real Brush markers. Once colored, I diecut them with the coordinating die set. I diecut the word beautiful 3 times: once from champagne glitter cardstock and twice from white cardstock. I stacked & adhered the layers, then adhered to the middle of the second striped background. Finally, I stamped the smaller part of the sentiment to white cardstock in detail black ink, and trimmed into a thin banner. I mounted it above the word die with foam tape.
Next I arranged the floral pieces to the front, tucking parts of them under the thinnest strips in the die. When I was happy with their placement, I glued them down in place, then adhered this second striped panel to the front with spray adhesive as well. Finally, I added a good amount of sequins and jewels to the front to finish.


Once again, I did the fun drop & glue technique when adding the clear sequins to the front. Basically, you take a small pinch of sequins and hold them over your panel and let them drop. Then you adhere them down wherever they land! I will admit, I took a couple off here & there, and maybe made some sight adjustments...but for the most part I kept them very close to where they landed. Then I strategically added jewels to help compliment the areas where the sequins landed.


This card was done very randomly, which is quite odd for me. I typically have a very specific plan when I create a card. It was kind-of fun to watch it come together. It's not my most favorite card ever created, but I am happy with how it turned out.

That is everything I have for you today! If you have any questions about my card, feel free to leave them in the comments and I will be sure to reply.

Before you move along with your day, I wanted to invite you to follow me on social media. I would love to be crafty friends!
Have a great evening!
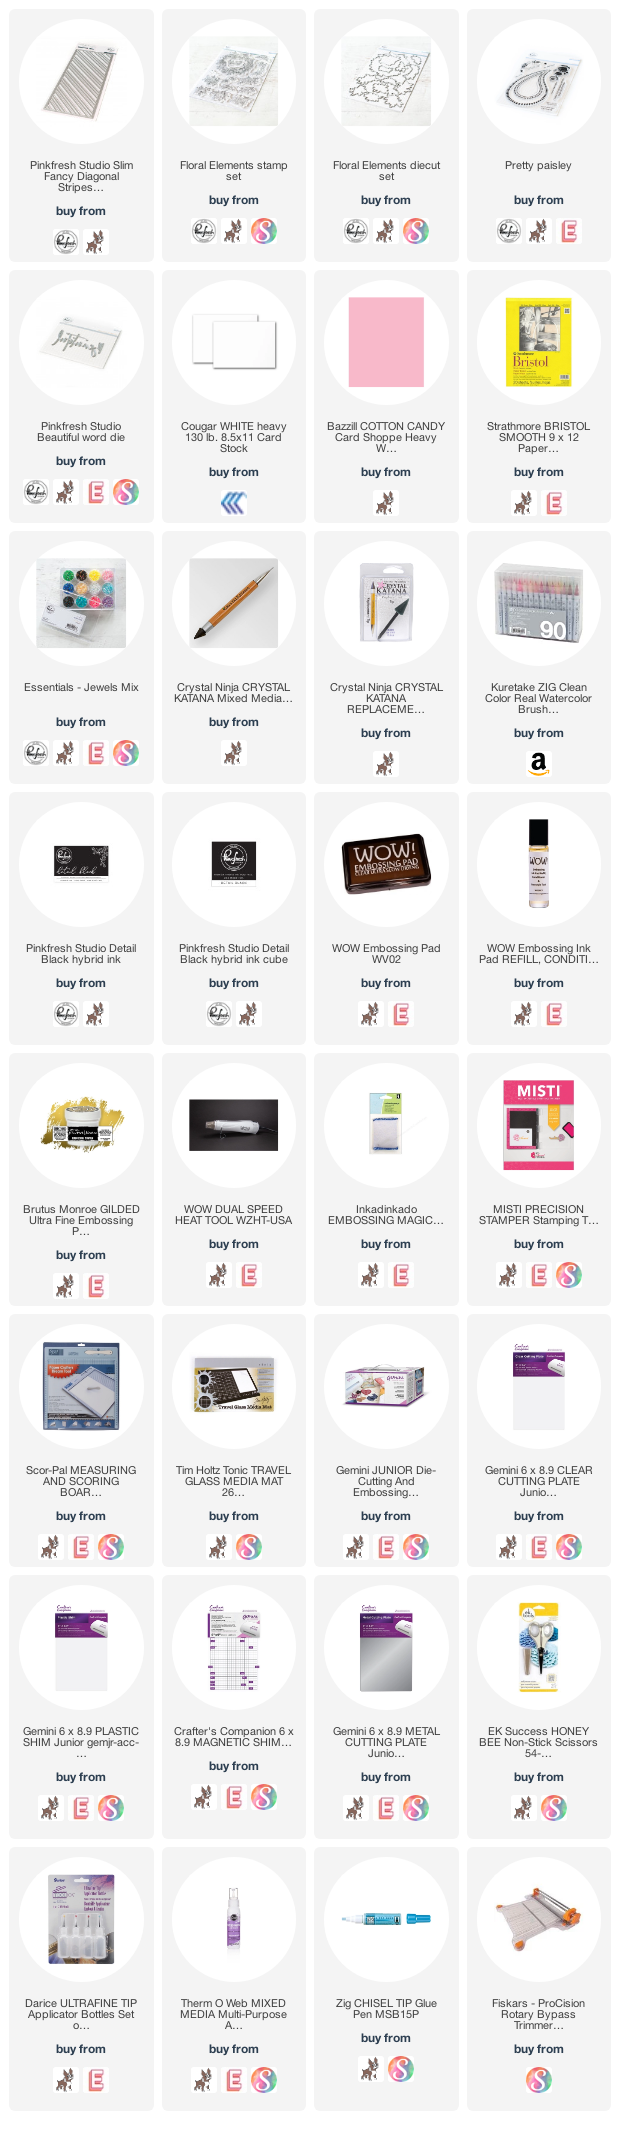
SUPPLY LIST

Happy Wednesday, crafty friends! I hope that you are having a good week so far! I've given myself a goal to participate in this month's 30 Day Coloring Challenge from Kathy Rac at The Daily Marker. Even if I end up not coloring every single day, I still want to try to share projects several times per month for it. Please join in the fun if you'd like!
I actually colored these cards at The Ton's Watercolor Retreat, which was in NYC at the beginning of March. Seriously friends - that feels like it was ages ago, rather than just a month. We fell in love with the city during the week we spent in Manhattan, and my hearts breaks over how hard it has been hit by COVID-19. Josh and I had the greatest time together, walking & exploring all over - eating tons of great food and taking in all the sites. We were able to see Wicked & Hamilton on Broadway, which just left me in utter awe. I think I had a permanent smile on my face through them, except during a part of Hamilton when instead, tears were flowing. No spoilers - you'll just have to see it. ;) There was so much life and so much vibrancy while we were there, and my greatest hope is that NYC will get back to that place. It may take some time, but I believe in the resiliency of that city, and of our country.
You are getting a peek at a stamp set that will release this month from The Ton called Bountiful Magnolias. I believe the release week starts tomorrow, so you shouldn't have to wait too long for it to become available! I've colored both images in with the gorgeous Spectrum Noir Sparkle markers, which were SO much fun to use. You will definitely get to see how much they shimmer & sparkle in the photos below.

"Happy Mother's Day" card features:
- Bountiful Magnolias stamp set (available sometime this week)
- Spectrum Noir sparkle markers: Peony, Fig, Olive Jade, Macaroon
- Pinkfresh Studio Essentials: Stitched Rectangles die set
- Pinkfresh Studio Essentials: Basic Label Frames


"Sending a Birthday Hello" card features:
- Bountiful Magnolias stamp set (available sometime this week)
- Spectrum Noir sparkle markers: macaroon, harvest moon, sage
- Pinkfresh Studio Essentials: Stitched Rectangles die set
- Pinkfresh Studio Essentials: Basic Label Frames

This card was put together almost exactly the same, with the exception of marker & heat embossing colors. There are some small differences in the sentiment, including stamping part of it in Detail Black ink and diecutting with the next size of this basic label frame. Other than that, they really are basically the same card.


I did the fun drop & glue technique when adding the clear sequins to the front. Basically, you take a small pinch of sequins and hold them over your panel and let them drop. Then you adhere them down wherever they land! I will admit, I took a couple off here & there, and maybe made some sight adjustments...but for the most part I kept them very close to where they landed. The exception to this, of course, is the accenting done around the sentiment labels. Those were placed strategically.


That is everything I have for you today! If you have any questions about my card, feel free to leave them in the comments and I will be sure to reply.

Have a great start to your weekend!
SUPPLY LIST

JANUARY 2020 RELEASE

We've got a fantastic blog hop lineup and prizes at every stop! I'll get to all of that info at the end of my post, but how about we get to my cards first? I didn't get to every single item in this release before having to leave for Creativation, but it's a good start!
LAYERED BOUQUET STAMPS & DIE WITH PHRASE BUILDER: YOU
I started by using the new Layered Bouquet stamp set and coordinating die. I stamped it with our premium dye inks in the following colors: Coral Reef, Passion Fruit, Mint & Meadow. I paired the stamp set with the amazing word die from the Phrase Builder: You die set. 
You are also getting a peek at two more brand new products that will be releasing in February. We debuted them at Creativation, but just in case you've missed it - we will be releasing red rubber background stamps & our amazing detail black ink. We worked on this watercolor & copic friendly ink formula for a year until it was PERFECT. I can't wait to share more about these items in February!


One tip I have for using this set, is to diecut first and then stamp. Use the block you cut it from as a jig in your MISTI, and you will get perfect stamping every time!


FULL BLOOM STAMPS & DIE WITH PHRASE BUILDER: SENDING
AND SENTIMENT SUITE: HAPPY BIRTHDAY
The first thing I do when creating for a release is stamping any coloring images three times: once in detail black, once in fadeout ink, and once heat embossed in gold. I don't typically color all three right away, but it gives me options. Often why you don't see videos from me when it comes to coloring is because I do a lot of coloring when I am waiting for appointments, on calls, or while watching TV. It is just an efficient way to use my time.AND SENTIMENT SUITE: HAPPY BIRTHDAY
For the next two cards, I have used two of the stamped versions of the Full Bloom stamp set and coordinating die. For this first one, I paired it with the Sentiment Suite: Happy Birthday die set from this release, and the Essentials: Ornate Banner die set.

This card features no-line coloring using my Zig Clean Color Real Brush Markers. I diecut just the words from light gold glitter paper & cardstock, then stacked them & adhered together with a Zig pen. I arranged them to the front of an A2 cashmere colored card base, along with the largest Ornate Banner diecut from white cardstock.


The final step was accenting with our Essentials: Jewels Mix in yellow, pink & light blue.

The next card features the same stamp set, but I used the gold heat embossed version and painted it with our liquid watercolor in Candy Apple, Bubblegum, Emerald City & Key Lime. I paired it with the Phrase Builder: Sending die set to create the Hugs & Kisses sentiment.


I completed the sentiment with a puffy ampersand sticker from the My Favorite Story collection, which will be available for purchase soon. And of course, the final step was accenting with our Essentials: Jewels Mix in dark pink, gold & white.


Here is a look at both cards together! Same stamp set - very different look. There are SO many possibilities!

JUST BECAUSE STAMP SET & DIE
For this card set, I've used the Just Because stamp set and coordinating die. I'm also giving another sneak peek of our detail black ink, which will release in February.


I stamped the sentiment directly to the background panel in detail black, then assembled it as shown using foam tape for the frame & florals. I finished by accenting with jewels.

The second card is super simple, but SO elegant. After stamping the sentiment to it in detail black, I diecut the gold heat embossed panel using the largest option from our Essentials: Stitched Rectangles die set. Then I mounted it to an A2 black card with a full panel of foam adhesive. I finished by adding a very light amount black splatter using our Licorice liquid watercolor.


I love this set of cards that is a little bolder than my usual!

LEAFY DECOR STAMP SET & DIE
Up next, I've used the Leafy Decor stamp set and coordinating die. I've colored it in with our liquid watercolor in Bubblegum, Emerald City and Aquamarine. And I did some ink blending directly to the white A2 card base using our premium dye inks in Passion Fruit & Coral Reef.

I used the gold heat embossed version for this, and with the leaves & florals being fairly small, it was super easy to color in. I also stamped the sentiment directly to the ink blended card base in our detail black ink. As I've already mentioned, this will be available in February!


I did finish by accenting with our Essentials: Jewels Mix in dark pink, light pink & white.

SENTIMENT SUITE: HELLO & PHRASE BUILDER: SENDING DIE SETS
I will share these next two cards in full in February, but I wanted to show off their sentiments. These use the Sentiment Suite: Hello and Phrase Builder: Sending die sets. They also feature some of those background stamps that will be releasing in February.

I used the shadows on this card so you can see how they look together!

PRIZES
You have the chance to win a $25 gift card sponsored by Pinkfresh Studio
from my blog {and all the other posts on the blog hop too!} - all you
have to do is leave a comment!
BLOG HOP LINK LIST
Our entire card team and some very welcomed guests have been crazy busy creating inspiring projects using all these new Essentials dies! You are going to LOVE hopping along this blog hop! Here is a full link list, and please note that there is a second page of links. It's come to our attention that the Inlinkz lists aren't always showing up in all browers, so you can also view the entire link list HERE.Before you move along to the next stop on the hop, I wanted to invite you to follow me on social media. I would love to be crafty friends!
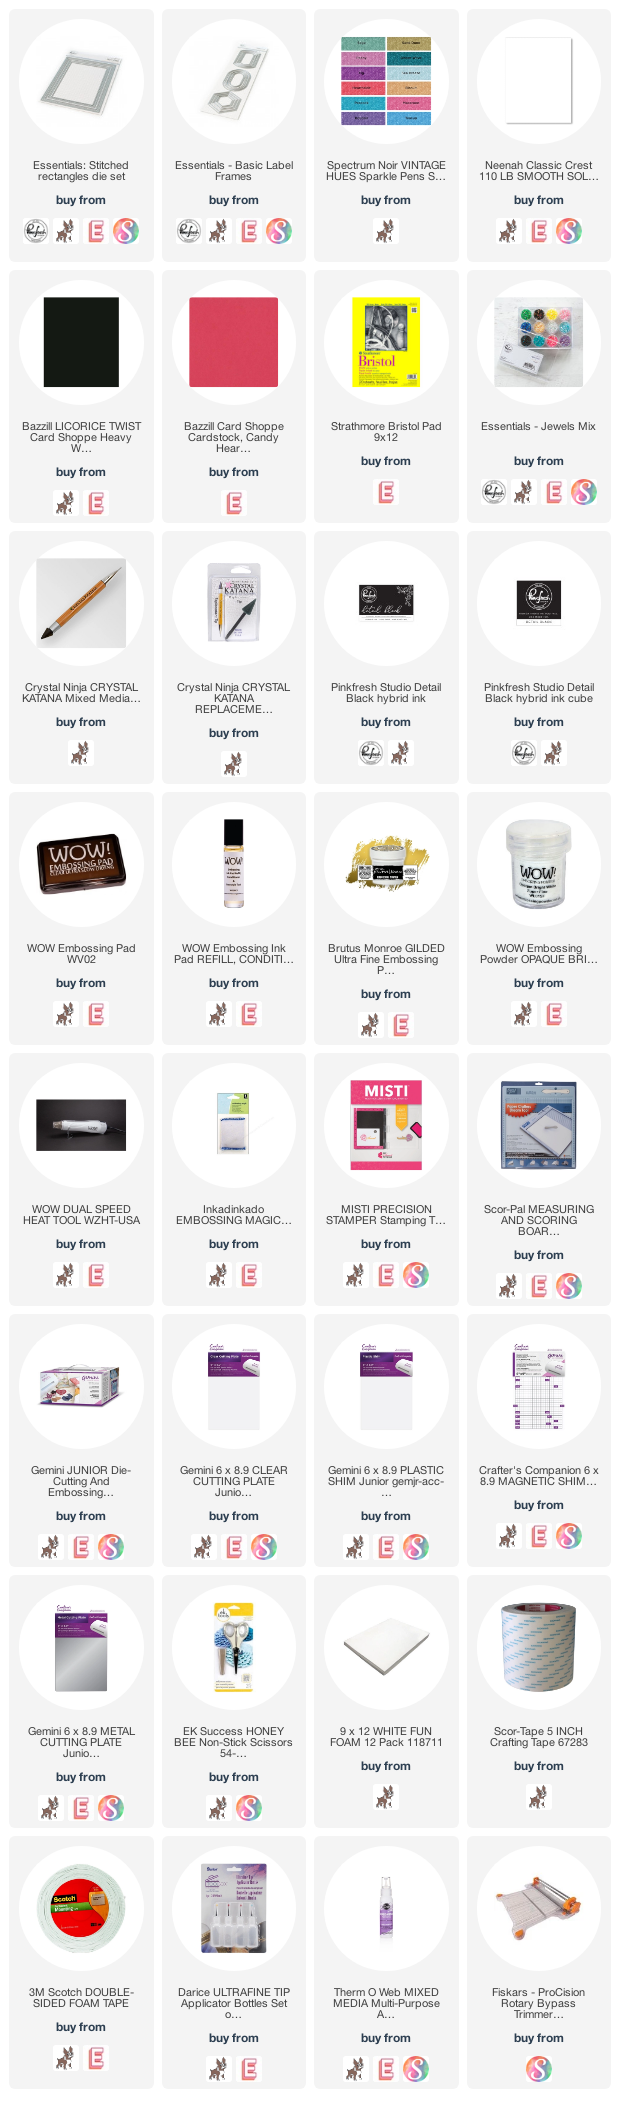
SUPPLY LIST

Subscribe to:
Posts (Atom)


Social Icons