
Today I've made a slimline card using one of the dies that I didn't have a chance to play with during our March Slim Cuts release at Pinkfresh Studio. I was also inspired by my friend Channin, who created a card with the A2 version of this die and tucked beautiful flowers in the stripes. Hers is WAY better, but I am happy with how mine turned out. Lol!
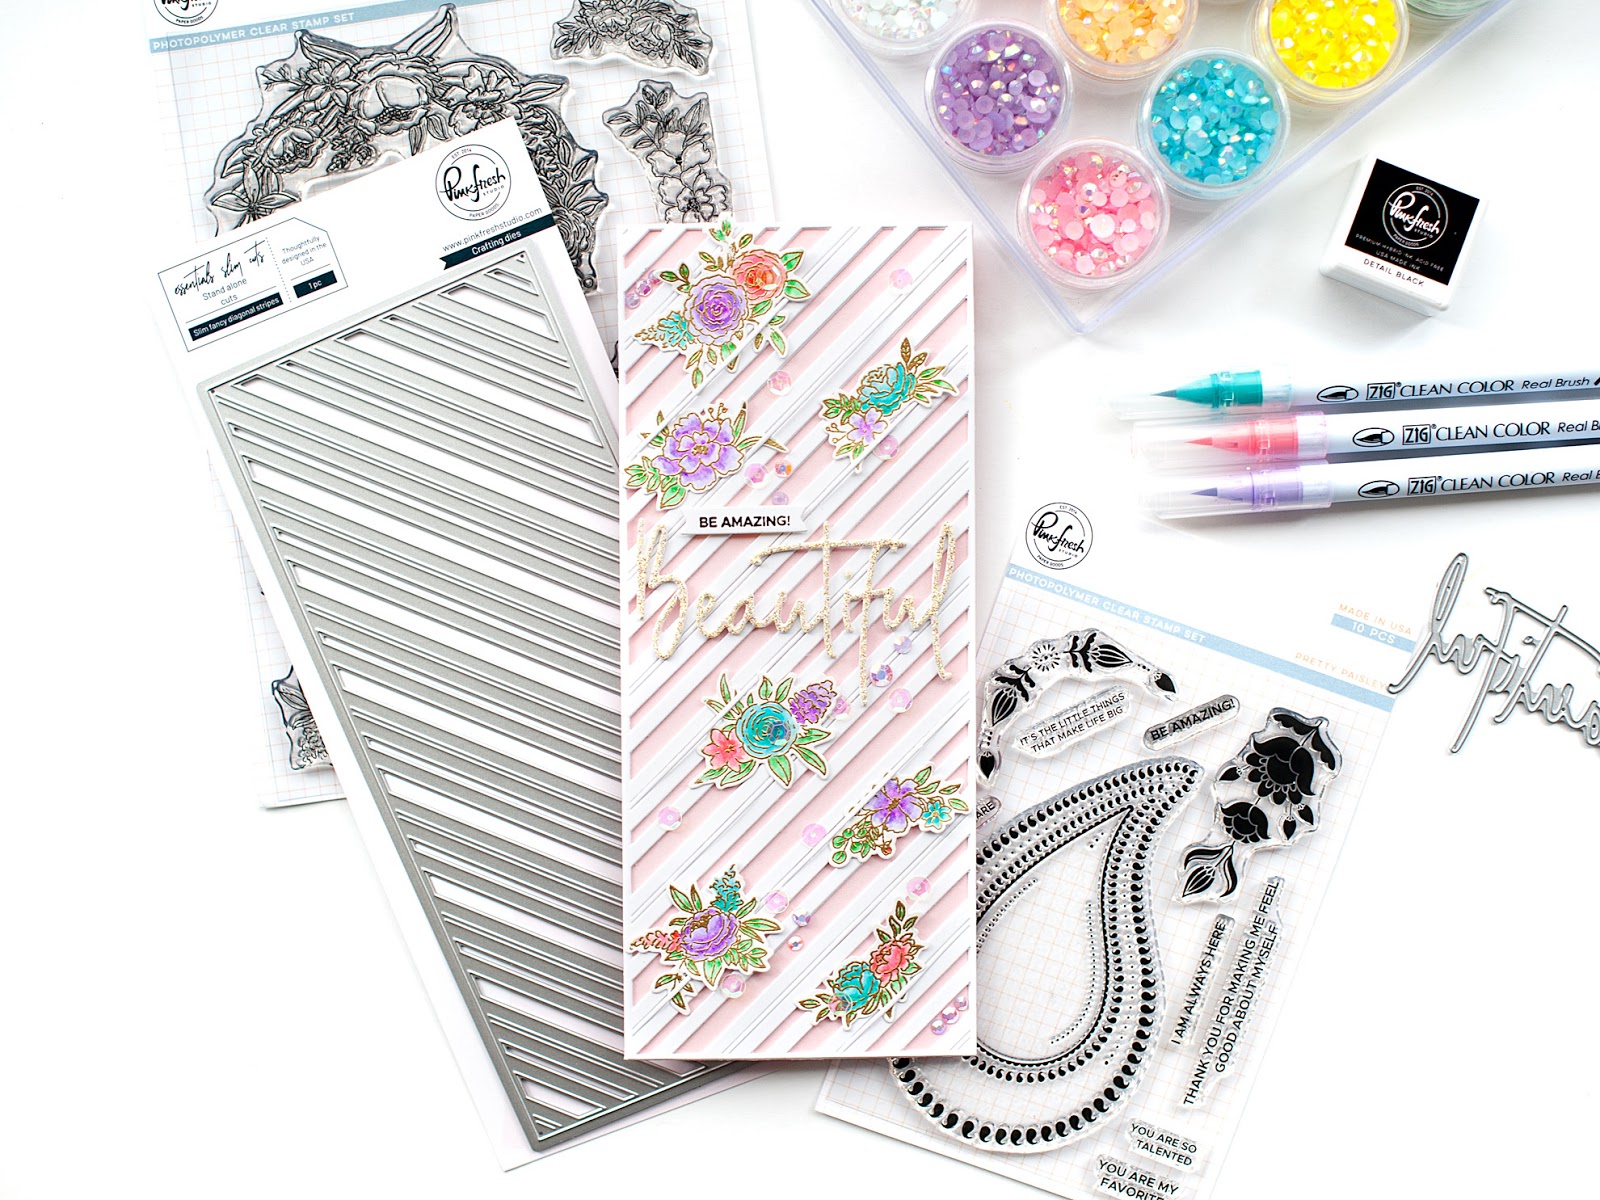
"Be Amazing! Beautiful" card features:
- Pinkfresh Studio Essentials: Slim Fancy Diagonal Stripes die
- Pinkfresh Studio Floral Elements stamps set
- Pinkfresh Studio Floral Elements coordinating dies
- Pinkfresh Studio Beautiful word die
- Pinkfresh Studio Pretty Paisley stamp set
- Pinkfresh Studio Detail Black hybrid ink

I started by creating a slimline card from pink cardstock. Then I diecut the Slim Fancy Diagonal Stripes background from white cardstock twice. I used spray adhesive to point the first one to the card front, then set aside. The florals were stamped & heat embossed in Gilded, then colored in with Zig Clean Color Real Brush markers. Once colored, I diecut them with the coordinating die set. I diecut the word beautiful 3 times: once from champagne glitter cardstock and twice from white cardstock. I stacked & adhered the layers, then adhered to the middle of the second striped background. Finally, I stamped the smaller part of the sentiment to white cardstock in detail black ink, and trimmed into a thin banner. I mounted it above the word die with foam tape.
Next I arranged the floral pieces to the front, tucking parts of them under the thinnest strips in the die. When I was happy with their placement, I glued them down in place, then adhered this second striped panel to the front with spray adhesive as well. Finally, I added a good amount of sequins and jewels to the front to finish.


Once again, I did the fun drop & glue technique when adding the clear sequins to the front. Basically, you take a small pinch of sequins and hold them over your panel and let them drop. Then you adhere them down wherever they land! I will admit, I took a couple off here & there, and maybe made some sight adjustments...but for the most part I kept them very close to where they landed. Then I strategically added jewels to help compliment the areas where the sequins landed.


This card was done very randomly, which is quite odd for me. I typically have a very specific plan when I create a card. It was kind-of fun to watch it come together. It's not my most favorite card ever created, but I am happy with how it turned out.

That is everything I have for you today! If you have any questions about my card, feel free to leave them in the comments and I will be sure to reply.

Before you move along with your day, I wanted to invite you to follow me on social media. I would love to be crafty friends!
Have a great evening!
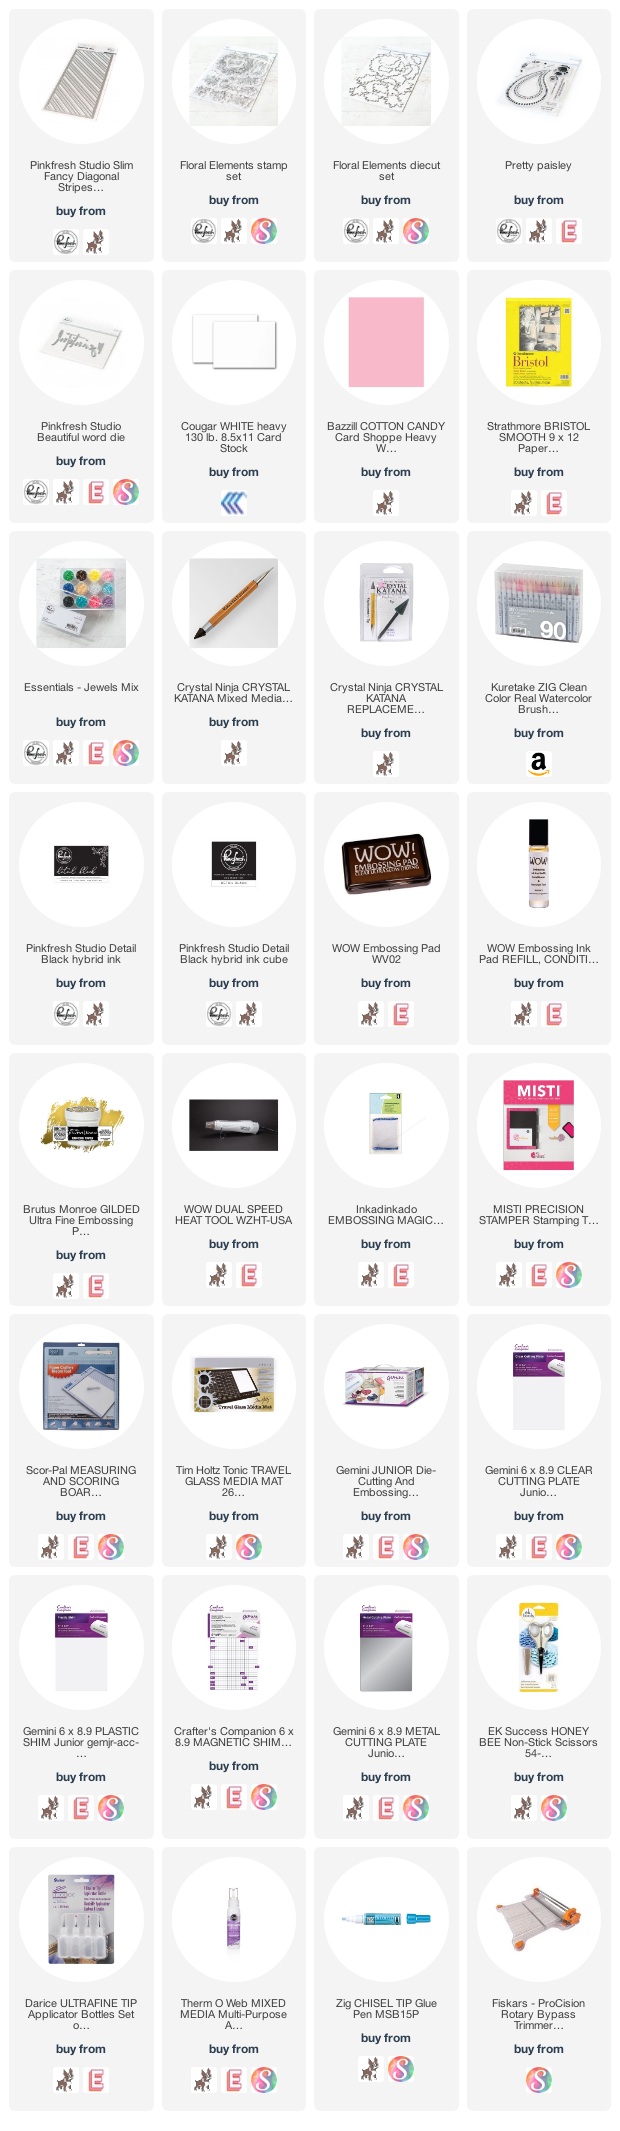
SUPPLY LIST


1 comment
Really beautiful card
ReplyDeleteComments warm my heart. Thank you! ♥