Hi again, blog friends! I'm up with another post tonight for the Hip Kit Club! One
of my favorite type of cards are those that can be used for everyday
encouragement. My hope is that one day I will have a child that I can
tuck cards into a backpack, lunchbox or put on their pillow... letting
them know that I am thinking of them when they have a big test or
reminding them of how wonderful they are when they might be struggling.
Those are the type of cards that I created today!
For
my first card I got a little artsy, creating a watercolor background
with mists & painting the chipboard sentiment with a paint dauber.
This sentiment could be used for SO many purposes...a birthday, a big
test or big game... anything that might be important for the day!
To create the watercolor background I used the mists included in the February Color Kit,
and just swirled them around on a wet block of watercolor paper until
it looked how I wanted it. I LOVE the bold colors, and the beautiful
purple that was created by mixing the two mists. After drying, I
spritzed it with a little bit of gold mist from my stash. While it
finished drying, I painted the chipboard sentiment with the shell pink paint dauber also
included in the color kit, & let it dry. Once everything was ready,
I adhered the watercolor block to an A2 card. I added a tangle of gold
thread to the middle, then adhered the chipboard sentiment over top of
it. I added a couple gold rub-ons from the February Main Kit, and then accented it with a little sparkler from my stash as well!
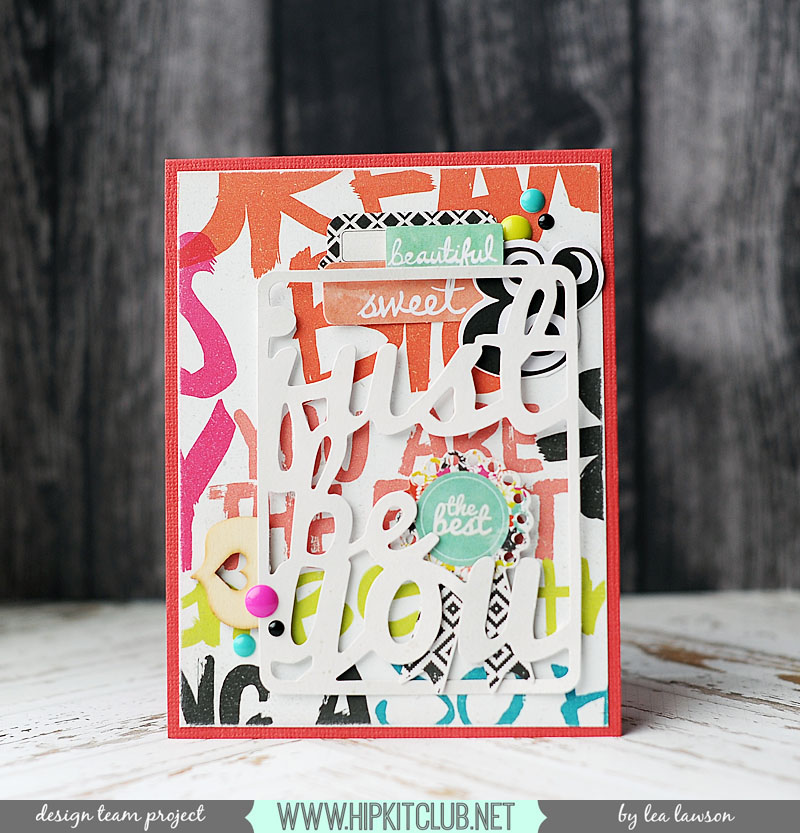
My next card is a different style, but still of the encouragement theme. I've used items from the February Main Kit & the Embellishment Kit to create this one!
I started this card by adding a block of that fabulous script paper to
an A2 card base. After that, I just layered diecut goodies, wood veneer
& enamel dots to portray my sweet message!! It's really as simple
as that. The card might seem more complicated, but it really isn't!
Just use a combination of flat & foam adhesive to give it some
dimension!
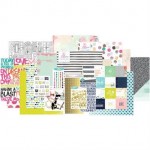
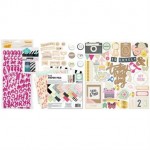
The Hip Kit March 2015 kits are up, and they are amazing!! Here is a peek at the ones I will be using!
Main Kit:
Embellishment kit:
Color kit:
And we are also introducing a new add-on kit! I will not be working with this one, but it is pretty awesome!
Project Life kit:
Be sure to head on over & pick up the kits that you want to work with, and join in on the fun with us!! We chat & share projects with each other at the Hip Kit Club Member forum & gallery on Facebook, and we would love for you to jump in & play along with us and the kits!
Until later,
~L.
Hi blog friends! Sorry my little blog has been so quiet...I just have some things going on right now. But today it is time for another new challenge at The Card Concept!!
For my card, I used the Get Well sentiment and muted tones of all the amazing colors in the crocheted stars! I've used an eclectic mix of patterned papers, and gave it a bit of a spring feel with the wood veneer & paper flowers. Check it out!
Creation Instructions:
Card Challenges:
Supplies:
Cardstock: My Favorite Things (smooth white)
Paper: Studio Calico (Brighton Pier & Wanderlust 6x6 pads)
Stamps: Studio Calico
Ink: Tsukineko (Versafine - onyx black)
Flowers: Prima Marketing
Wood Veneer: Freckled Fawn
Enamel Dots: My Mind's Eye
Dies: My Favorite Things (Blueprints 18) & Lil' Inker Designs (Long & Skinny Rectangles)
That is all that I have for you today! If you want to see sneak peeks of future projects & keep up with me on Facebook, please head on over & like the Lea Lawson Creates page!! And don't forget to become a follower in the right sidebar so you never miss a post. Have an awesome rest of your day!!
Until later,
~L.
For my card, I used the Get Well sentiment and muted tones of all the amazing colors in the crocheted stars! I've used an eclectic mix of patterned papers, and gave it a bit of a spring feel with the wood veneer & paper flowers. Check it out!
Creation Instructions:
- Make an A2 card from white cardstock.
- Cut two blocks of patterned paper slightly smaller, and adhere to the front.
- Diecut the stitched rectangle from yellow paper.
- Adhere to the front at an angle, then trim off the excess from each edge.
- Layer green & pink paper blocks to the top.
- Diecut the circle from numbered paper, and adhere it to the top with foam dots.
- Diecut the banner from white cardstock & stamp the sentiment to it.
- Adhere it sentiment banner to the top of the circle with foam dots.
- accent around the banner with paper flowers & wood veneer accents.
- Embellish with enamel dots to finish.
Card Challenges:
Supplies:
Cardstock: My Favorite Things (smooth white)
Paper: Studio Calico (Brighton Pier & Wanderlust 6x6 pads)
Stamps: Studio Calico
Ink: Tsukineko (Versafine - onyx black)
Flowers: Prima Marketing
Wood Veneer: Freckled Fawn
Enamel Dots: My Mind's Eye
Dies: My Favorite Things (Blueprints 18) & Lil' Inker Designs (Long & Skinny Rectangles)
I really hope that you will join us in using this beautiful inspiration
photo, & defining what your style of card making is!! Here is a
reminder of the rules:
- Use the Challenge to create a card.
- Choose one of the design team "styles" to create your card. Click HERE for the different styles summary.
- Explain in your post which style you used.
- Link up your blog post here, not your whole blog.
- Comment on the card ahead of you and behind you in the linky. Everyone loves comments!
That is all that I have for you today! If you want to see sneak peeks of future projects & keep up with me on Facebook, please head on over & like the Lea Lawson Creates page!! And don't forget to become a follower in the right sidebar so you never miss a post. Have an awesome rest of your day!!
Until later,
~L.
Hey there, blog friends!! I hope your week has been a good one so far! Just wanted to pop in today and share a new monthly challenge from Lil' Inker Designs!!
What can you win? Well, that's up to you! Since this is our first challenge we'd like to stir things up by offering a super big prize and the prize will get bigger depending on how many entries we receive. Multiple entries are allowed as long as your projects are featured in separate posts.
Winners will be announced here in a new blog post shortly after February 24th.
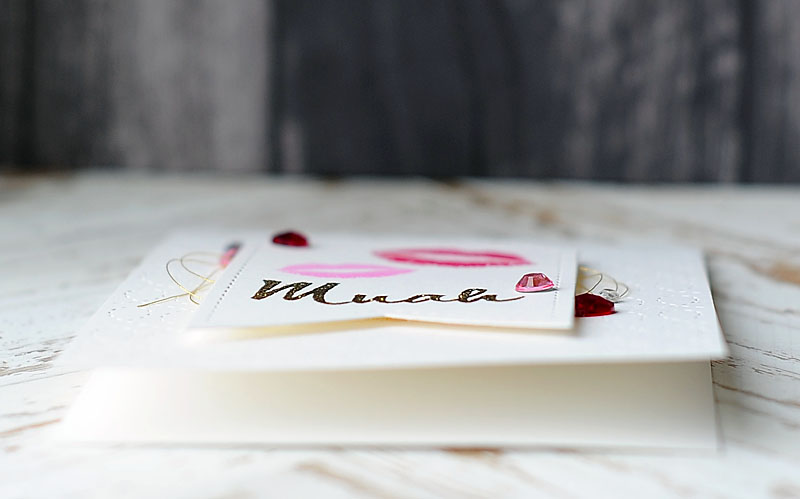
I've created this sweet Valentine card for the monthly meet up!! Check it out!
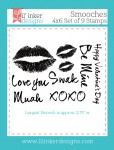
I wanted the stamped lips to look like lipstick, so I used pigment inks for them. This way the ink stayed on top of the paper rather than soaking in, like dye ink does. It turned out just how I wanted!
Creation Instructions:
Be sure to head on over to the LID Monthly Meet Up challenge post, and check out what all the designers have created. And be sure to link up your LID projects there too....there is a fantastic prize to be won!!
If you want to see sneak peeks of future projects & keep up with me on Facebook, please head on over & like the Lea Lawson Creates page!! And don't forget to become a follower in the right sidebar so you never miss a post. Have a wonderful Monday!
Until later,
~L.
Here's what you need to do to play along:
- Make a new project or share something you've been working on featuring LID goodies!
- Post this project to your blog or favorite gallery.
- Link your project to our challenge by using the InLinkz tool beneath my signature below.
You have through February 24th at 11:30 PM EST to link your project to
be eligible to win a prize. Projects should exclusively feature LID
goodies to be eligible to win but do not need to exclusively feature LID
goodies to join our Meet Up.
What can you win? Well, that's up to you! Since this is our first challenge we'd like to stir things up by offering a super big prize and the prize will get bigger depending on how many entries we receive. Multiple entries are allowed as long as your projects are featured in separate posts.
Up to 25 entries: $25 store credit to one winner plus 1 stamp set winner
26-50 entries: $50 store credit to one winner plus 2 stamp set winners
51 and more: $75 credit to one winner plus 3 stamp set winnersWinners will be announced here in a new blog post shortly after February 24th.
I've created this sweet Valentine card for the monthly meet up!! Check it out!
I wanted the stamped lips to look like lipstick, so I used pigment inks for them. This way the ink stayed on top of the paper rather than soaking in, like dye ink does. It turned out just how I wanted!
Creation Instructions:
- Make A2 card from white cardstock.
- Emboss the card front with the Quilted Swirl Stitch pattern die.
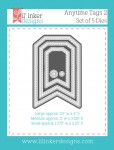
- Diecut the tag from matching white cardstock.
- Stamp & heat emboss the sentiment to the bottom of the card.
- Stamp the lips to the top of the tag using pigment ink.
- Layer the tag to the front over top of a knot of gold thread with dimensional adhesive.
- Accent the card with jewels to finish.
Be sure to head on over to the LID Monthly Meet Up challenge post, and check out what all the designers have created. And be sure to link up your LID projects there too....there is a fantastic prize to be won!!
If you want to see sneak peeks of future projects & keep up with me on Facebook, please head on over & like the Lea Lawson Creates page!! And don't forget to become a follower in the right sidebar so you never miss a post. Have a wonderful Monday!
Until later,
~L.
Hey there, blog friends!! I hope that you had a great weekend!! Ours was pretty quiet, which was nice. I'm still getting over this stupid cold, but I did feel better enough to work on getting my house nice & clean...and we did have friends over for dinner on Saturday night.
I just wanted to pop in real quickly and share a project that is up on the My Mind's Eye blog today! It is a Valentine "card" {more like booklet} that I made for my hubby! (I don't think he reads my blog very often...so hopefully he doesn't happen upon this before Valentine's Day!)
I used all the different collections from 2014 to create this project...and it serves as a great reminder that you can use non-themed product for holidays! I've used journal cards, transparent overlays, stickers & decorative chipboard to create this multi-layer card! Here are a couple photos of it:
You can see all the pages of this card on my My Mind's Eye blog post today...so head on over to check it out!!
If you want to see sneak peeks of future projects & keep up with me on Facebook, please head on over & like the Lea Lawson Creates page!! And don't forget to become a follower in the right sidebar so you never miss a post. Have a wonderful Monday!
Until later,
~L.
**This is my second post of the day. Please scroll down or CLICK HERE to see my project for The Card Concept #28.**
Hi blog friends! Today I have my first two cards as a team member for the Hip Kit Club! Today I am jumping right in with the February Main Kit & Embellishment Add-on.
These kits are pretty much the epitome of me…they include my favorite
colors {aqua, pink & gold} and have an artsy & whimsical feel to
them! I’ve created a couple of cards all about friendship for you
today! It seemed fitting as I get to know my fellow designers & the
Hip Kit Club members!!
Here is a look at both cards!
You can see the detail photos & read a write-up about them on today's blog post at the Hip Kit Club!! Both cards are pretty different from one another, but I still wanted them to
feel like a pair. So, I used chipboard butterflies on each one with a
knot of gold thread underneath. :)
Card Challenges:
I hope you liked my cards tonight! I will be back next week to share two more cards using these fabulous February kits!! Be sure to head on over to check them out, and pick up the ones you must have!!
If you want to see sneak peeks
of future projects & keep up with me on Facebook, please head on
over & like the Lea Lawson Creates page!! And don't forget to become a follower in the right sidebar so you never miss a post. Have an awesome rest of your day!!
Until later,
~L.
Until later,
~L.
Hi blog friends!! How have you been? I've been really good, other than coming down with a really horrid head cold that reared it's ugly self in full force when I woke up on Monday morning. Blech. I spent the weekend in Minneapolis at an Oula Training Weekend. Oula is a fitness program that we call "dancemania for the soul". It was started in my hometown of Missoula, Montana, and I did it religiously for two years before we moved away. I MISS it so much, and what it does for my body & my soul...so I've decided that I really want to bring it to Fargo. The weekend was SUPER overwhelming. I've got no experience being a group fitness instructor. So, while the choreography comes really easy to me...trying to cue & lead people to follow me does NOT. Lol. I've got a journey ahead of me that is going to be difficult at times, but I am excited for it...and I know I can do it!!
It is time for another challenge at The Card Concept!! Here is the challenge graphic:
I was inspired by the muted colors (especially the silver/grey) & the woodgrain in the inspiration photo. Here is how my card turned out!
Creation Instructions:
Card Challenges:
That is all that I have for you today! If you want to see sneak peeks of future projects & keep up with me on Facebook, please head on over & like the Lea Lawson Creates page!! And don't forget to become a follower in the right sidebar so you never miss a post. Have an awesome rest of your day!!
Until later,
~L.
It is time for another challenge at The Card Concept!! Here is the challenge graphic:
I was inspired by the muted colors (especially the silver/grey) & the woodgrain in the inspiration photo. Here is how my card turned out!
Creation Instructions:
- Make A2 card from white cardstock.
- Cut woodgrain paper slightly smaller.
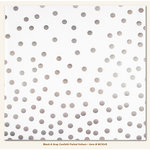
- Add a strip of silver dotted vellum to the middle of the woodgrain paper.
- Diecut hearts from pink, grey & woodgrain papers.
- Arrange them in rows to the vellum strip, then lightly adhere them.
- Stitch down the middle of each row of hearts.
- Adhere the entire paper block to the card front.
- Give the hearts some dimension by pulling up each side.
- Diecut the tag from vellum.
- Stamp the sentiment in embossing ink, cover in silver glitter embossing powder & heat set.
- Adhere to the bottom of the card over top of some of the hearts.
- Embellish with wood & enamel dots to finish.
Card Challenges:
- The Card Concept #28 - romantic roses
- Cure for the Monday Blues #24 - heart strings
- Dies R Us #19 - hearts
I really hope that you will join us in using this beautiful inspiration
photo, & defining what your style of card making is!! Here is a
reminder of the rules:
- Use the Challenge to create a card.
- Choose one of the design team "styles" to create your card. Click HERE for the different styles summary.
- Explain in your post which style you used.
- Link up your blog post here, not your whole blog.
- Comment on the card ahead of you and behind you in the linky. Everyone loves comments!
That is all that I have for you today! If you want to see sneak peeks of future projects & keep up with me on Facebook, please head on over & like the Lea Lawson Creates page!! And don't forget to become a follower in the right sidebar so you never miss a post. Have an awesome rest of your day!!
Until later,
~L.
Subscribe to:
Comments (Atom)















Social Icons