

Happy Saturday, crafty friends! I wanted to pop in over the weekend and share this card trio that is full of fall vibes! I've picked a deep, jewel toned color palette, and used them to do some no-line coloring on all the florals! I wanted to be sure to get these on my blog this weekend, as next week it is going to be Christmas city over here with our new release on Monday!
I actually created this card set for a Practical Publishing ad that is hitting issues now, so I felt good about finally sharing them! Fun fact: a lot of the sets you will see on my blog end up in an advertisement. Lol! I have to make efficient use of my time with being so busy, so that is one way I help use my time effectively. :)

This first card uses the Floral Vase stamp set and coordinating dies, and the sentiment is from the Delicate Wreath stamp set. I've also used our brand new inks on the vase, which will be releasing in October! We are so excited about them!

1. Stamp the vase layers in blue inks and the stems in green to white cardstock, then diecut.
2. Stamp the florals to Strathmore Bristol paper in Ink on 3 Fadeout Ink.
3. Color the florals with Zig Clean Color Real Brush Markers, using 2-3 shades of each color.
4. Diecut the florals, then trim off the stem piece.
5. Diecut the largest Diagonal Stitched Rectangle from white cardstock, then stamp the sentiment to it in onyx black Versafine ink.
6. Adhere the diecut panel to a yellow A2 card base with a full panel of foam adhesive.
7. Layer the vase and the florals to the right side, popping the top of the florals up with foam dots.
8. Accent with Essentials: Jewels Mix in blue, yellow & white to finish.


I channeled my inner Laura Bassen on this card, and pulled some jewel toned cardstock pieces in rainbow order. The concept of this card came first for the entire set, and it is how I picked the colors of the Zig markers for my florals! I've used the new Leafy Branch die, along with the Kelly Alpha Uppercase and Lowercase die sets. The heat embossed part of the sentiment is from the Abstract Builder stamp set.

1. Trim colored cardstock strips into different widths, then adhere in rainbow order to 80 LB white cardstock.
2. Diecut the striped panel with the smallest Stitched Rectangle die.
3. Diecut the leafy branch and the letters three times from white cardstock, then stack & adhered together.
4. Stamp & heat emboss the word hello in Gilded to the left side of the wider yellow strip.
5. Adhere the striped panel to the middle of a white A2 card base with foam adhesive.
6. Layer the letters next to the heat embossing, then adhere the leafy branch in the upper right corner.
7. Accent with Essentials: Jewels Mix in blue, gold & white to finish.


This third card is the simplest of all three, but probably took the longest due to all of the coloring. I ended up not loving how I colored the orange flower, but I wasn't about to waste all that time...so I decided it would be the perfect place for the sentiment. It covers up the area I'm not excited about, but you still get that nice touch of orange that gives you all the Fall feels.

1. Stamp the florals to Strathmore Bristol paper in Ink on 3 Fadeout Ink.
2. Color the florals with Zig Clean Color Real Brush Markers, using 2-3 shades of each color.
3. Diecut the floral piece with the largest Stiched Rectangle die, then add a full panel of foam adhesive to the back.
4. Stamp & heat emboss the sentiment in Gilded to a strip of 40 LB Vellum.
5. Wrap the sentiment around the floral panel, adhering it to the exposed adhesive on the back.
6. Layer the entire floral piece to a blue A2 card base.
7. Accent with Essentials: Jewels Mix in blue, gold & white to finish.


That is everything I have to share with you today! I am thinking about formatting my blog posts a little differently, and tested it out on this one. Feel free to share your thoughts (**nicely) in the comments! :)

Before you move along with your weekend, I wanted to invite you to follow me on social media. I would love to be crafty friends!
Have an awesome Saturday!
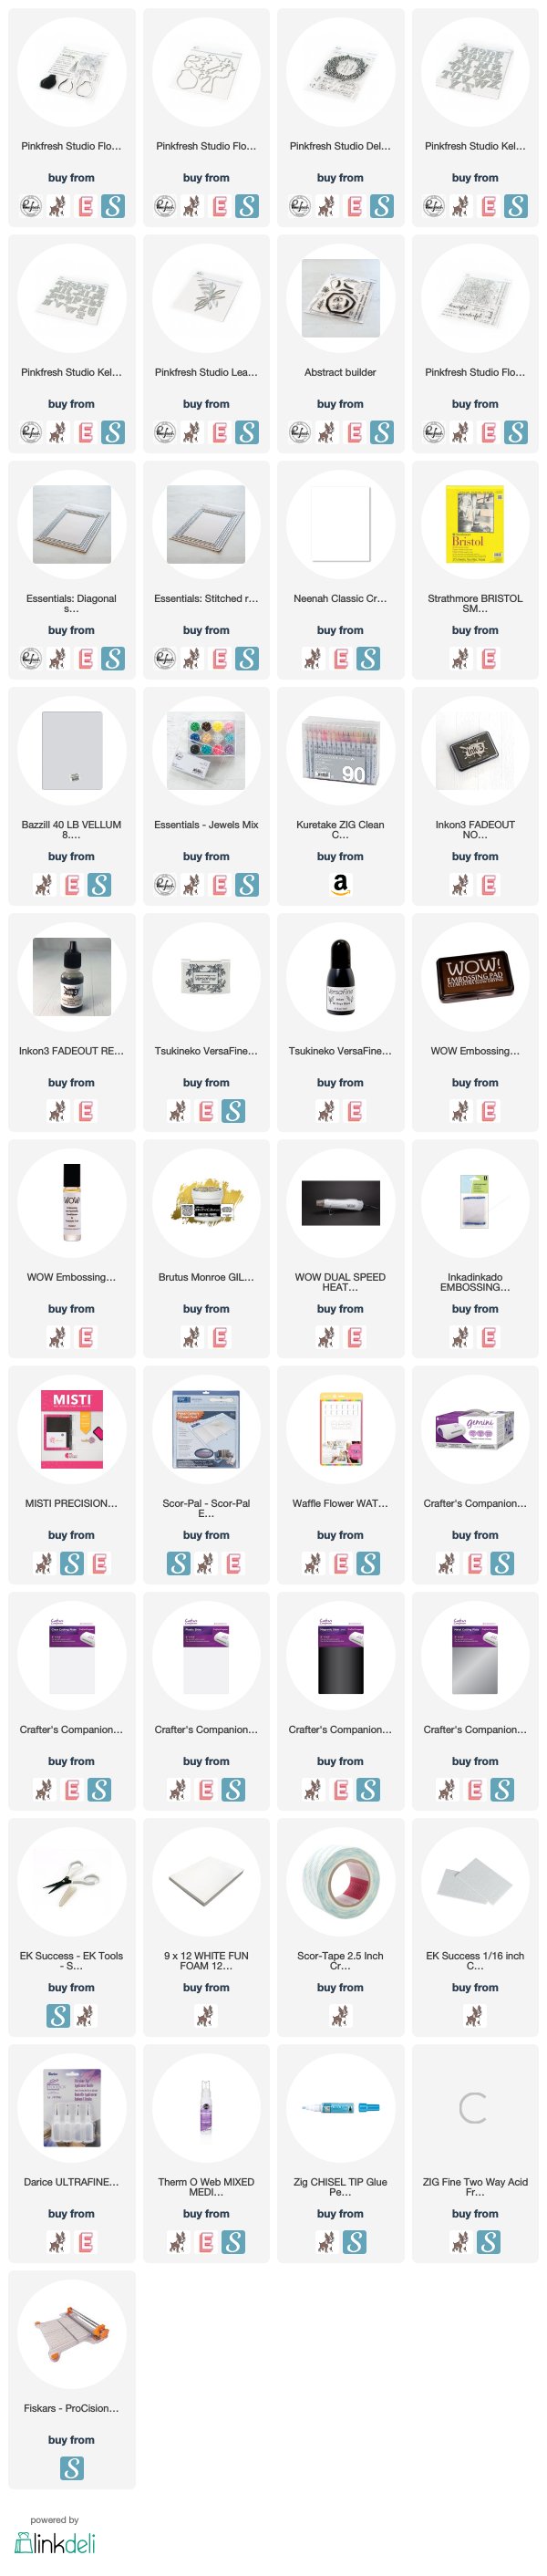
SUPPLY LIST
For your
shopping convenience, all products are linked below, including
affiliate linking when possible - this allows small compensation for me
at no cost to you. I typically link to 2-3 sites, in hopes that your
preferred retailer will be among them. I only support legitimate retail
sites, that are true partners to stamp, die and scrapbooking wholesalers.


7 comments
What happy autumn hues
ReplyDeleteWow, gorgeous cards! Stunning colors and designs.
ReplyDeleteVery pretty cards in awesome colors!
ReplyDeleteWhat STUNNING cards!! The colors just POP!!!
ReplyDeleteThese are so great Lea!!
ReplyDeleteLove every one of these, Lea! Having a terrible time deciding how to spend my gc--so many wonderful products! You're making me consider some of the products you used here!
ReplyDeleteI love the bright and colourful cards. You really brought the images to life.
ReplyDeleteComments warm my heart. Thank you! ♥