

Happy Monday, crafty friends! I hope you had a good weekend. We spent some time finishing up some training for our foster care relicensing. We also watched football, hung out with our neighbors at a neighborhood brewery and I got some cardmaking in!
So, last week I did a thing...I signed up for The Ton Craft Retreat in March 2020. Josh and I have been talking about taking a trip to Manhattan FOREVER. Little did I know, he wanted to do it for my 40th birthday, which is in January. We were on a walk and I mentioned Effie's retreat, and how it was taking place in a hotel in Times Square...which I was really excited about. He then told me to BOOK IT, because he wanted to plan a trip to NYC for us anyways! We are arriving on the Tuesday before the retreat begins, and will stay through the next Monday, so that we have some "just us" days in the city to explore, and see all the sights that I've always wanted to see. I am SO excited, friends!
I believe there are still spots left, and you can sign up HERE. I took a 4 hour class from Effie at {Stamp} JunkieFest this past June, and she is fantastic! I already know a lot of watercolor techniques, but I still learned so much from her. She is also engaging, informative and really good about making sure you get one on one time with her if you need it. I think it will be a really fun time with crafty friends, and if you are looking for a retreat to go to next year...I would love for you to join me! :)
I had some watercolor time this weekend, and created this card set using the Peony Laurel stamp set and coordinating dies from The Ton, and painted them with my Pinkfresh Studio liquid watercolor. You can purchase the full collection HERE, and get 10% off using the code WATERCOLOR10. I've also linked the individual colors at the end of my post in my full supply link list.

I've created my own custom colors just by mixing the liquid watercolor. Here is a simple recipe, but realize that you will need to adjust a bit to get the exact color you want.
Coral Pink: 1 part Bubblegum to .25 part Clementine (you will likely need to add more pink.)
Bright green: 1 part Key Lime to 1 part Emerald City
I also add a bit of water to every color mix, because our liquid watercolor is so highly pigmented. I suggest playing around a little bit, and testing the colors on the same watercolor paper you plan on using.

To start, I stamped & heat embossed the main image from the Peony Laurel stamp set three times in Gilded to Strathmore cold press watercolor paper. This paper is nice & sturdy at 140 LB. The texture is not as beautiful as the Arches texture, but it is still lovely watercolor paper, and I don't want it to go to waste. Then I proceeded to color the images with my custom color. I did the floral first, then the leaves. I do a small section at a time, lightly dampening the paper within the embossed section. Then just lightly touching a paint filled brush to the center, and letting the paint move out with the water. It will get lighter as it moves, and then you can take a clean, detail brush in to finish the job. This is a super easy technique, and a great place for watercolor beginners to start!
I used one of the floral pieces, and turned it into a shaker card. The shaker circle was create using the Essentials: Inverted Stitched Scallop Circle die set from Pinkfresh Studio. Then I filled it with Essentials: Crystals Mix in pink, and the Candlelight confetti mix from HoneyBee. The sentiment was stamped & diecut from gold glitter paper using both the Peony Laurel stamp set, and coordinating dies.


I tried giving you a good peek at the shaker mix, because it is GORGEOUS. It doesn't photograph super well, but hopefully you can see how lovely it looks.

For this card I used the remaining 2 floral pieces, and just framed the sentiment with them on the card front. I did splatter some of the matching custom colors to the front, using the sentiment stamps as a "guard" to keep the paint from splattering on it. I accented this card with the Essentials: Jewels Mix from Pinkfresh Studio, using the green, light pink & white jewels.


I really love how these cards turned out, and I'm so excited to have used this beautiful stamp set! It' been in my crafty studio for awhile now, and I'm finally having the chance to break it out. I love Effie's floral stamps - they are some of my favorites, and they are perfect for watercoloring!


One last shot, hoping to show how beautiful the gold embossing looks on these floral pieces, and all the shine it gives to your card. I also added shimmer to the petals with my Tonic Aqua Shimmer pen, but I didn't really have the right light to show that the day I photographed. So, the florals have a beautiful shimmer when you see them in person.

That is all I have for you today! Before you move along with your day, I wanted to invite you to follow me on social
media. I would love to be crafty friends!
Have a great start to your week!
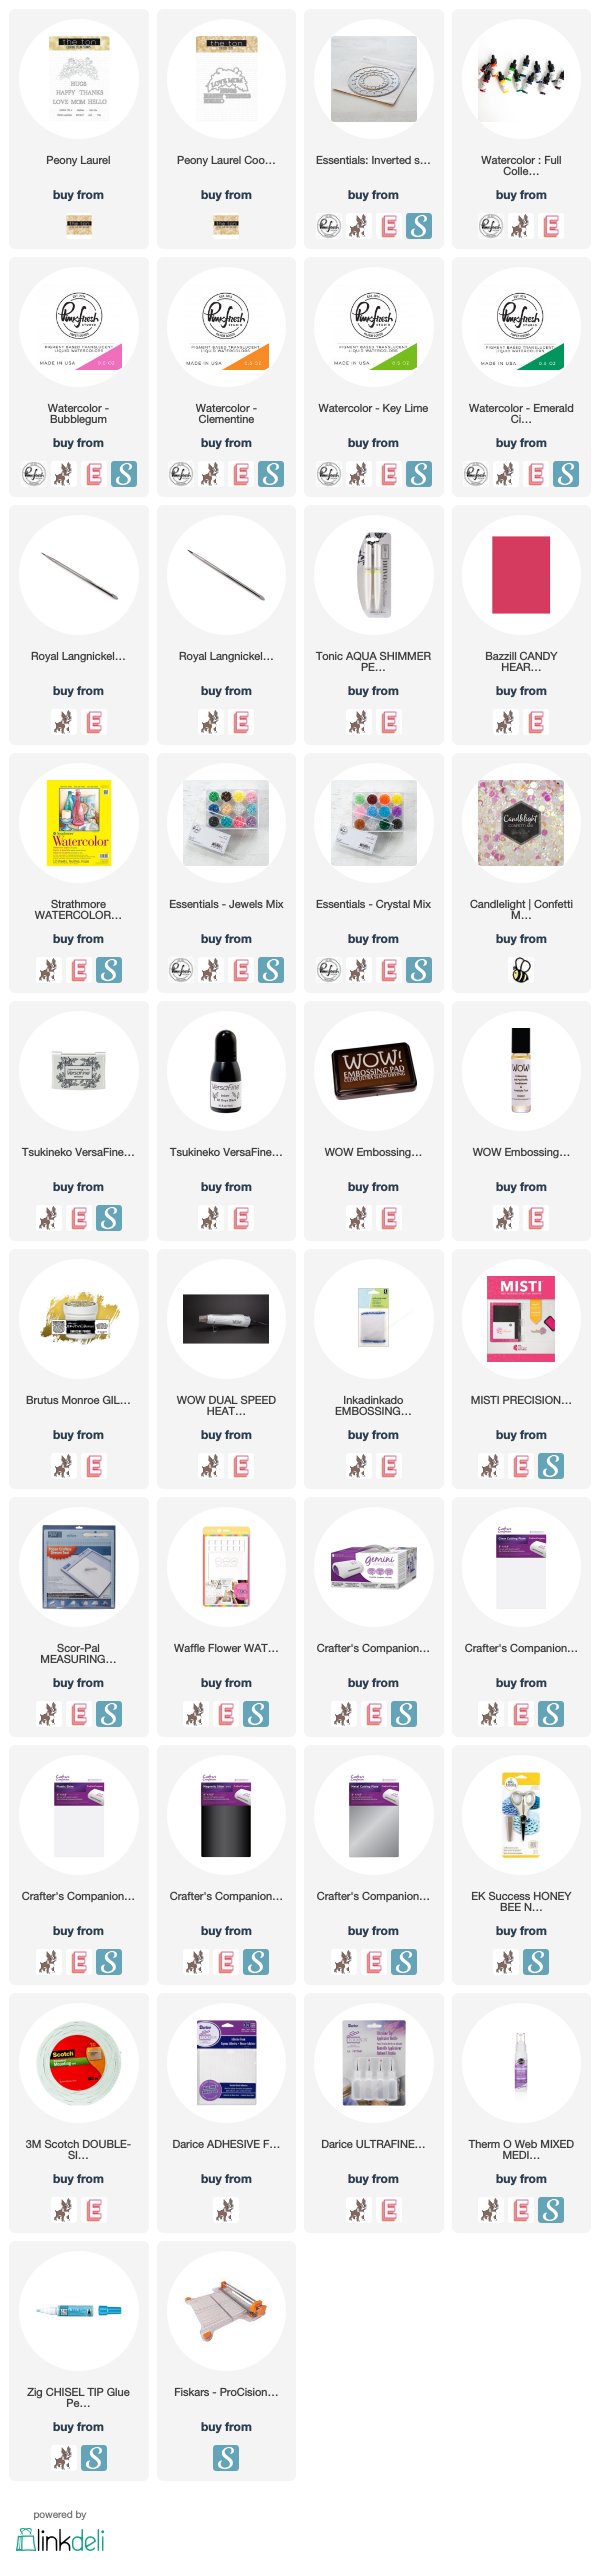
SUPPLY LIST
For your
shopping convenience, all products are linked below, including
affiliate linking when possible - this allows small compensation for me
at no cost to you. I typically link to 2-3 sites, in hopes that your
preferred retailer will be among them. I only support legitimate retail
sites, that are true partners to stamp, die and scrapbooking wholesalers.


2 comments
Beautiful cards!! And wow, the shaker is gorgeous! <3 <3
ReplyDeleteYour trip sounds amazing! What a great hubby you have! Love your card!
ReplyDeleteComments warm my heart. Thank you! ♥