Happy Monday, crafty friends! It's release day at Pinkfresh Studio, and we are so excited to bring our our brand new stamp & die release from Pinkfresh Studio!
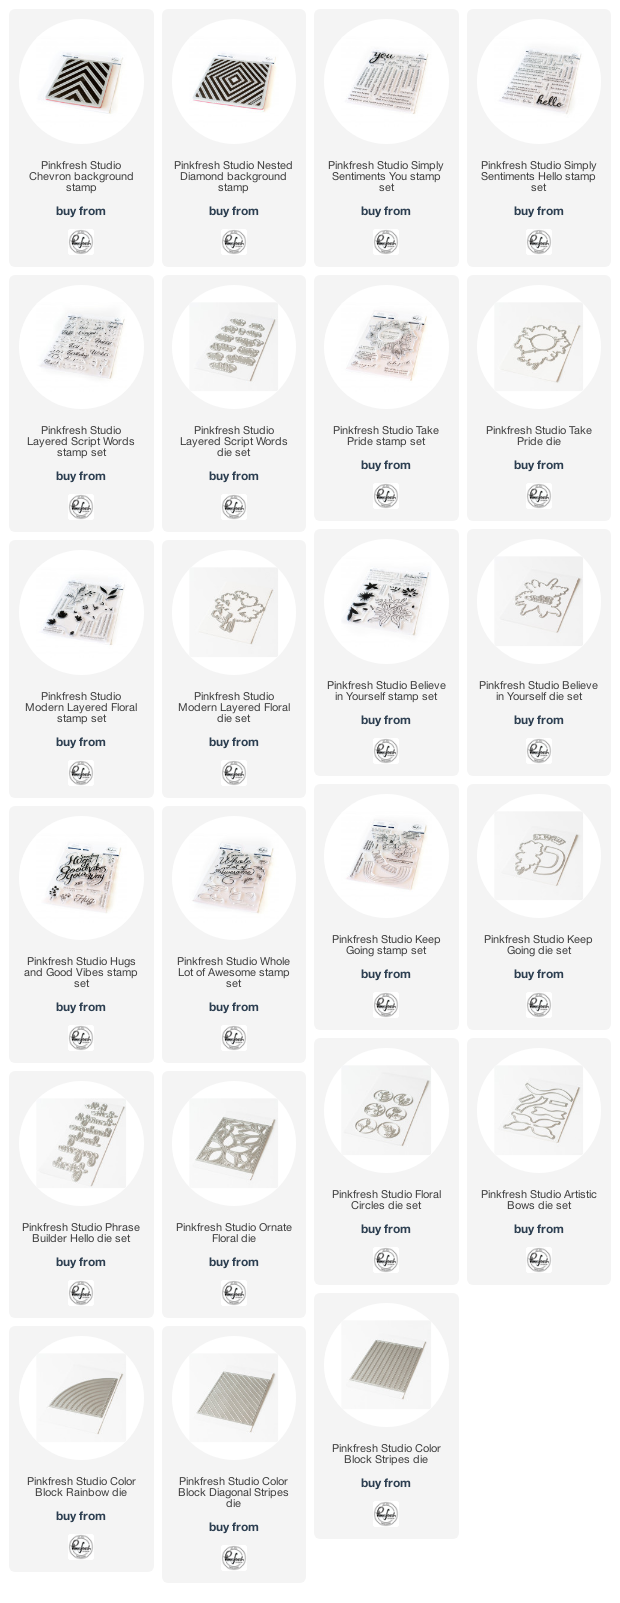
This release includes (5) 6x8 stamp sets, (4) 4x6 stamp sets, (2) red rubber background stamps, (3) Color Block die sets and (4) standalone die sets. This release is full of hopeful and encouraging stamp sets, which everyone could use right now! I am so excited to share all of my card samples with you, but first, here is at all the new products.
APRIL 2020 RELEASE

I've created an April 2020 stamp & die intro video for you today, with information on all the new stamps & Dies. You can watch it below, but be sure to click HERE and leave a comment for a chance to win the entire April 2020 release!
Color Block Stripes die + Hugs and Good Vibes stamp set
For my first card I created a shaker card using the Color Block Stripes die. This die is too DIE for! I cannot get over the perfectly straight lines, and clean edges. I create with strips of colored paper a lot, and I know by the end of adhering them down that my trimmer is not perfect. These strips are literally perfect - I think you are going to LOVE this new Color Block Series.I stamped & heat embossed the sentiment from Hugs and Good Vibes to a block of heat resistant acetate, then created a shaker element to the front of my rainbow striped background.
I created a frame using the two largest dies from our Essentials: Stitched Rectangles, which is perfect for creating a shaker frame. I filled the shaker with a mixture of clear iridescent sequins and teeny, tiny jewels that I have on hand. It is a mixture from different brands.
Here is a peek at the second card I've made using the Color Block Stripes die.
If you frequent my blog at all, you know that I don't like to waste anything. When you diecut the stripes from all the different colors, you also get the dainty thin border cut as well. I decided to try and see if I could make a background out of these, even though the stripes are SO thin. It's not perfect, and next time I will use different adhesive that hopefully won't make the cardstock more malleable...but I am pretty thrilled with how it turned out!
I've also paired the Simply Sentiments: Hello stamp set with the previously released Sentiment Suite: You die set to create the sentiment.
I created a frame with the two edged dies from our Essentials: Diagonal Stitched Rectangles die set. I finished by accenting with our Essentials: Crystals Mix.
Nested Diamond background stamp + Believe in Yourself stamp set
We are introducing two new red rubber cling background stamp sets to our collection, but these ones have an added detail that makes them extra amazing. Each piece in the designs are removable so that you can easily create multi-color or selective stamped backgrounds. This background was stamped in our premium dye inks with the Nested Diamond background stamp, then trimmed down with the largest Essentials: Stitched Rectangle die. Next I stamped & diecut the Believe in Yourself floral image in matching colors. I layered them with the Ornate Oval Frame cut from glitter paper. Then I stamped the sentiment, and diecut it with one of the Essentials: Basic Label Frames. The heat embossed scripted word was also cut out using the Believe in Yourself coordinating dies. I accented the card with our Essentials: Jewels Mix to finish.
I also added some very light gold splatters to the background and floral piece with Gansai Tambi Starry Colors paints and a size 4 round watercolor brush.
Keep Going stamp & die set
Up next is the stamp set I am most enamored with in this release called Keep Going. I can relate with so many of the sentiments, but especially this one. If you are new to my blog, then you might not know that I lost two babies very tragically in 2015 and 2016. I did help a little with the sentiments in this set, realizing that we all go through darkness but that ,is also always light. I did the no-line coloring technique with my Zig markers on the main images in this set, then cut them out with the coordinating die set.The background is stamped in Sky Blue using our Diamond Tiles background stamp, which is one of my very favorites! I stamped the first part of the sentiment to the top of the background in Detail Black, then diecut the panel with the largest Essentials: Stitched Rectangle die.
I accented this card with our Essentials: Crystals Mix in blue, pink & yellow to finish.
I really love this stamp set so much, and I think you really will too!
Chevron Background + Modern Layered Floral stamp set
I stamped this background using the new red rubber cling Chevron background stamp, which also has the removable pieces like the one I shared earlier. I stamped it in Misty Coast & Rocky Slope. Then I stamped the Modern Layered Floral bouquet in those same colors, plus Ocean Breeze & Aquamarine.
I diecut the florals with the coordinating die, then diecut the background with the largest Essentials: Ornate Banner. I also diecut an aqua colored frame with the same banner die set, using the two largest dies. I added one of the bows from our new Artistic Bows die set, and it is such a fun added touch!
I stamped the sentiment in Detail Black, then finished by accenting this card with our Essentials; Crstyals Mix.
Phrase Builder: Hello die set + Simply Sentiments: Hello stamp set
I've got one final bright and rainbow colored card to share with you today. This card features the Nested Diamond background, which I've trimmed into two pieces and rotated 180 degrees. I didn't want to trim too much of the background away, so I created a 5.25 inch square card base for this one.I diecut the words hello friend using the new Phrase Builder: Hello die set, and finished it by stamping a sentiment from Simply Sentiments: Hello in Detail Black. I adhered them to the card front, then finished by accenting with our Essentials: Jewels Mix.
Those are all the cards I have for you today! If you have any questions at all, be sure to leave them in the comments.
How about we get to all the info you need for this new release!
PRIZES
You have the chance to win a $25 gift card sponsored by Pinkfresh Studio
from my blog {and all the other posts on the blog hop too!} - all you
have to do is leave a comment!You also have the chance to win the full release on the Pinkfresh Studio blog {linked below}, our YouTube intro video and our Instagram feed. You have until Thursday, May 7th to leave your comments. The winners will be picked & posted to the Giveaway Page on Friday, May 8th, and you must follow the instructions on that page to claim your prize.
SHIPPING PROMO
We are offering free US or discounted international shipping on orders $35+. Just use the correct code below! Codes are valid until 11:59pm CST on May 7th.
BLOG HOP LINK LIST
Our entire card team and some very welcomed guests have been crazy busy
creating inspiring projects using all these new background stamps! You
are going to LOVE hopping along this blog hop! Here is a full link list,
and please note that there is a second page of links. It's come to our
attention that the Inlinkz lists aren't always showing up in all
browers, so you can also view the entire link list HERE.
You are invited to the Inlinkz link party!
Click here to enterBefore you move along to the next stop on the hop, I wanted to invite you to follow me on social media. I would love to be crafty friends!
SUPPLY LIST

Happy Friday, crafty friends! It's always a happy day when we are celebrating a brand new release from Simon Says stamp, right?! What is even better is that Simon has been able to resume shipping with extra safety precautions to keep their staff and customers as safe from COVID-19 as possible. Keep in mind that they have a lot to catch up on and shipping is just slower in general these days. But we are just so happy that one of our favorite craft stores is able to get back to work!
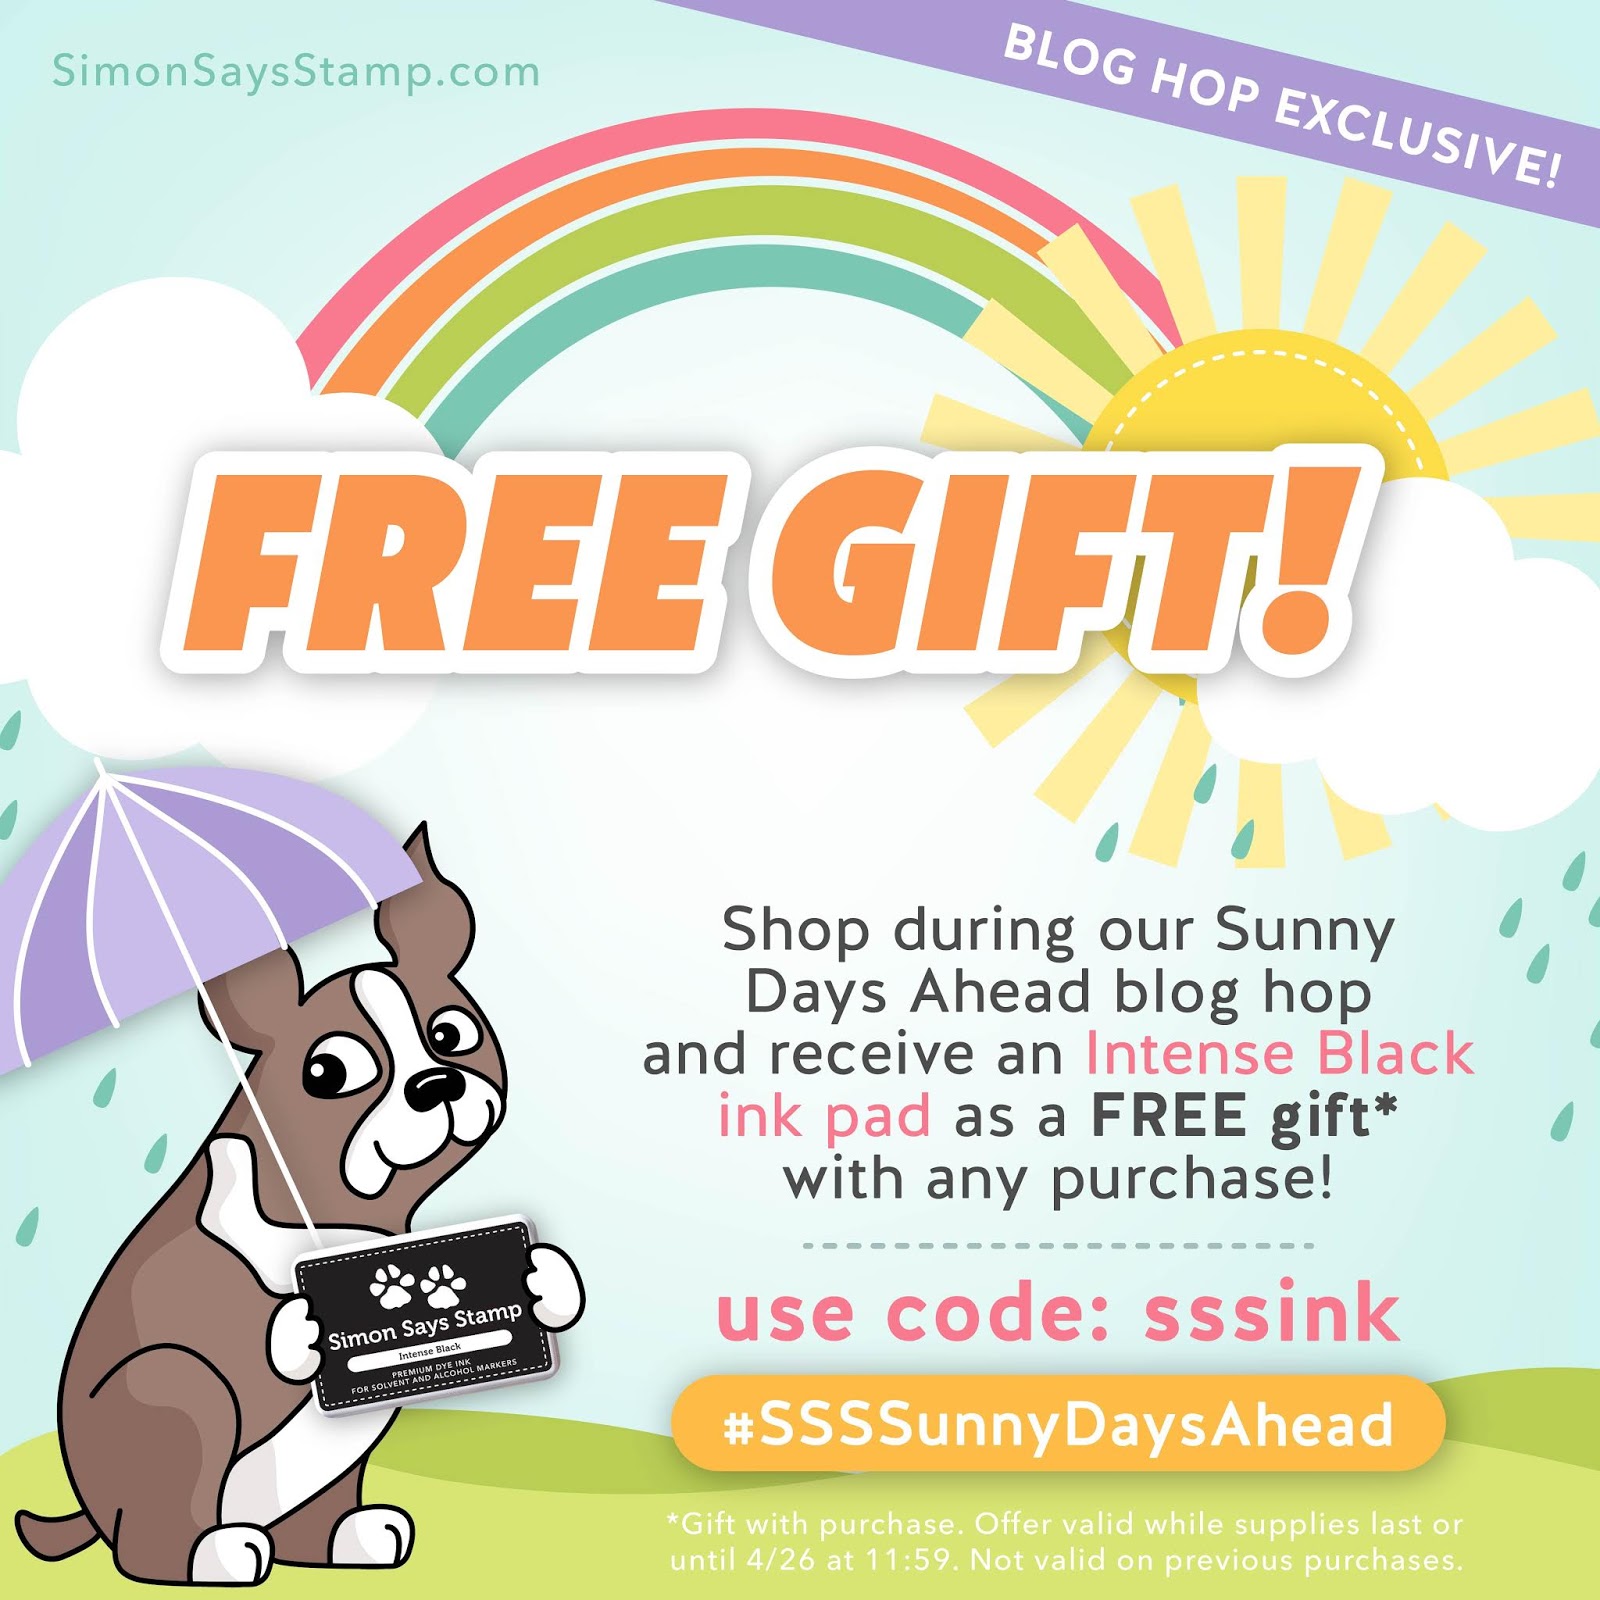
Their latest collection is called Sunny Days Ahead, and is full of gorgeous mother's day and graduation products! SSS is also giving a free intense black ink pad with any purchase purchase using the code sssink. This is valid until Sunday, 04/26 at 11:59pm or while supplies last.
This is day 1 of the Sunny Days Ahead Blog Hop, and we've got quite the lineup for you! I will put all of the blog hop details at the end of my post, but how about we get to my card first? Today I've created a rainbow stamped grad card using some of the newest products! I really feel for grads this year, especially those leaving high school. I remember all the fun I had during my final days of high school, and it is very sad that they are having to miss out on all of that. It is more important than ever that we celebrate the grads in our life as much as we can this year, and make sure they know how much they are loved!
"Congrats on a Job Well Done" grad card features:
I would love for you to watch my card come together today. You can view my video below, or HERE in HD.
If videos aren't your thing, here is a little info on how I created this card! I started by stamping the largest grad cap from the Grad Party stamp set in a rainbow gradient using Pinkfresh Studio premium dye inks. I am MISTI reliant, but if you are good with a clear block then you could stamp it that way too! All of the colors I've used are in the link list at the end of my post. When I finished the stamping, I diecut the panel with the largest Essentials: Stitched Rectangles die, then mounted a full panel of foam adhesive to the back. I have found the most cost effective way to create these is by using a block of white fun foam and backing each side with 5 inch Scor Tape. I added white splatters to the front with Amsterdam acrylic ink in titanium white, then set it aside to dry.
Next I stamped the sentiment from Grad Party to white cardstock in onyx black Versafine. I used my Mini MISTI so that I could lightly stamp the sentiment three times. This letters in this sentiment are fairly small and thin, and pressing too hard while stamping could cause them to squish and halo. I have found that I get better results using a lighter touch on these smaller sentiments! I diecut it with one of the smaller Essentials: Basic Label Frames, then trimmed the left side off.
Next I diecut the 2020 outline die four times: once from glitter paper and three times from white cardstock. I used a gold/champagne toned glitter paper that is in my crafty stash, but you could definitely substitute it with many options from this SSS glitter cardstock assortment. I adhered and stacked the four layers together with a Zig glue pen.
At this point it was time to assemble the card to the front of a black A2 card base. I mounted the stamped panel to the front, then glued the 2020 diecut with mixed media adhesive. I adhered the sentiment label with foam tape, then finished by accenting the card with the Essentials: Crystals Mix. I used my new Studio Katia embellishment wand, which works great!
That is everything I have for you today! If you have any questions about my card, feel free to leave them in the comments and I will be sure to reply.
How about we get to all the fun blog hop info now?
PRIZES:
Simon Says Stamp is giving away a $25 coupon to every stop on the hop from the blog comment section. They will choose the winners and post on the Simon Says Stamp store blog on Wednesday. Winners can email SSS to claim their prize.
Simon Says Stamp is giving away a $25 coupon to every stop on the hop from the blog comment section. They will choose the winners and post on the Simon Says Stamp store blog on Wednesday. Winners can email SSS to claim their prize.
BLOG HOP LINK LIST:
Be sure to hop
along and leave comments along the way for your best chance to win one
of the prizes! Simon Says Stamp Blog
Jennifer McGuire
Kristina Werner
Cathy Zielske
Nina-Marie Trapani
Nichol Spohr
Lisa Addesa
Heather Ruwe
Suzy Plantamura
Kathy Racoosin
Barb Engler
Cheiron Brandon
Lea Lawson
Betty Wright
Bobbi Lemanski
Lin Brandyberry
Wow....what a lineup that is! I know I am excited to grab a cup of coffee and see what everyone else created!
Finally, if you'd like to see even MORE inspiration from this release, check out the Sunny Days Ahead gallery. And be sure to link up YOUR creations too!
Before you move along to the next stop, I wanted to invite you to follow me on
social media before you move on with your day. I would love to be
crafty friends online!
Alright friends! Happy hopping, and happy Friday!
SUPPLY LIST
For your
shopping convenience, all products are linked below, including
affiliate linking when possible - this allows small compensation for me
at no cost to you. I only support legitimate retail
sites, that are true partners to stamp, die and scrapbooking
wholesalers. Today I will only be linking to Simon Says Stamp.

Happy Monday, crafty friends! I hope you had a wonderful weekend! We had beautiful weather on Saturday, so we spent a good amount of time in our backyard. Then yesterday I spent my afternoon zooming with some of my crafting friends: Seeka, Wanda & Caly. It was a great time!
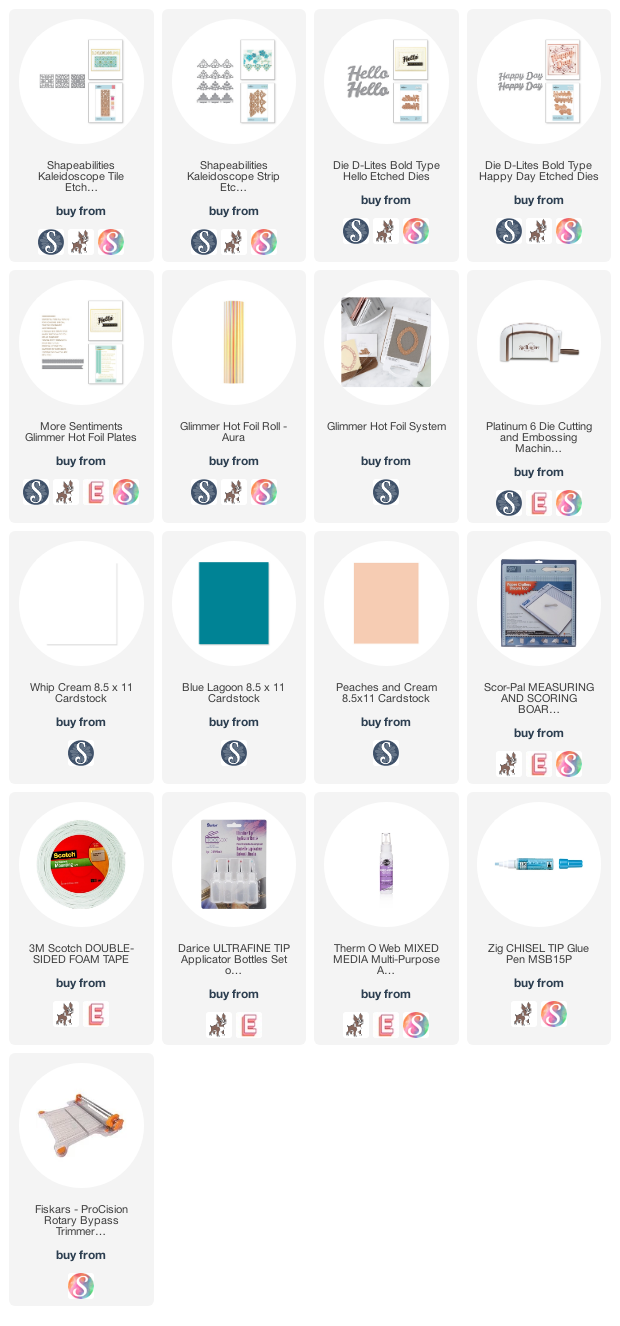
Today I wanted to share a Spellbinders card set using a couple new dies sets in the Kaleidoscope series called Tile & Strip. I have paired them with some word dies from the Bold Type series, and the More Sentiments glimmer hot foil plates. I've foiled those in Aura, and used my fave Spellbinders/FSJ cardstock colors: Whip Cream, Blue Lagoon & Peaches and Cream. The champagne glitter paper is Martha Stewart brand, and was picked up at Michael's, along with the self adhesive jewels I've used.
"Happy Hello from Me to You" features:
- Spellbinders Kaleidoscope Tiles die set
- Spellbinders Bold Type Hello die set
- Spellbinders More Sentiments glimmer hot foil plates
"Happy Birthday to You" features:
- Spellbinders Kaleidoscope Strip die set
- Spellbinders Bold Type Happy Day die set
- Spellbinders More Sentiments glimmer hot foil plates
I really love how these cards turned out! Spellbinders collection of Kaleidoscope dies are super fun! I have so many more ideas using these in different color combos. Hopefully I can get around to creating them soon!
That is everything I have for you today! If you have any questions about my card, feel free to leave them in the comments and I will be sure to reply.
Before you move along with your day, I wanted to invite you to follow me on social media. I would love to be crafty friends!
Have a great start to your week!
SUPPLY LIST

Happy Monday, crafty friends! I hope that you had a wonderful Easter weekend. We were SO lazy yesterday, as it was snowy and cold. We stayed cozy in our home and watched movies all day. I also stamped out one floral image 4 times, and colored it differently for all 4 season. I will turn them into a card set this week, and share soon!
I also created this rainbow tag set over the weekend. I had diecut the rainbow tags when creating for the United We Craft party with Simon, but I ended up not using them. I didn't want them to go to waste, as they are SO pretty...so I challenged myself to get them turned into a project!
Rainbow Cross Tag Set features:
- SSS Faith Over Fear stamp set
- SSS Outline Floral Cross die set
- Mama Elephant Tags A Lot die set
- MFT Stamps Blueprints 28 die set
- Little Things by Lucy's Clear Iridescent jewels mix
- May Arts Ivory Twine
When I create rainbow striped backgrounds, I will create a full sheet at one time. These tags finished off a sheet I created back in December, and have been using it here & there on rainbow themed projects. It kind-of feels like an accomplishment. Lol! I did want to mention that the large iridescent jewels that top the bows on each tag were purchased from Michael's, so they are not linked below.
I diecut the cross from the rainbow background once, and from white cardstock three times. I've used every single layer on these cards, stacking all the white layers with a Zig glue pen. I paired each stacked white cut with the rainbow counterpart.
I stamped the sentiments in onyx black Versafine. One I stamped directly to the white cross, and the other I stamped to white cardstock. Then I diecut it with a stitched banner die.
Have a great start to your week!
SUPPLY LIST

Subscribe to:
Comments (Atom)


Social Icons