

Happy Saturday, crafty friends! I hope you are having a wonderful Easter weekend so far. During this crazy time in the world, I've been focusing on getting some crafting time in each day. Some days I am playing along with the 30 day coloring challenge with Kathy Rac of the Daily Marker, as I find coloring to be very soothing. But today I've created a scrapbooking style card set, and I've done another task that I find therapeutic - fussy cutting. I sat in the living room with Josh the other day, and just fussy cut these cute bunnies & carrots before putting the card set together.
Today I am featuring some gorgeous papers and dies from Alexandra Renke. I think I say this every time I post with her products, but I just LOVE them. The papers are luxurious, and so beautifully designed. I love how whimsical this Easter collection is.
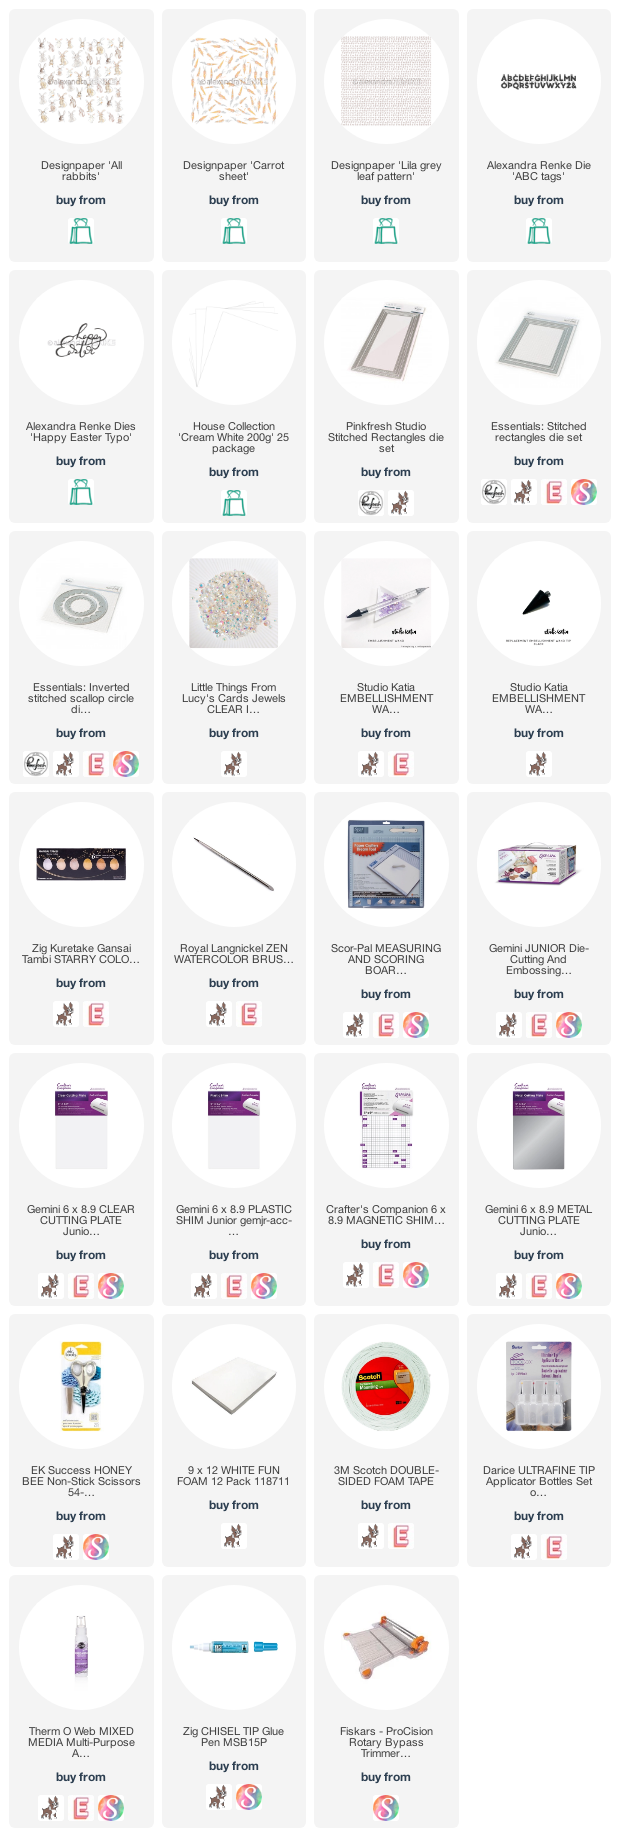
"Hoppy Easter" card set features:
- House Collection "Cream White" cardstock
- "All Rabbits" 12x12 paper
- "Carrot Sheet" 12x12 paper
- "Lila Grey Leaf Pattern" 12x12 paper
- ABC Tags die set
- Happy Easter Typo die

For my first card, I created a 4x9 slimline card, which fits in a size 10 business envelope. I love to create these long and skinny cards with Alexandra's products, because it allows me to feature so much of her beautiful designs! I've partnered her products with the Essentials: Slim Stitched Rectangle dies from Pinkfresh, as I just love having that finished edge to all my layers. The great thing about these slimline dies is that they work on cards meant to fit both size 9 & 10 envelopes. They are SUPER versatile!

I started by diecutting the two slim stitched rectangles from the background paper and the house cardstock. I adhered the background directly to the 4x9 card base. I arranged some of the fussy cut bunnies to the smaller rectangle, then adhered with a combination of liquid glue and foam tape. Next I splattered it with light gold paint. Those set in a few minutes, then I mounted it to the card front with foam tape. I added the sentiment above the bunnies, then finished by accenting with clear iridescent jewels.


For my next card I used the A2 Essentials: Stitched Rectangles from Pinkfresh, along with the Essentials: Inverted Stitched Scallop Circle die set. I didn't mention this before, but I trimmed the scripted Happy Easter diecut word apart so that I could use a section on each card. I wanted to be sure to feature the ABC Tag alphas throughout each item in this set, along with the gorgeous scripted sentiment.

For this card I diecut the two stitched rectangles from the same papers as the first card. I went a step further on the cream layer, and also diecut the smallest scalloped circle twice to create two peekaboo windows. I mounted both layers with foam adhesive to the front of an A2 card base. I trimmed off the tag element from the letters, then spelled the word Easter along the left side of the cream layer. I attached the scripted Happy word at an angle directly above the letters, then tucked the fussy cut bunnies in here & there. I gave the top bunny a cute carrot to hold, because he was looking a little envious of the other two. ;) To finish, I accented with the same clear iridescent jewels as the first ard.


I wanted to use up some of the letters ( I still have PLENTY left to use on another project), and some more of the fussy cut items...so I made a couple of place cards with our names on them. We don't get real fancy like this when we make dinners, but I still thought they were pretty cute. And if you do get a little fancy, here is a sweet idea for using up some dies. These place cards measure 2x3" in size.


I've linked to most items today in the Alexandra Renke shop, as I wasn't able to source them in the US this time. The only way to make Alexandra's product more readily available here is to ask for it at your favorite store...whether it be online or brick & mortar. So, please be sure to ask if you would like to be able to get her products here!

That is everything I have for you today! If you have any questions about my card, feel free to leave them in the comments and I will be sure to reply.

Before you move along with your day, I wanted to invite you to follow me on social media. I would love to be crafty friends!
Have a great Saturday!
SUPPLY LIST


3 comments
OMGosh, those are the cutest bunnies every and you turned them into the most fabulous of cards and place markers. Happy Easter to you all
ReplyDeleteLea, thank you for sharing this today. What a beautiful set of Easter beauties! I think your work is always so inspiring. Love and miss you!
ReplyDeleteOh wow! These are so so pretty!
ReplyDeleteComments warm my heart. Thank you! ♥