

Hey there, blog friends! This is a bit unusual, as I normally work behind the scenes...but today I am up on the Pinkfresh Studio blog as one of our designer's had some things come up and couldn't do their post today! What a fun treat for me!
I focused on two of our standalone dies - Bright Side of Life and Houseplants. I am a big fan of dies, and I probably use them more on my cards than I do stamping! So, I am a lover of all the Pinkfresh Studio standalone dies, and it was time to break these two out & make some creations from them!
For both cards I created ink blended backgrounds using Distress Oxide inks! It's one of my favorite techniques for making cards these days, and an easy way to create an interesting background in the exact colors you want! Everything I used will be linked below for your shopping convenience!


For my first card, I created an A2 card from white cardstock and set aside. Then I cut another cardstock block slightly smaller and created an ink blended background to it. I actually only blended three colors (Picked Raspberry, Peacock Feathers and Squeezed Lemonade) but when the colors blend together they create the rainbow! Once blended, I flicked it with water and picked it up with a paper towel. Then I spritzed it with shimmer spray, and added gold paint splatters.


Next I diecut the Bright Side of Life die 4 times from white linen cardstock, and layered it together with a glue pen. I do this with my diecuts to give them some rigidity, and dimension. This way I don't have to try and cut a zillion pieces of foam tape to fit on the back of it - it already has the dimension I love.


By this time the ink blended background was dry, so I adhered it to the card front with my DIY foam adhesive. I use wide Scor-Tape and white Fun Foam to fully cover my backgrounds so I don't get any weird warping or impressions.


Then I adhered the Bright Side of Life layered diecut to the front. And I finished the card by adding my signature jewels tucked here and there!


For my second card I blended with the following colors: Cracked Pistachio, Lucky Clover & Peacock Feathers. I'm pretty habitual when it comes to my ink blended backgrounds, so you can follow the same directions as the first card for this one!


This time I still cut the Houseplants die 4 times, but one of those layers was gold glitter paper. I layered the cuts together, adding the gold glitter to the top. Then I created a sentiment using the Let Your Heart Decide cardstock stickers. I think this sentiment would be really great for a grad! It's a little unconventional, but so fitting! It could also work for engagements, weddings, retirement, or anyone starting a new chapter in their life.


I did all the same layering on my diecuts as the first card, and this image shows you the dimension quite well. Once the card was all put together, I once again added my signature jewels tucked here & there.


Well, I hope that you liked my cards today! Before you move along with your day, I wanted to invite you to follow me on social media. I hang out on Instagram a lot, and share my work in progress in my stories...along with REALLY cute photos of my dogs! :) Plus, I just started a YouTube channel, and while there are only a few videos right now...I will be adding new content consistently!
Have a wonderful day, friends!
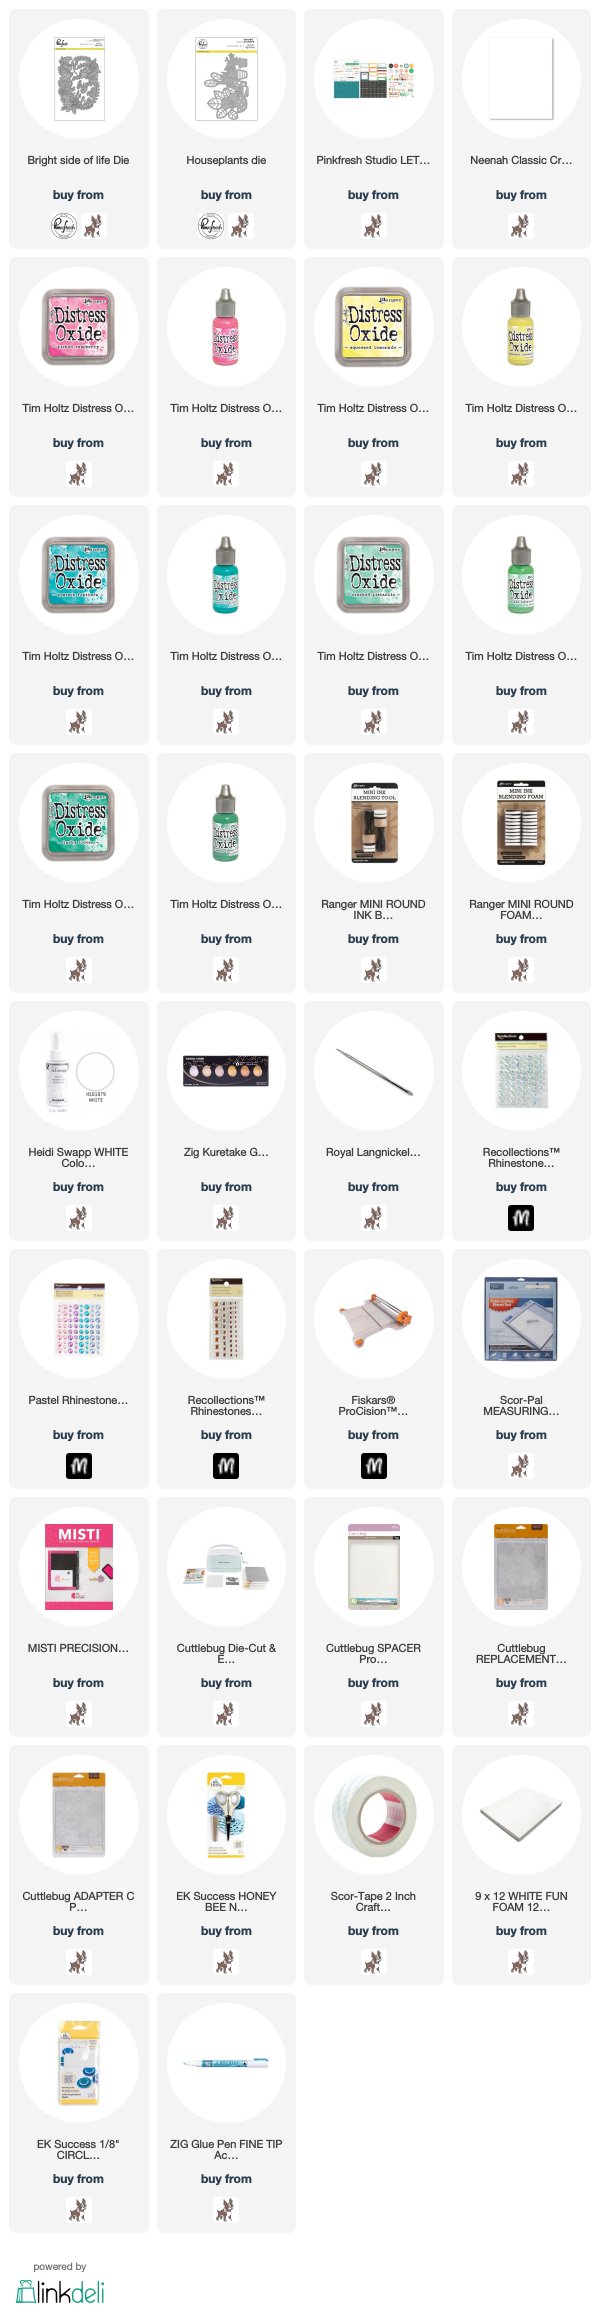
SUPPLY LIST
For your shopping convenience, all products are linked below. {Includes affiliate linking where possible - this allows small compensation for me at no cost to you. Never fear - I will only ever link to products that I truly love & use!}


6 comments
Beautiful work ! I do love how you add dimension by gluing 4 dies together ! Beautiful work :)
ReplyDeleteThese are both such lovely cards!
ReplyDeleteThe die cuts add real wow factor to these cards. Thanks for the inspiration.
ReplyDeleteSuper beautiful cards!!! :)
ReplyDeleteWow, these are just stunning!
ReplyDeleteOooh, these are gorgeous!
ReplyDeleteComments warm my heart. Thank you! ♥