


I want to dote on Ellen for just a moment. I had worked with Ellen's products a couple times, and she graciously sponsored my crafty comeback month. I officially met her at Creativation in 2018, which was 1 year & two months after Layton's death. First, she gives the greatest hugs. She hugged me for such a long time, and let me just say this. Grief is heavy. When you carry it for so long on your own, you don't realize how heavy it truly becomes. So when someone pulls you in for a genuine hug and let's you have a break...where they almost carry that weight for you for a moment...that is just what Ellen did. And then she talked with my about Ellie & Layton, which people don't often do. Ellen is one of the most genuinely loving and wonderful people I have ever had the privilege to call a friend.
Today I have a card to share using her brand new Tis the Season sentiment stamp set, which I LOVE. It's got some fantastic seasonal sentiments, with a unique & fun feel! What I really love about this stamp set is it allowed me to also use some products from Ellen's winter release in 2018 that didn't see much love, like the Winter Window die set, and the Mountain Holiday stamp set.

1. Stamp the Jumbo Plaid background to Bazzill Gumball cardstock in white pigment ink. Set aside to dry.
2. Diecut the window & snow elements from white cardstock, and the trees from green.
3. Ink blend the full background piece using the Starry Night ink set from Pinkfresh Studio.
4. Splatter the ink blended background & trees with watered down titanium white paint. Set aside to dry.
5. Cover the hills & icicles in glitter.
6. Diecut the plaid background with the largest Essentials: Stitched Rectangle.
7. Stamp the sentiment to the bottom in onyx black Versafine & Stargazer premium dye ink from Pinkfresh.
8. Mount the background panel to an A2 card base with a full sheet of foam adhesive.
9. Layer the window scene together, popping some areas up with foam adhesive.
10. Adhere the finished window scene above the sentiment.
11. Accent with jewels to finish.


The self-adhesive jewels I've used are not linked below, as I purchased them at a craft store. You can substitute them with anything you might have on hand. For the glitter, you can mix the prisma glitter & chunky glitter from Lawn Fawn together for this mix. I love how it catches light, and adds some lovely color to my cards!


That is everything I have for you today! If you have any questions about my card, feel free to leave them in the comments and I will be sure to reply.

Before you move along with your day, I wanted to invite you to follow me on social media. I would love to be crafty friends!
Have a fantastic rest of your Friday!
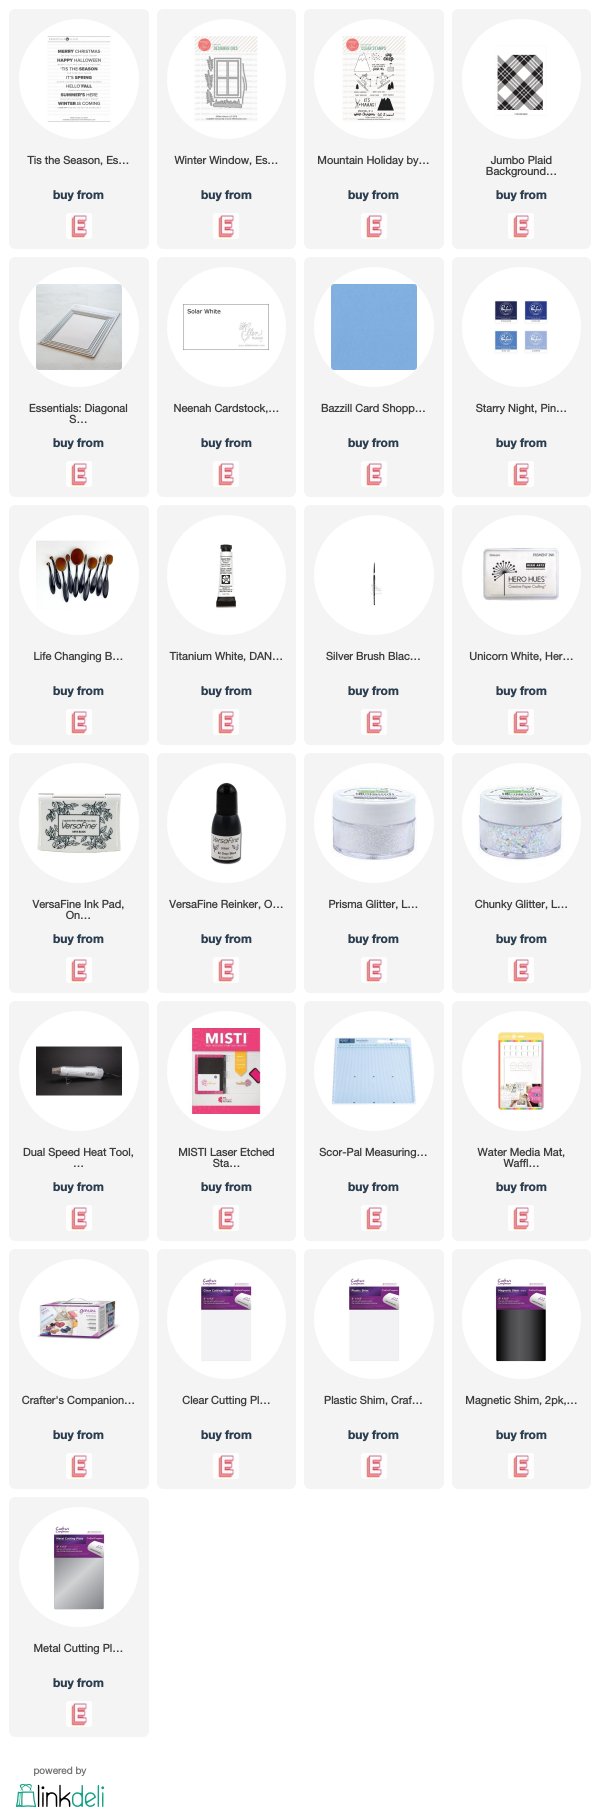
SUPPLY LIST


2 comments
Lovely cool palette on this card. Sometimes a person senses exactly what we need, and a hug is the simplest of things.
ReplyDeleteBeautiful card Lea. Ellen sounds like a wonderful person. I'm so glad she was there for you when you needed a hug.
ReplyDeleteComments warm my heart. Thank you! ♥