

Hey there, blog friends!! Sorry it has been so quiet around here...just been busy with other things these days! I am going home to Montana for a couple of weeks at the end of the month, and I am SO excited!! But...that also means I've got to craft in advance as much as possible...so my blog might be a little quiet. I still hope to get in some "just for fun" crafting time before leaving as well...so never fear! I will have posts up!
Today I am up on the My Mind's Eye blog, and I have a cute duo of cards to share with you!! They feature the My Mind's Eye Now & Then "Dorothy" collection, and are full of amazing color & dimension! I just love the pinks & blues & grays featured in this collection!
I used a very similar design on the base of the cards, which included wrapping twine around the seam from the two different papers and rounding just the one corner. This provided continuity between the two cards so they could be given away as a little gift set, but also so they would photograph well together!
Once the card bases were complete, I layered and accented the tops. While I used different stickers, journal cards & accents on each card, I was able to maintain some similarity just by using the same collection. That is one of the things that I love most about My Mind's Eye collections...there are so many different elements in each one and you have so much to choose from when it comes to designing your projects!! Here are the cards I've created today!


 I've used a sketch from Sketch Saturday (linked below) for both of these cards, and have just flipped it around in order to use the sketch twice, but come up with different results! I actually do this quite a lot...it's a great way to make a pair of cards that have a cohesive design!
Card Challenges
-Sketch Saturday #300
-Cure for the Monday Blues #8
-Word Art Wednesday #122
Well friends, that is all I have for you today! I hope that you enjoyed my cards and that you have a great rest of your Tuesday!!
Until later,
~L.
Supplies:
Today I am up on the My Mind's Eye blog, and I have a cute duo of cards to share with you!! They feature the My Mind's Eye Now & Then "Dorothy" collection, and are full of amazing color & dimension! I just love the pinks & blues & grays featured in this collection!
I used a very similar design on the base of the cards, which included wrapping twine around the seam from the two different papers and rounding just the one corner. This provided continuity between the two cards so they could be given away as a little gift set, but also so they would photograph well together!
Once the card bases were complete, I layered and accented the tops. While I used different stickers, journal cards & accents on each card, I was able to maintain some similarity just by using the same collection. That is one of the things that I love most about My Mind's Eye collections...there are so many different elements in each one and you have so much to choose from when it comes to designing your projects!! Here are the cards I've created today!
Card Challenges
-Sketch Saturday #300
-Cure for the Monday Blues #8
-Word Art Wednesday #122
Well friends, that is all I have for you today! I hope that you enjoyed my cards and that you have a great rest of your Tuesday!!
Until later,
~L.
Supplies:




Happy Monday, blog friends! How is your day going so far? It is snowing here, & cold...so, pretty normal. :) Just a normal start to the week for me....not too much going on today.
This week on the Glitz blog we are showcasing one of our brand new collections called "Carpe Diem". This collection is a blend of soft pink & soft blue, mixed with white & other neutrals...it is GORGEOUS. I think it might be my very fave collection from Glitz this time around...and it mixes perfectly with my fave metallic these days....gold. Here is what I created!


Instructions:
1. Make A2 card from cashmere cardstock.
2. Cut vellum & dotted paper slightly smaller & layer at different angles to the card front.
3. Cut an ombre strip, & adhere to the left side.
4. Wrap white lace & gold trim across the middle of the card.
5. Cut the 3x4 journal card from patterned paper, & adhere to the right with foam adhesive.
6. Diecut the wreath from gold glitter paper, & the circle from vellum.
7. Stamp the sentiment to the vellum, cover in embossing powder & heat set.
8. Layer the wreath & sentiment circle together to the front, then accent with giant rhinestones.
9. Add stickers & enamel dots as shown to finish.
Card Challenges:
-Reverse Confetti March Sketch
-The Paper Players #185 - Thankful for Spring
I love the sentiments that are included in this stamp set from Reverse Confetti (linked below), and this one is my favorite of them all. It's such a lovely way to say thank you for whatever you might be grateful. And it looks so pretty embossed in glittery gold....tee hee!!
Well, that is all I have for you today! I hope that you have a wonderful rest of your Monday!
Until later,
~L.
Supplies:
**The vellum was purchased at my local craft store.**
This week on the Glitz blog we are showcasing one of our brand new collections called "Carpe Diem". This collection is a blend of soft pink & soft blue, mixed with white & other neutrals...it is GORGEOUS. I think it might be my very fave collection from Glitz this time around...and it mixes perfectly with my fave metallic these days....gold. Here is what I created!
1. Make A2 card from cashmere cardstock.
2. Cut vellum & dotted paper slightly smaller & layer at different angles to the card front.
3. Cut an ombre strip, & adhere to the left side.
4. Wrap white lace & gold trim across the middle of the card.
5. Cut the 3x4 journal card from patterned paper, & adhere to the right with foam adhesive.
6. Diecut the wreath from gold glitter paper, & the circle from vellum.
7. Stamp the sentiment to the vellum, cover in embossing powder & heat set.
8. Layer the wreath & sentiment circle together to the front, then accent with giant rhinestones.
9. Add stickers & enamel dots as shown to finish.
Card Challenges:
-Reverse Confetti March Sketch
-The Paper Players #185 - Thankful for Spring
I love the sentiments that are included in this stamp set from Reverse Confetti (linked below), and this one is my favorite of them all. It's such a lovely way to say thank you for whatever you might be grateful. And it looks so pretty embossed in glittery gold....tee hee!!
Well, that is all I have for you today! I hope that you have a wonderful rest of your Monday!
Until later,
~L.
Supplies:
**The vellum was purchased at my local craft store.**




Happy Sunday, blog friends!! How are you doing today? It's a COLD day here in Fargo, but full of sunshine...so at least my home is being soaked in sunlight as I stay inside with the heat on. We had an impromptu night of food & drinks with our neighbors last night....it was a total blast! The greatest part...when we needed simple syrup at their house to make lemon drop martinis, all we had to do was run next door to our house to grab it. {Not to mention....after 3.5 martinis, I only needed to walk across our front yards to get into my house...lol!} I posted a couple fun photos from our night to Instagram, so check it out if you don't follow me!!
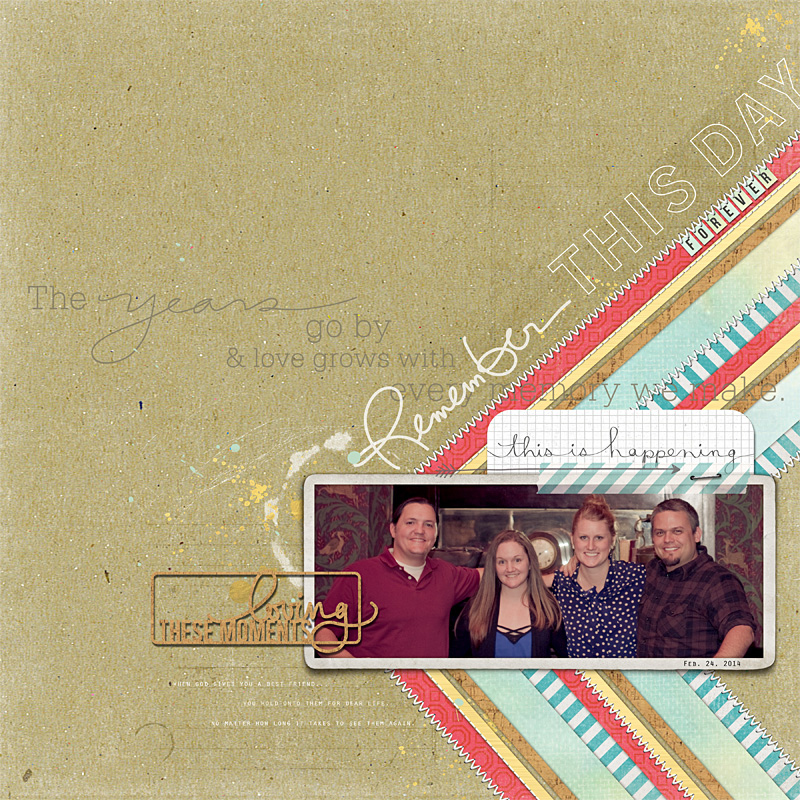
Today I have a new digital layout to share with you! Once we took this photo, I knew I had to get it documented right away because it is just plain precious to me. {Never mind the exasperated smile on my face...it has nothing to do with the people in the photos. I will just leave it at I should have set the camera up on a table & done it myself...} Anyways, this is my best friend Jeremy, and his wife, Erin. Due to life, circumstances & all that...Jeremy & I haven't seen each other since we were 20. We've been best friends practically since the moment we met at the ages of 10 & 9 {I'm the older one....& trust me, he never lets me forget it :) }. And when I moved away from Tucson, we just stayed super close. We kept in touch through letters, phone calls, & email. I visited a few times. And as we've gotten older, technology has been on our side with Facebook, iPhones, text messaging & all that.
But nothing is as awesome as being together in person. Nothing is as awesome as meeting each others spouses, finally....and talking & laughing like we had all known each other for years. It was a really amazing time, and it just makes me so grateful. Here is the layout I created to document this special dinner!
And now the ever human side of me can't wait for them to come visit us for a full weekend in Fargo. I look forward to late nights with more laughing & talking & eating & joking & just having fun!! Eeeeek....I wish we had plans for this, like, tomorrow!! Lol!!
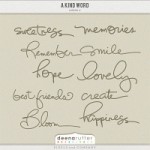
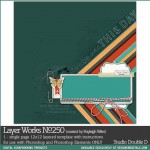
All of the digital product I've used will be linked at the bottom of my post, but I wanted to share a little bit of fun news with you. I am a new digital team member for Deena Rutter, who creates so really fantastic digital product! CLICK HERE to see her digital shop!
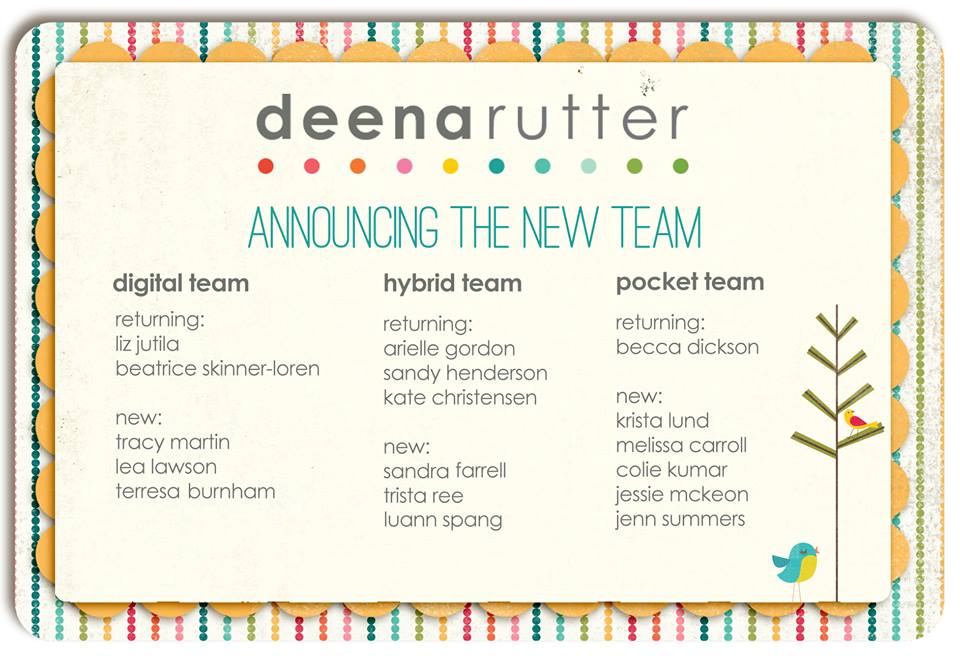 I'll be sharing projects each month using the new product she releases, & combining it with some past releases as well!! I'm exited to be part of this new team....& I hope that you will love my digital creations!!
Well, that is all I have for you today! I hope that you enjoy the rest of your Sunday & have a great end to our weekend!
Until later,
~L.
Supply List:
Today I have a new digital layout to share with you! Once we took this photo, I knew I had to get it documented right away because it is just plain precious to me. {Never mind the exasperated smile on my face...it has nothing to do with the people in the photos. I will just leave it at I should have set the camera up on a table & done it myself...} Anyways, this is my best friend Jeremy, and his wife, Erin. Due to life, circumstances & all that...Jeremy & I haven't seen each other since we were 20. We've been best friends practically since the moment we met at the ages of 10 & 9 {I'm the older one....& trust me, he never lets me forget it :) }. And when I moved away from Tucson, we just stayed super close. We kept in touch through letters, phone calls, & email. I visited a few times. And as we've gotten older, technology has been on our side with Facebook, iPhones, text messaging & all that.
But nothing is as awesome as being together in person. Nothing is as awesome as meeting each others spouses, finally....and talking & laughing like we had all known each other for years. It was a really amazing time, and it just makes me so grateful. Here is the layout I created to document this special dinner!
All of the digital product I've used will be linked at the bottom of my post, but I wanted to share a little bit of fun news with you. I am a new digital team member for Deena Rutter, who creates so really fantastic digital product! CLICK HERE to see her digital shop!
Well, that is all I have for you today! I hope that you enjoy the rest of your Sunday & have a great end to our weekend!
Until later,
~L.
Supply List:

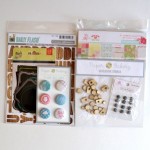
Happy Saturday, blog friends!! I have a a new card to share using the February Umbrella Rain card kit
from Paper Bakery. I was so excited to get my kit in the mail because
it included a Paper Bakery exclusive stencil in a houndstooth
design…which is one of my faves!! I used white gesso for my card, but
you could also use embossing paste.
At first I tried the gesso & stencil out on some patterned paper, but it didn’t give me the look I was going for. I think the design was just a little too big. So, I then tried it out on a block of heavy white cardstock…and it worked exactly how I wanted it!! Here is my card!


 Instructions:
1. Make A2 card from cashmere cardstock.
2. Cut white cardstock slightly smaller, then round the corners.
3. Tape the stencil to the cardstock, then apply a thin layer of gesso to it.
4. Remove the stencil carefully, then let the gesso dry.
5. Once dry, add a couple sprays of gold mist to it & let that dry.
6. Diecut a doily from floral paper, cut in half & layer to the left side of the white block.
7. Cut a banner edge to paper & vellum blocks, then layer together to the doily.
8. Zig-zag stitch along the left side of the doily & sentiment banner.
9. Adhere the entire block to the card front.
10. Cut the smaller banner from paper, and adhere to the upper right corner of the card.
11. Add the arrow flair to the top of the large banner.
12. Spray the hexagon wood veneer with gold mist, then add to the card front to finish.
Card Challenges:
-Retro Sketches #104
-Simon Says Stamp Monday challenge - paste
-Moxie Fab World "Happy Hexagons" challenge
-Totally PaperCrafts #208 - Make it Shine
-Charisma Cardz #5 - Something Not for Crafting
So, I've been wanting to spread my wings lately, & start learning to use product that I previously would have deemed too messy. I have some of these amazing stencils, and I've seen other cardmakers using embossing paste with them. Well...my local craft stores didn't have embossing paste ,but they did have gesso...so I got that & tried it out. And it's FUN!! Now I want to pick up the shimmery gold embossing paste that I found at SSS....it's in my cart, & just waiting to have enough items to check out!!
Alright...so we went to Minneapolis at the beginning of the week to just get away from Fargo for a few days. Here is a little recap:
Until later,
~L.
Supply List:
At first I tried the gesso & stencil out on some patterned paper, but it didn’t give me the look I was going for. I think the design was just a little too big. So, I then tried it out on a block of heavy white cardstock…and it worked exactly how I wanted it!! Here is my card!
1. Make A2 card from cashmere cardstock.
2. Cut white cardstock slightly smaller, then round the corners.
3. Tape the stencil to the cardstock, then apply a thin layer of gesso to it.
4. Remove the stencil carefully, then let the gesso dry.
5. Once dry, add a couple sprays of gold mist to it & let that dry.
6. Diecut a doily from floral paper, cut in half & layer to the left side of the white block.
7. Cut a banner edge to paper & vellum blocks, then layer together to the doily.
8. Zig-zag stitch along the left side of the doily & sentiment banner.
9. Adhere the entire block to the card front.
10. Cut the smaller banner from paper, and adhere to the upper right corner of the card.
11. Add the arrow flair to the top of the large banner.
12. Spray the hexagon wood veneer with gold mist, then add to the card front to finish.
Card Challenges:
-Retro Sketches #104
-Simon Says Stamp Monday challenge - paste
-Moxie Fab World "Happy Hexagons" challenge
-Totally PaperCrafts #208 - Make it Shine
-Charisma Cardz #5 - Something Not for Crafting
So, I've been wanting to spread my wings lately, & start learning to use product that I previously would have deemed too messy. I have some of these amazing stencils, and I've seen other cardmakers using embossing paste with them. Well...my local craft stores didn't have embossing paste ,but they did have gesso...so I got that & tried it out. And it's FUN!! Now I want to pick up the shimmery gold embossing paste that I found at SSS....it's in my cart, & just waiting to have enough items to check out!!
Alright...so we went to Minneapolis at the beginning of the week to just get away from Fargo for a few days. Here is a little recap:
- On our first night there we had dinner with my lifelong best friend, Jeremy and his new wife, Erin. This night made my year. Seriously. Jer & I haven't seen each other since we were 20, and I've missed him SO much. His wife, Erin, is so sweet and I can't wait to get to know her better. A few hours definitely doesn't make up for how long we've been apart, but it was still so precious to me. I can't wait until they come & spend a weekend with us in Fargo!!
- We went to the Mall of America on Tuesday afternoon. It's huge. And a bit overwhelming. I could never actually shop there. There are too many stores, and I would get an anxiety induced version of ADD trying to shop there. But, it was fun to walk around, & we did get some things at Teavana, & a couple other small shops.
- We went and saw "Tristan & Yseult" at the Guthrie Theatre and it was great! So so funny in the first half, & then tragic in the second. They did an amazing job with it.
- We stopped at some outlet stores on our way home, & I got the cutest pair of Lucky cropped jeans for $11. Seriously....ELEVEN dollars. Normally priced around like, $100. Pretty great deal, if I do say so myself.
Until later,
~L.
Supply List:


Subscribe to:
Posts (Atom)


Social Icons