We've almost made it to the weekend, friends! And I now have ONE sleep until my family gets here...and I have SO much cleaning to do today. Lol! Our house is teeny, so it doesn't take me very long to get it into shape.
You may have noticed that my website got an update yesterday! I'm excited with how it turned out, and it feels fresh & clean! I know it's a bit different, but I think you will get used to it as you check back. I have added some new pages, including one for Crafty Sales. I know that I take advantage of sales as much as possible, so I figured I would share the sales I know about with you as well! These new pages are easy to access in the menu just below my logo. :)
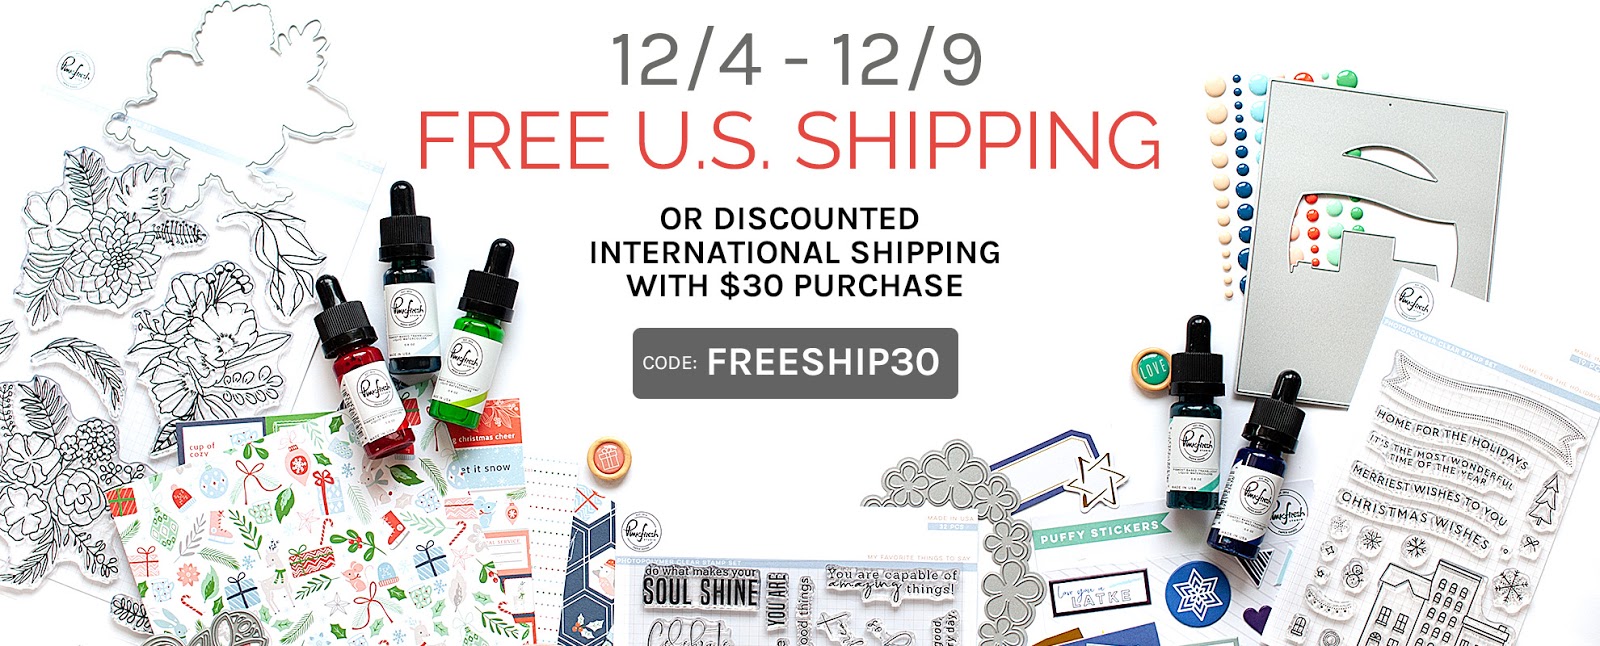
Today I am sharing a card set that features the newer Lush Greenery stamp set and coordinating dies from Pinkfresh Studio. This set is FULL of leafy goodness, and perfect for coloring with any medium you prefer! We have sold out of this set twice, but we got our latest shipment in this week and it is now restocked! Yay! So, be sure to grab it if it's been on your wish list! We are offering free or discounted shipping this week on orders $30+, so it's a good time to pick yourself up a little gift. :)
I used this stamp set as is, but it totally works for Christmas as well! You can see how my friend, Yoonsun, used it for a lovely Christmas card in this post on the Pinkfresh Studio blog. My good friend Caly created this lovely card when the set released, and while she didn't use a Christmas sentiment...the coloring is PERFECT for the holidays, and the sentiment could be easily changed out! I'm always in awe of what my crafty friends are creating, and I'm going to try and share them with you here & there throughout my posts from now on!
Once those were dry, I did all the diecutting. I cut out the leafy images with their coordinating dies first. Then I cut out the word KIND four times: once from gold glitter paper and three times from white cardstock. I stacked and adhered those layers together with a Zig glue pen. Then I used my MISTI to stamp the rest of the sentiments to white cardstock panels, using the diecut layers as guides.
At this point it was time to start putting the cards together. First I mounted the white stamped panels to green & black A2 card bases with foam adhesive. Then I adhered the leafy images to the front of each card as shown, using foam tape to pop them up in places. Next I covered the edges of the green card, and covered the stamping by placing the actual stamp over top...then splattered the fronts with Licorice liquid watercolor and set them aside to dry.
To finish this first card, I added some shimmer to the leafy images with my Tonic Aqua Shimmer pen and accented with some jewels.
This card was put together quite similarly to the card above, except that I only used foam tape at the tops of the images, but glued the bottoms down with permanent tape adhesive. I also splatted it with gold paint, in addition to the black liquid watercolor. Then I also added the diecut word KIND over top of the stamped part of the sentiment. Of course, I also added jewels to this card to finish! :)
Don't forget that we are offering up free or discounted shipping this week on all purchases $30+! Just be sure to use the code FREESHIP30 upon checkout.
That is all I have for you today, friends! Before you move along with your day, I wanted to invite you to follow me on social media. I hang out on Instagram a lot, and share my work in progress in my stories...along with REALLY cute photos of my dogs! :) And of course, I would love for you to subscribe to my YouTube Channel. My channel has been pretty quiet recently - I am right in the middle of reorganizing my entire craft area...so it is a bit disjointed. I have given myself a deadline of the end of December to get it completely finished, with my new studio area ready for video creation!! So, there will be a TON more videos in 2019. So thank you for bearing with me until then!
I hope that you have a fantastic Friday!
SUPPLY LIST
For your shopping convenience, all products are linked below. {Includes affiliate linking where possible - this allows small compensation for me at no cost to you. Never fear - I will only ever link to products that I truly love & use!}
SUPPLY LIST
For your shopping convenience, all products are linked below. {Includes affiliate linking where possible - this allows small compensation for me at no cost to you. Never fear - I will only ever link to products that I truly love & use!}


2 comments
While I'm so enjoying seeing the crafting universe fill with Christmas cards, your crisp lush greenery showcases are breaths of fresh air! Vibrant and pretty, both...and yes, remarkable the different looks with a 'simple' alteration in the outline. Gorgeous...and I'm feeling a 'need' to shop *grin*
ReplyDeleteYour escalating excitement over your guests' arrival is infectious. I'm beaming with anticipation for you! Hope you have a most marvelous time with your company!
~carol
Beautiful cards :)
ReplyDeleteComments warm my heart. Thank you! ♥