


Happy Wednesday, blog friends! We have hit the midpoint of the week! And I am only 3 sleeps away from welcoming my mom, dad & gramma to Minneapolis for a week. I am SO excited for them to be here! And then next Thursday, my brother & future sister-in-law will fly in - our tiny little house is going to be PACKED FULL. Lol! I can't wait!
Today I wanted to share that we are offering free US shipping and discounted International shipping at Pinkfresh Studio all week long on orders $30+! By using the code upon checkout, it will deduct $5.50 off your order, which equates to free shipping in the US or discounts it for our international friends.

This is a great time to grab some last minute gifts for your favorite crafty family & friends, or pick up a little gift for yourself! ;) I thought this would be a fun time to create a list of my top 20 items that we released at Pinkfresh Studio this year!
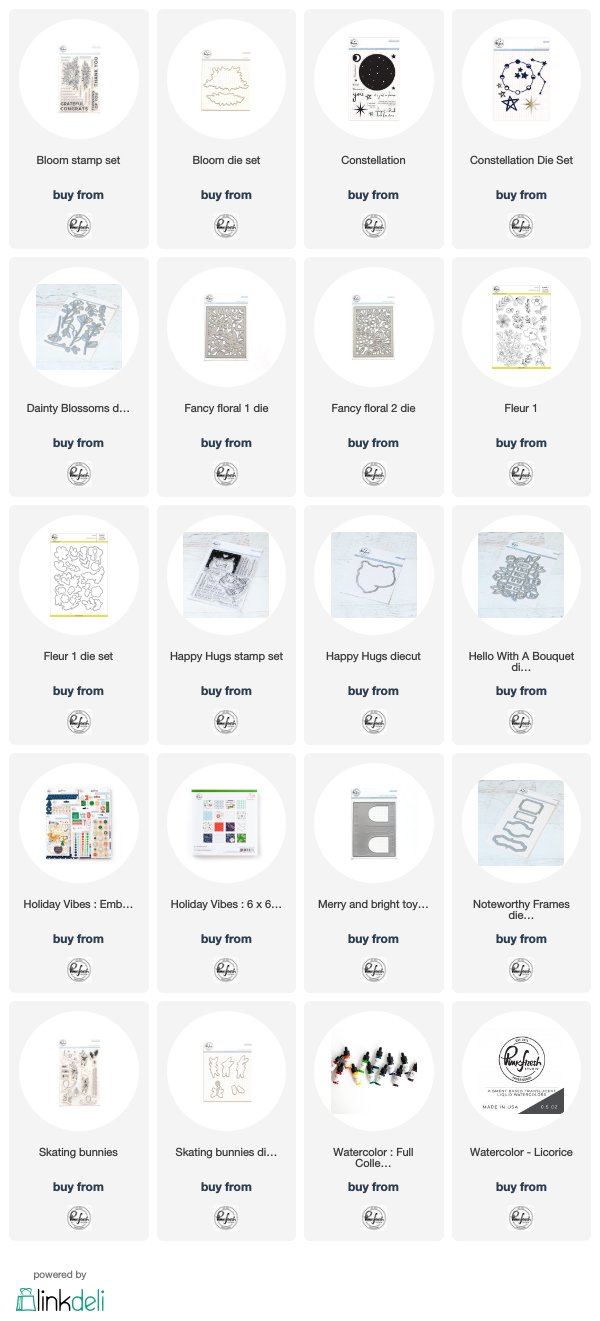
My list includes the Happy Hugs stamp set and coordinating die, which is what I am using on these cards today! I did want to mention that the cute hugs word die that I used was a free with purchase promo during the October release, and not available for purchase. So if you didn't get the die, you can easily replace what I have used with some letter stickers, or the scripted word in the stamp set. I wanted to show you two ways to use this stamp set - one more time intensive, and the other that can be whipped up quickly!


Up first is the card that took a bit more time to complete. To start, I put the snowy background stamp into my MISTI, and inked it up with distress oxide inks in the following colors: shaded lilac, salty ocean & blueprint sketch. Then I stamped it to the middle of a heavyweight white cardstock block.
I have heard other stampers mention that it is hard to stamp with these inks, and I do agree with that notion. I have found that if you apply the ink with the pad directly to the stamp, then blend it in with your ink blending tool....you get a better result. I will say that it typically takes 2-3 applications to make it look how I want, so it is pertinent to use a stamping platform of some type...of which I prefer a MISTI.
With the "ink blended" background complete, I used the metal dies to help line up where the stamped section of the sentiment would be. I removed the dies, then stamped it in onyx black versafine. With all the stamping complete on the first panel, I mounted it to the front of an A2 card created from Patriot Blue heavyweight cardstock. {I did want to mention that the edges of the ink blended stamping ran when I added the shimmer to it. I didn't even think about the fact that it would make the ink run. Insert eye roll - mistake on my part.}


Next I stamped the bears to heavyweight white cardstock, then colored them in with my Zig Clean Color Real Brush markers. Once the coloring was finished, I added a couple highlights with my white gel pen. I normally take a photo of the colors I used on my phone, or set them aside until I get the card photographed...but I forgot to do either here. So I am going to take a guess on the colors based on past coloring, and knowledge of my Zigs.
Scarf/Hat: persian blue, cobalt blue, light blue
Girl Bear: oatmeal, pale pink
Boy Bear: mid brown, dark oatmeal
My friend Carol recently asked me on Instagram if I had colored in an image with my Zigs like I would with Copics. I don't actually own Copics, but the answer to that is yes! I do actually use my Zigs in a way that I see other people color with Copics, but I'm assuming that they will blend a bit differently. The only time that I use water with them is if I need to lighten up a color, and I use the smallest amount of water possible. I also use water when I am using my Zigs to create a background, and then I will use as much as needed to get the look I'm intending.


With the coloring finished, I cut out the bears with their coordinating die, then mounted them with foam tape to the front of the card. Next I cut out the word HUGS three times: once from light blue glitter paper, and twice from heavyweight white cardstock. I adhered the layers together, then glued each letter to the front of the card to finish of the sentiment. Finally, I accented with my signature jewels here & there, then lightly brushed the stamped areas with a Tonic Aqua Shimmer pen.


Up next is the card that literally took me 15 minutes to create....and that is because I am so darn slow at ink blending! Lol! Ten minutes of this card was devoted to creating the ink blended background. I used the same oxide inks mentioned above, and blended them to a heavyweight white cardstock panel. Once the blending was done, I flicked it with some water and picked it up with a paper towel. Then I added some white paint splatters and set it aside to dry.


While the splatters were drying, I stamped the bears in onyx black Versafine ink, and then cut them out with their coordinating die. Then I stamped & heat embossed the sentiment in white to black cardstock. Next I trimmed each line into a separate thin strip.


It doesn't take white splatters very long to dry, so once set I mounted the ink blended panel to the front of an A2 white card base with foam adhesive. Then I mounted the bears to the front with foam tape. I popped all the sentiments strips up with thin foam strips as well, and angled them opposite each other underneath the bear. Finally, I accented the front with some iridescent jewels.


This is honestly one of the cutest stamp sets EVER, and I love how the bears look both colored and left just as the outline. I hope you liked seeing two ways to use this super adorable set!

I hope that you have a wonderful Wednesday!
SUPPLY LIST
For your shopping convenience, all products are linked below. {Includes affiliate linking where possible - this allows small compensation for me at no cost to you. Never fear - I will only ever link to products that I truly love & use!}
SUPPLY LIST
For your shopping convenience, all products are linked below. {Includes affiliate linking where possible - this allows small compensation for me at no cost to you. Never fear - I will only ever link to products that I truly love & use!}


3 comments
Wow!! Super cool and darling creations!! :)
ReplyDeleteWhat sweet, sweet cards!! I LOVE the blue!!
ReplyDeleteThe only thing better than seeing one card with these darling hugging critters is TWO...and what a duo of delight they are! Your ink blending is fabulous and thank you for the tip on how to achieve better stamping results with distress inks. Also, so thrilled to have you mention my question re: using Zigs a la Copic style! I've tried it out and OHMYSTARS! I actually love my zigs now *grin*!
ReplyDeleteYour excitement at your family's arrival makes my heart smile! Your small house will be filled to bursting with big love!
~carol
Comments warm my heart. Thank you! ♥