


Happy Friday, friends! We have made it to the weekend...and for many of us it will be a long weekend with Christmas Eve & Christmas! I hope that whatever you are doing this holiday season, that you are enjoying it...and taking care of yourself. I know first hand that the holidays aren't easy, and while my reasons for struggling during this time of year might be different from yours...I want you to know that it is okay to take a step back, feel what you need to feel and take moments for yourself.
With that being said, I am taking a hard turn from my card yesterday with a super colorful & festive Christmas card to share with you! It also happens to feature the final Christmas promo from Pinkfresh Studio until next year (and when I say next year...I mean WAY into next year. Lol!), and this is another fun one!

To start, I diecut the background die from my favorite cougar white 130 LB cardstock from Cut Cardstock. It's thick & sturdy, and really great for these scene building dies from Pinkfresh Studio. Then I put the diecut block in my MISTI, and lined up the Santa, Christmas Tree &presents that are built into the diecut image and stamped them in onyx black Versafine. (If you are having troubles with what goes where, there is a great image on the back of the packaging that really helps!) Then I stamped the sentiment to the bottom, and finally I stamped two more presents and the holly leaves/berries to scrap of matching white cardstock.


Next I colored all the images using my Zig Clean Color Real Brush Marker set. I have the full set of 90, which I purchased on Amazon. This is their complete set of colors, and I really love having it! I utilize them as you would Copics quite often, and only blend with water if I feel like I got too much color in an area, or if I am creating a watercolor background. I used the following colors on my images:
Tree/Holly Leaves/Presents: light green, pale green, green shadow
Star/Coat Buttons: bright yellow, yellow
Santa Suit/Holly Berries/Presents: geranium red, red, carmine red
Santa Boots/Mittens/Eyebrows: gray, light gray
Santa Face/Hair/Beard: almond pink, medium beige, light beige, pale gray, blender
While letting the coloring set, I lightly traced the window borders to the front of an A2 card base created from the same white cardstock, and blended the blue sky in the background with Distress Oxide inks in the following colors: tumbled glass, salty ocean & blueprint sketch. My parents purchased the Picket Fence Studios life changing brushes for me as an early birthday gift while they were here, and I blended with them for the first time on this card! Oh my goodness...they are amazing! I am still getting the hang of how much ink to add to them, etc...but I LOVE them. They are also super easy to clean, so you can use them in any color. I was able to rub off excess ink onto a block of scrap paper, then rubbed a damp cloth lightly over the top to finish. There was no leftover ink on it after that, and because the cloth was only damp...the brush dried instantly. You might have to do more extensive cleaning to the brush if you are using a larger amount of ink than I did, but not for basic backgrounds like this one.
Once I was finished ink blending, I flicked some water droplets to it and mopped it up with a paper towel in order to get that nice reaction from the oxides inks. It makes it look a little bit like it is snowing!


With the coloring set, I stamped & heat embossed the tree lights & garland to the front in white. I decided that I wanted the garland to be lights, and thought they needed to glow...so I used one of the small life changing brushes, and lightly blended some oxide ink to each bulb in squeezed lemonade. I don't know if it actually looks like they are glowing...but it is what it is. Lol! At this point, it was time to start putting the card together, and I mounted the diecut panel to the front of the ink blended card base using foam tape. Right as I layered it on, I realized that I had forgotten to heat emboss the snowflakes in the background that I had wanted...but at this point, it was too late.
That was mistake number 1. Lol! Then I noticed that at some point I smudged a little black ink on the edge of the card, which was super noticeable on the white. So, I diecut the thin gold border and adhered it around the edge of the card...and I am actually really glad I did! I love the little bit of gold shimmer that it added, and it helped give it some delineation from the background when photographing it. Sometimes mistakes end up making your project better! After that, I fussy cut the presents & holly, then adhered them to the front...popping one present up with foam dots.


To finish the card, I added jewels to the Christmas tree and holly berries, then shimmered it up with my Tonic shimmer pen in Midas Touch. This pen uses gold glitter in place of silver, and it really has a super festive feel. I LOVE using it on Christmas cards, as it gives it that touch of warmth that you find in glowing holiday lights & candles.

That is all I have for you today, friends! I have updated my Crafty Sales page with some of the lastest promos, so be sure to check it out! Before you move along with your day, I wanted to invite you to follow me on social media. I hang out on Instagram a lot, and share my work in progress in my stories...along with REALLY cute photos of my dogs! :) And of course, I would love for you to subscribe to my YouTube Channel. My channel has been pretty quiet recently - I am right in the middle of reorganizing my entire craft area...so it is a bit disjointed. I have given myself a deadline of the end of December to get it completely finished, with my new studio area ready for video creation!! So, there will be a TON more videos in 2019. So thank you for bearing with me until then!
You are going to see a new option up there....Facebook. I go back &
forth on this a lot, but I was looking through my personal FB page the
other day...and it was cards for days. It doesn't leave room for what I
want my personal FB to have on it - personal photos & such. So, I
have created a FB page for Lea Lawson Creates again. I would love to
have you join, and be sure to subscribe to notifications so you don't
miss out on anything. I would like to make the page interactive, and a
way that we can actually hang out...so if you have any ideas on that, I
would appreciate it!
I hope that you have a happy Friday!
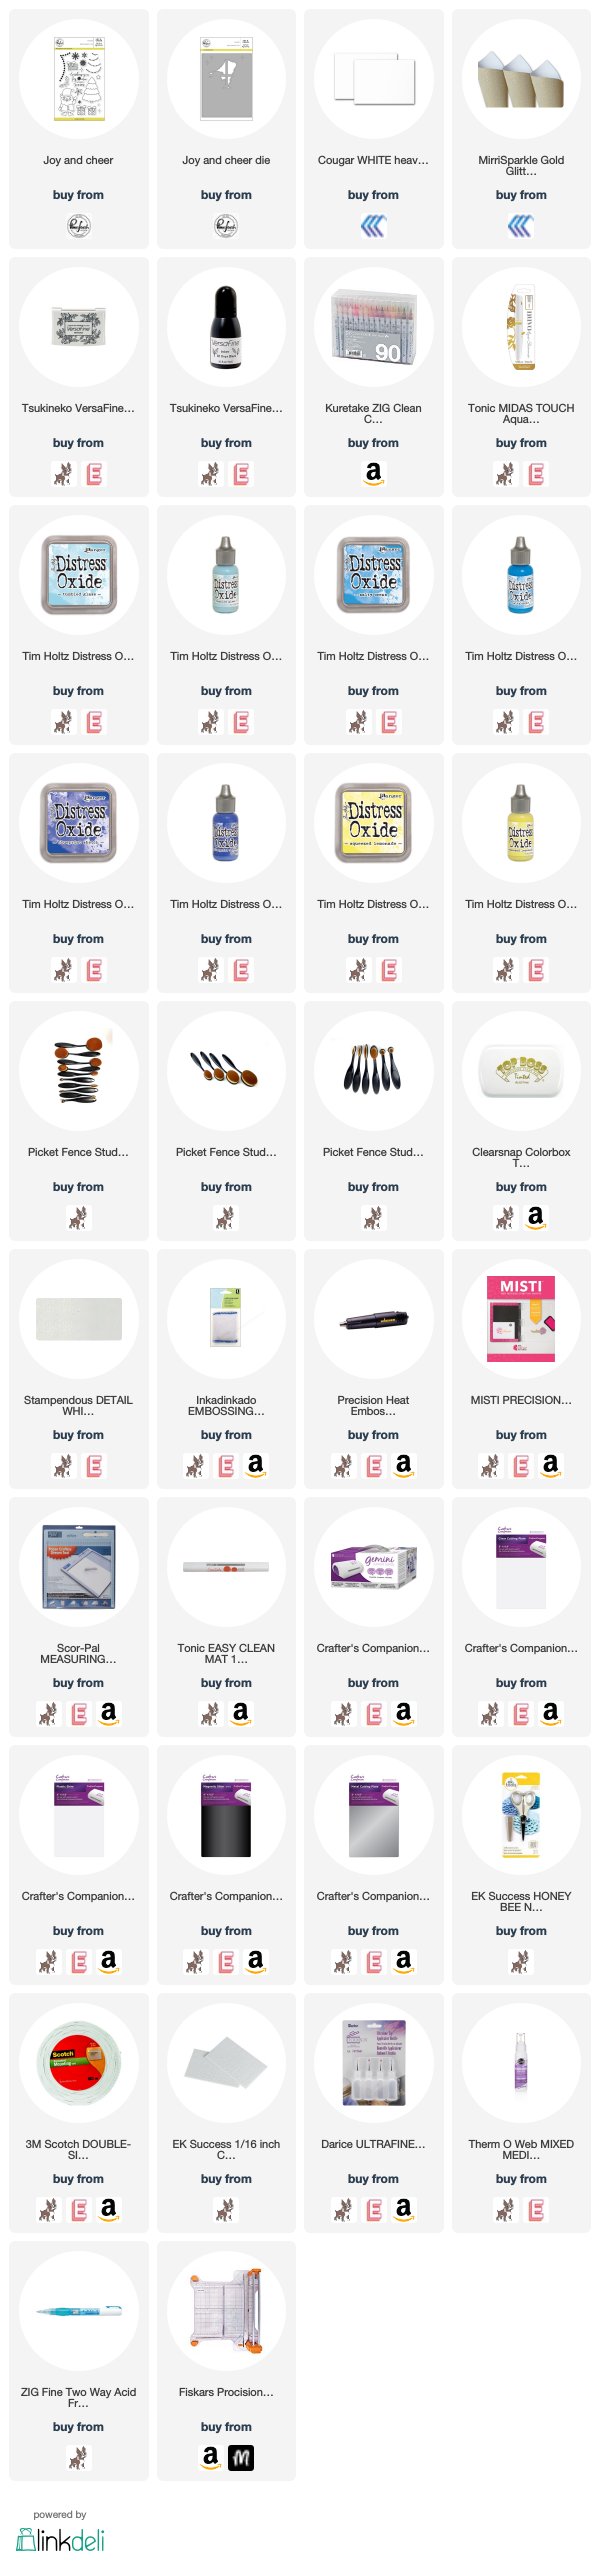
SUPPLY LIST
For your shopping convenience, all products are linked below. {Includes affiliate linking where possible - this allows small compensation for me at no cost to you. Never fear - I will only ever link to products that I truly love & use!}
SUPPLY LIST
For your shopping convenience, all products are linked below. {Includes affiliate linking where possible - this allows small compensation for me at no cost to you. Never fear - I will only ever link to products that I truly love & use!}


1 comment
Such a beautiful card!! Lovely scene and colors :)
ReplyDeleteComments warm my heart. Thank you! ♥